Painting Wooden Garden Furniture
7 min reading time
Because renovating is always more resource-efficient than buying new furniture
Ideas for Painting Garden Furniture from the MissPompadour Painting Community
Clearly, white and grey are the classic colours for painting garden furniture. You'll find great colour shades in our collections. But why not try something more? You can bring more colour into your garden not only with flowers. Here you'll find original ideas for painting your garden bench, varnishing your garden table or painting teak.
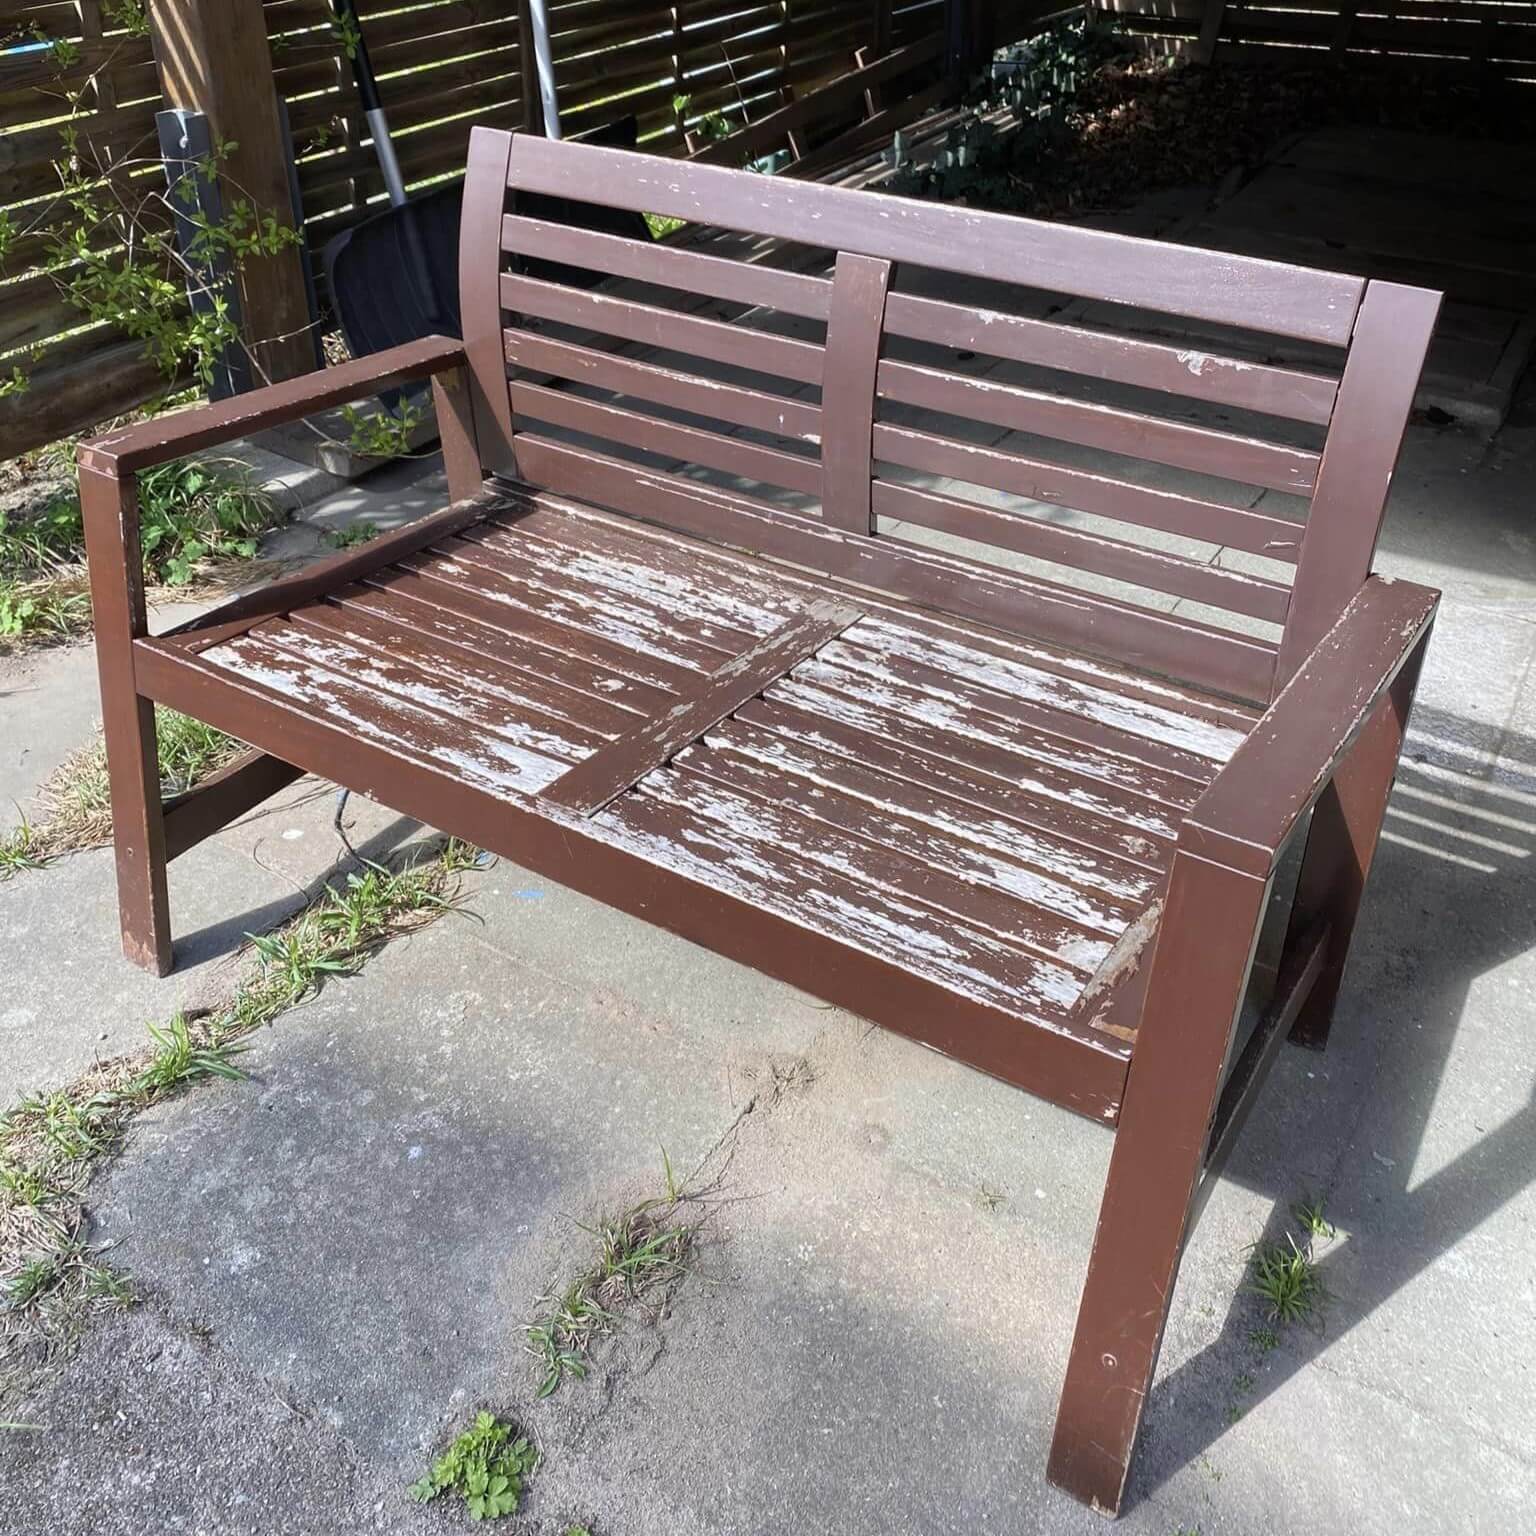
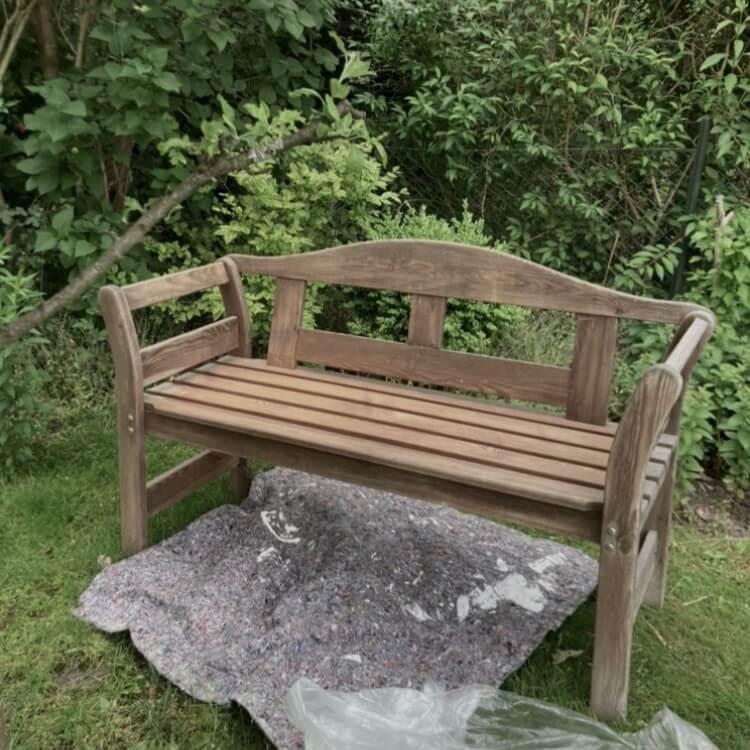
Before
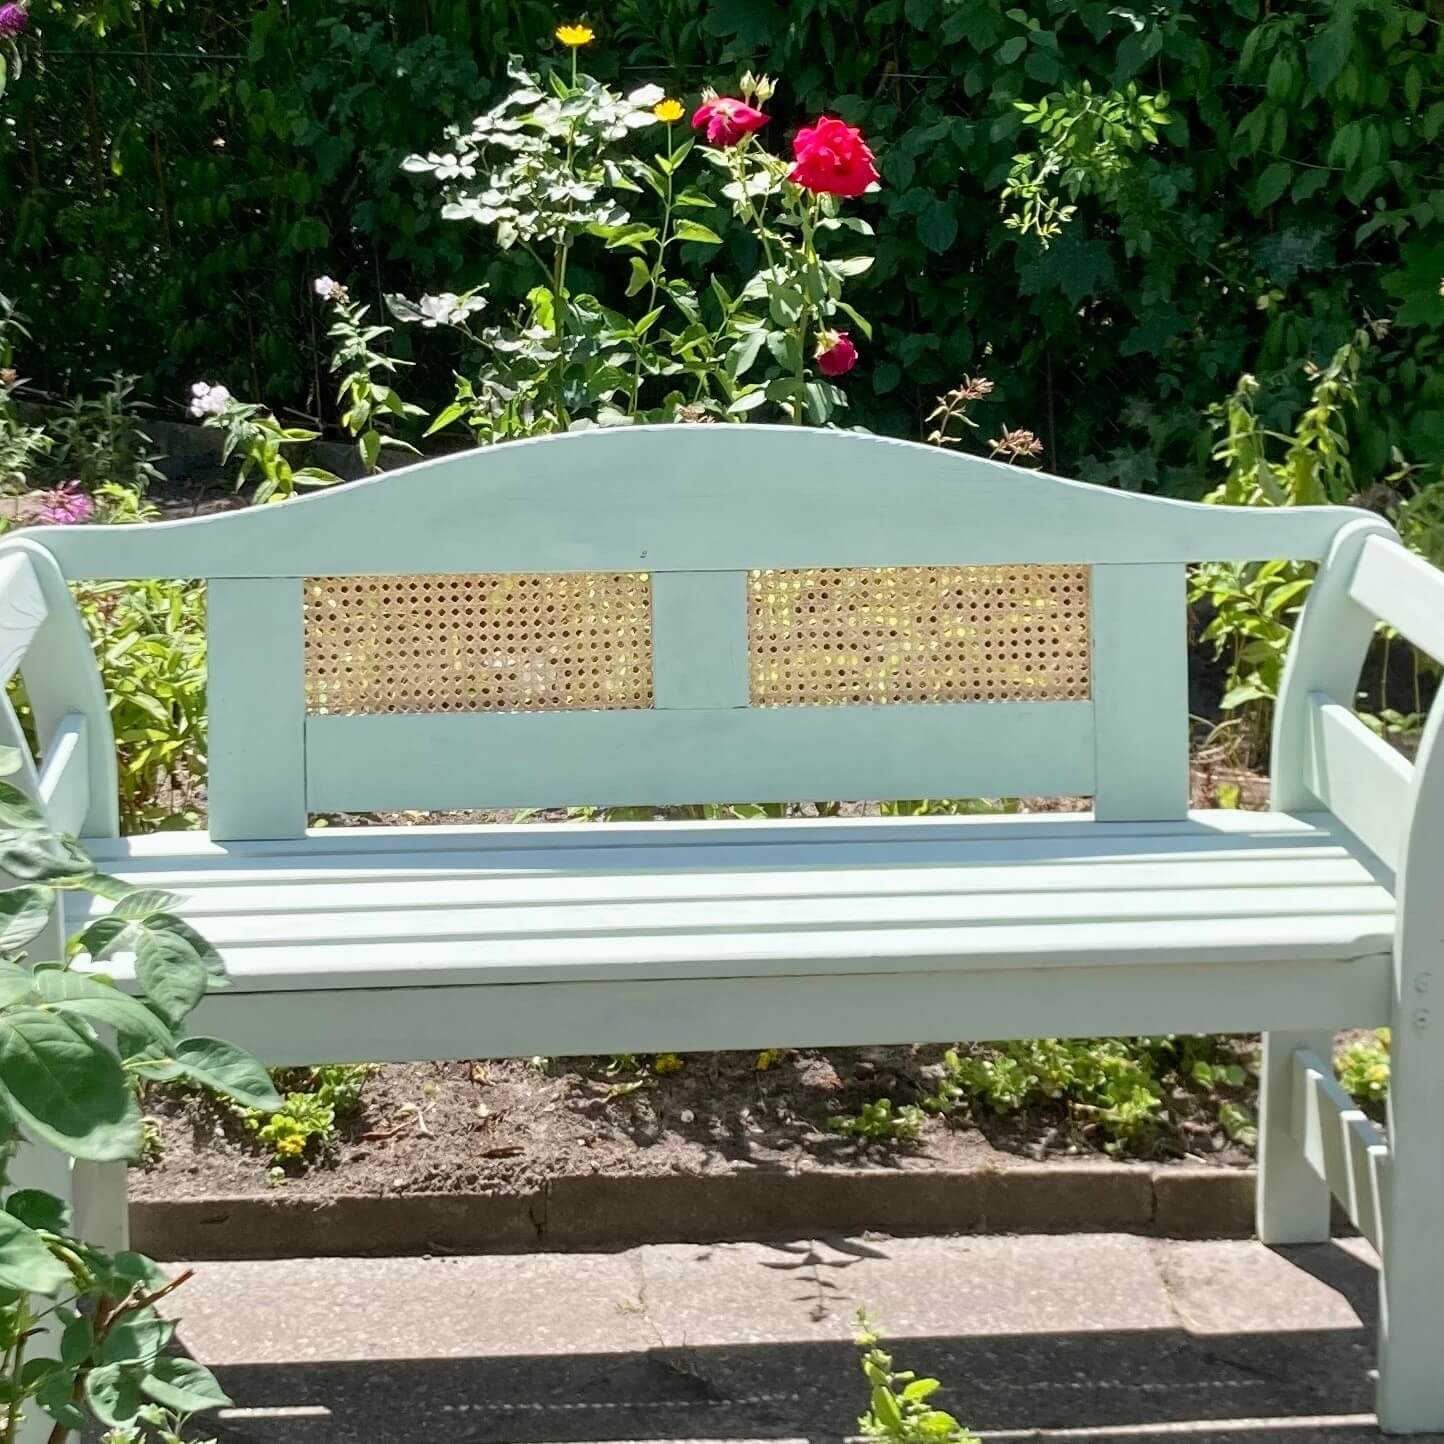
- The old garden bench had earned a new coat of paint.
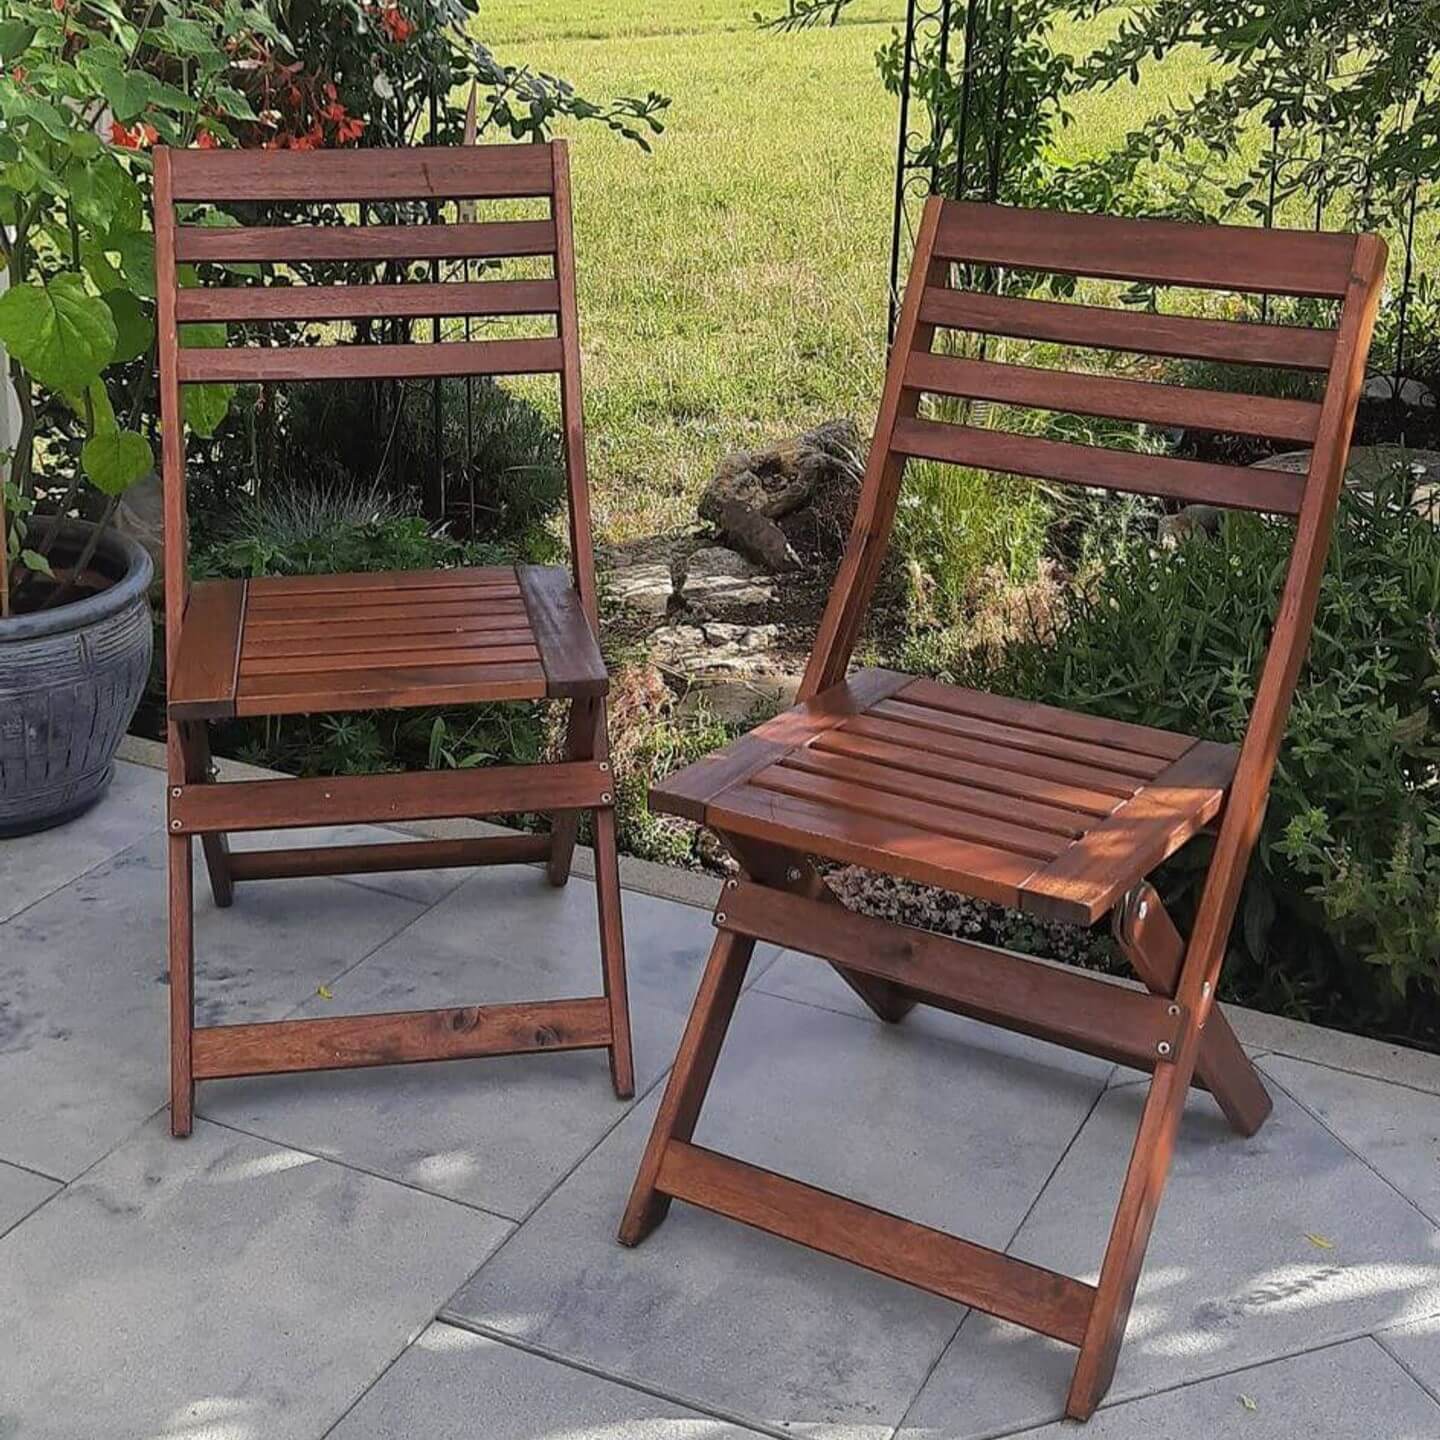
Before
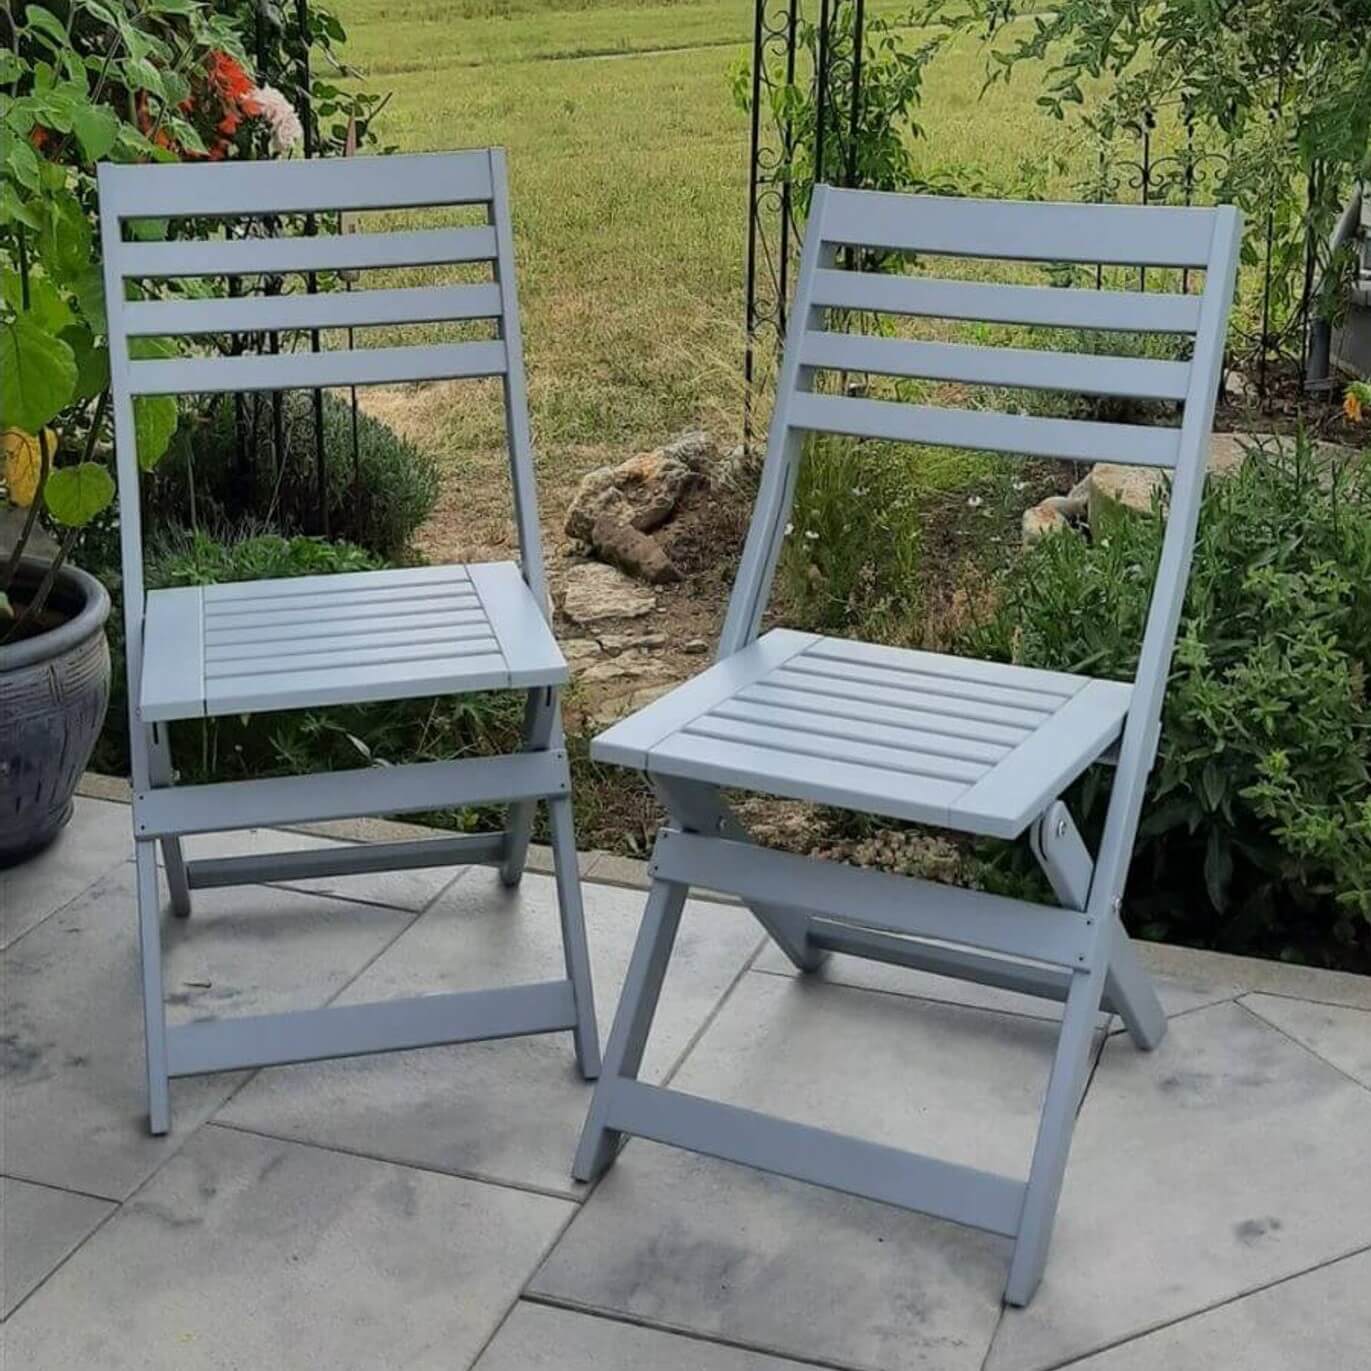
- The brown wooden chairs could become a real eye-catcher with new paint.
Before
- Even though it's anything but beautiful, it would be far too bad to throw this bench away.
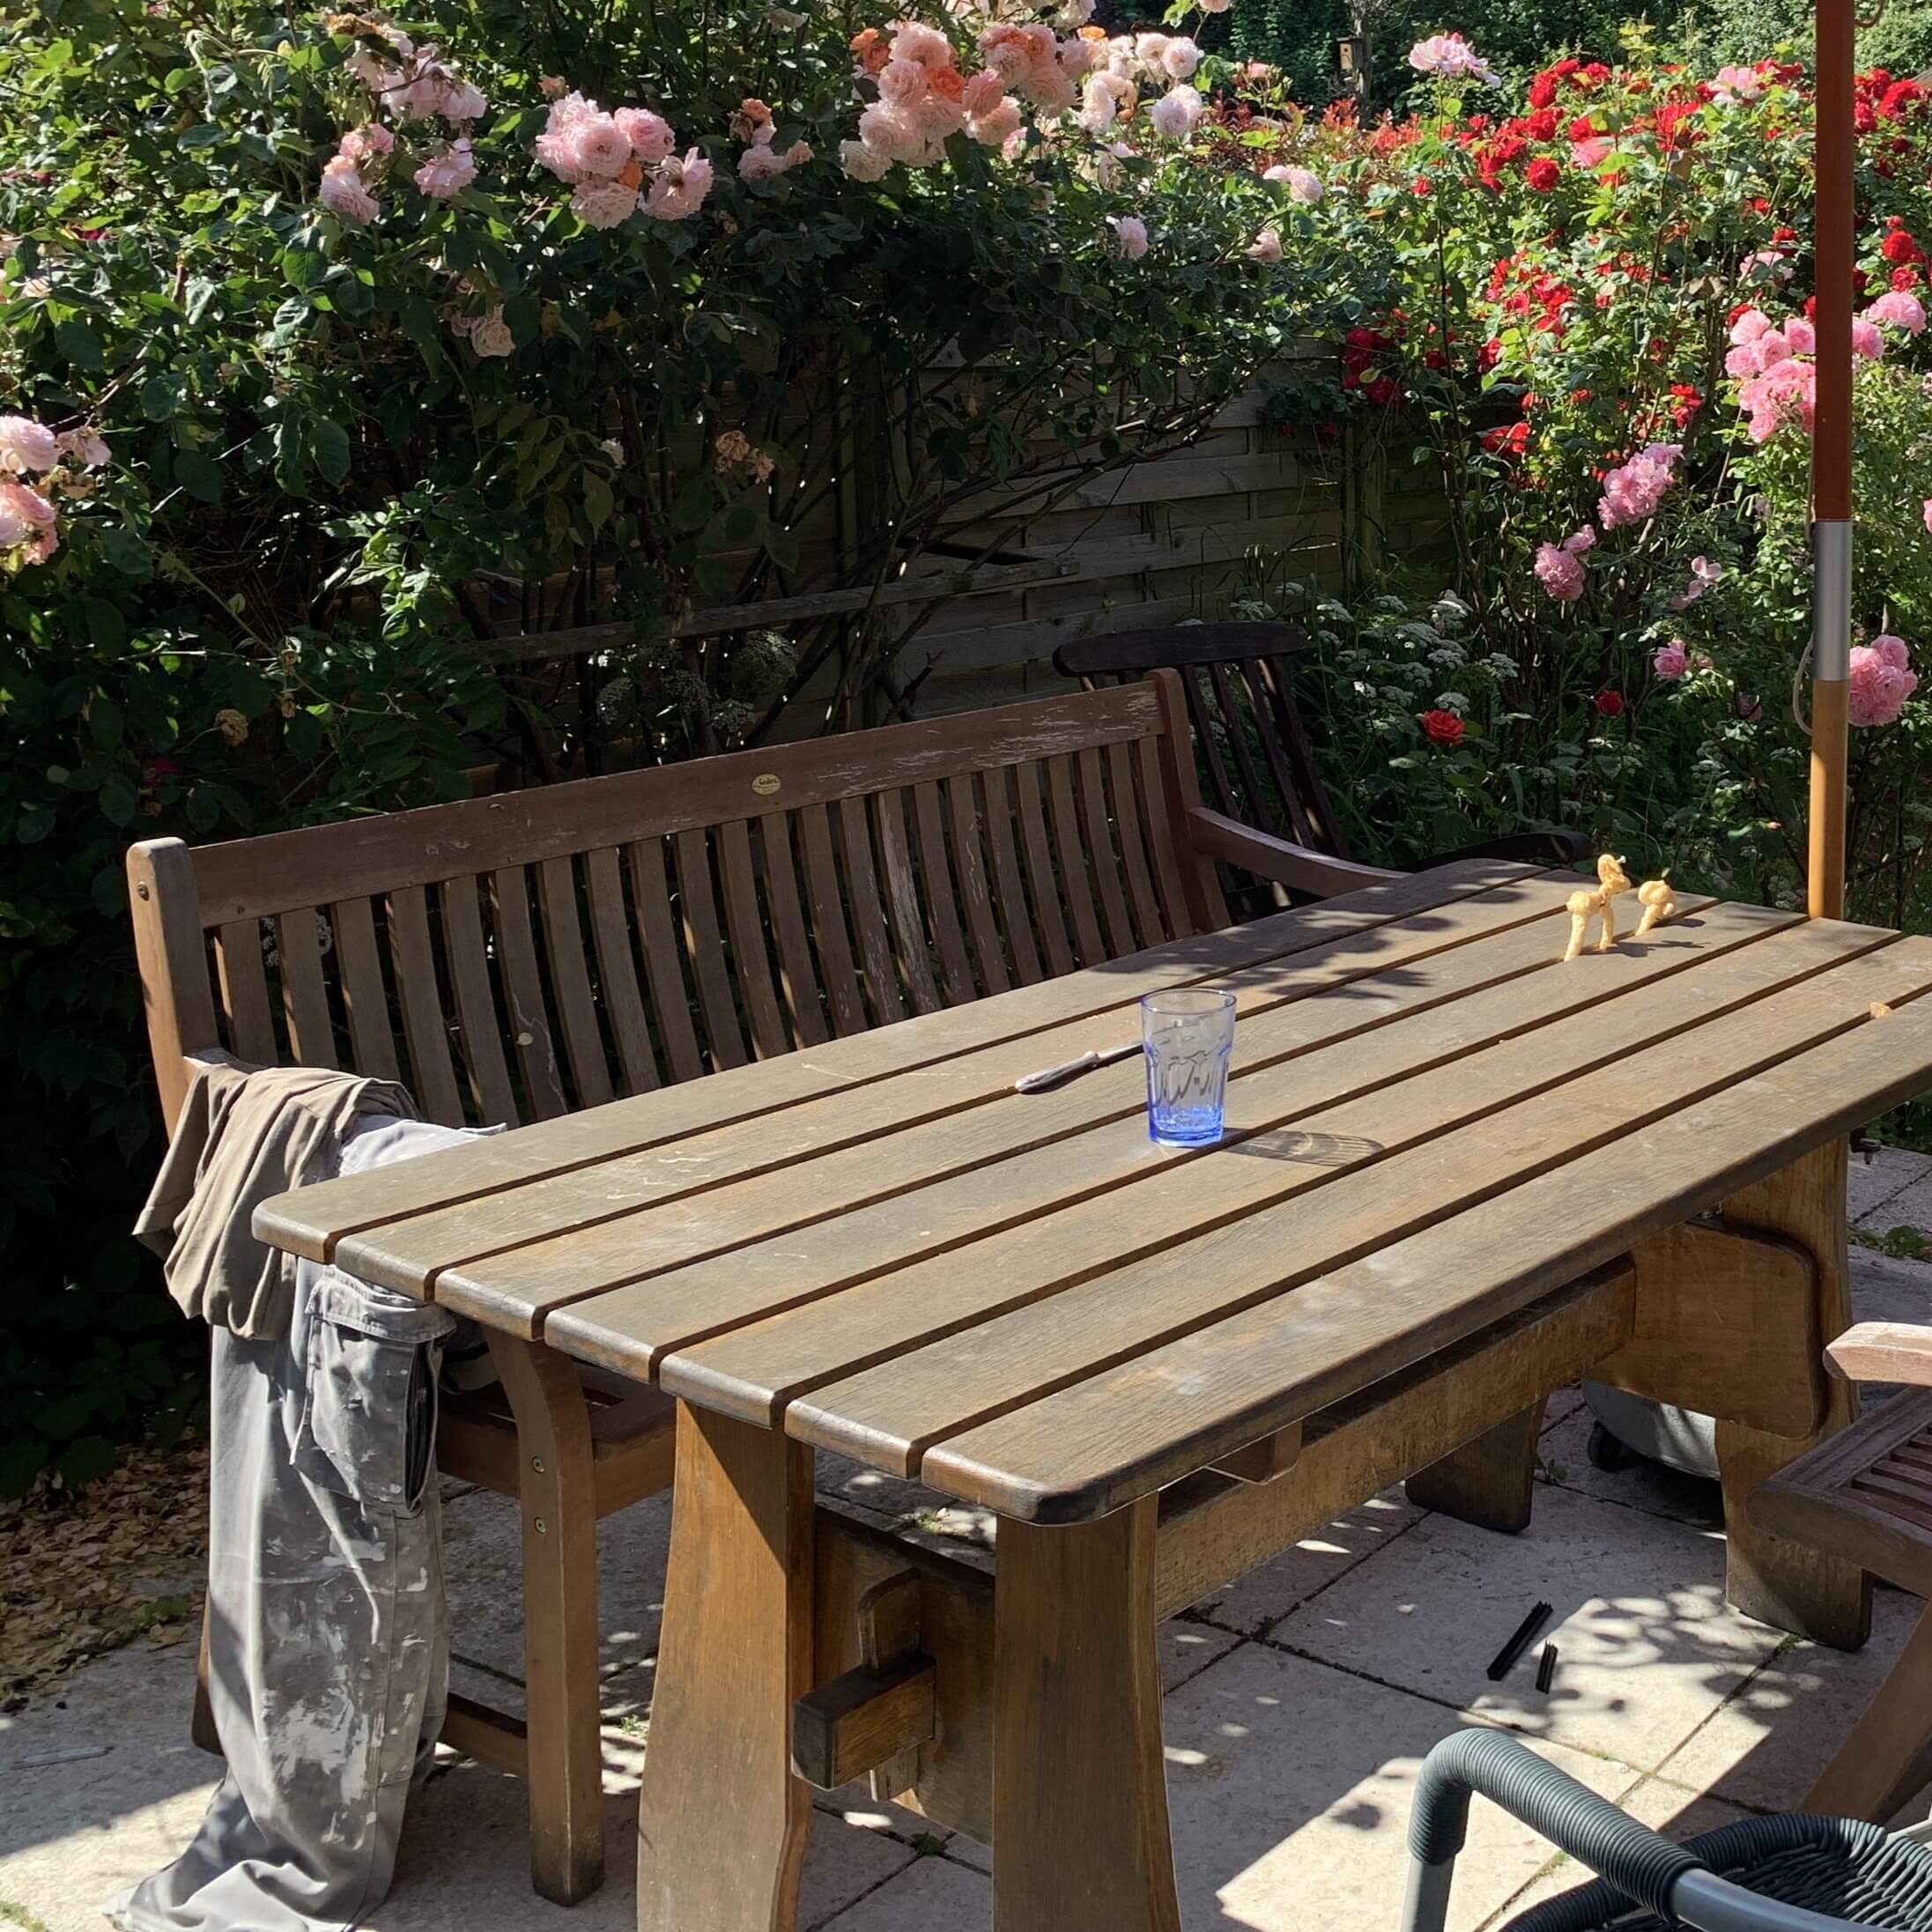
Before
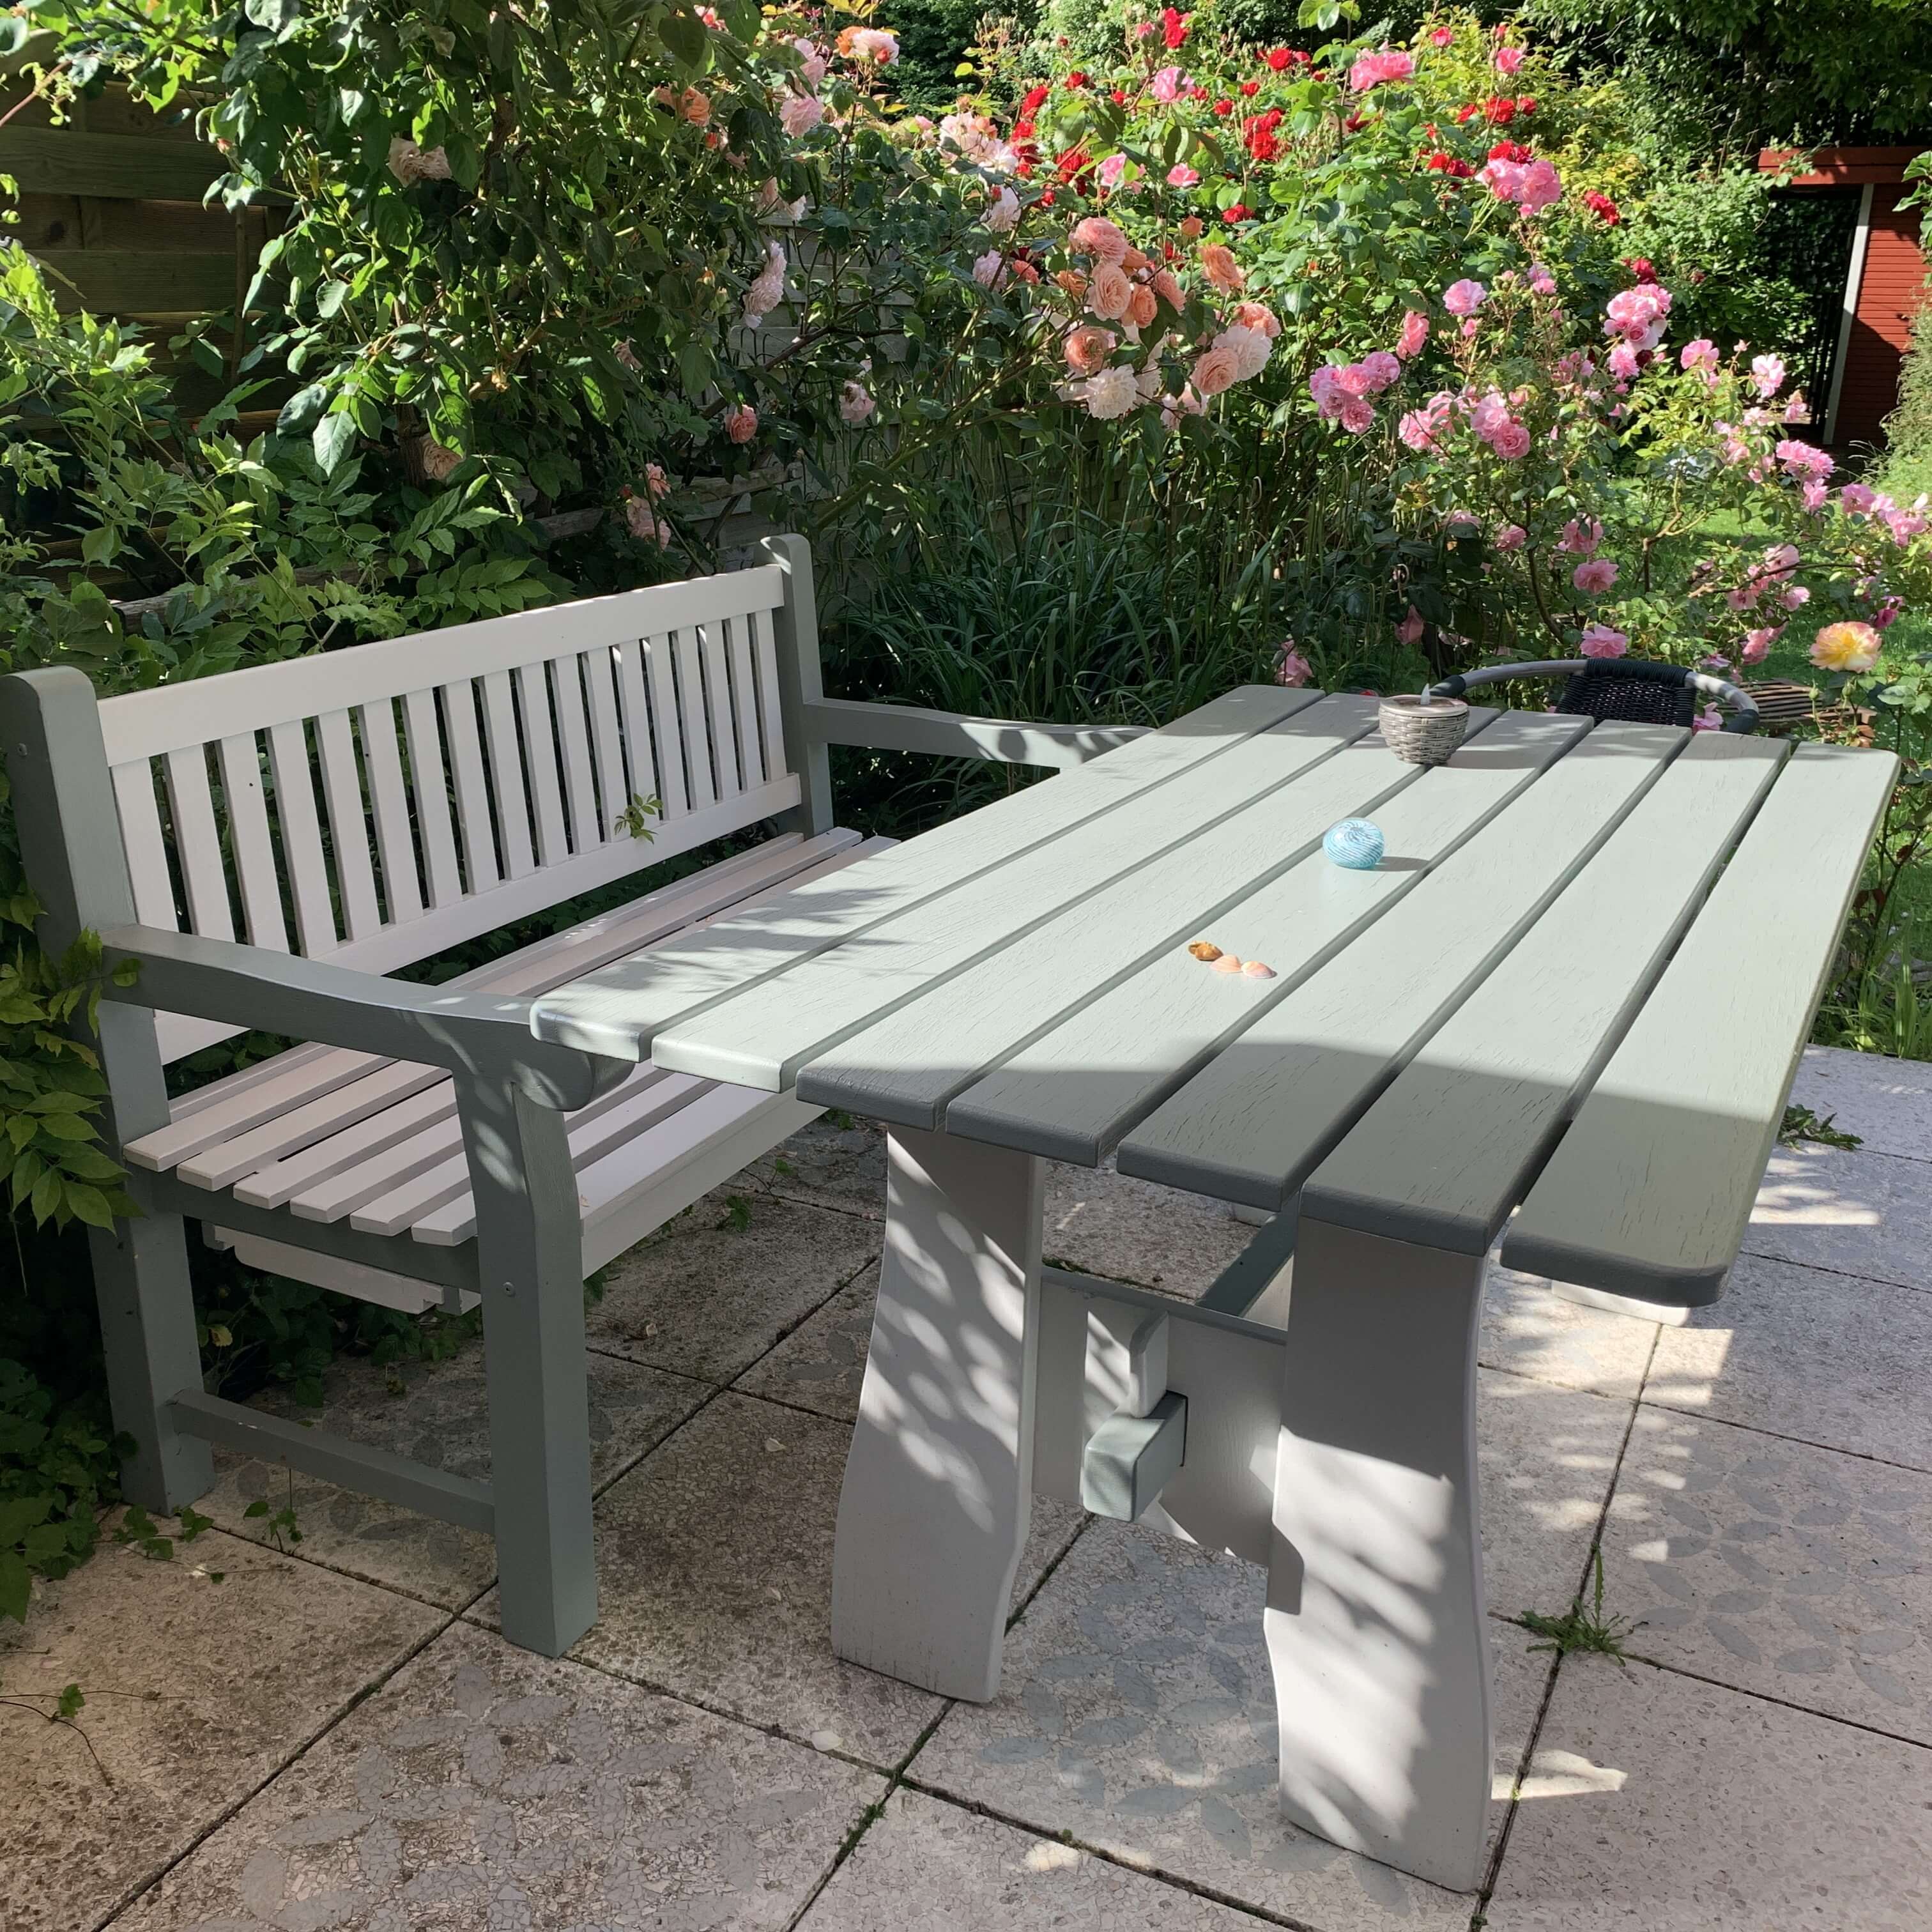
- The wood was discoloured and worn in many areas. The furniture was no longer in keeping with a tidy style.
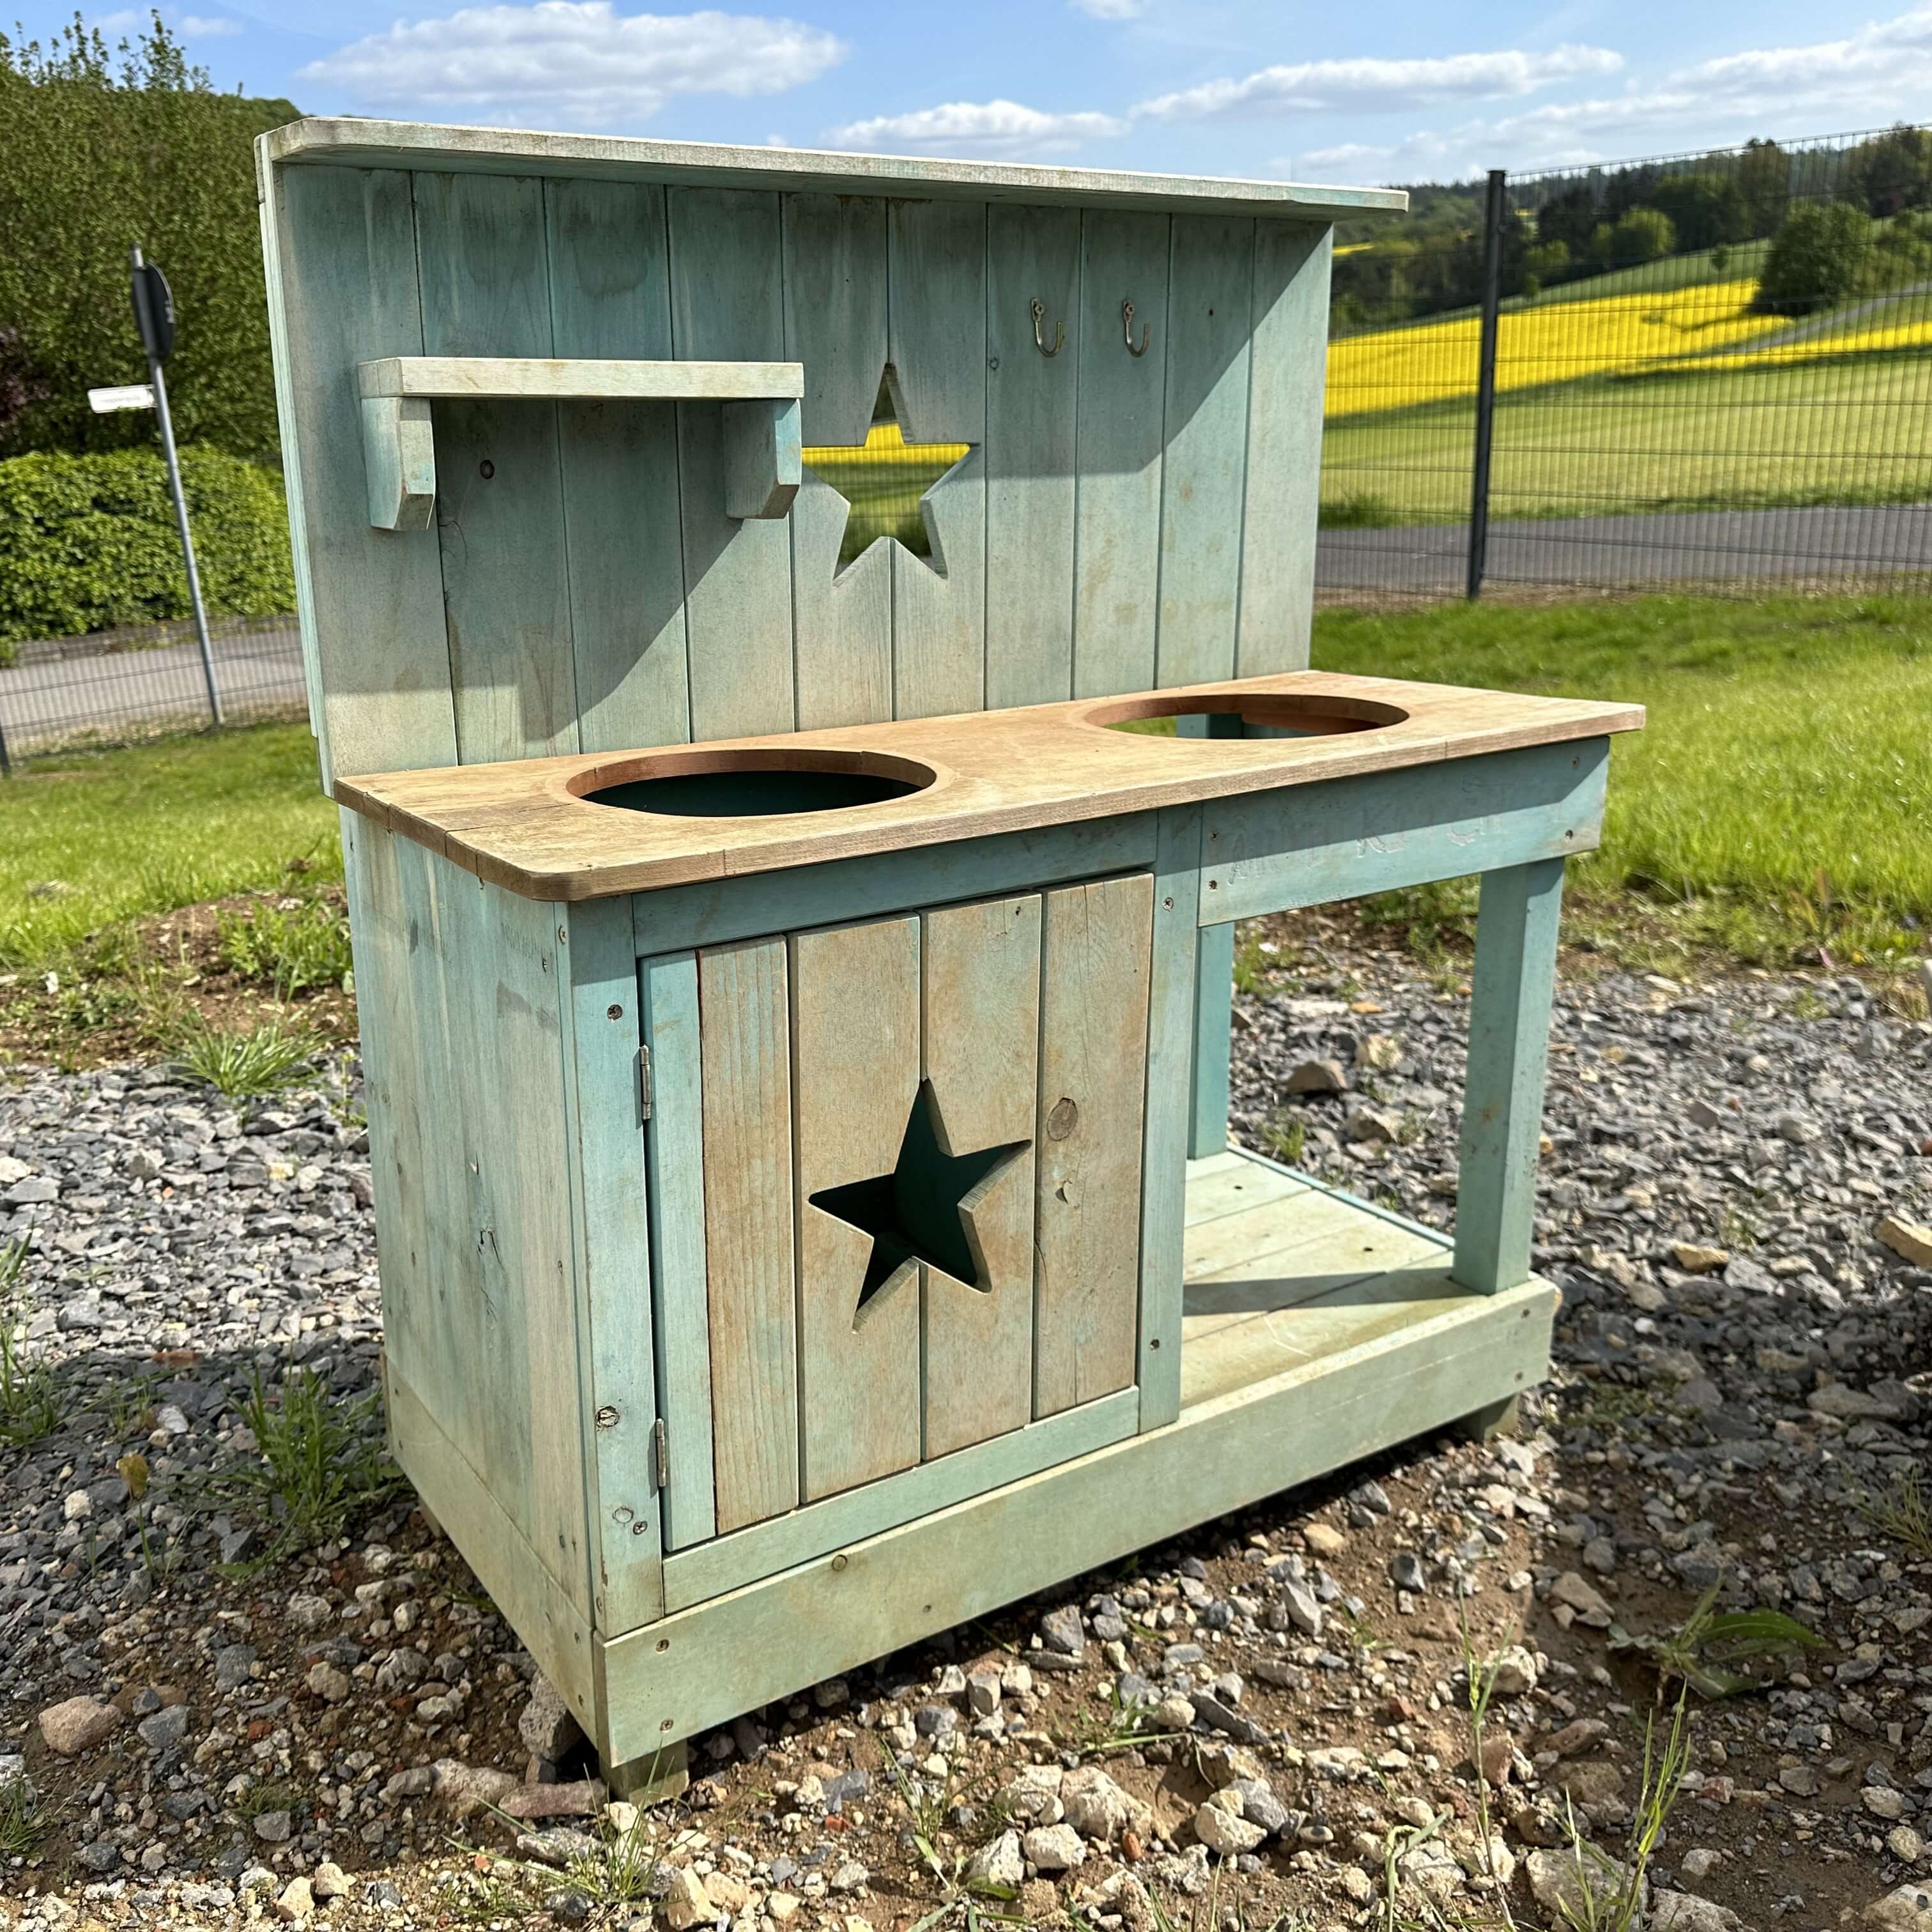
Before
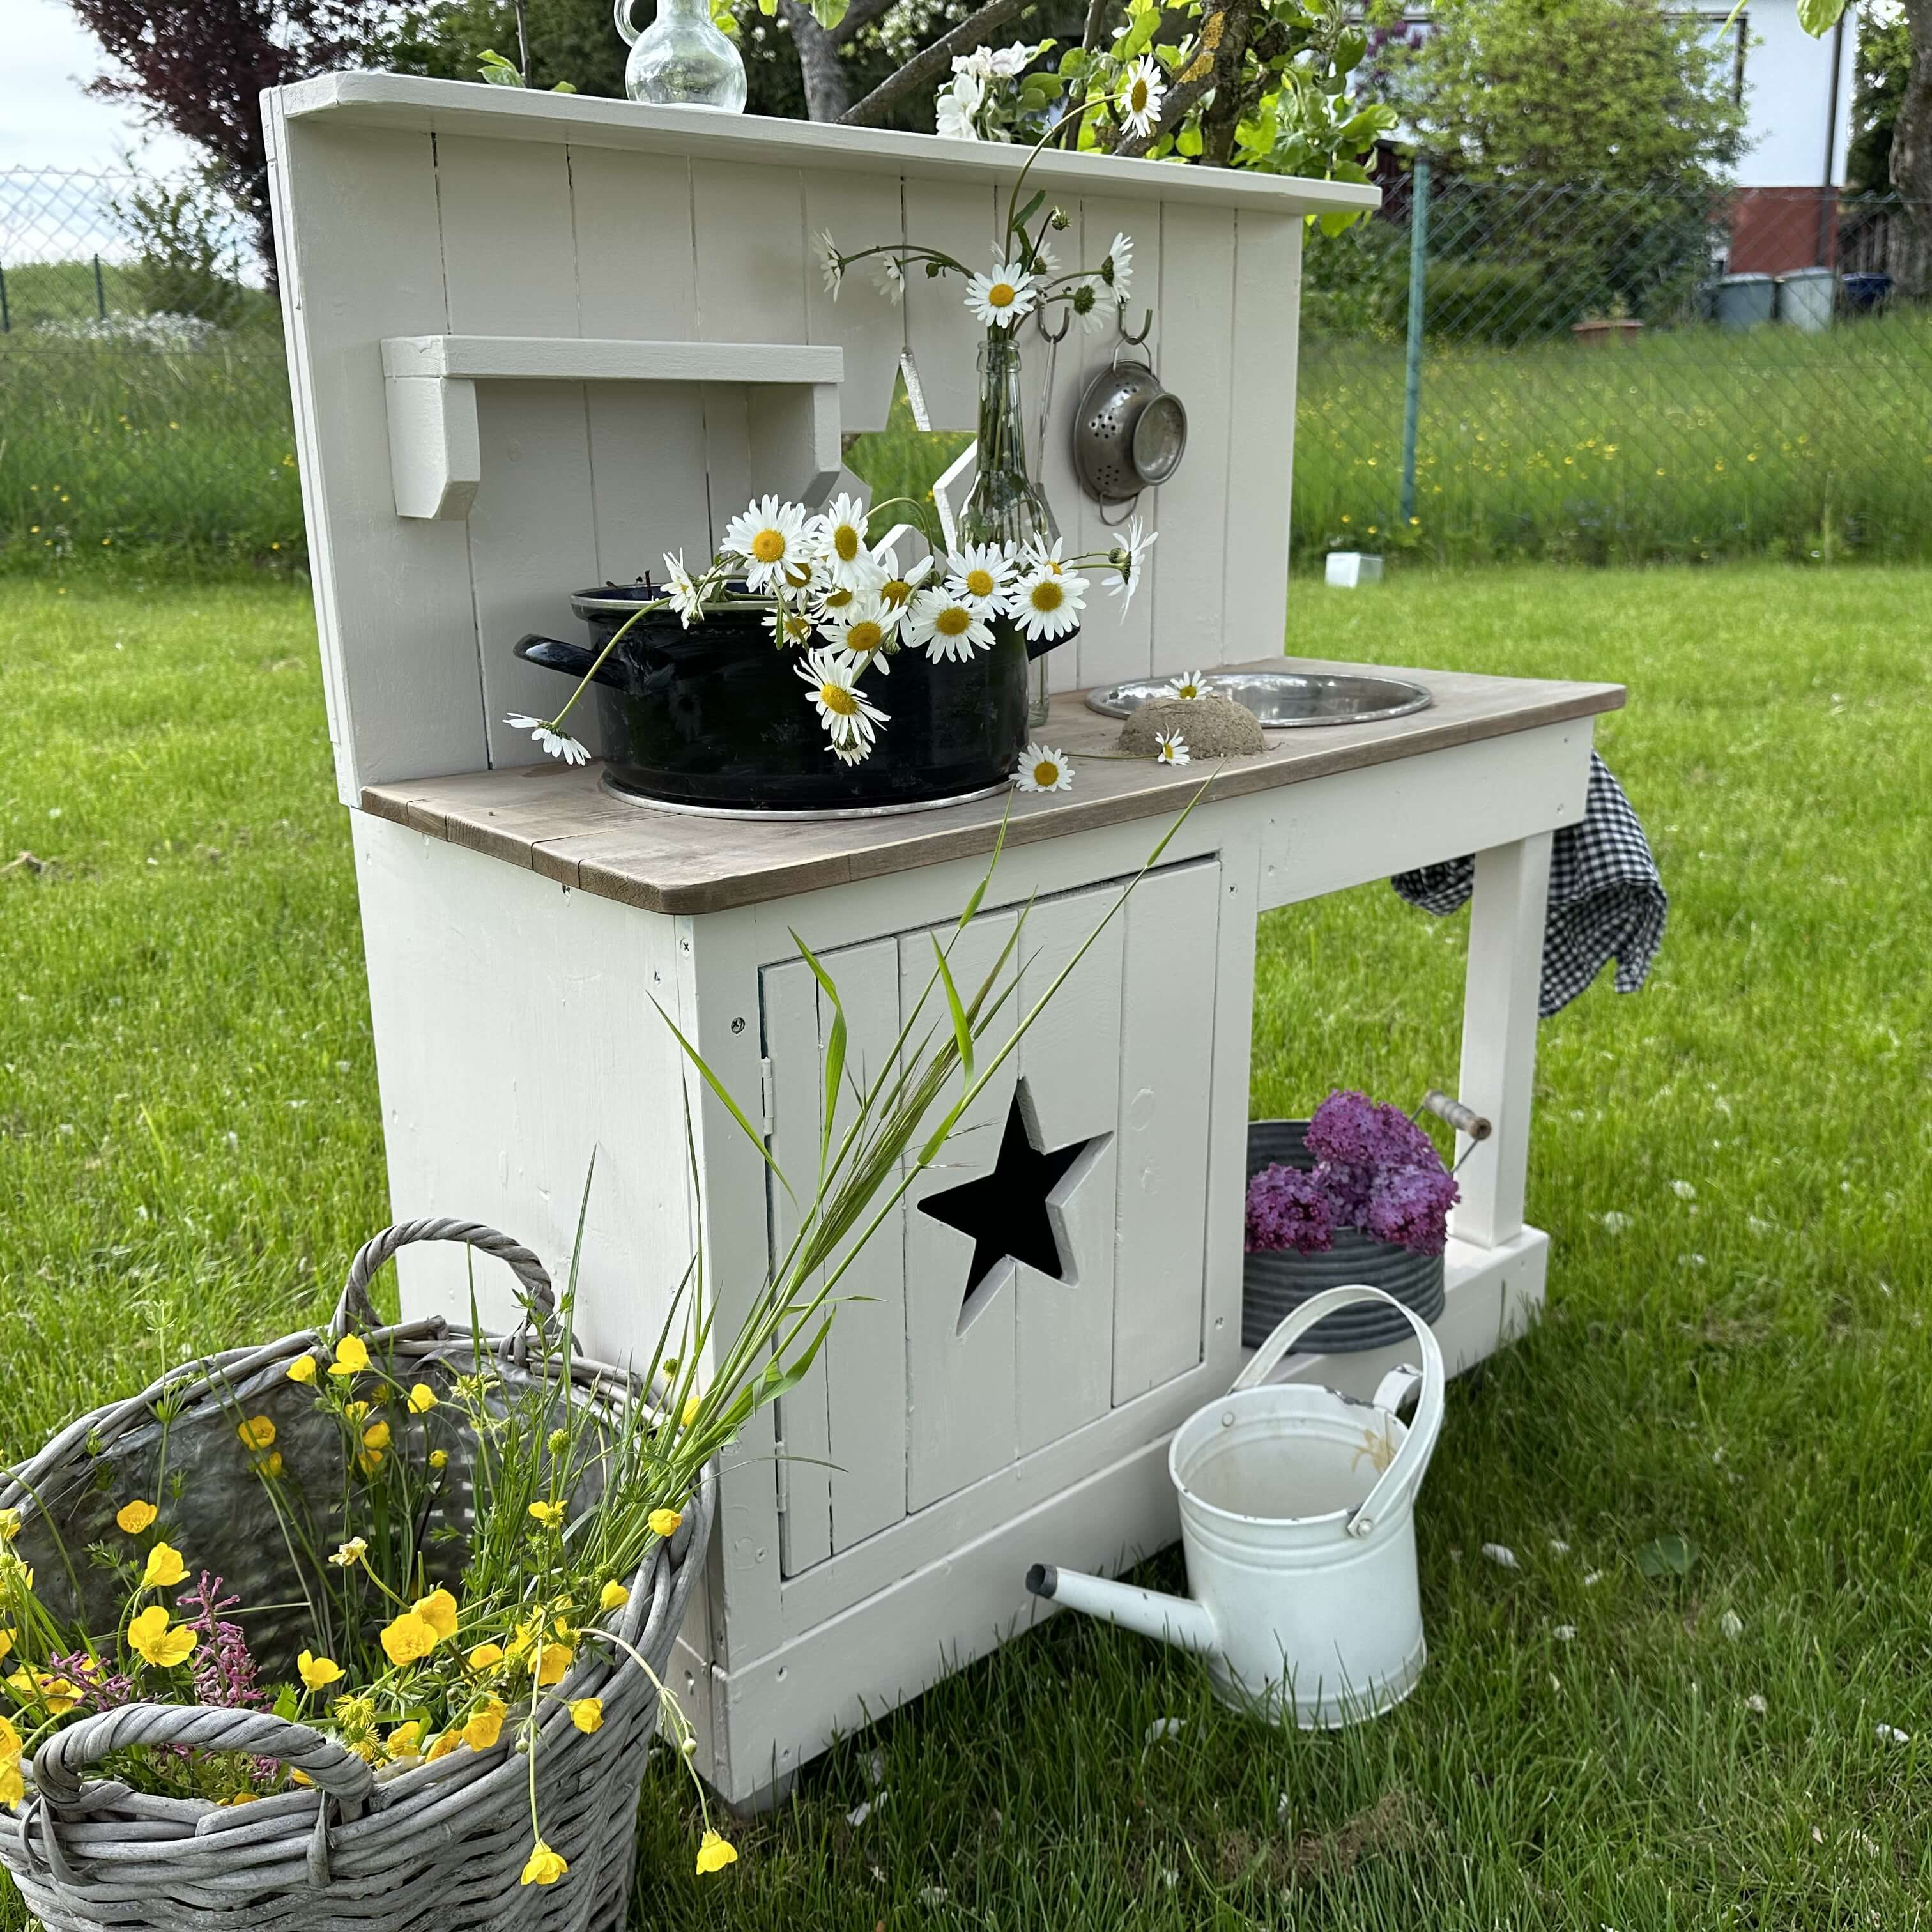
- To ensure that children can enjoy this mud kitchen for as long as possible, it should be protected from wind and weather.
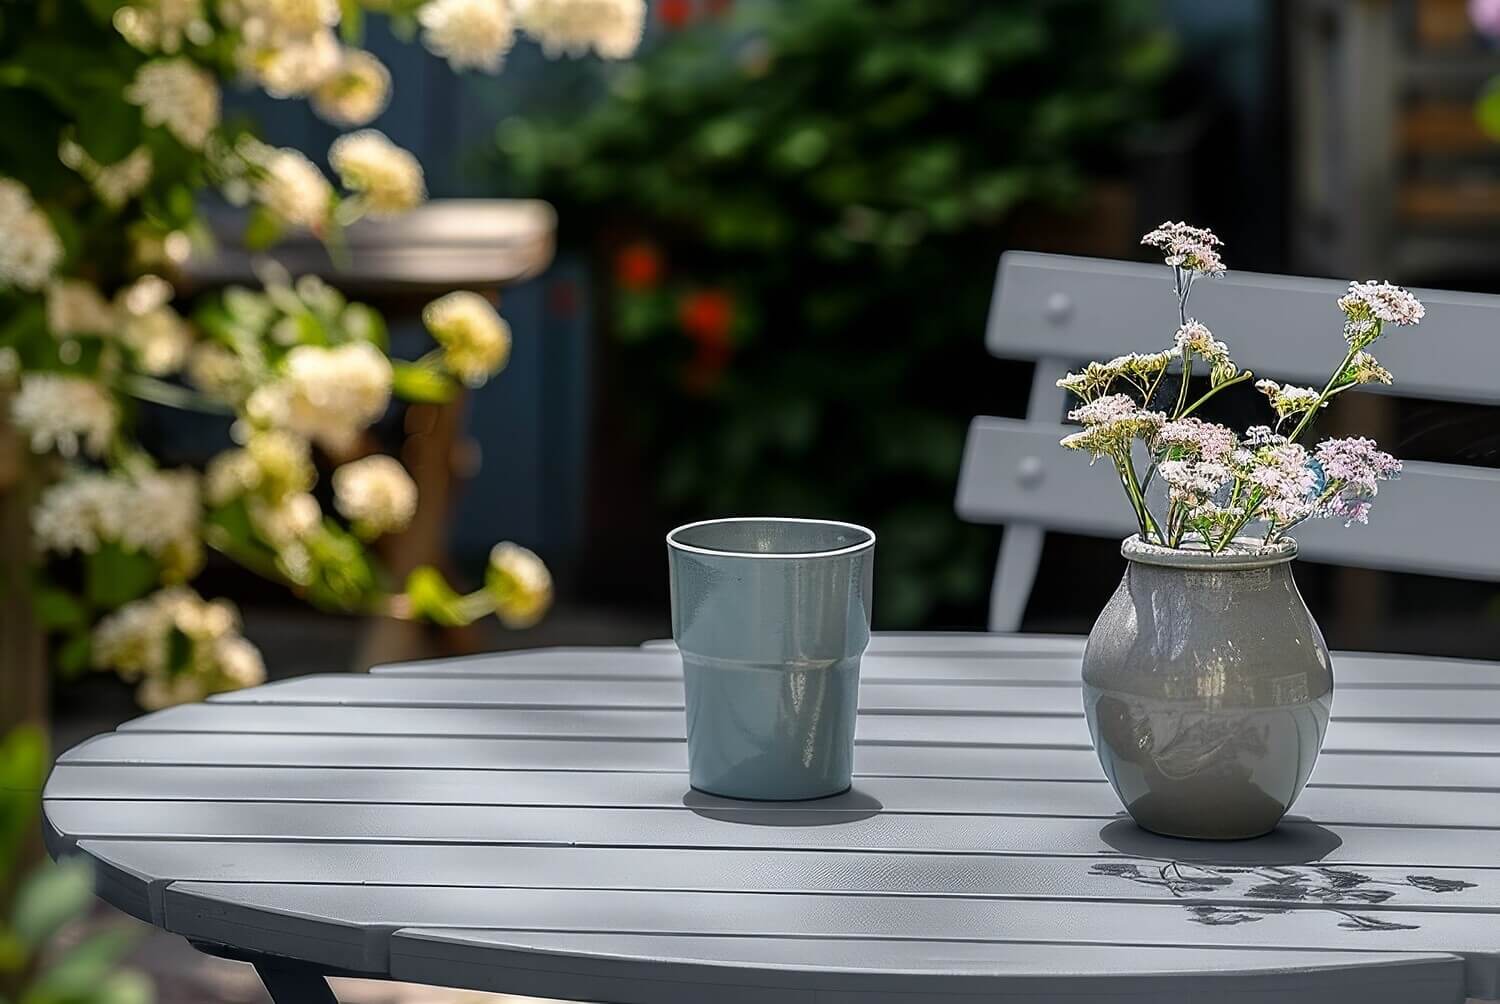
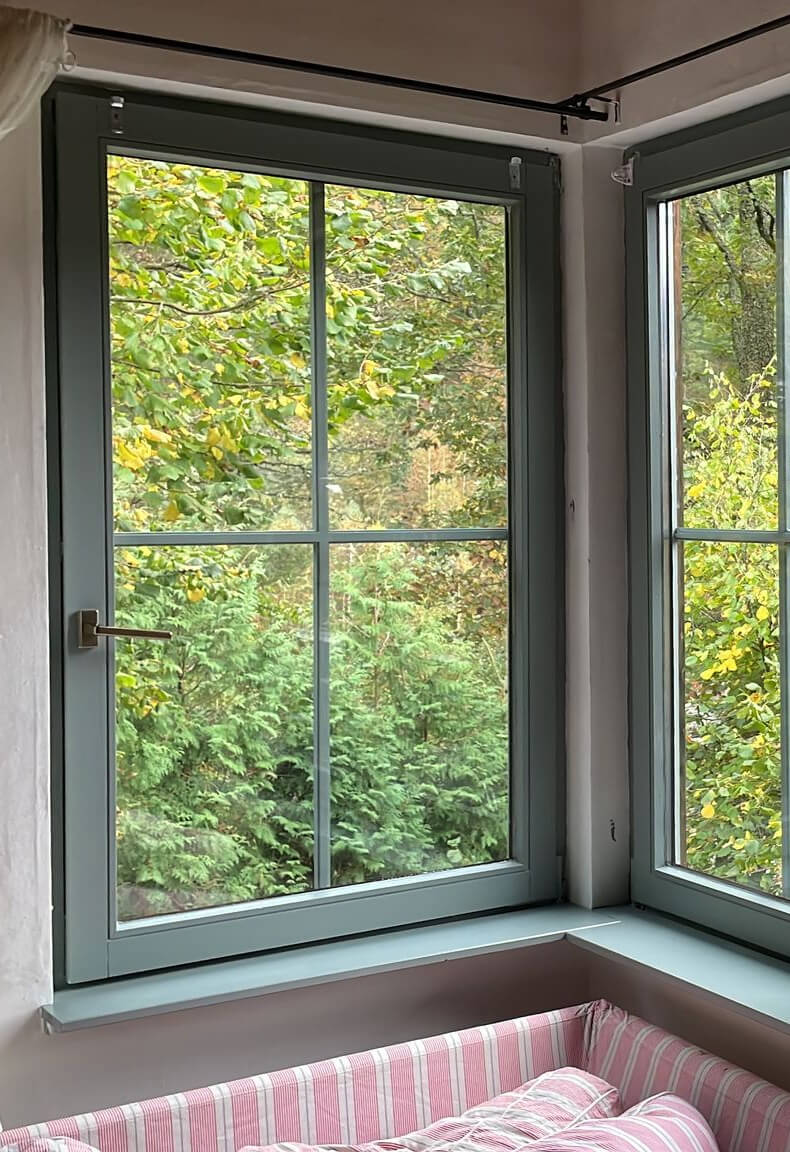
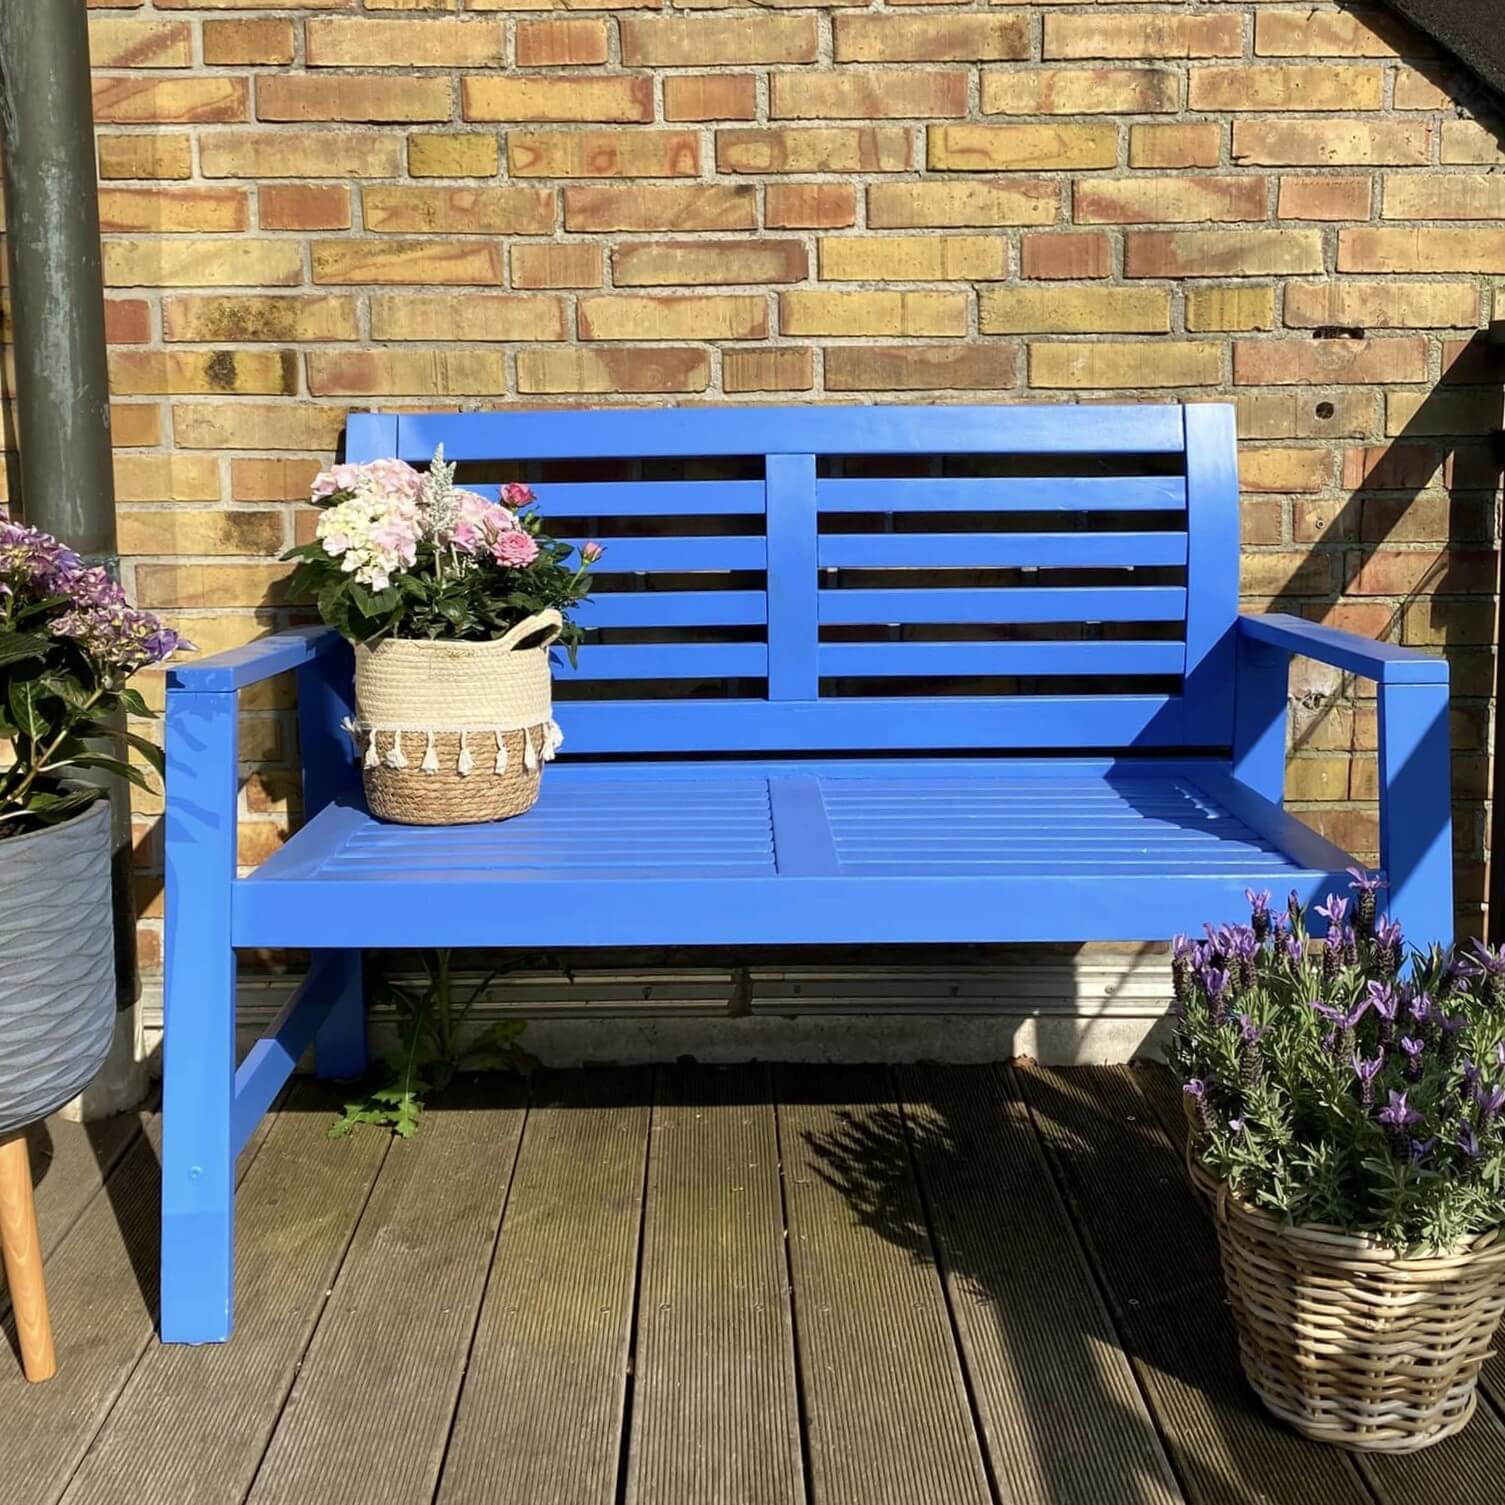
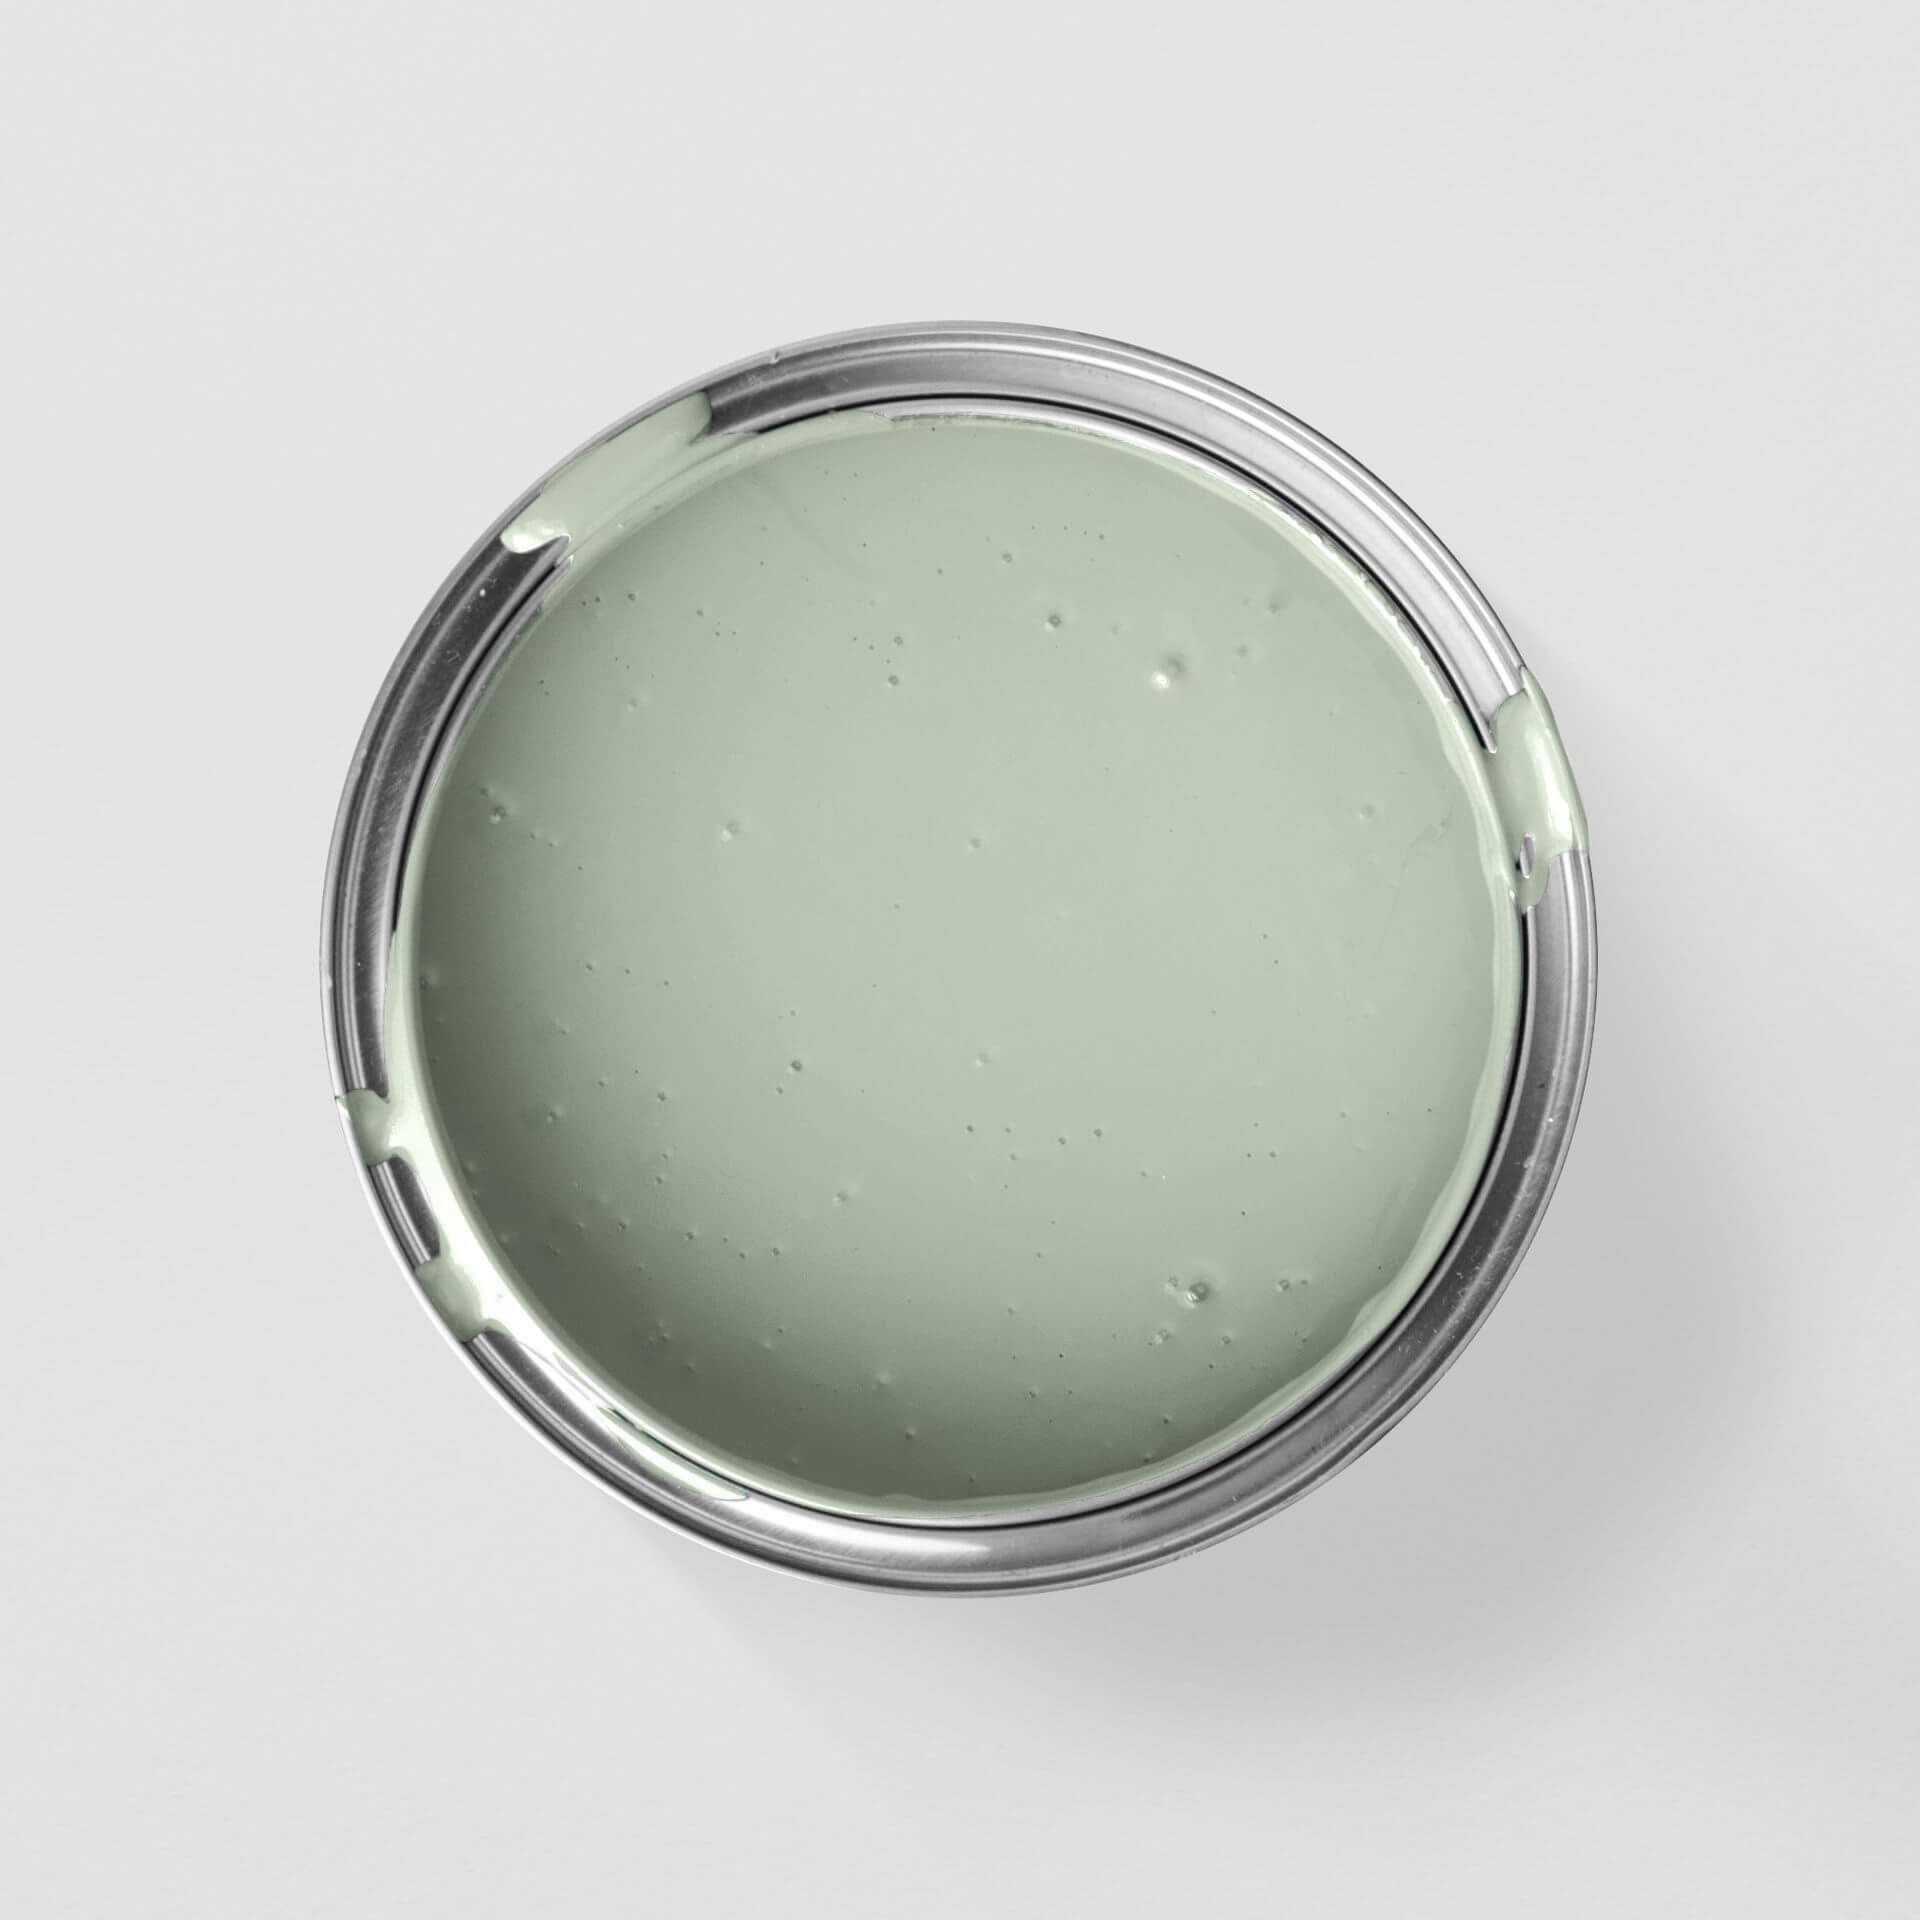
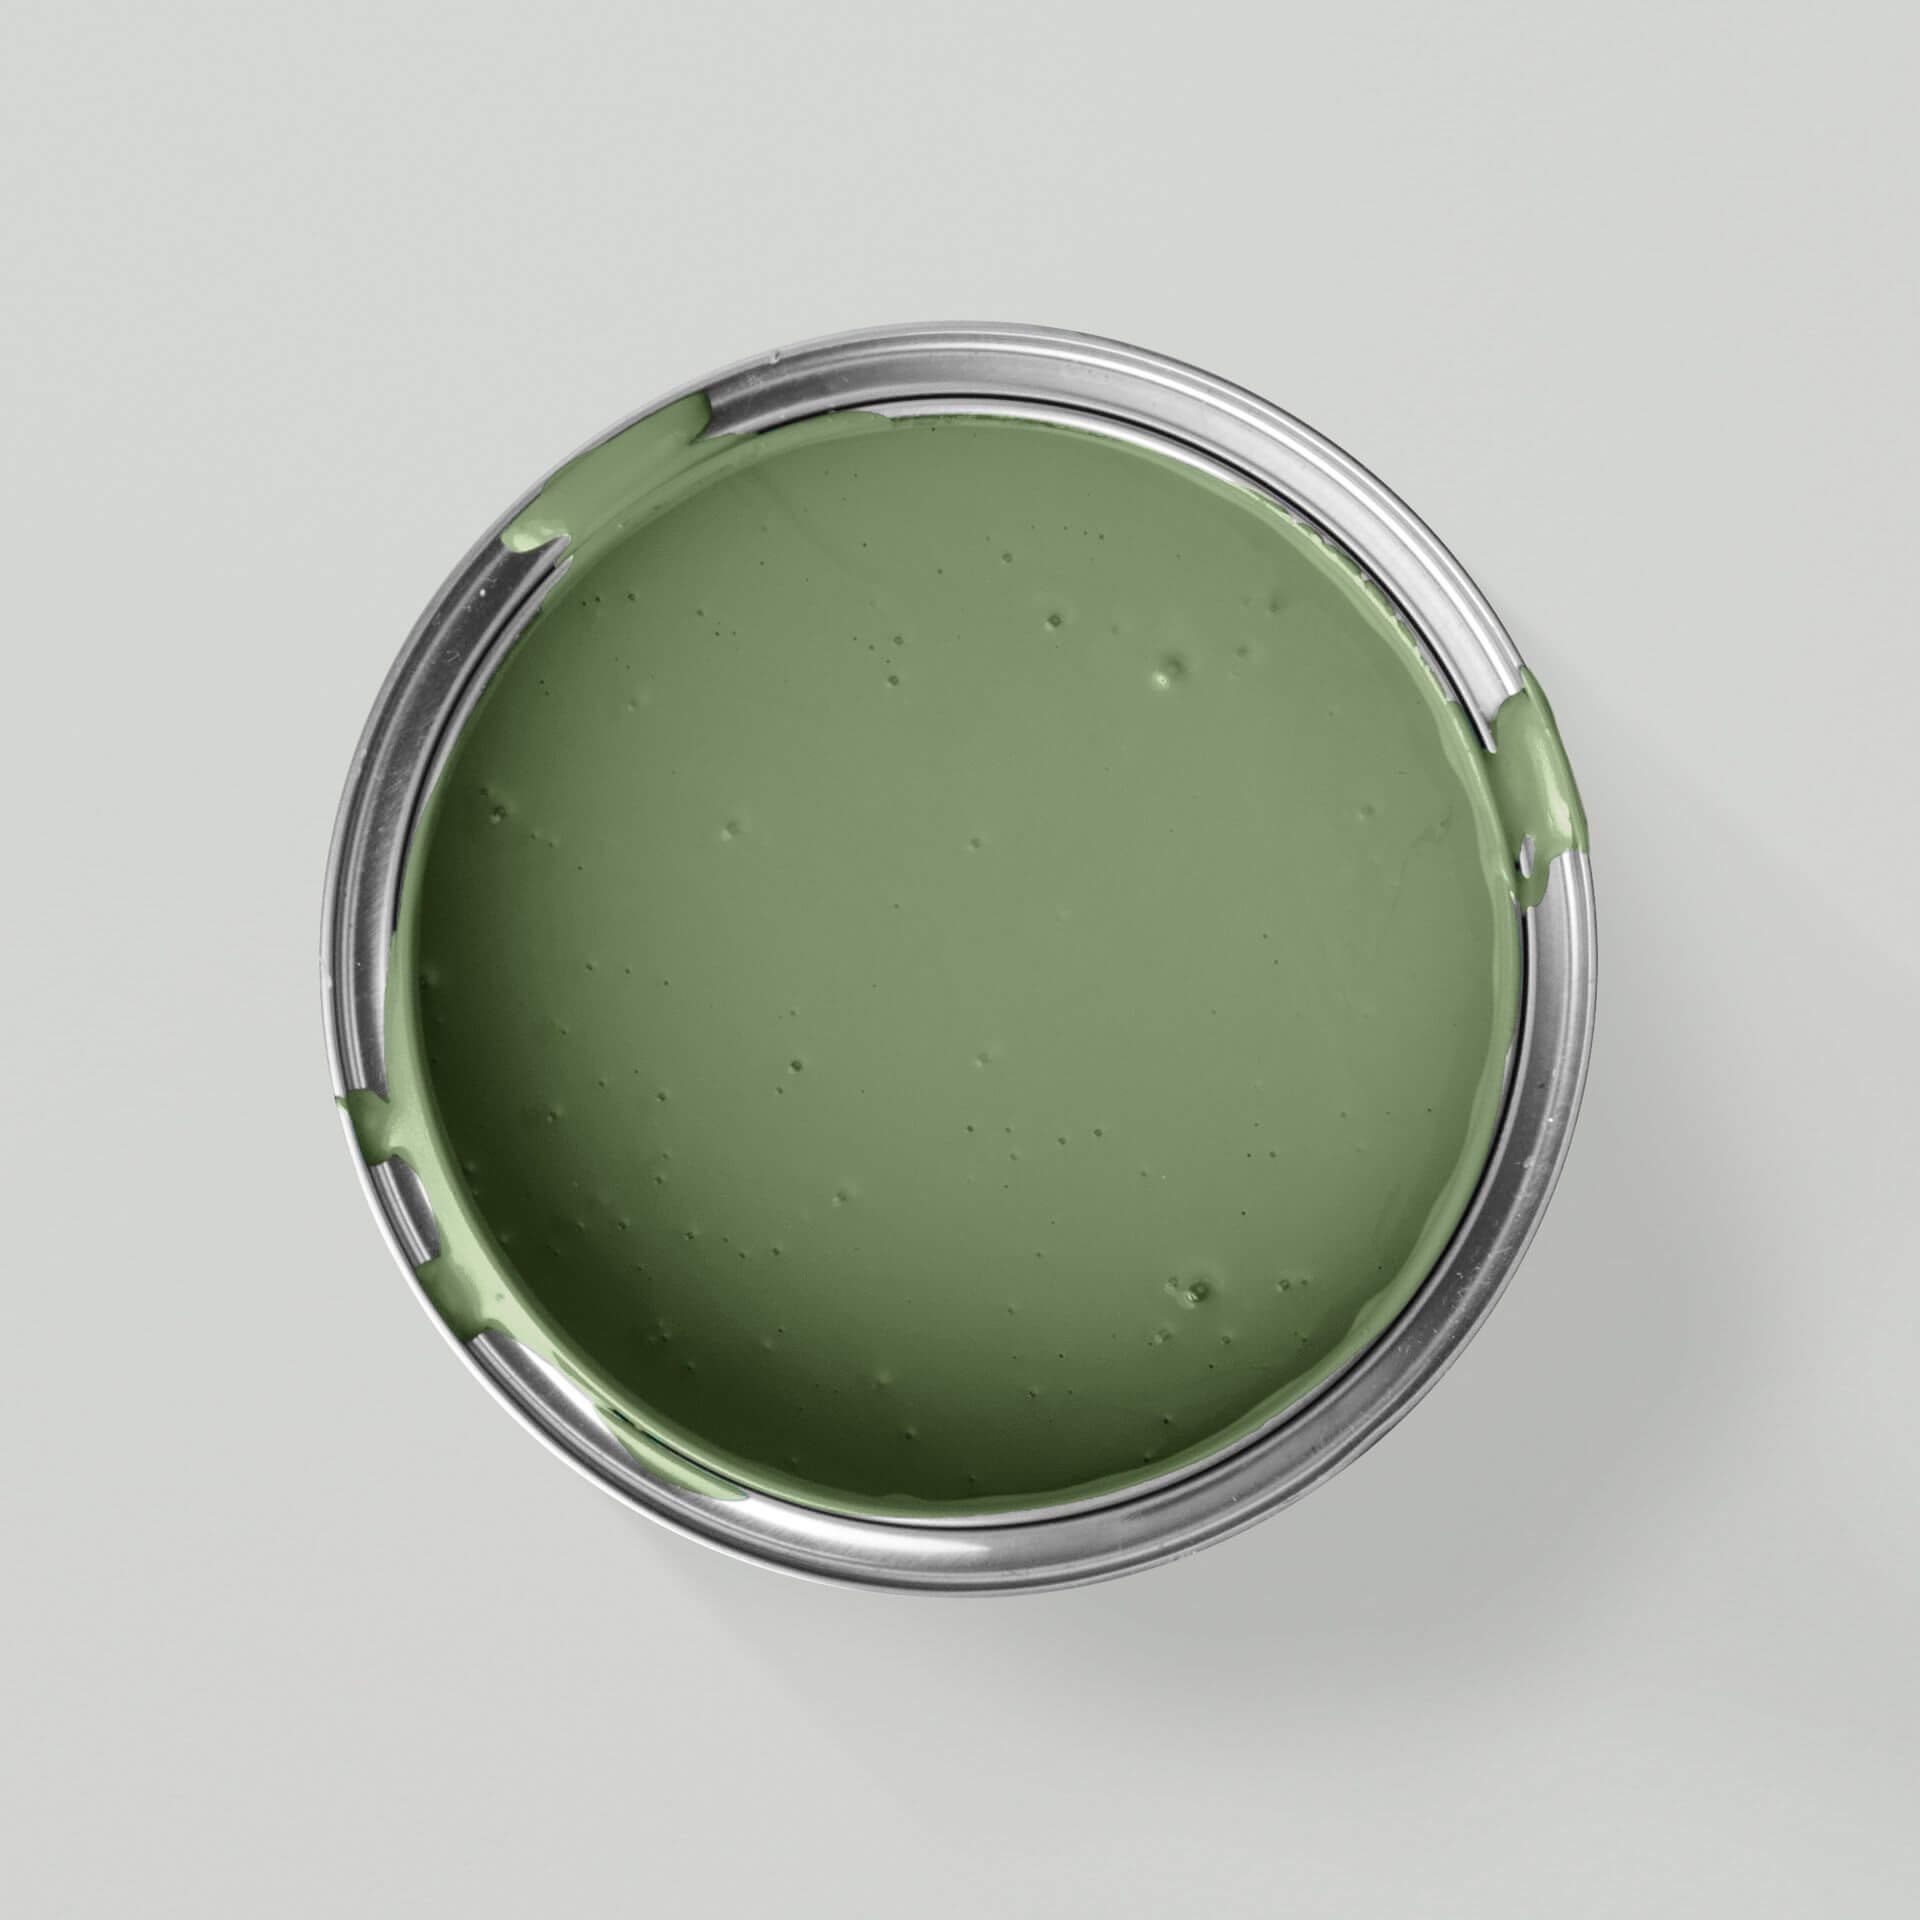
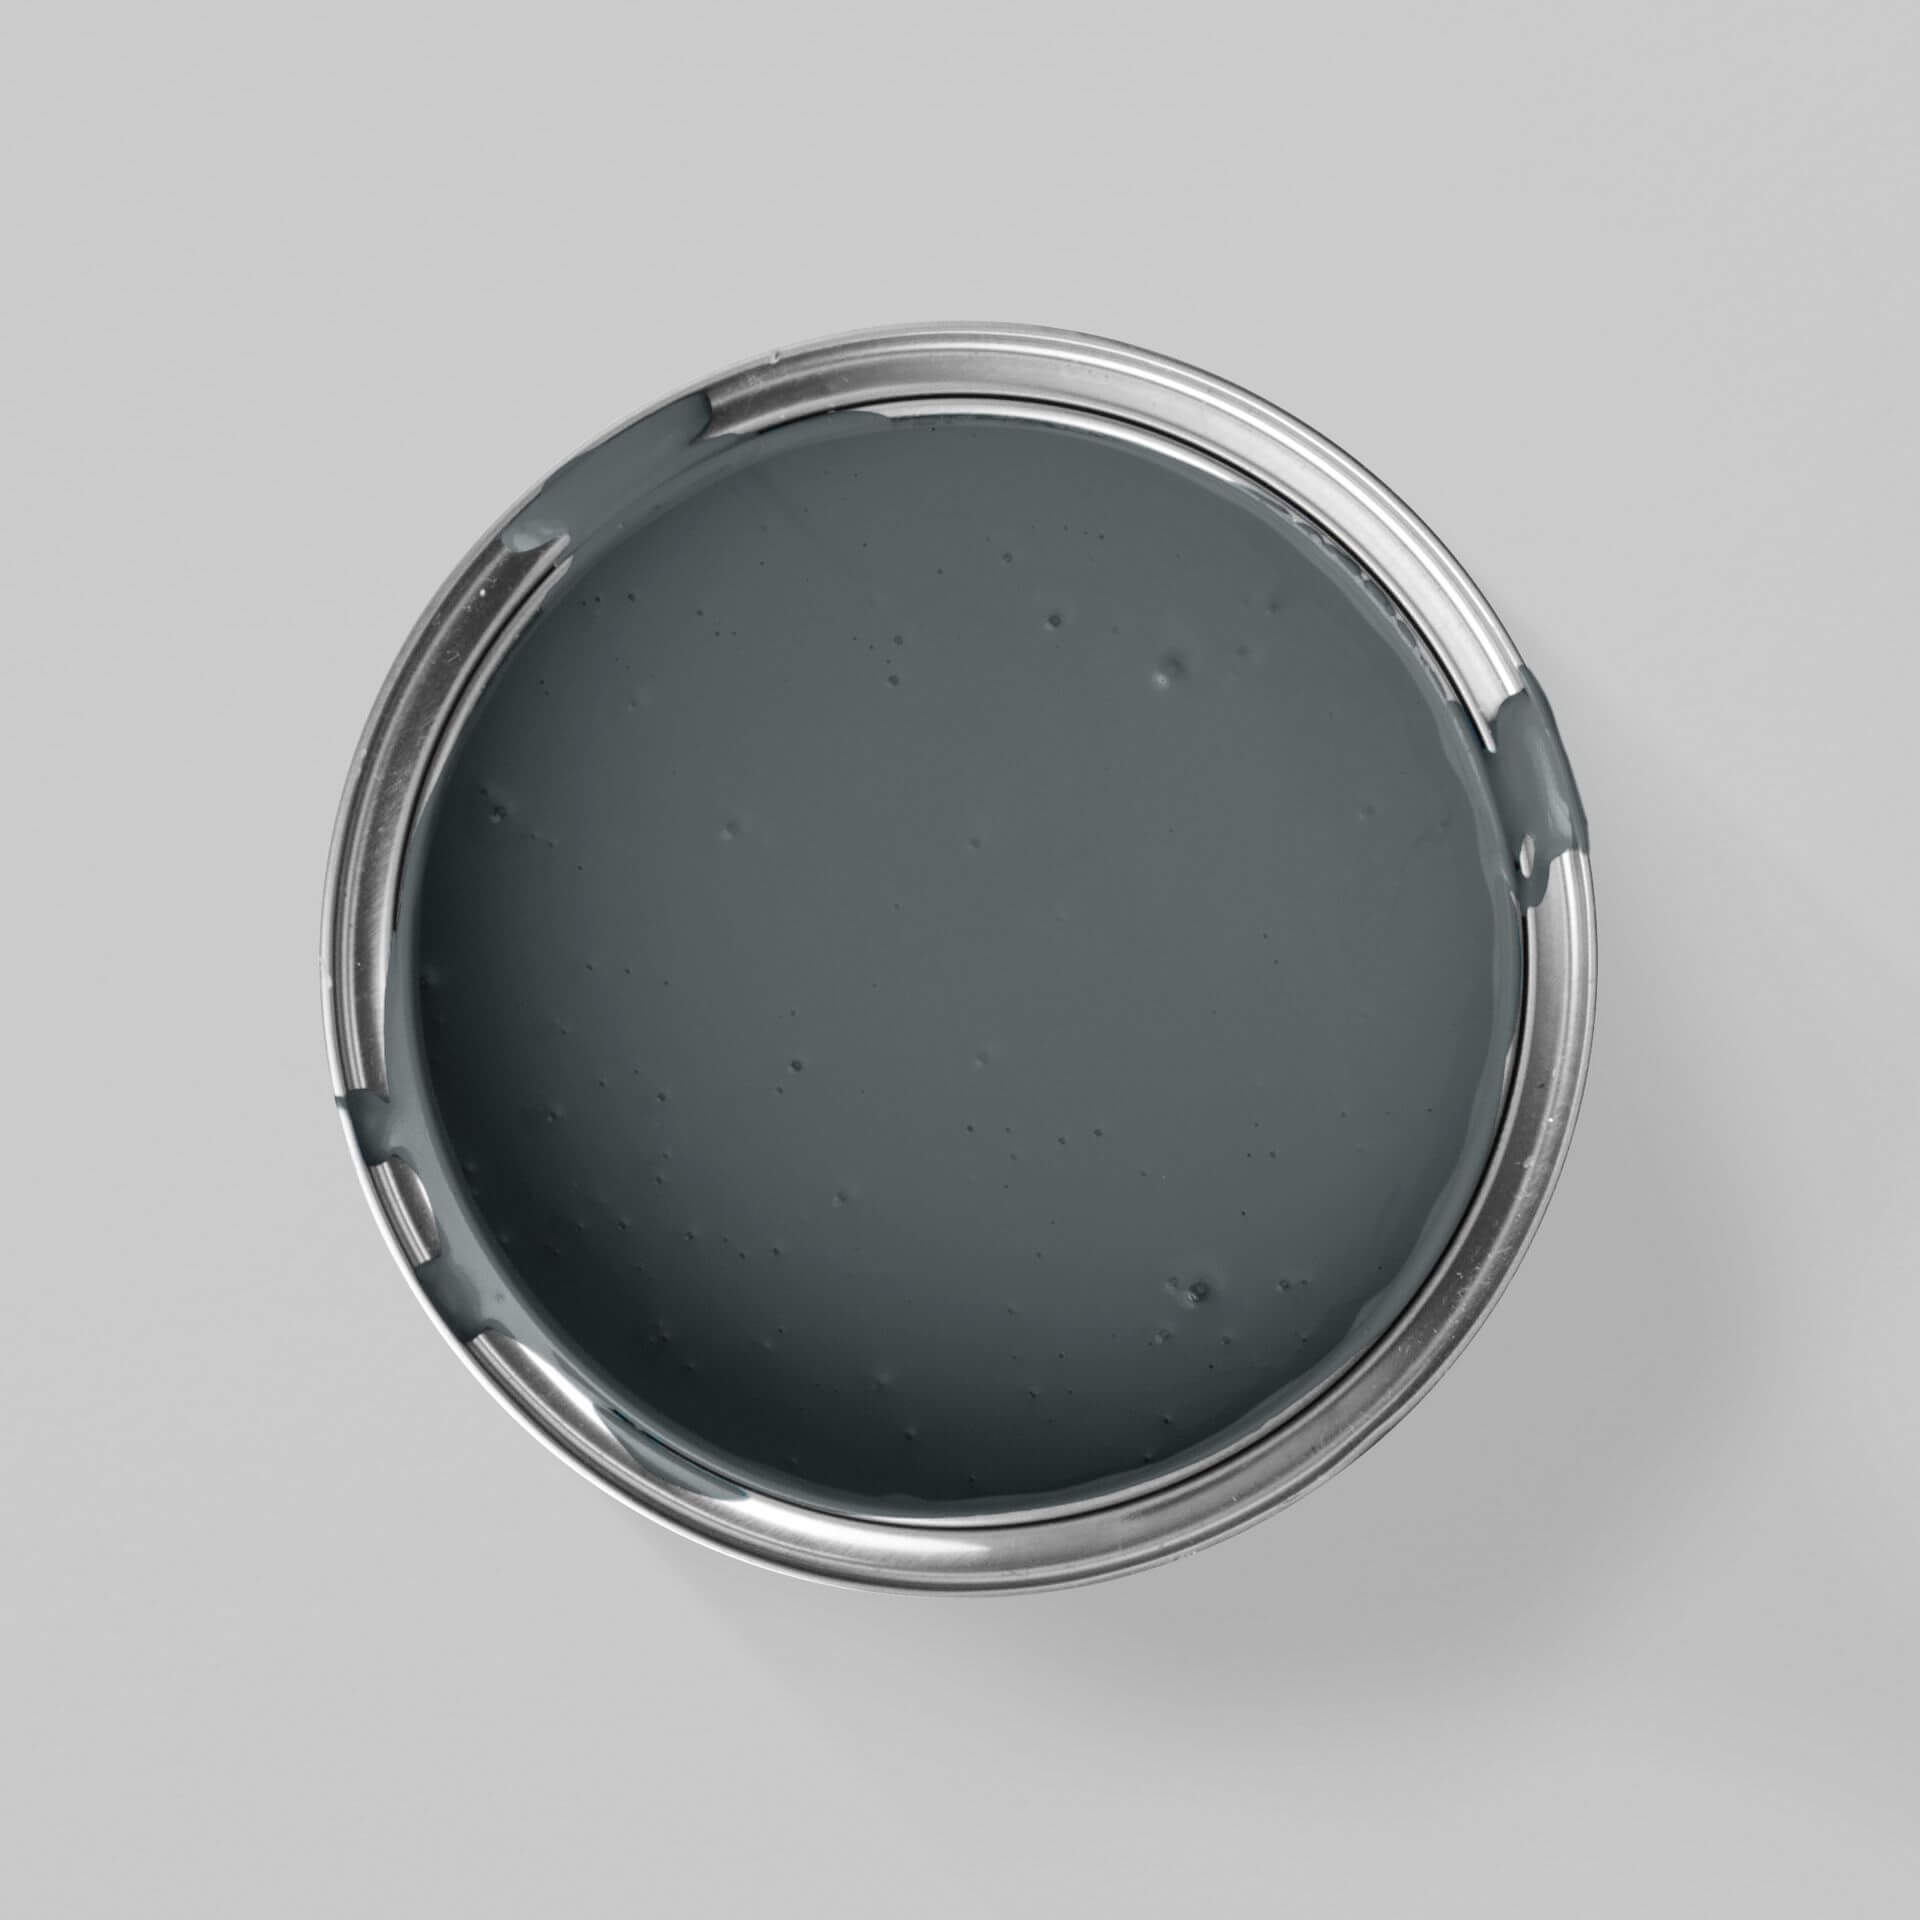
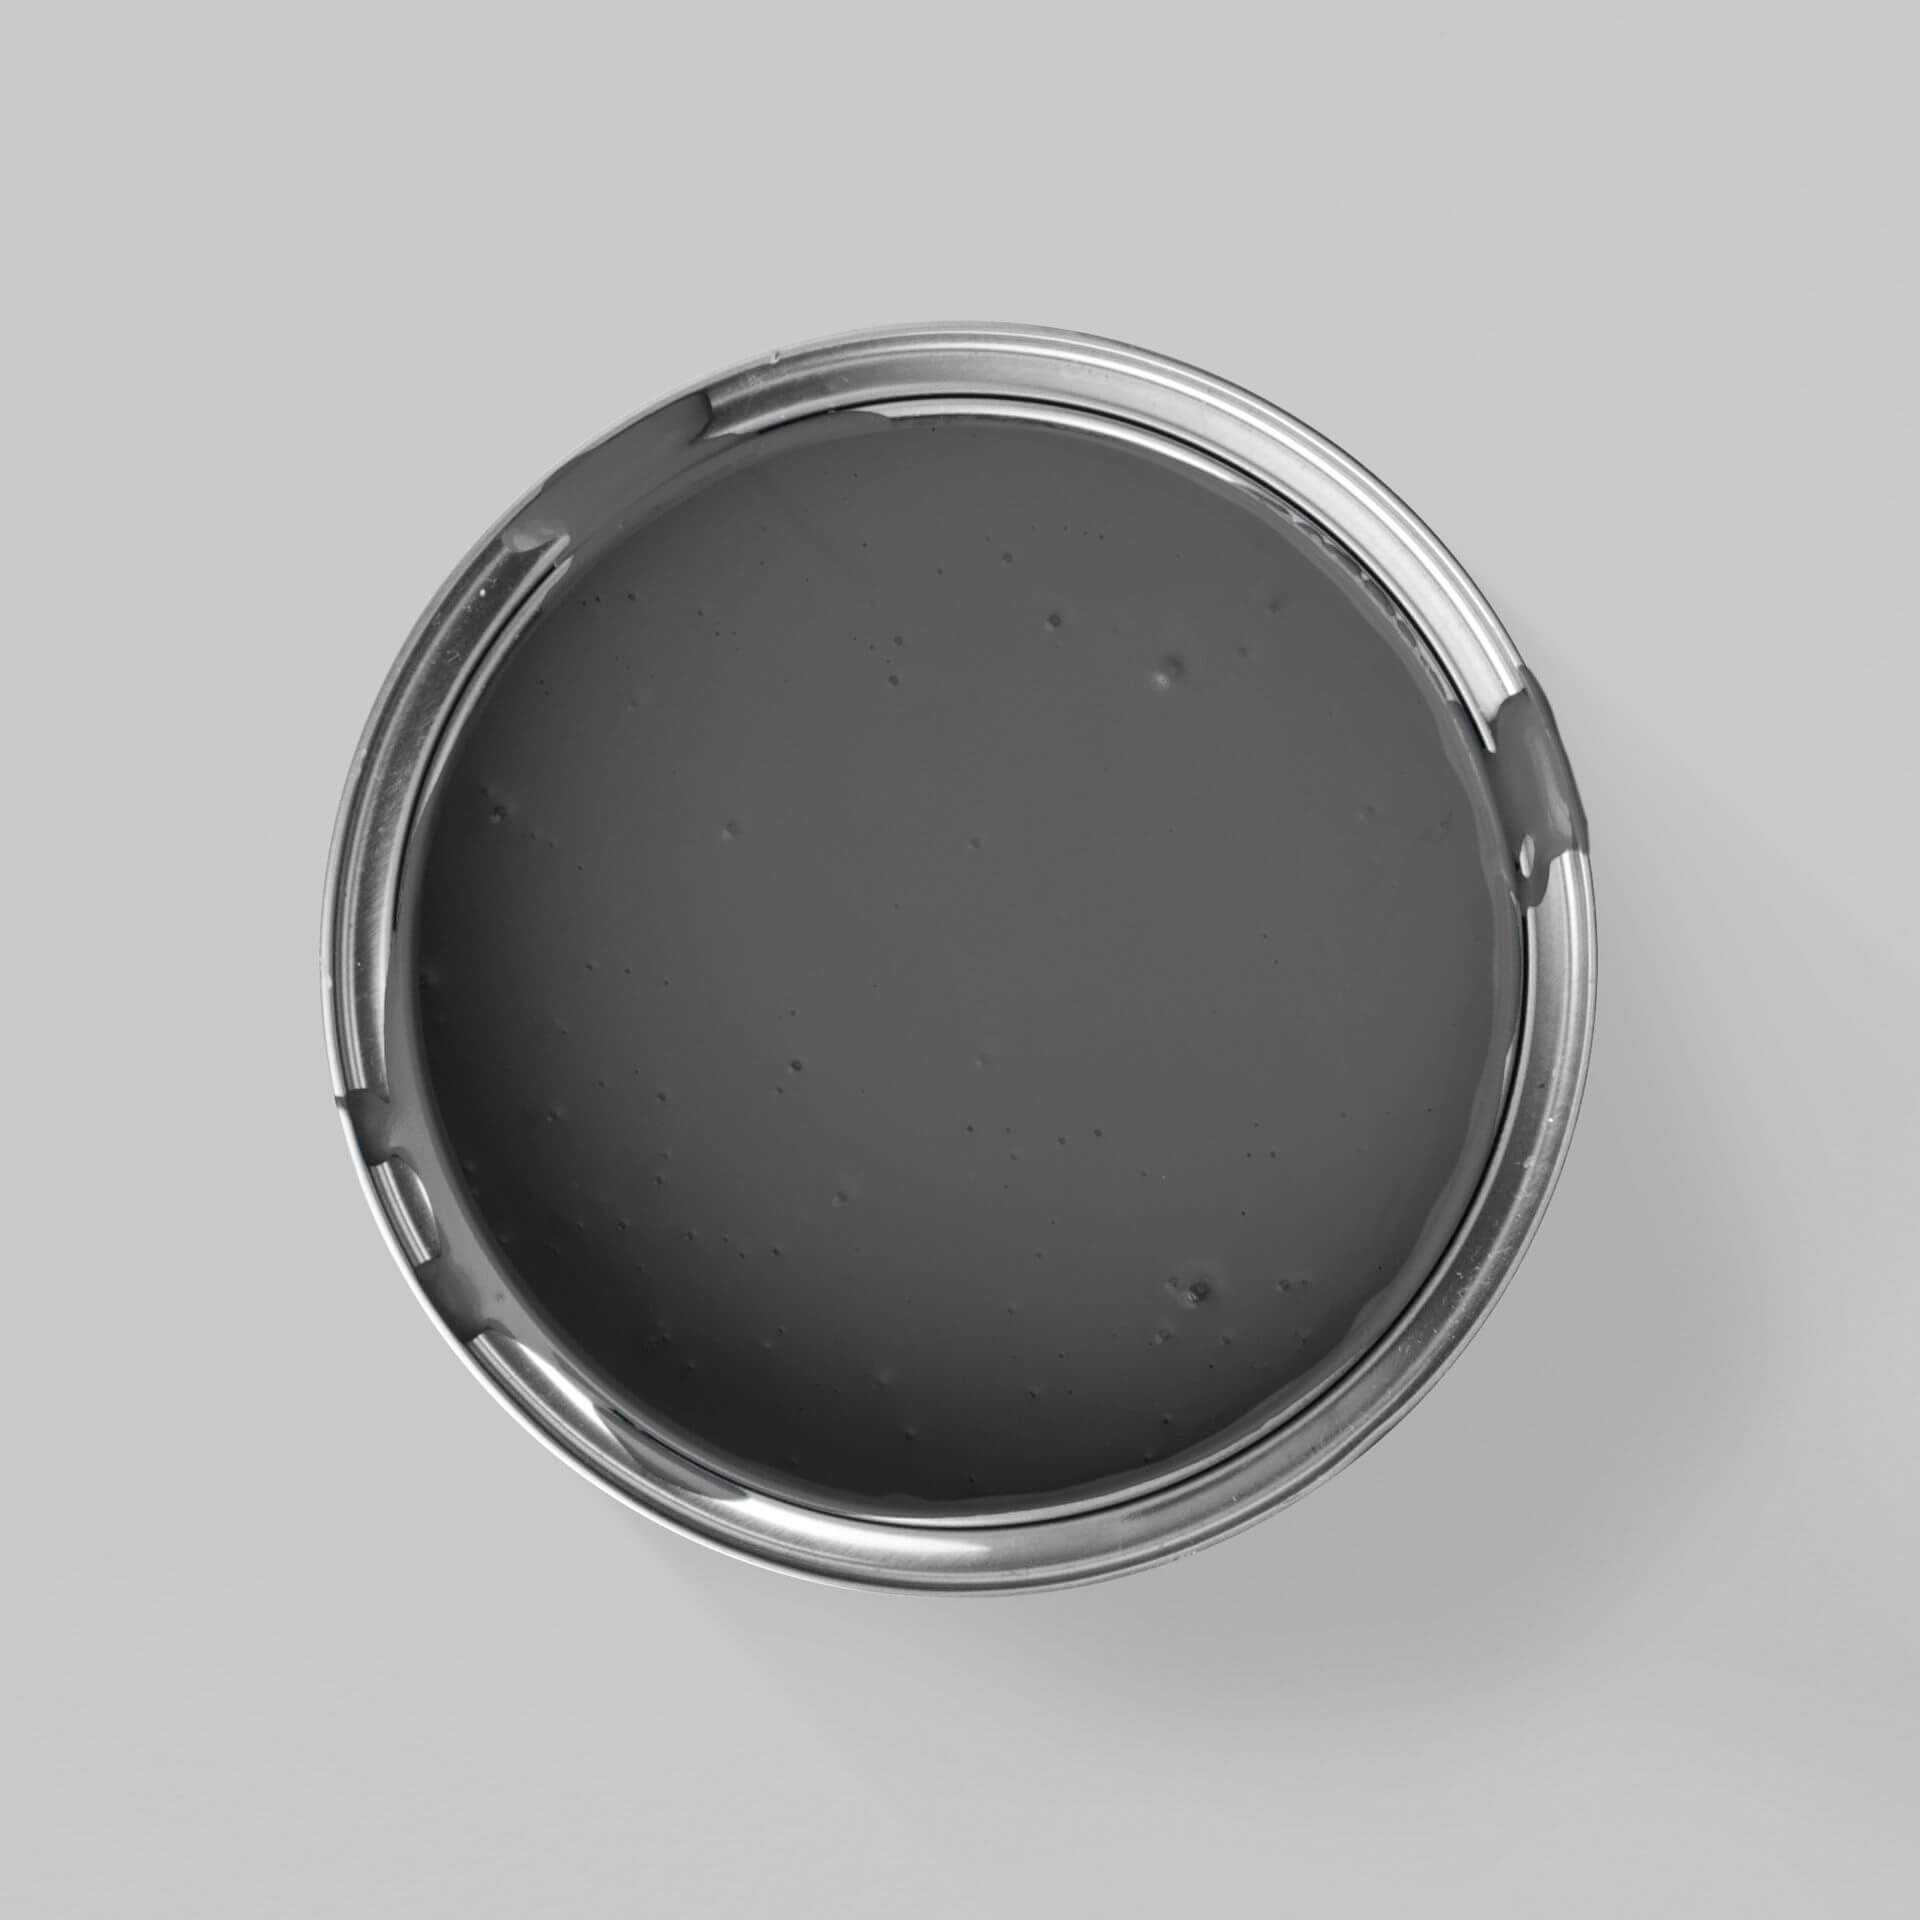
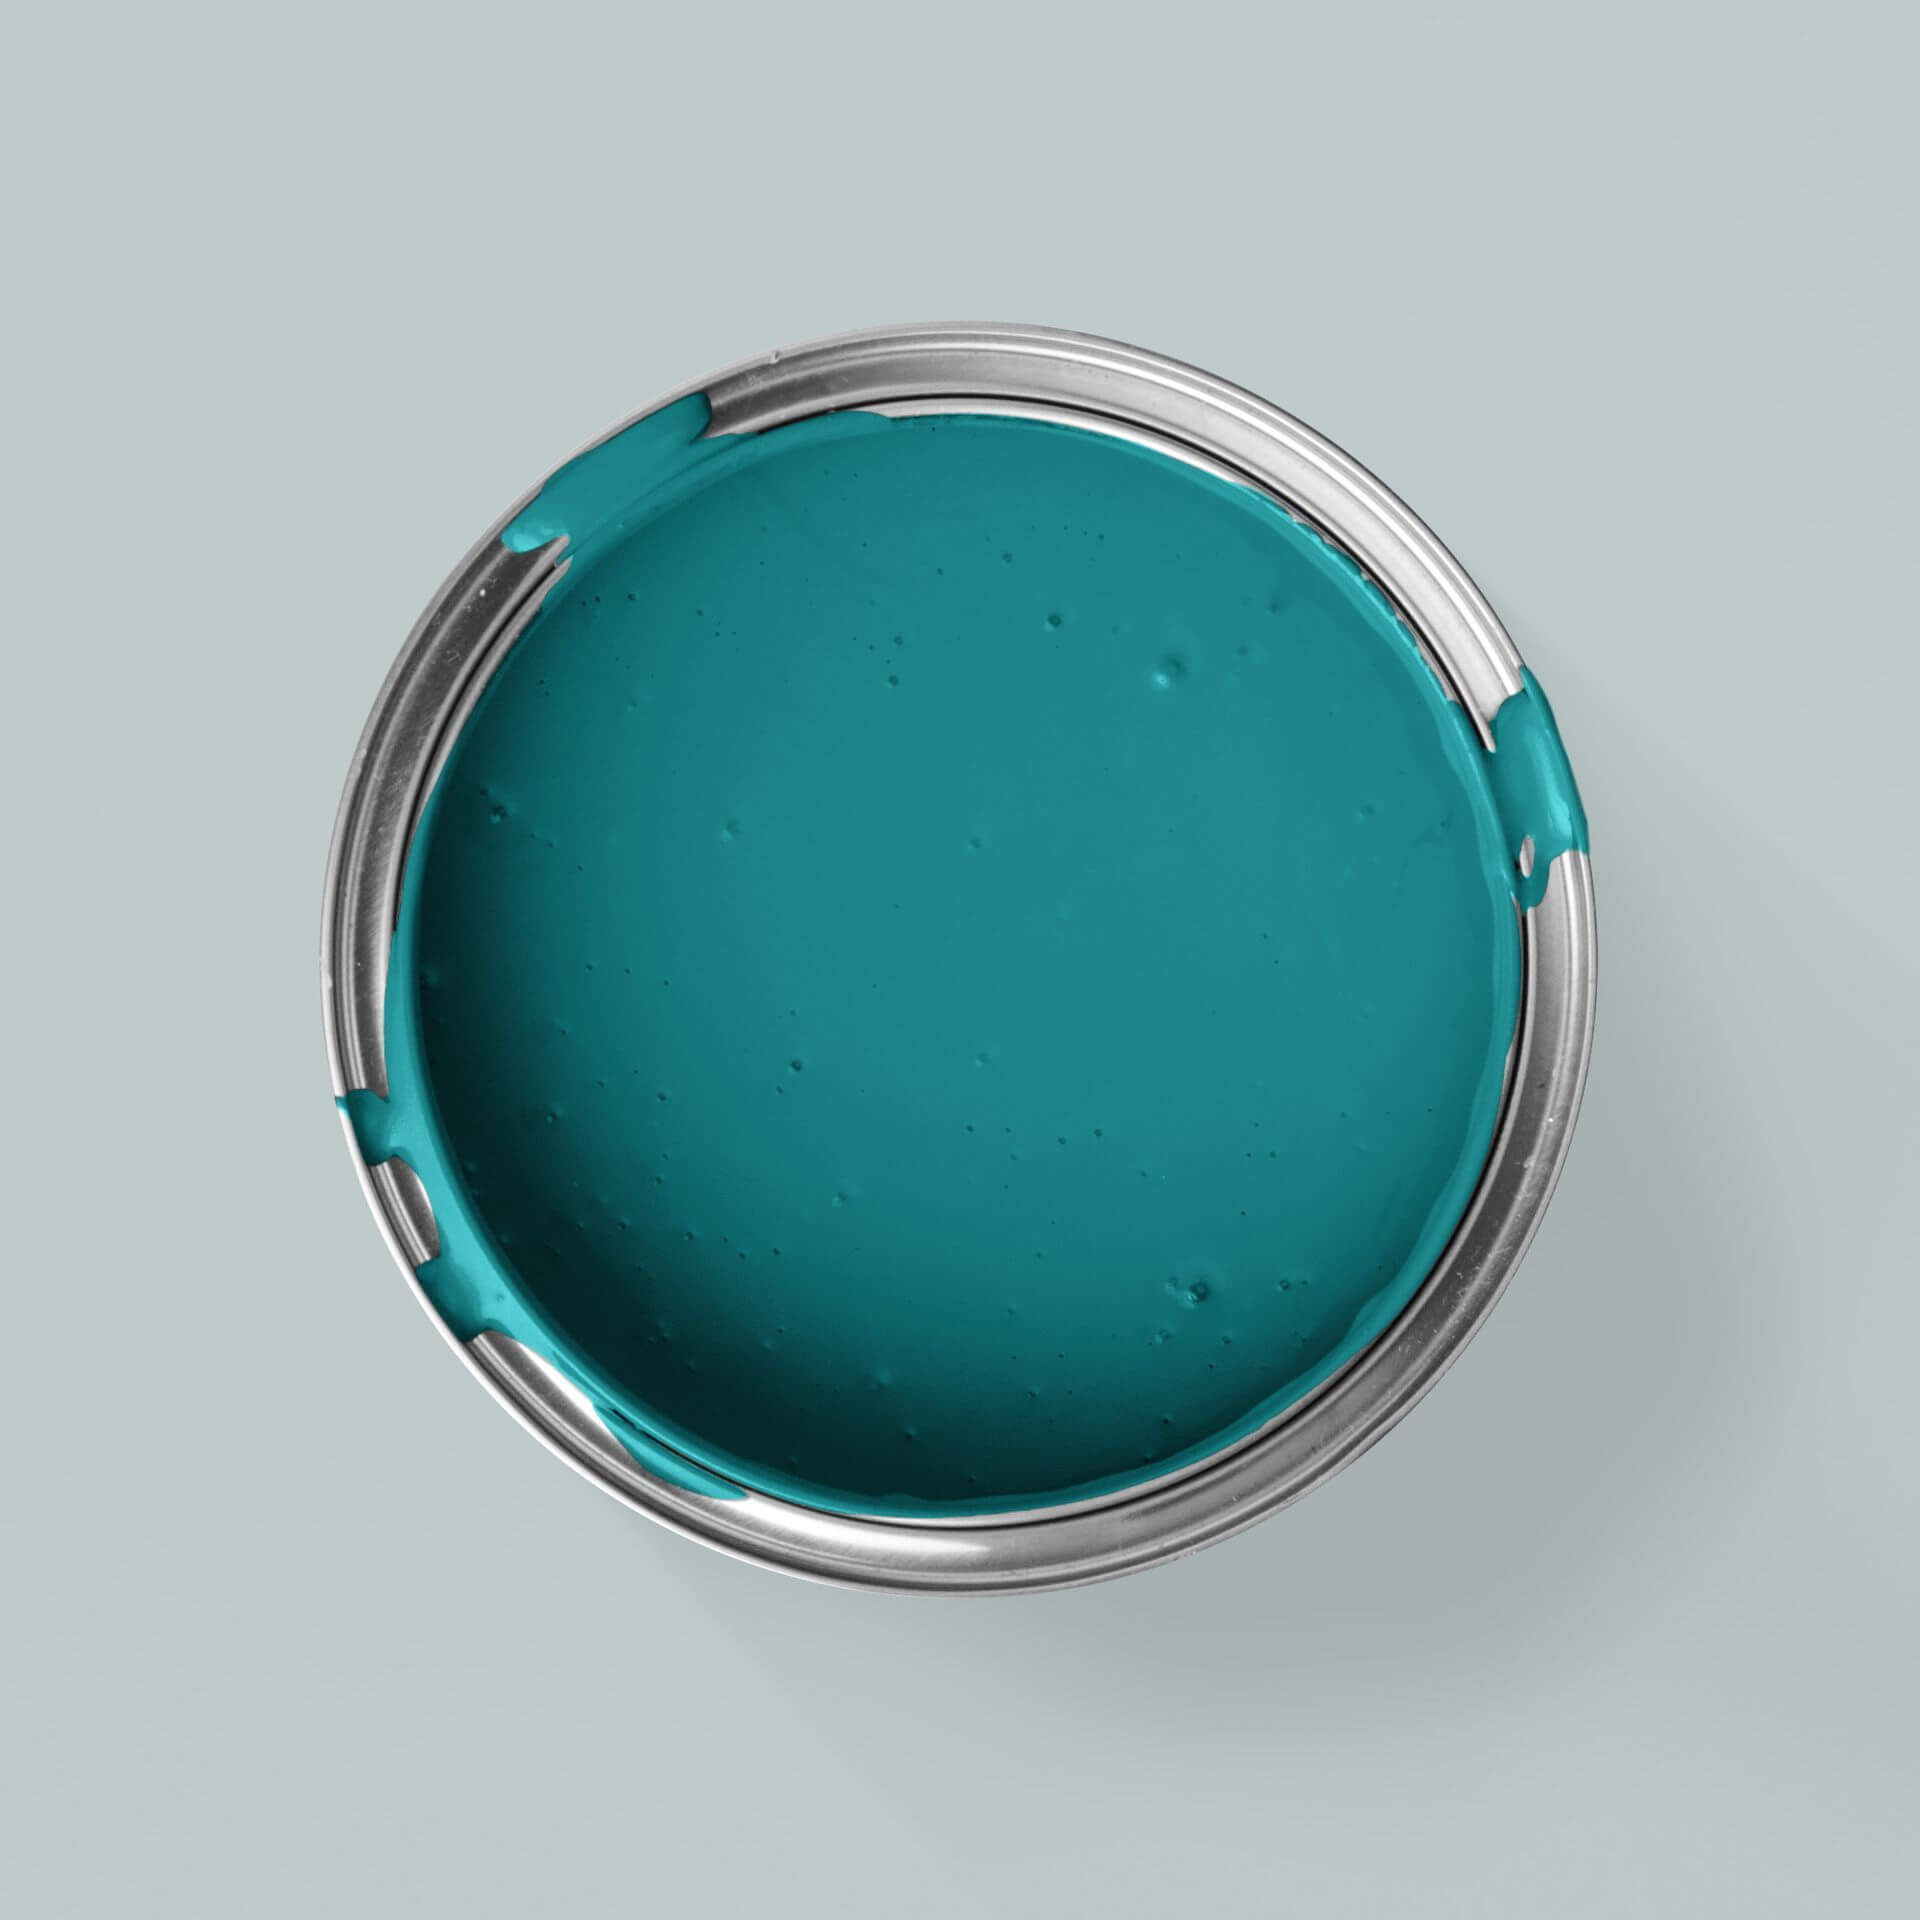
What do you think of a light, summery blue like MissPompadour Blue with Grey? Or would you prefer something a little stronger? Then take a look at MissPompadour Blue with Night. If you want garden furniture to hide in your greenery, go for MissPompadour Green with Forest. This sophisticated shade of green comes straight from nature. It looks classic and natural at the same time. There are no limits to your creativity when painting garden chairs or garden table. Let yourself be inspired by our outdoor colours - one colour is more beautiful than the other. And next year you might already have a new colour idea!
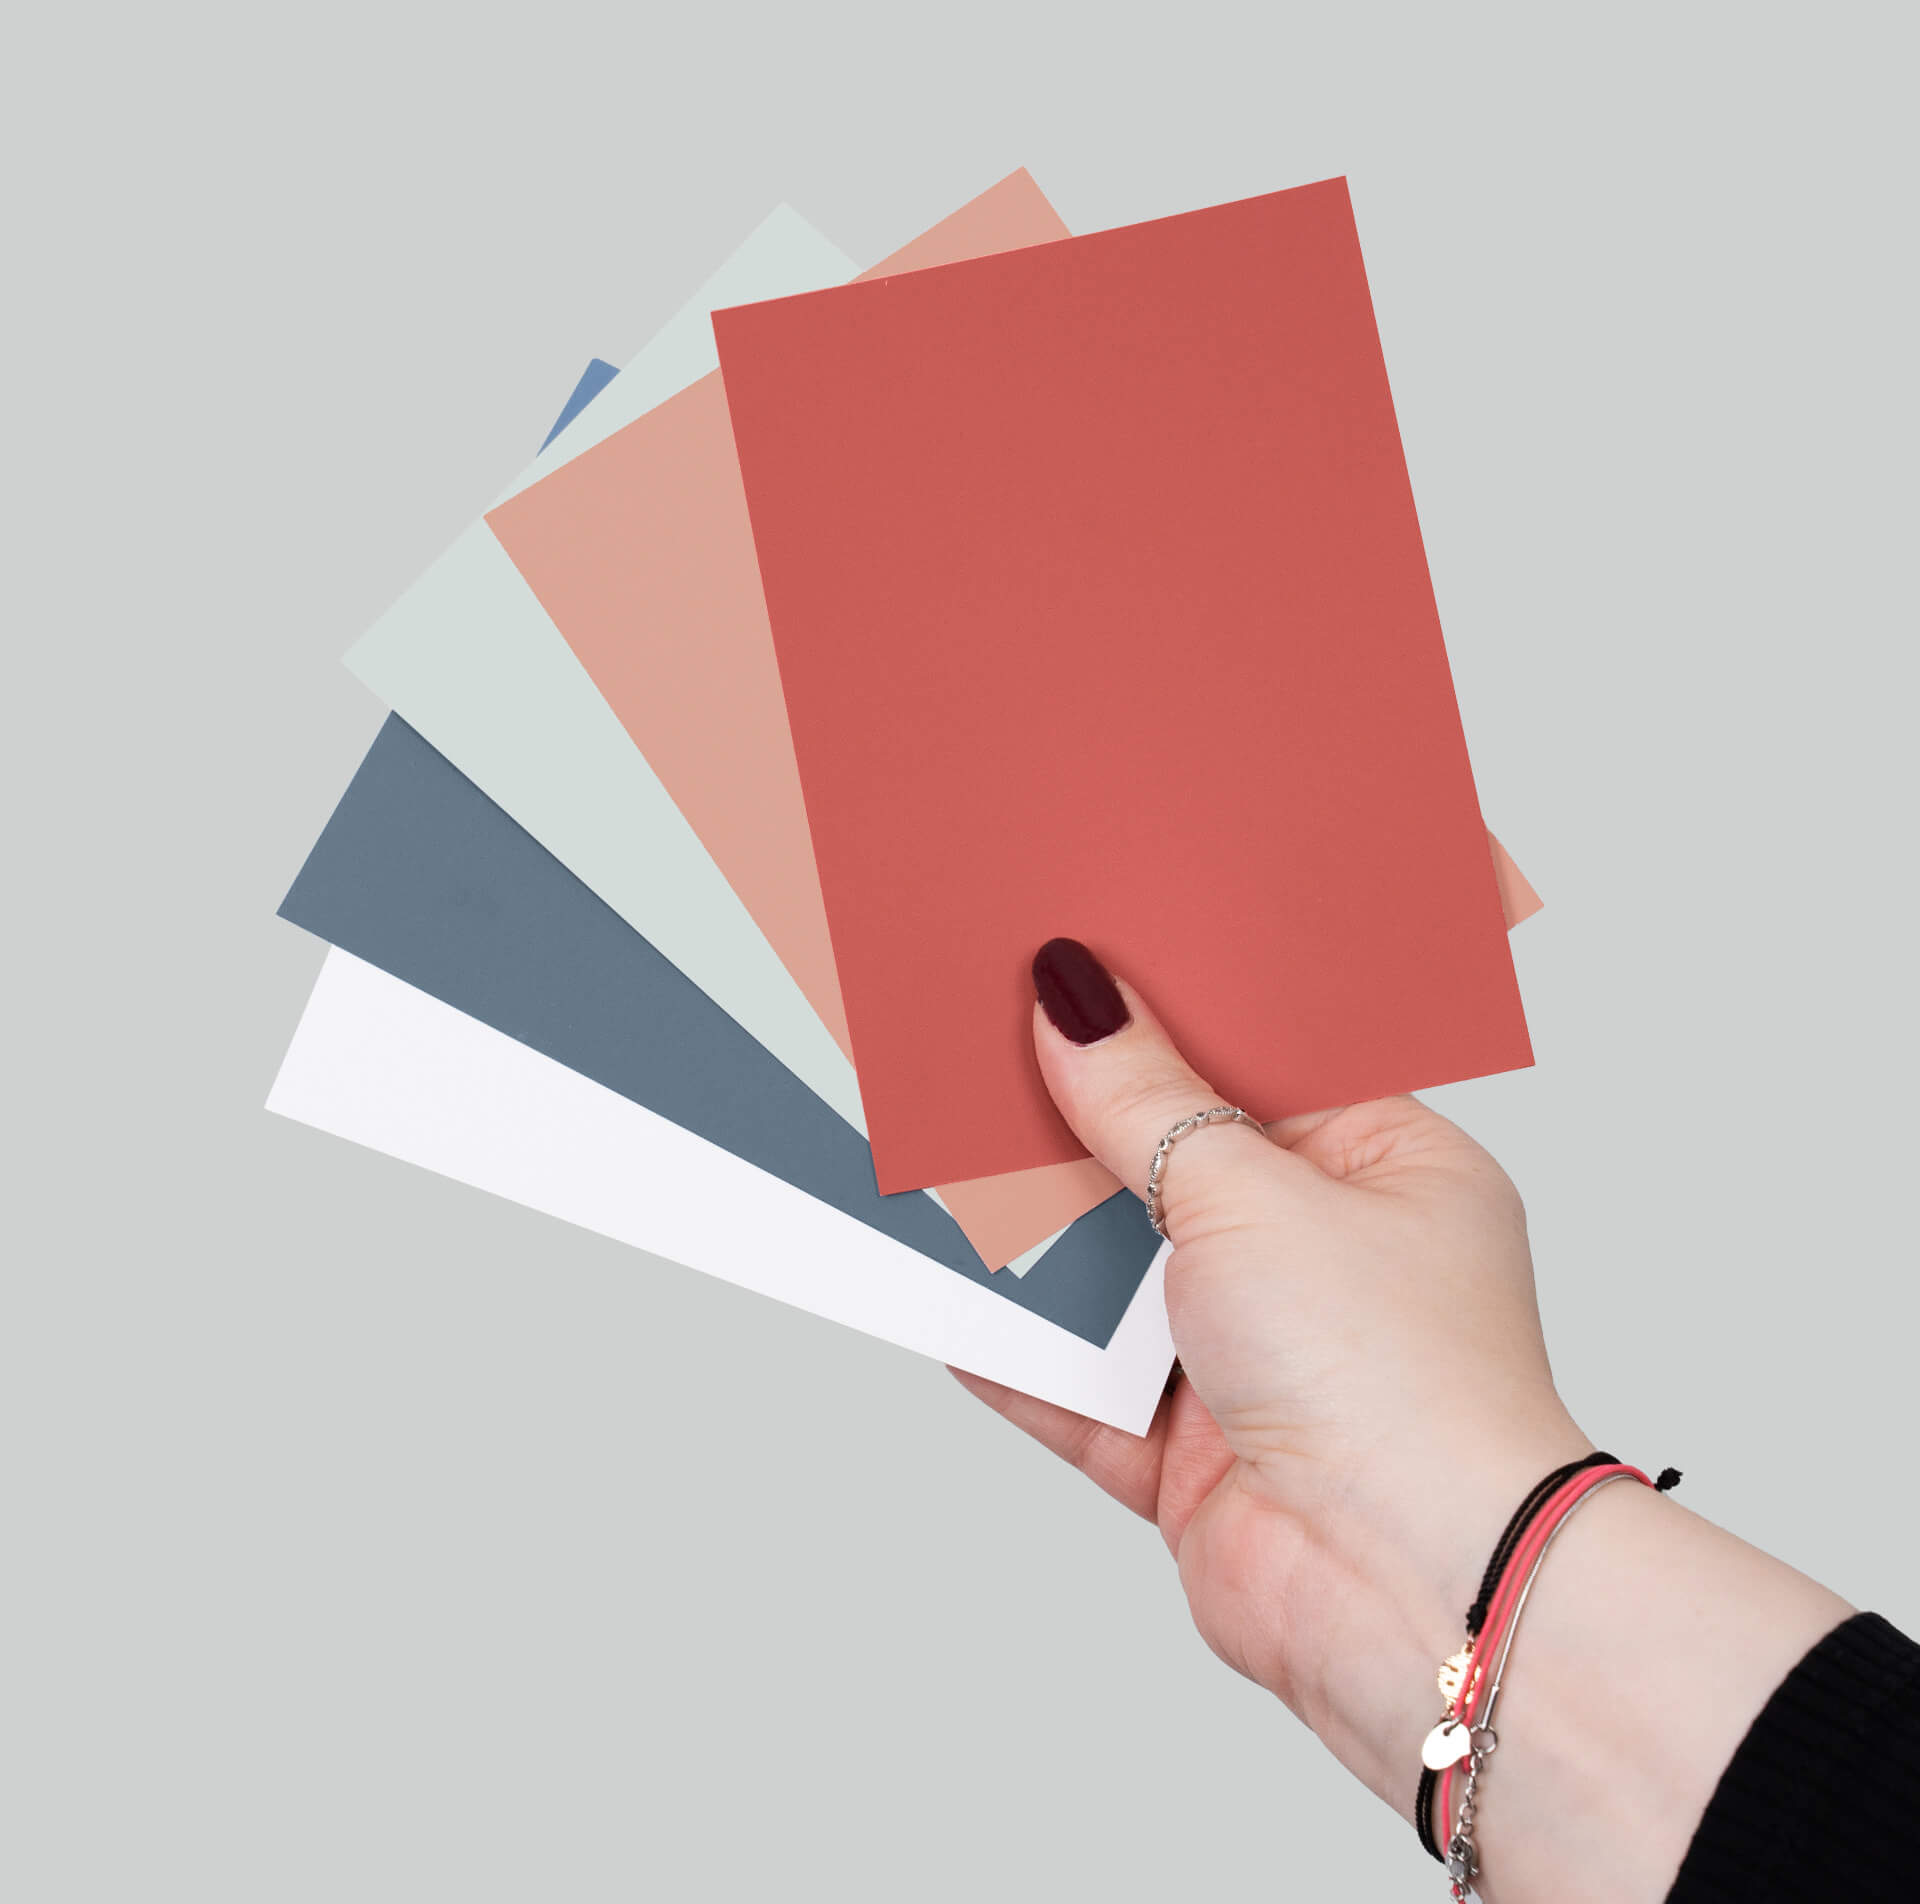
Preparation: How to choose the right colour for your garden furniture
Colours and varnishes: You can paint your wooden furniture with a variety of colours from our collections. The water- and eco-based MissPompadour Eggshell Varnish is also perfect for outdoors. Whether wood, metal or plastic, it's no problem. In order for the paint to last as long as possible, the garden furniture painted with it should be placed protected from rain.
Which garden furniture do you want to paint?
Which material do you want to paint?
Please note: Even the best varnish does not turn indoor furniture into weatherproof garden furniture. The former lack constructive wood protection. Many pieces of indoor furniture are made of wood laminates that swell in damp conditions.
Which varnishes are suitable?
The first choice for painting your garden furniture is a very stable and weather-resistant varnish, such as our subtly glossy, silk-matt MissPompadour Eggshell Varnish. It is available in many great colours. So you can customise your furniture just the way you want it.
Painting garden furniture the right way: Instructions from MissPompadour
Before painting
Step 1: Remove the varnish
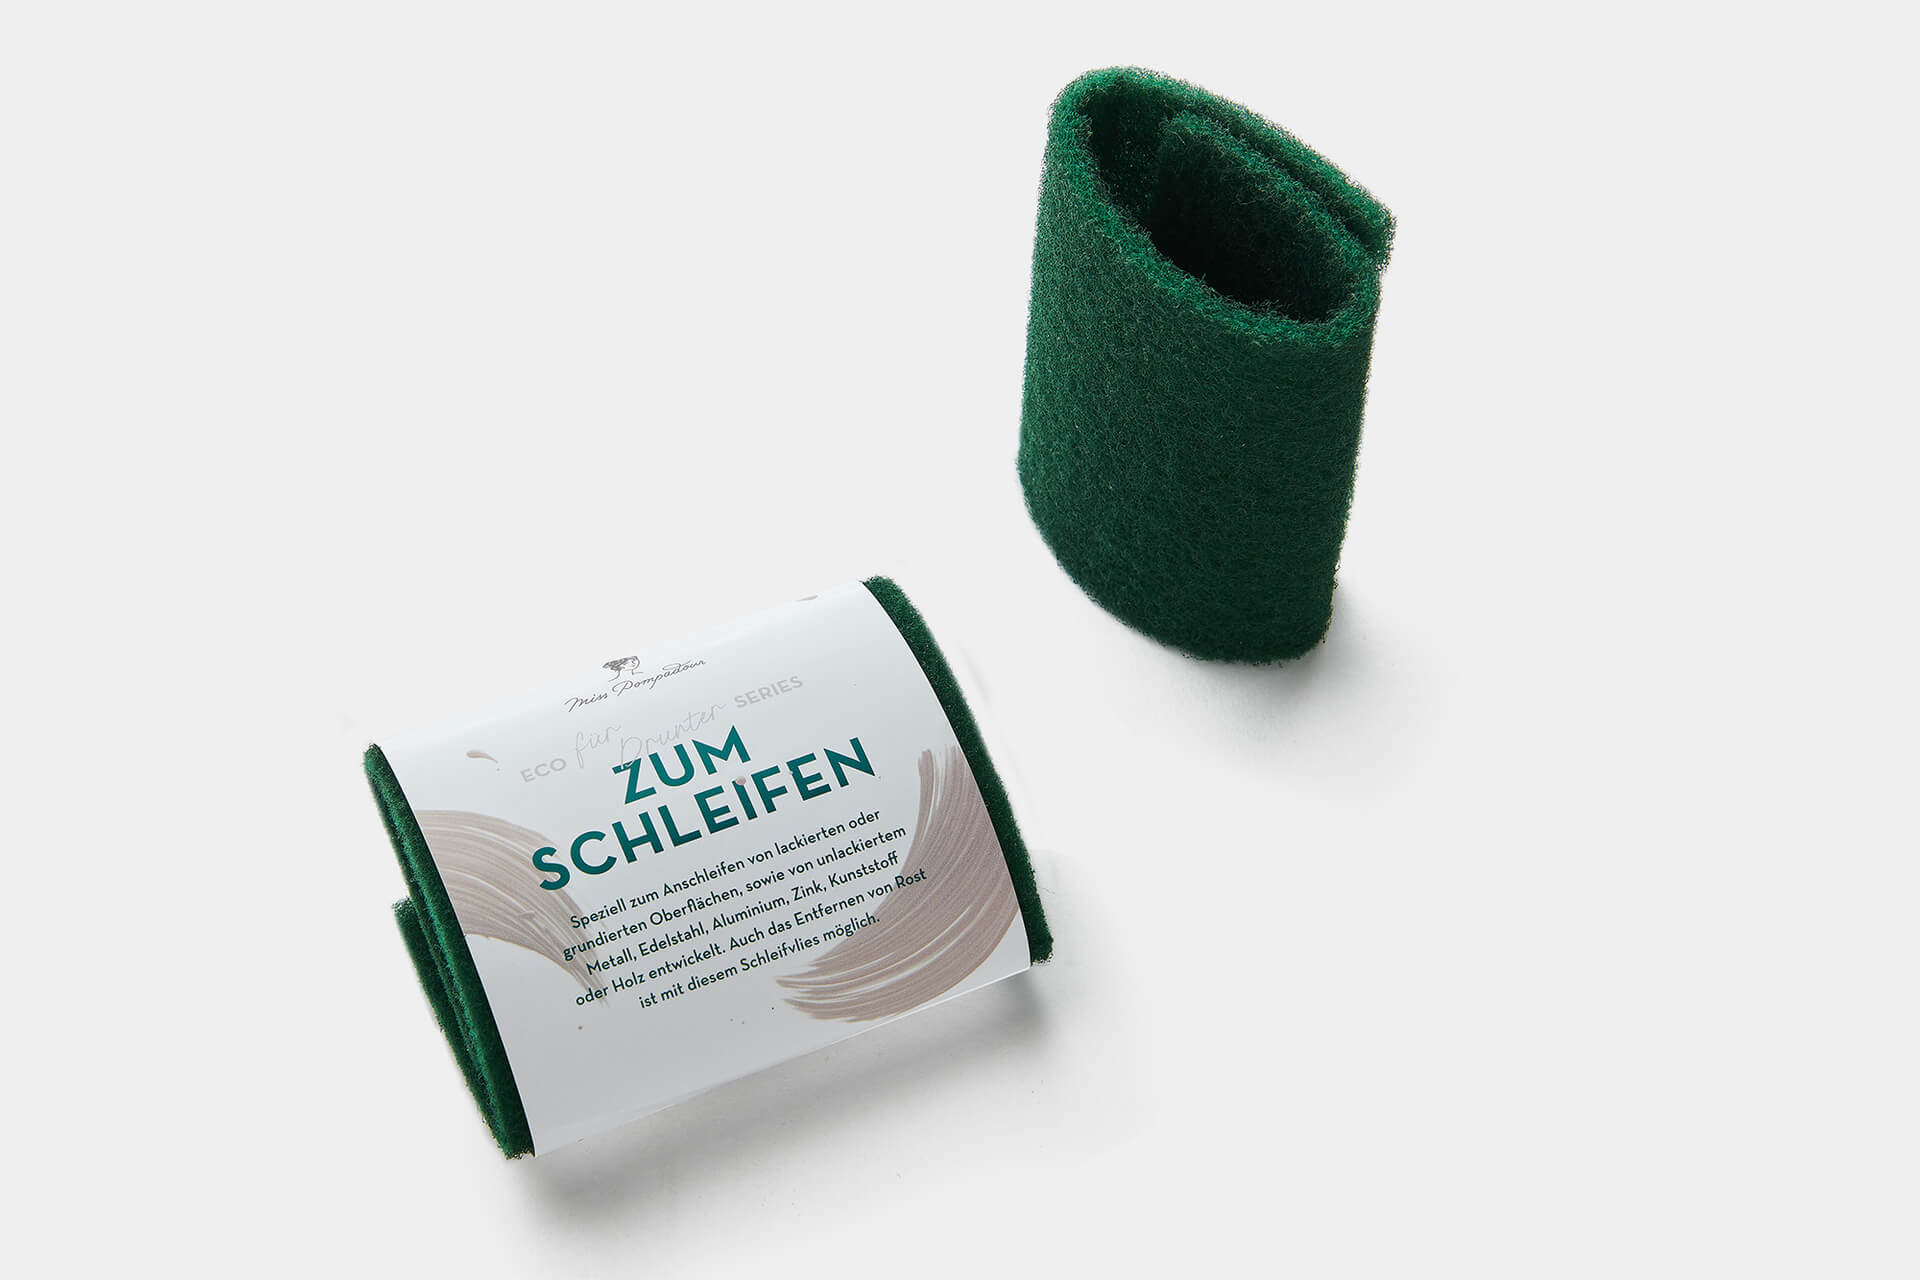
Painting garden furniture without sanding - is that possible? Yes! However, it must be ensured that the old varnish still adheres very well to your furniture. If it starts to flake off, you should definitely remove it. Do minor sanding work with medium-grit sandpaper or our Sanding Pad To Sand. For stubborn varnishes or large areas, use an electric sander. You can find out more about this in our "How to remove old paint".Step 2: Filling
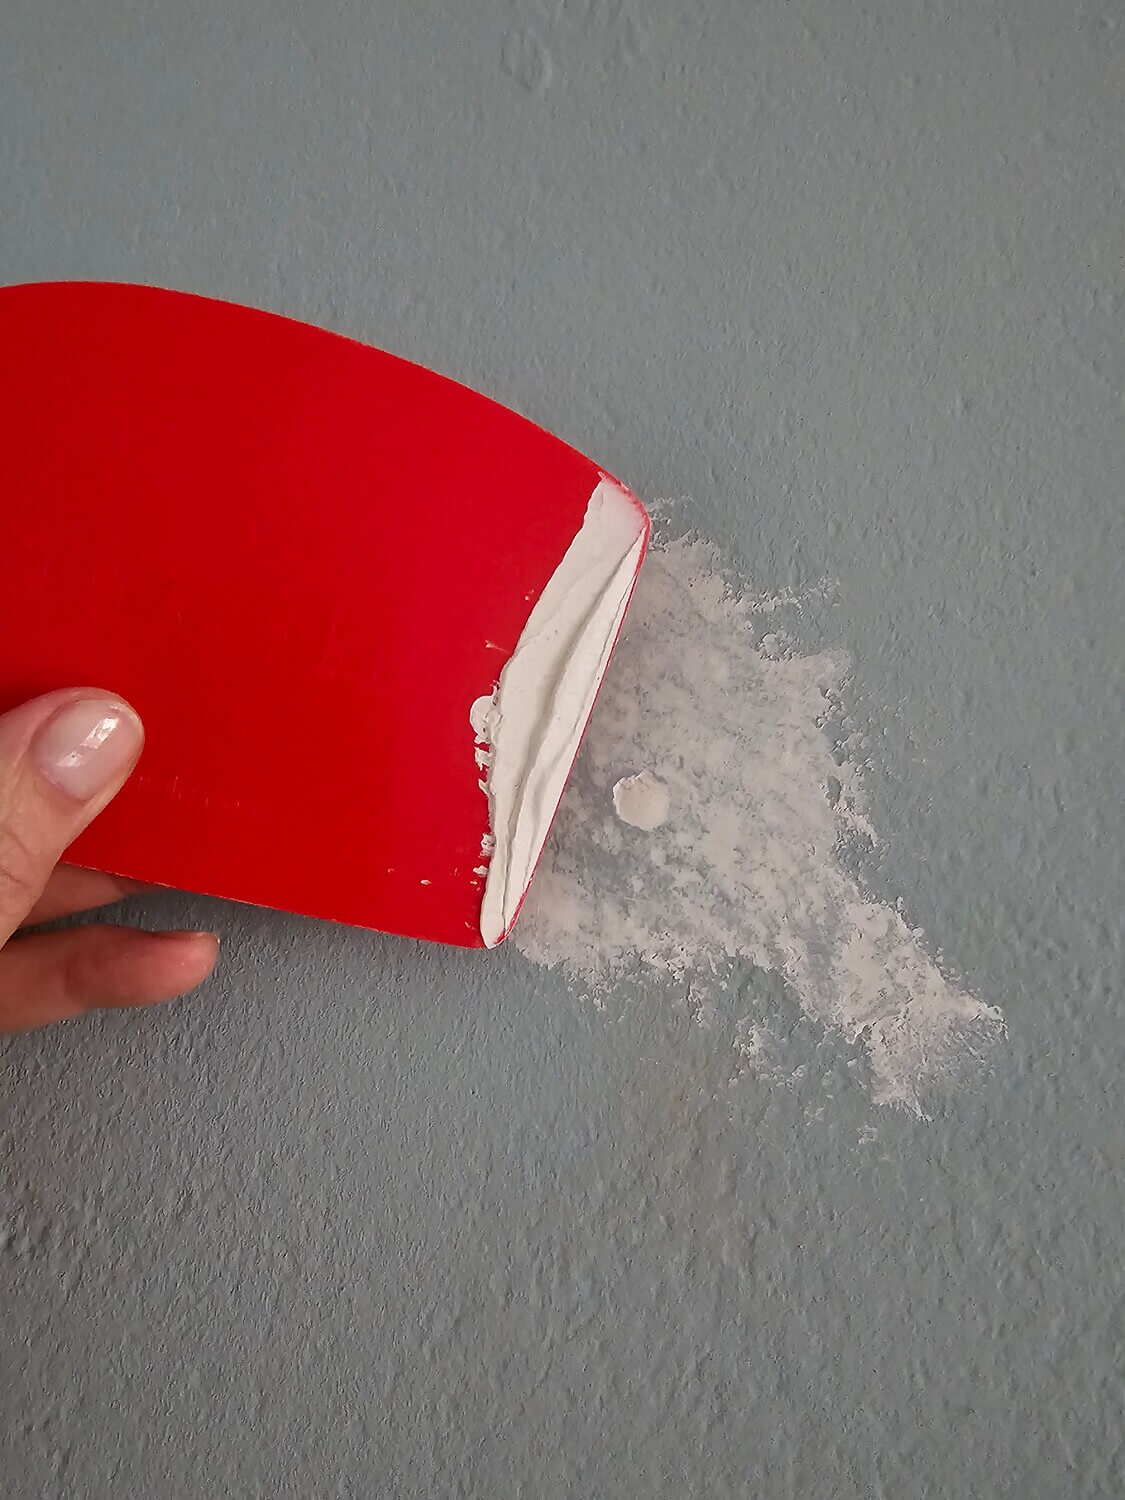
Easily repair larger imperfections with To Fill. After the filler has dried, sand the surface smooth.Step 3: Cleaning
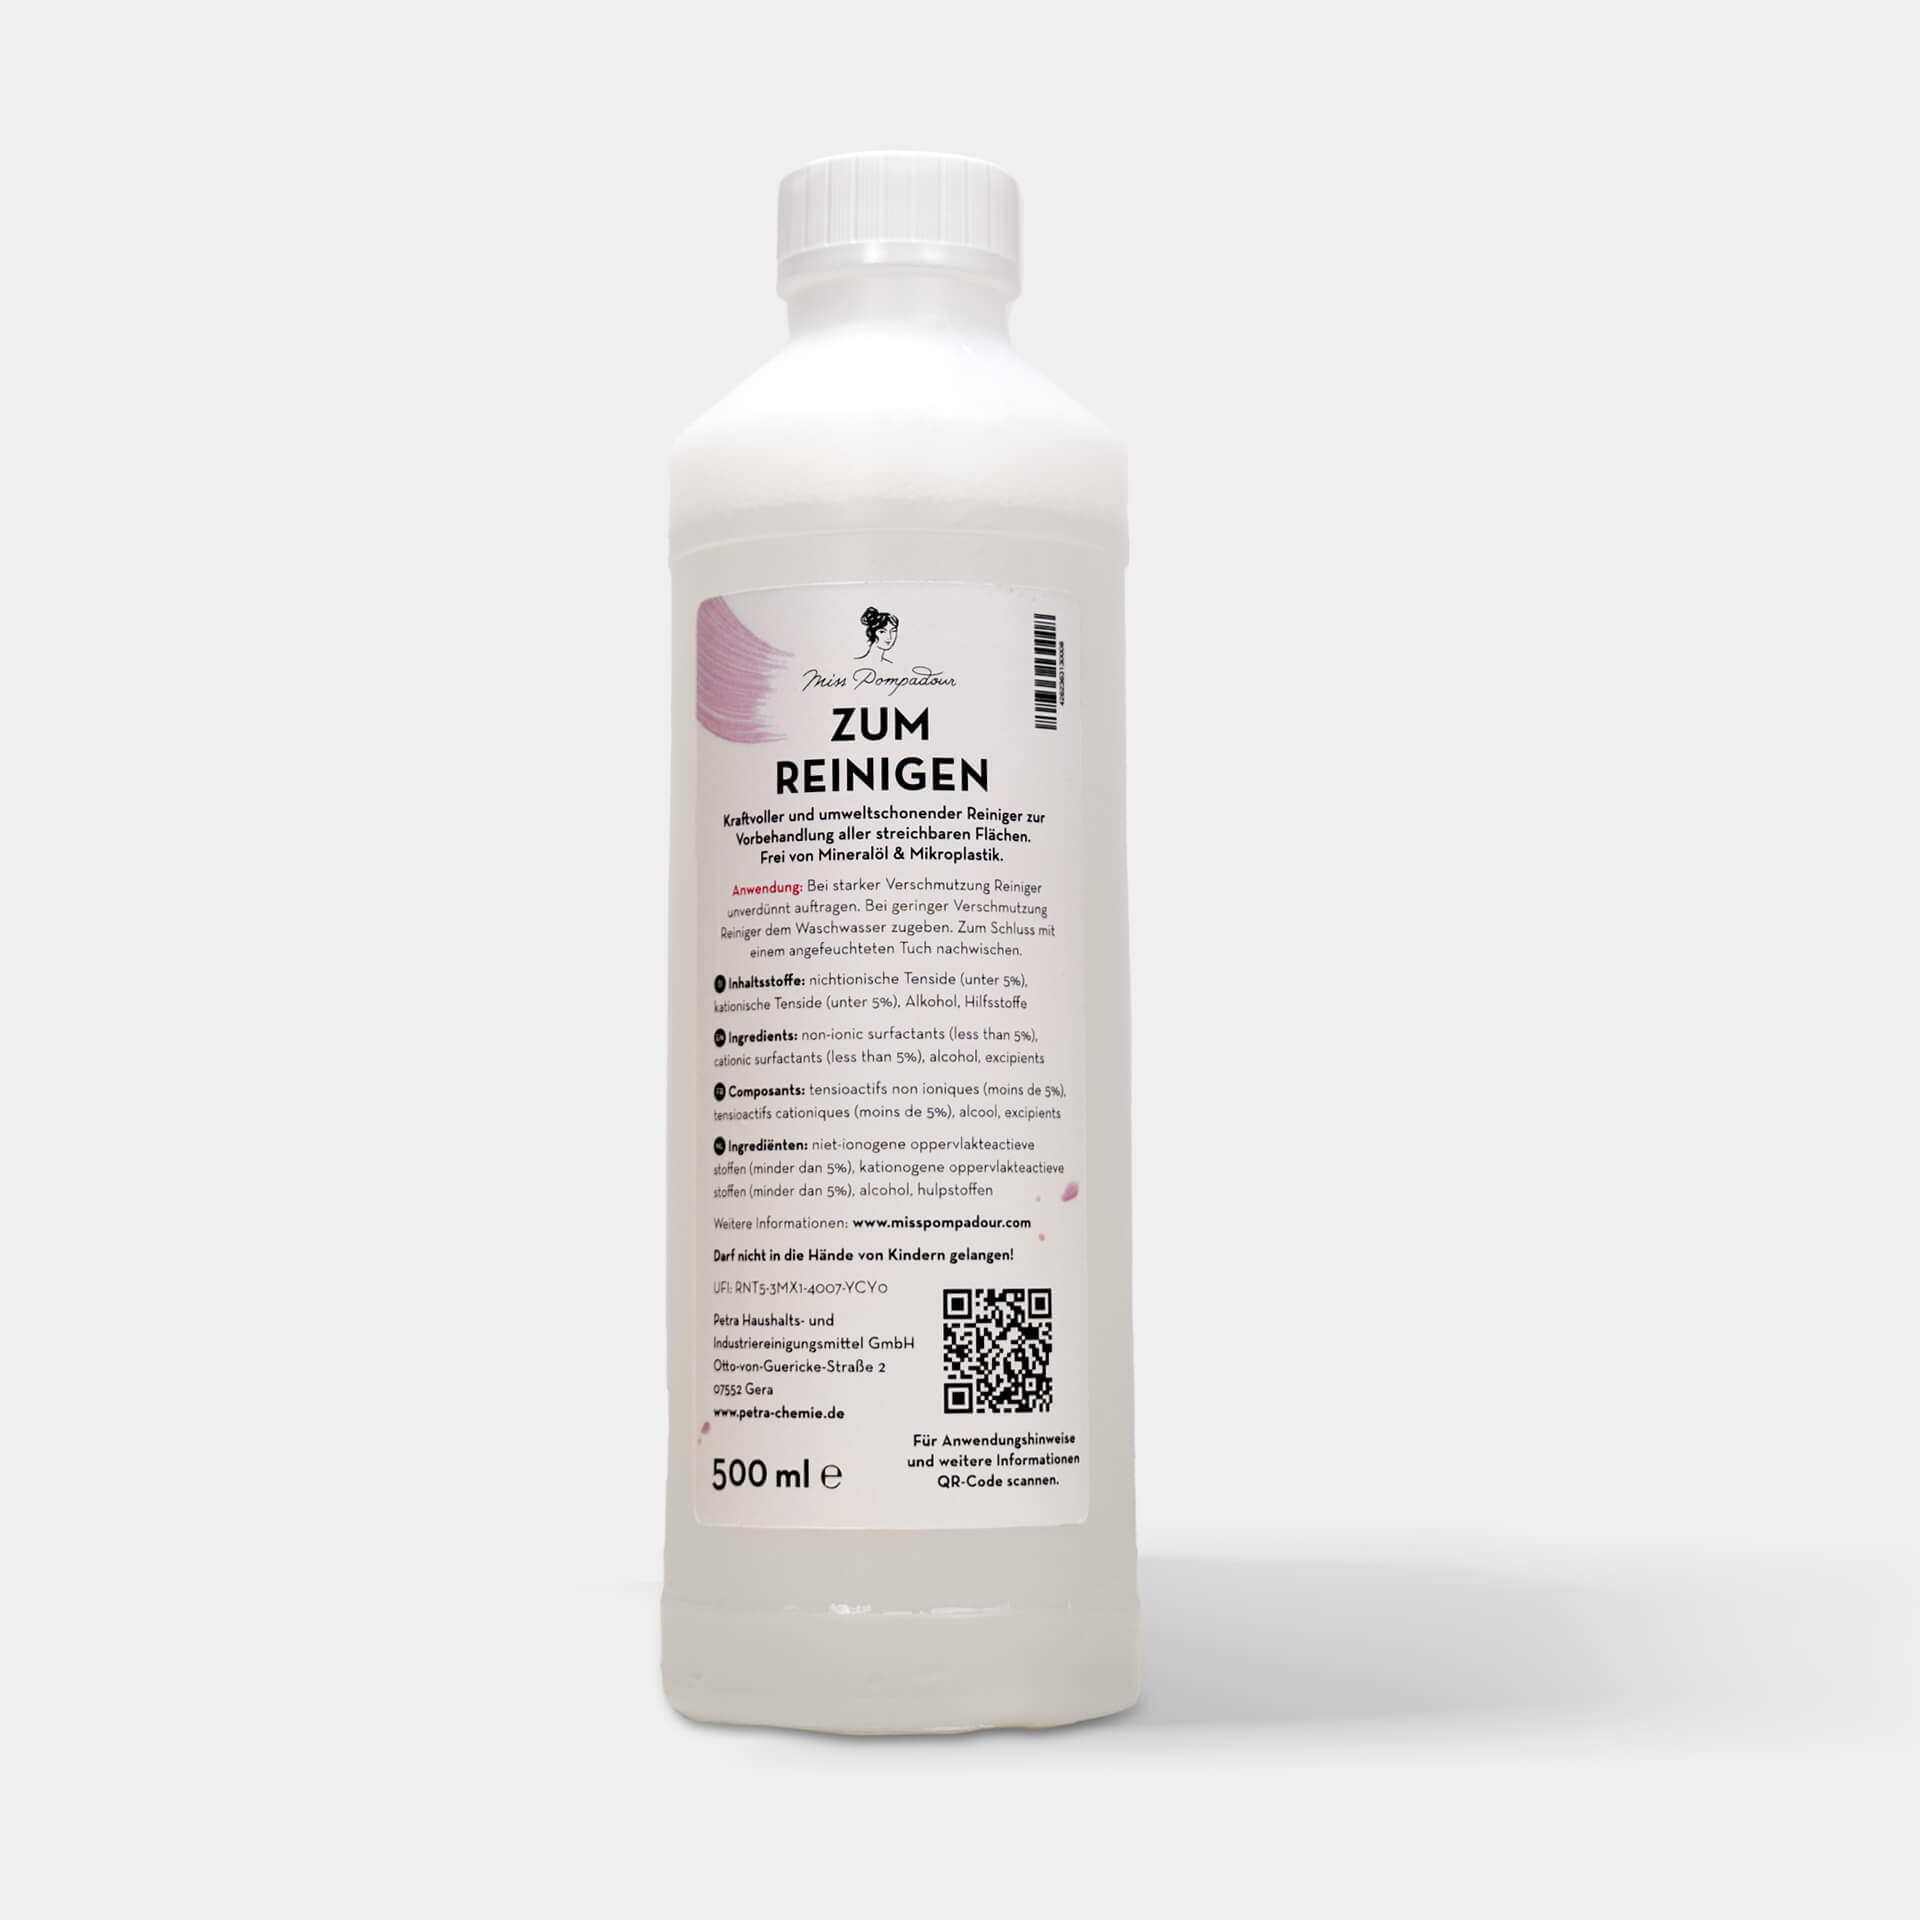
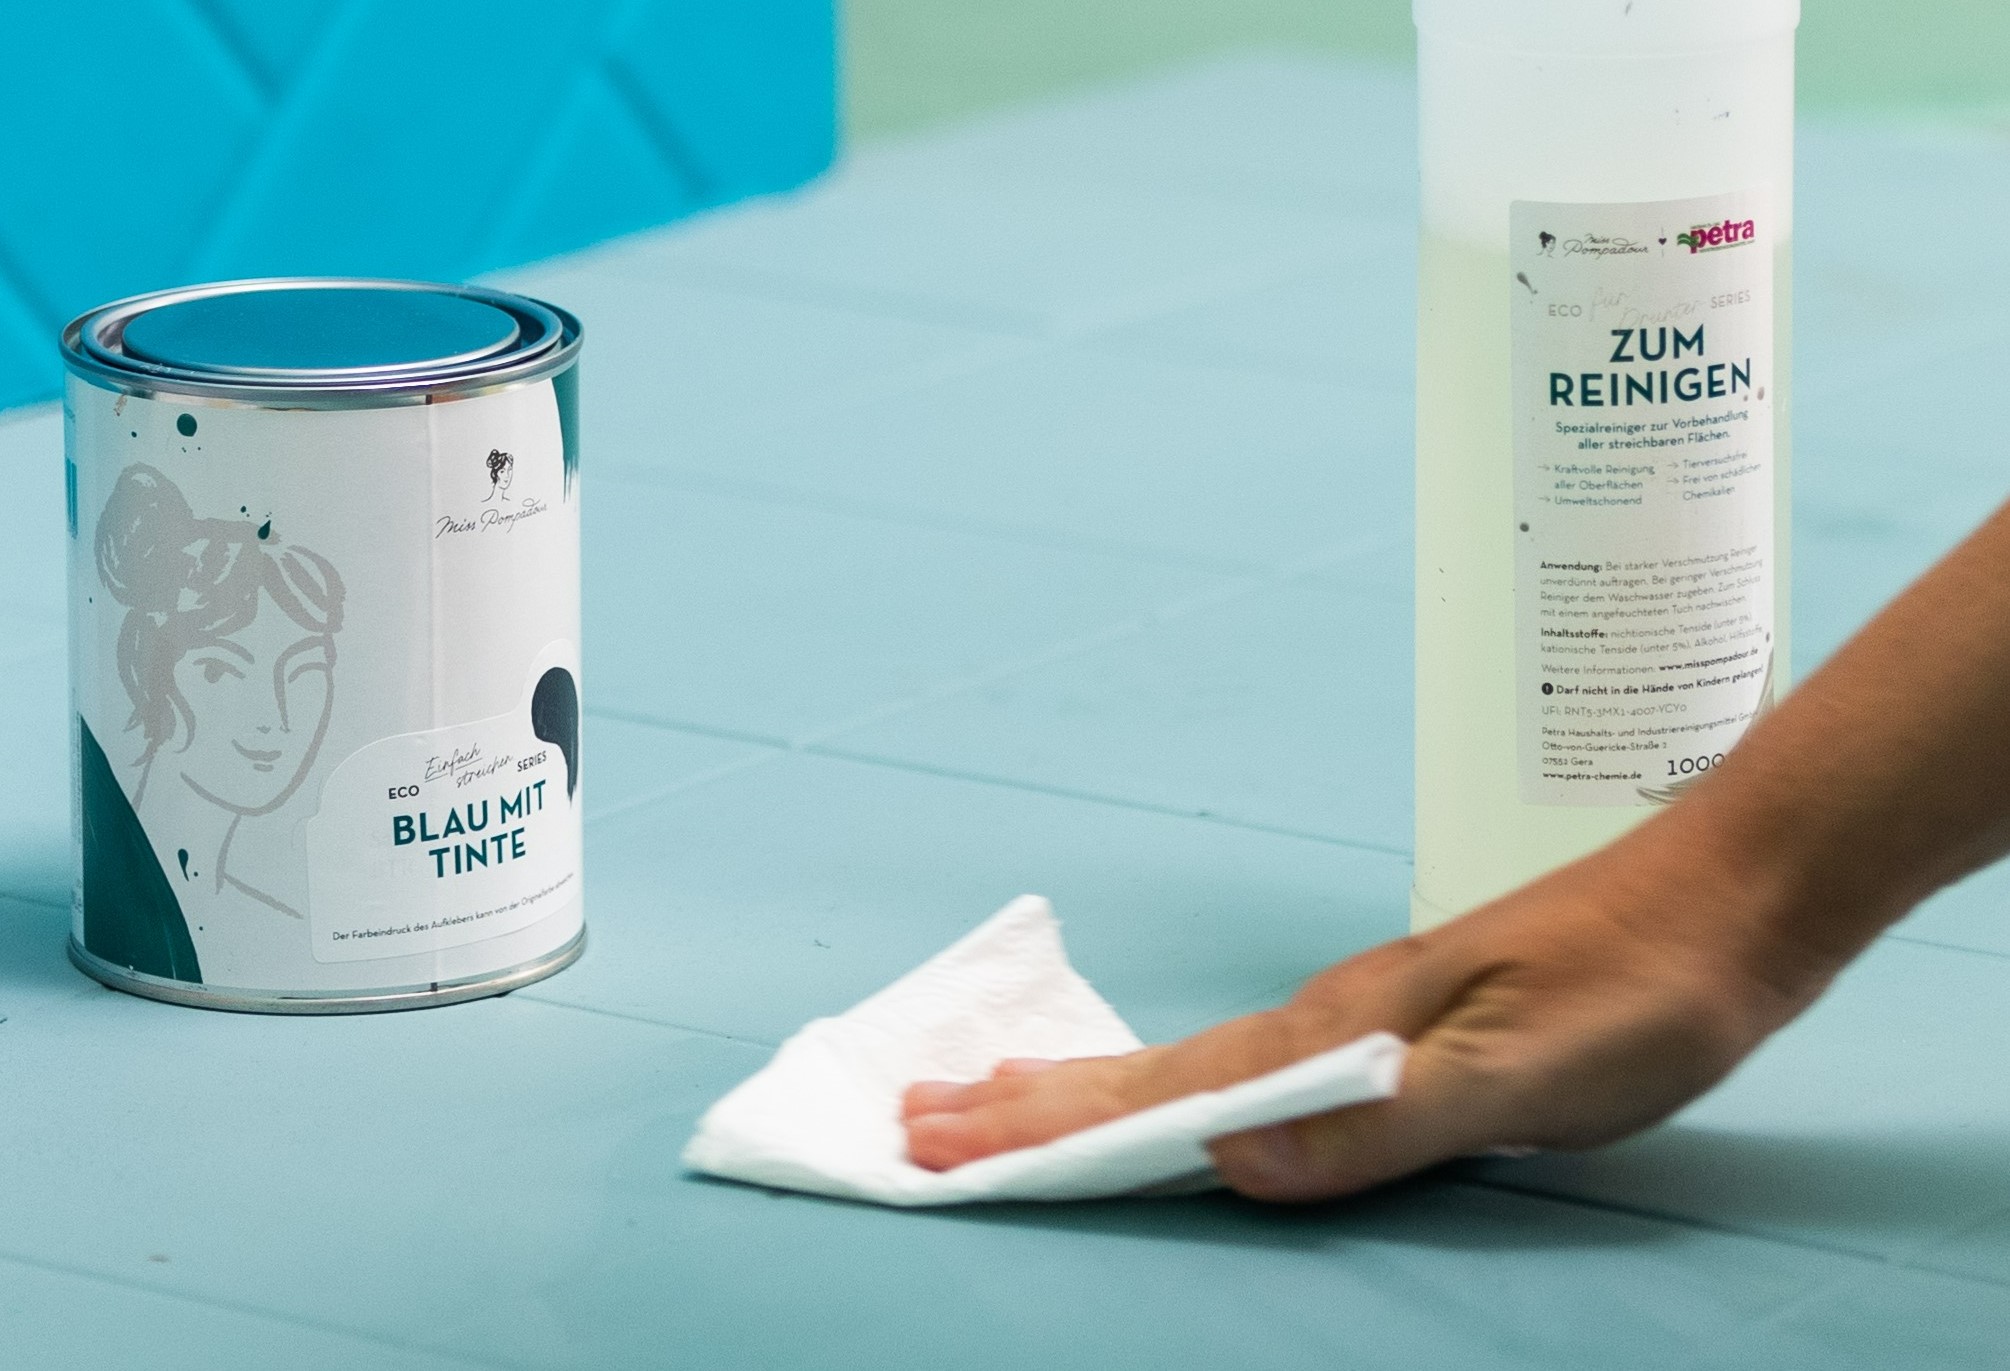
Clean your garden furniture thoroughly and remove any oil and grease - now you're ready for the first coat of paint. Even if cleaning is not your favourite activity, you will only achieve a beautiful and stable coating result after cleaning. To Clean creates grease-free, absolutely clean surfaces and is the basis for an even and long-lasting coat of paintYou should pay attention to this when painting
Step 4: Masking off
Now the actual painting begins. Either remove fittings and parts such as handles or knobs beforehand or mask them off in this step before painting.Step 5: Priming
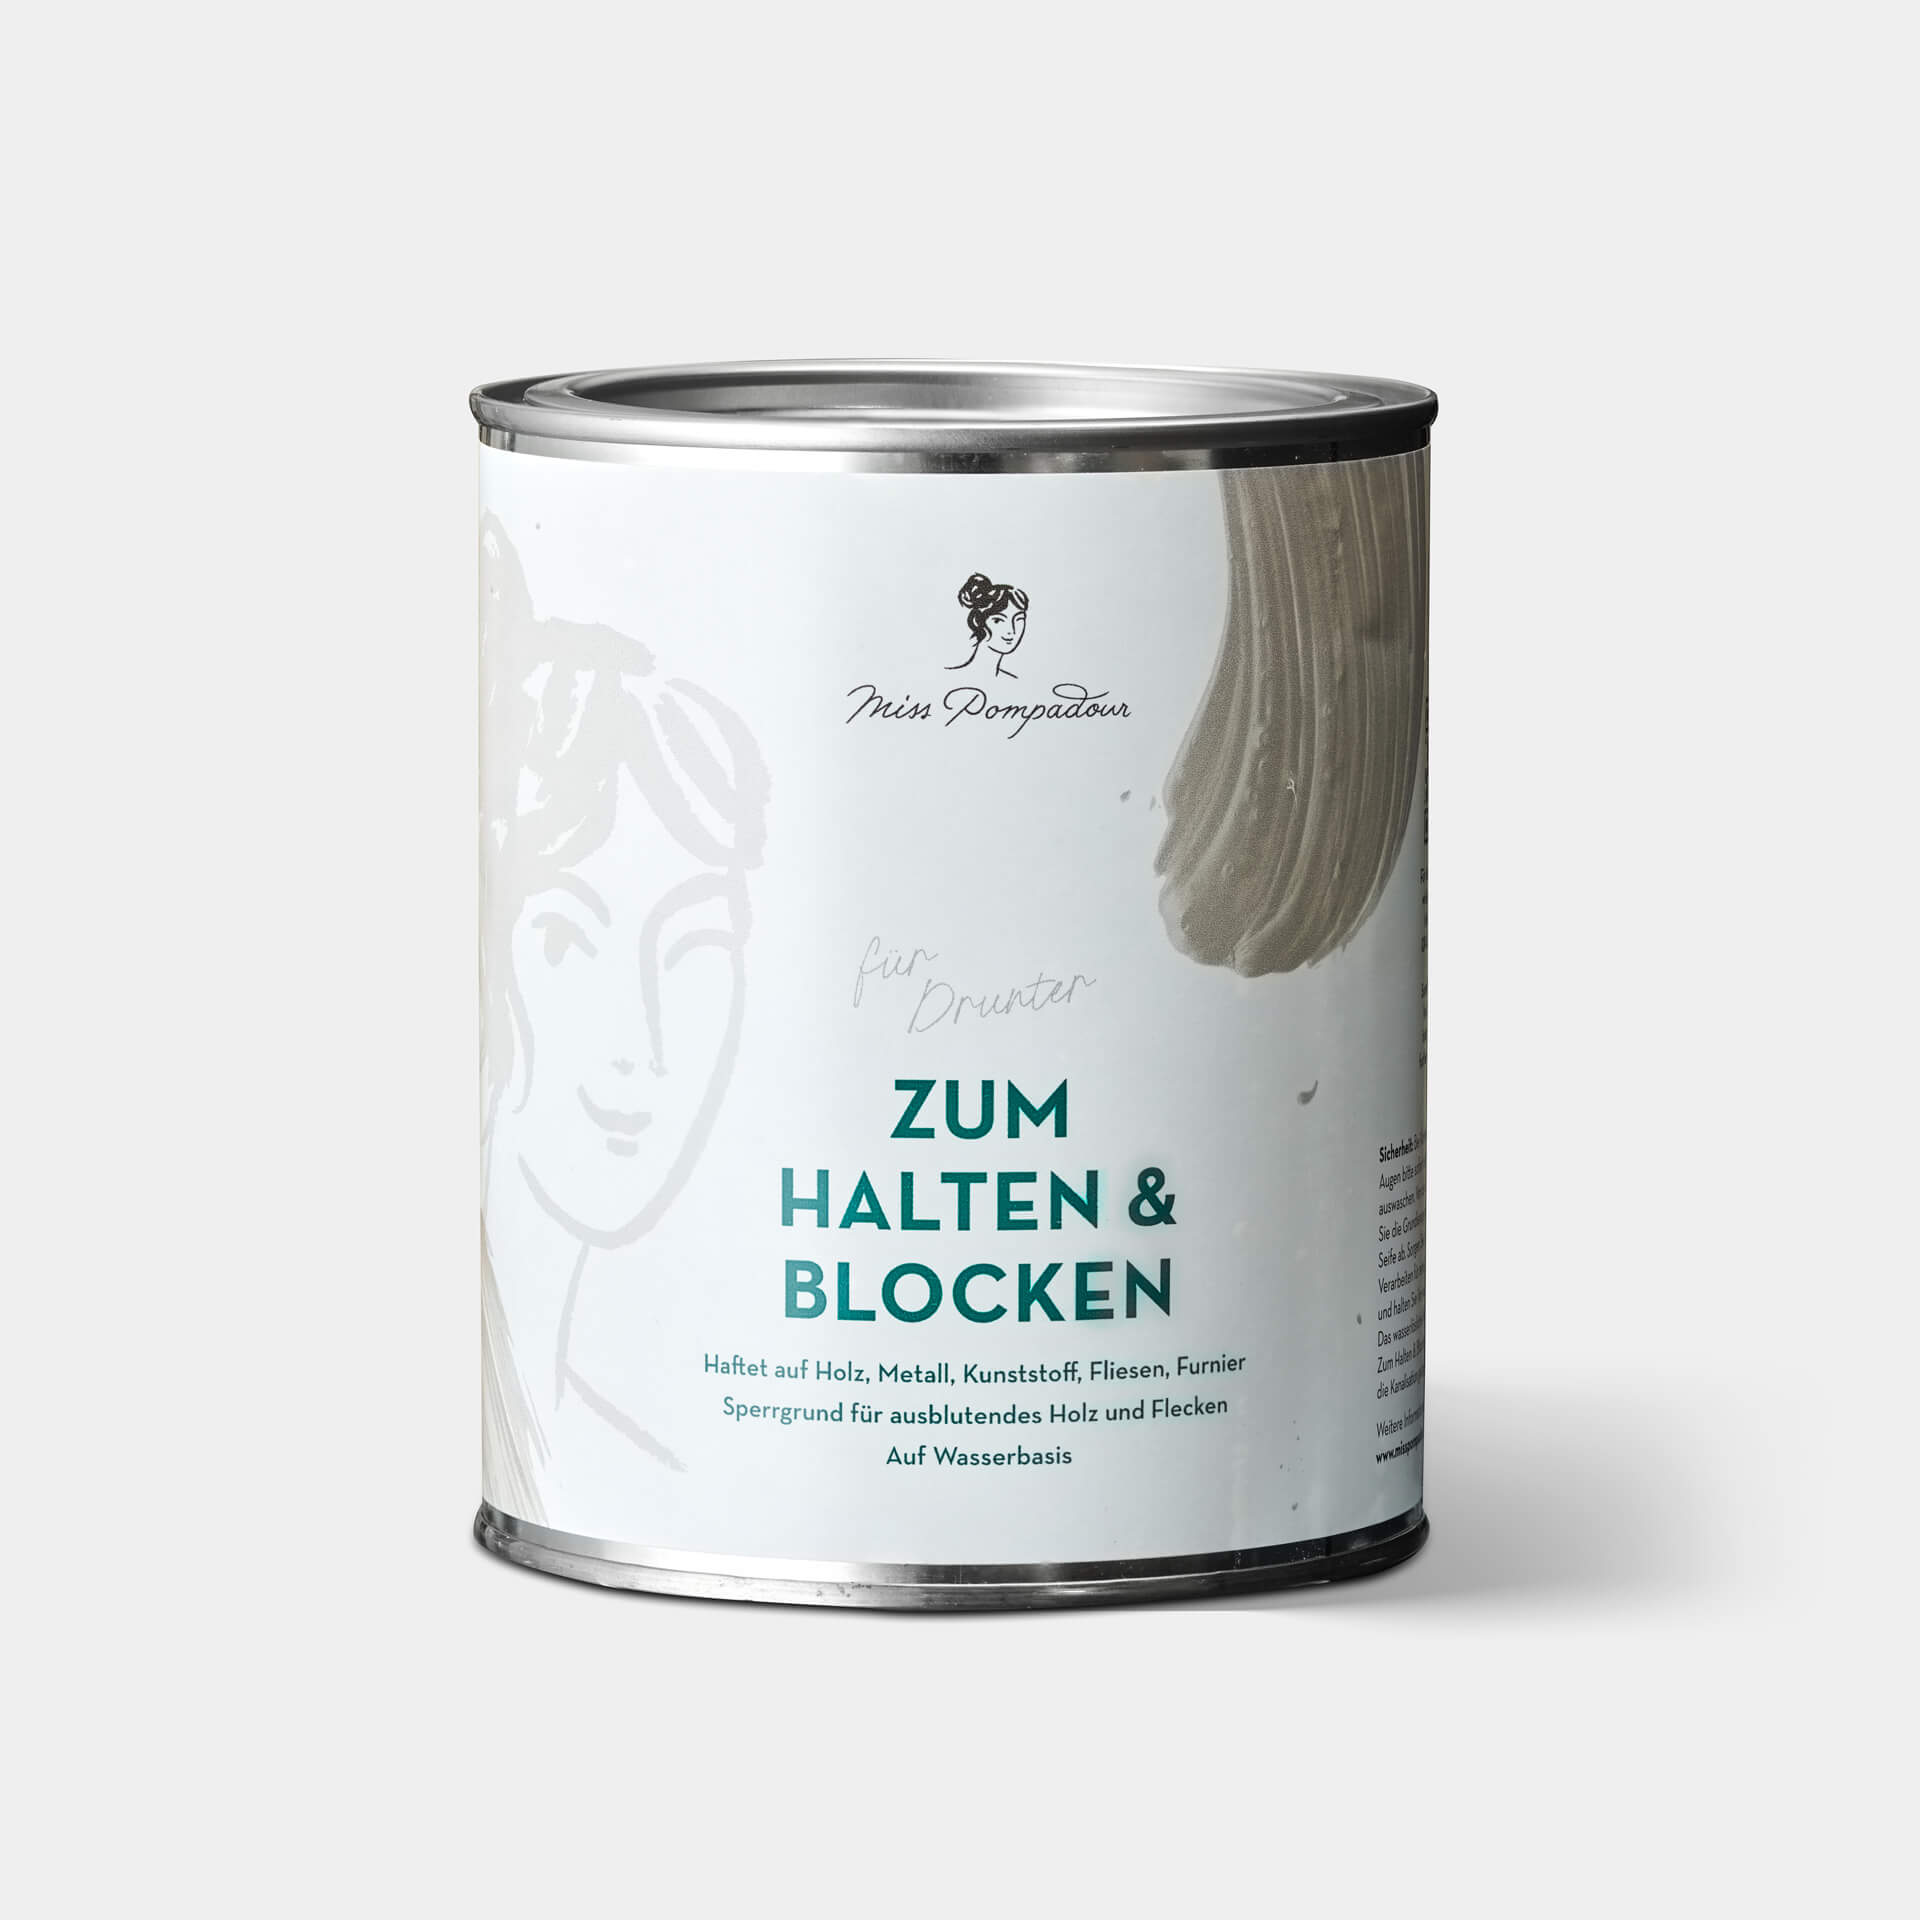
Priming is particularly useful on very smooth and dark surfaces. To Bond & Block creates a base to which paint and varnish layers adhere securely. Important: Spread the primer thoroughly; if discolouration occurs after the first coat, apply several coats and allow to dry thoroughly for 8 hours or overnight. Make sure to use clean tools here.Step 6: Painting
Now apply your desired colour. The first coat does not have to be perfectly opaque. It's better to let the colour dry and then paint over it again 4 hours later. This will make the colour nice and even. Your piece of furniture will shine in new splendour.Step 7: Drying
Oh yes - even if the garden bench still looks so inviting after painting: Don't sit on it just yet. After 1 to 2 days, you can carefully sit on it with a cushion. However, the varnish is only fully resilient and scratch-resistant after the full curing time of 14 days. Protect your furniture from moisture during the drying time. Always avoid standing water, as this will dissolve the varnish.How do I treat natural wood and rattan?
Rattan furniture can be painted in the same way as wooden garden furniture. Make sure that you use little paint. Otherwise, you will cover the rattan weave structure too much with the varnish. For a second coat of paint, a wax brush is a good idea. This effectively closes gaps in the colour. Alternatively, you can use a paint sprayer
Professional tip: You can achieve a beautiful, subtle effect if the natural rattan shade still shimmers through slightly.
How do I paint wooden garden furniture in Shabby Chic or Vintage Look?
Watch our video to learn how to paint and sand in detail to achieve a protective used-look wax finish.
FAQ: Frequently Asked Questions about Painting Wooden Garden Furniture
Can I varnish wooden garden furniture without sanding it?
If the surface is in good condition and the old paint still adheres firmly to the furniture, you can start painting immediately after cleaning
Treat garden furniture with oil
Use special wood oils to spice up natural wood furniture in colour shade and make it more resistant to wind and weather.
Oil penetrates deep into the wood, cares for it and brings out the natural wood grain and colour shade. Lightly sand the wood before applying.
Painting garden furniture: oil or stain?
Both oil and stain are suitable for painting your wooden garden furniture to make it more weather resistant and durable. Both penetrate deep into the wood and reveal the wood grain.
In a direct comparison between wood oil and glaze, however, the oil performs better because it has an intensive and caring effect. It also has a silky sheen on the surface, which makes your garden furniture look really beautiful.
How often should I glaze my garden furniture?
The speed at which weather-related damage appears depends not least on where you have placed your furniture. Standing water on surfaces always puts a lot of stress on it. That's why you should put your garden furniture out in the dry in bad weather. How often you need to glaze, oil or paint your garden furniture depends on several factors and can vary between 3 and 6 years.
Any questions about painting garden furniture?
A good opportunity to share your tips - for more colour in our gardens and in our lives.
These are the accessories you need for varnishing garden furniture
- Furniture Cleaner: To Clean by MissPompadour is a powerful cleaner. It creates grease-free and absolutely clean surfaces.
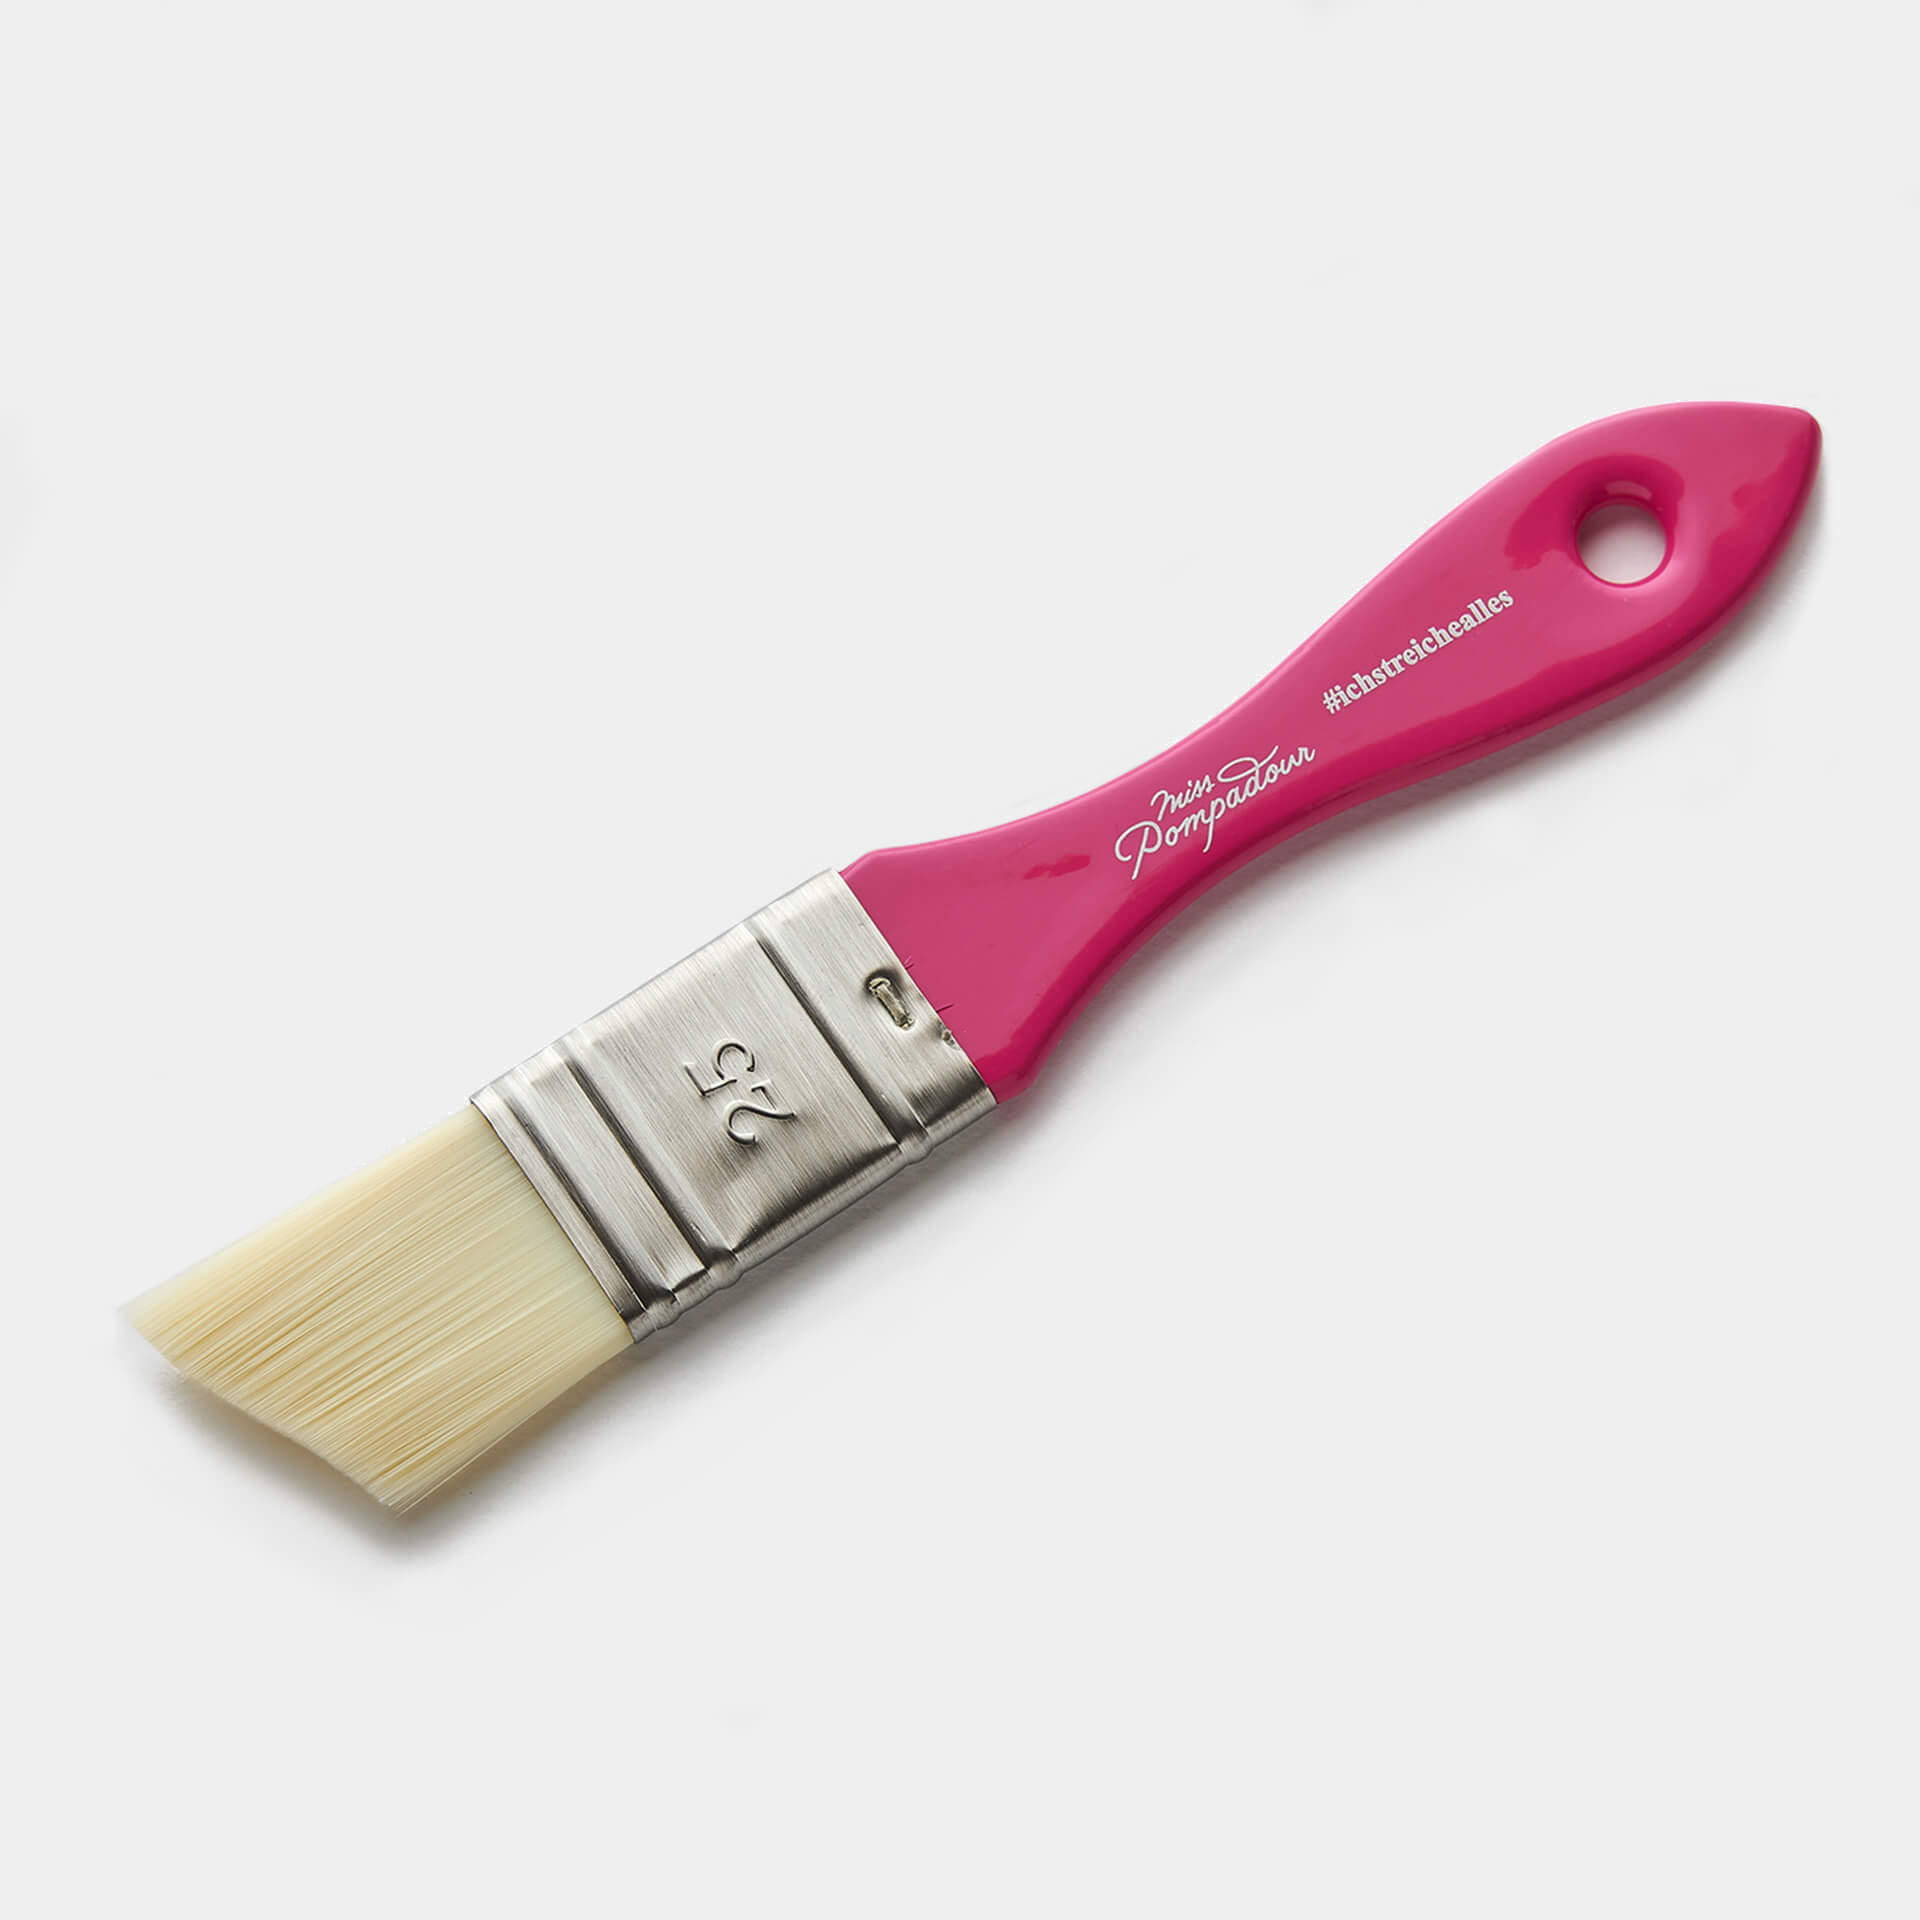
- Brushes: Garden furniture also has corners, edges and hard-to-reach places. In our brush assortment you will find the right painting tool for every purpose. The narrow angled brush is particularly suitable for corners and angles. When painting rattan furniture, the MissPompadour wax brush is a valuable helper.
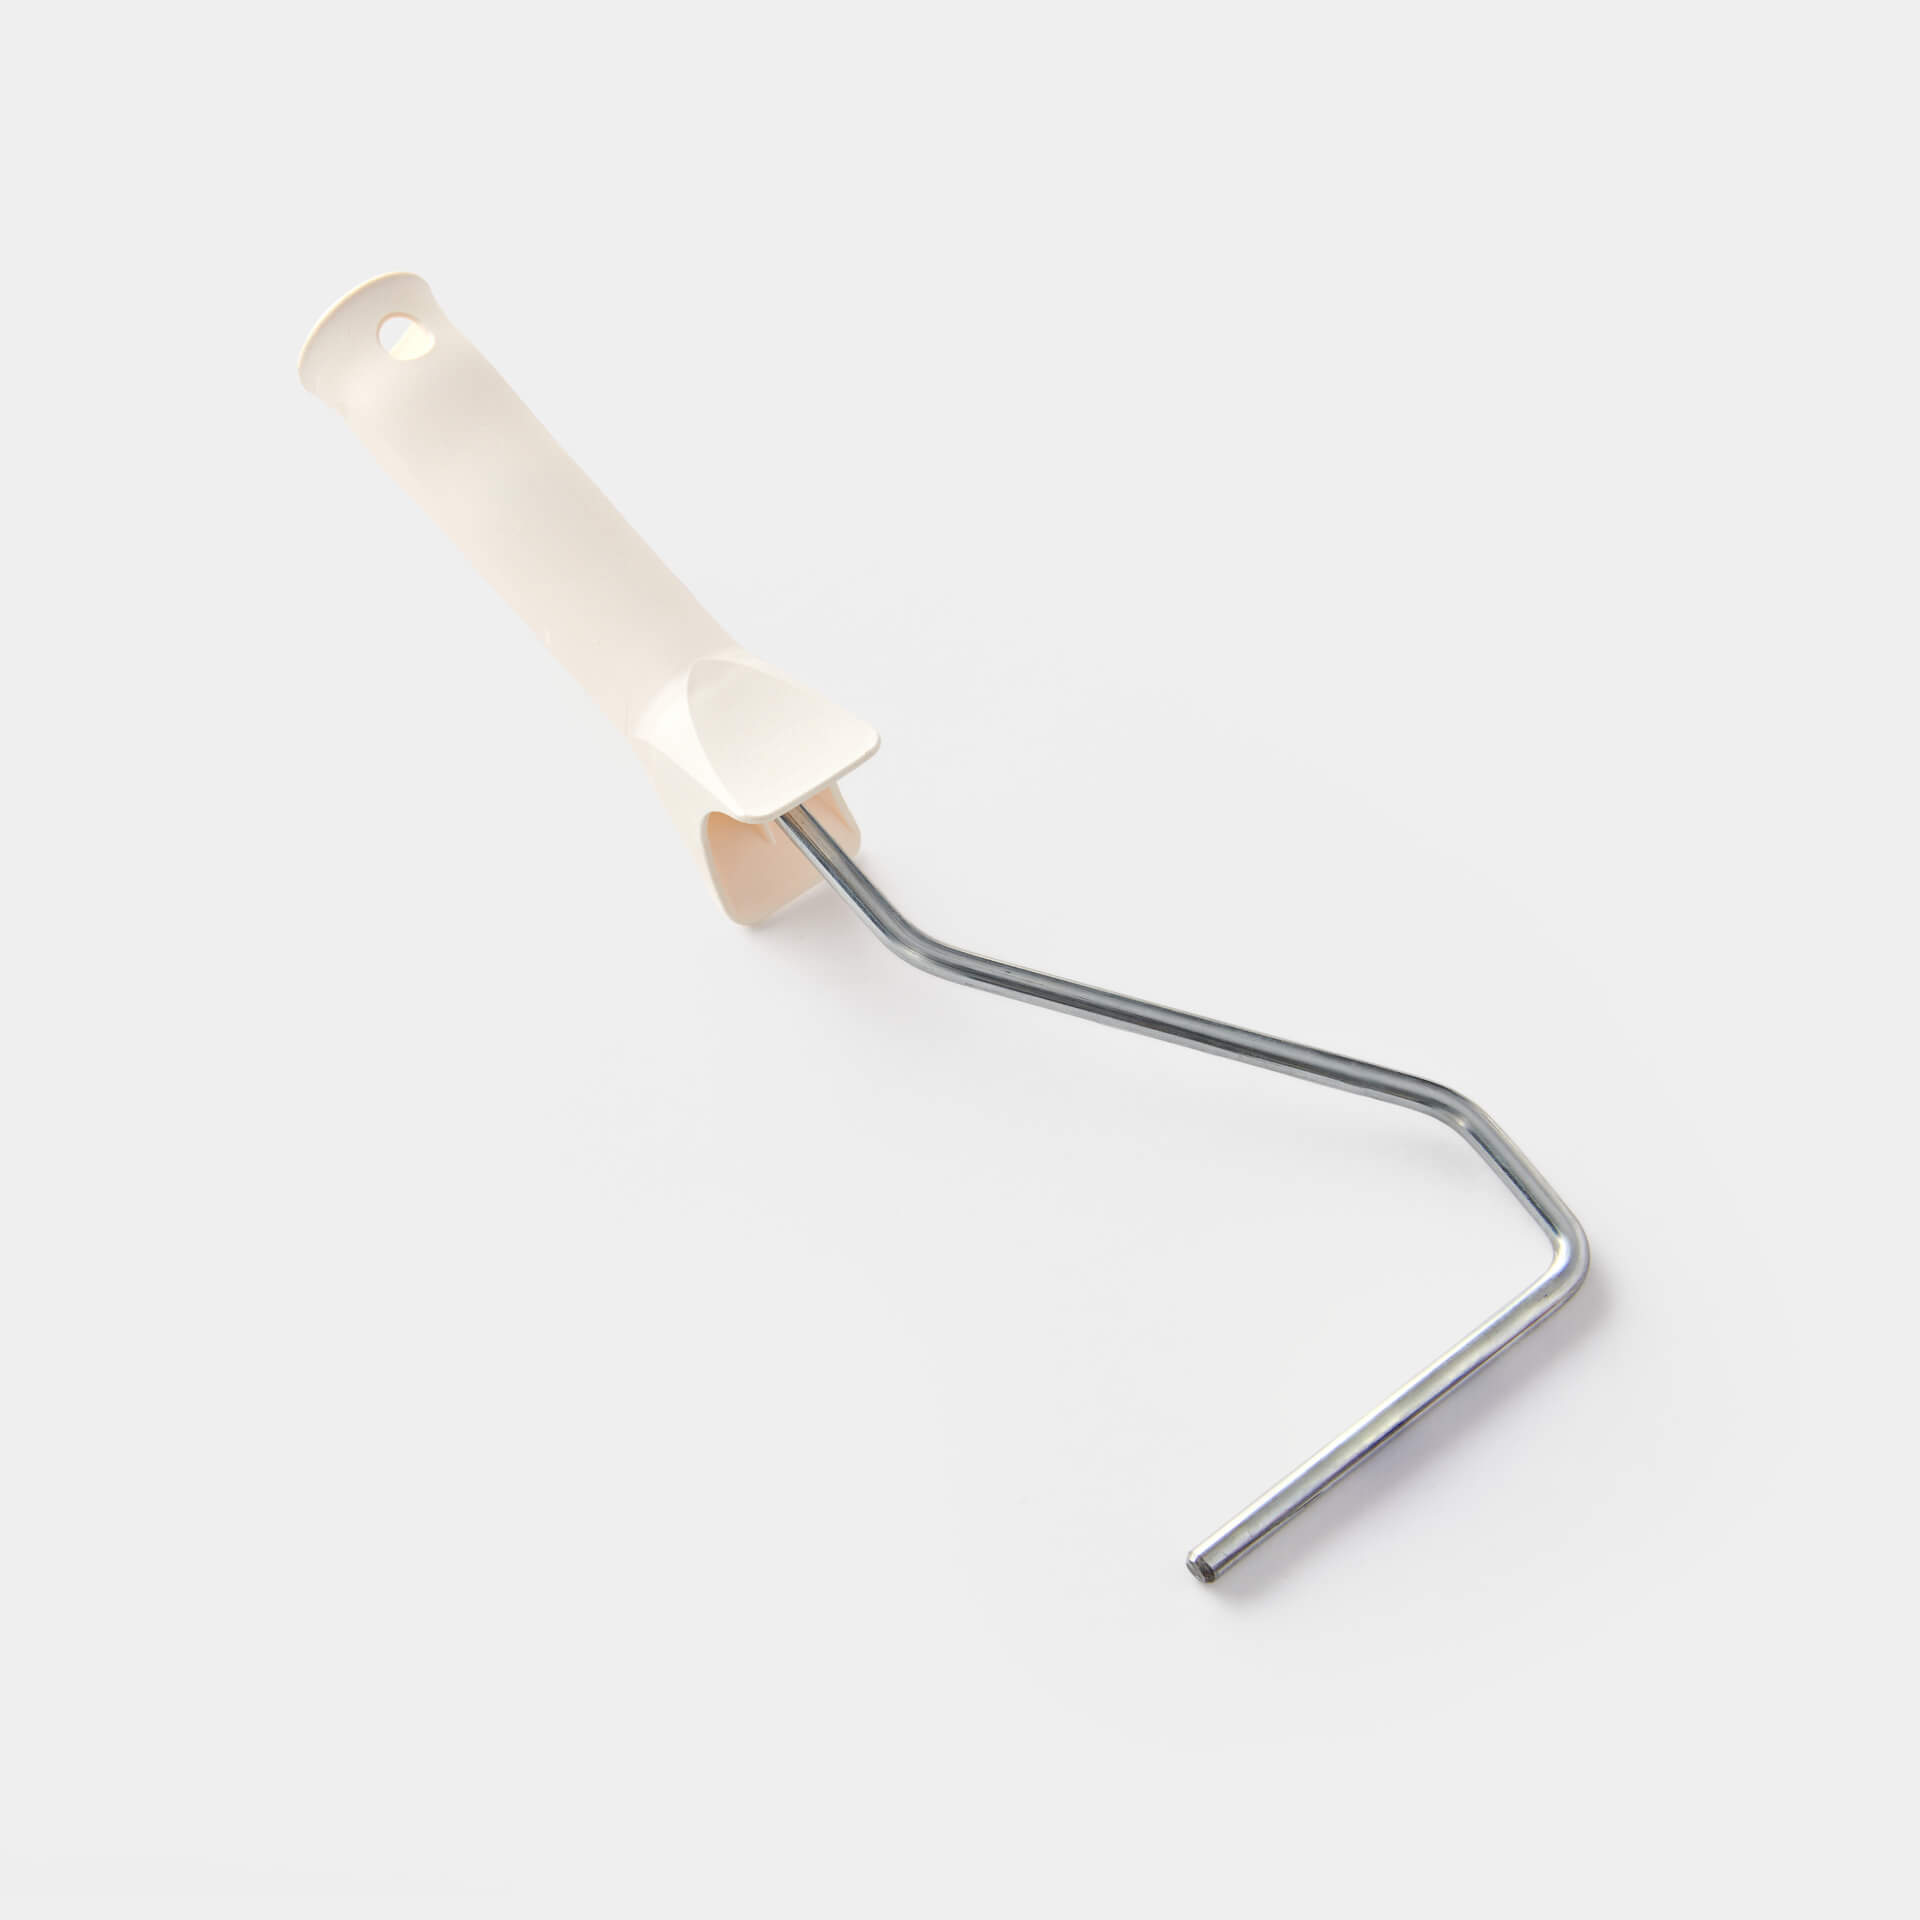
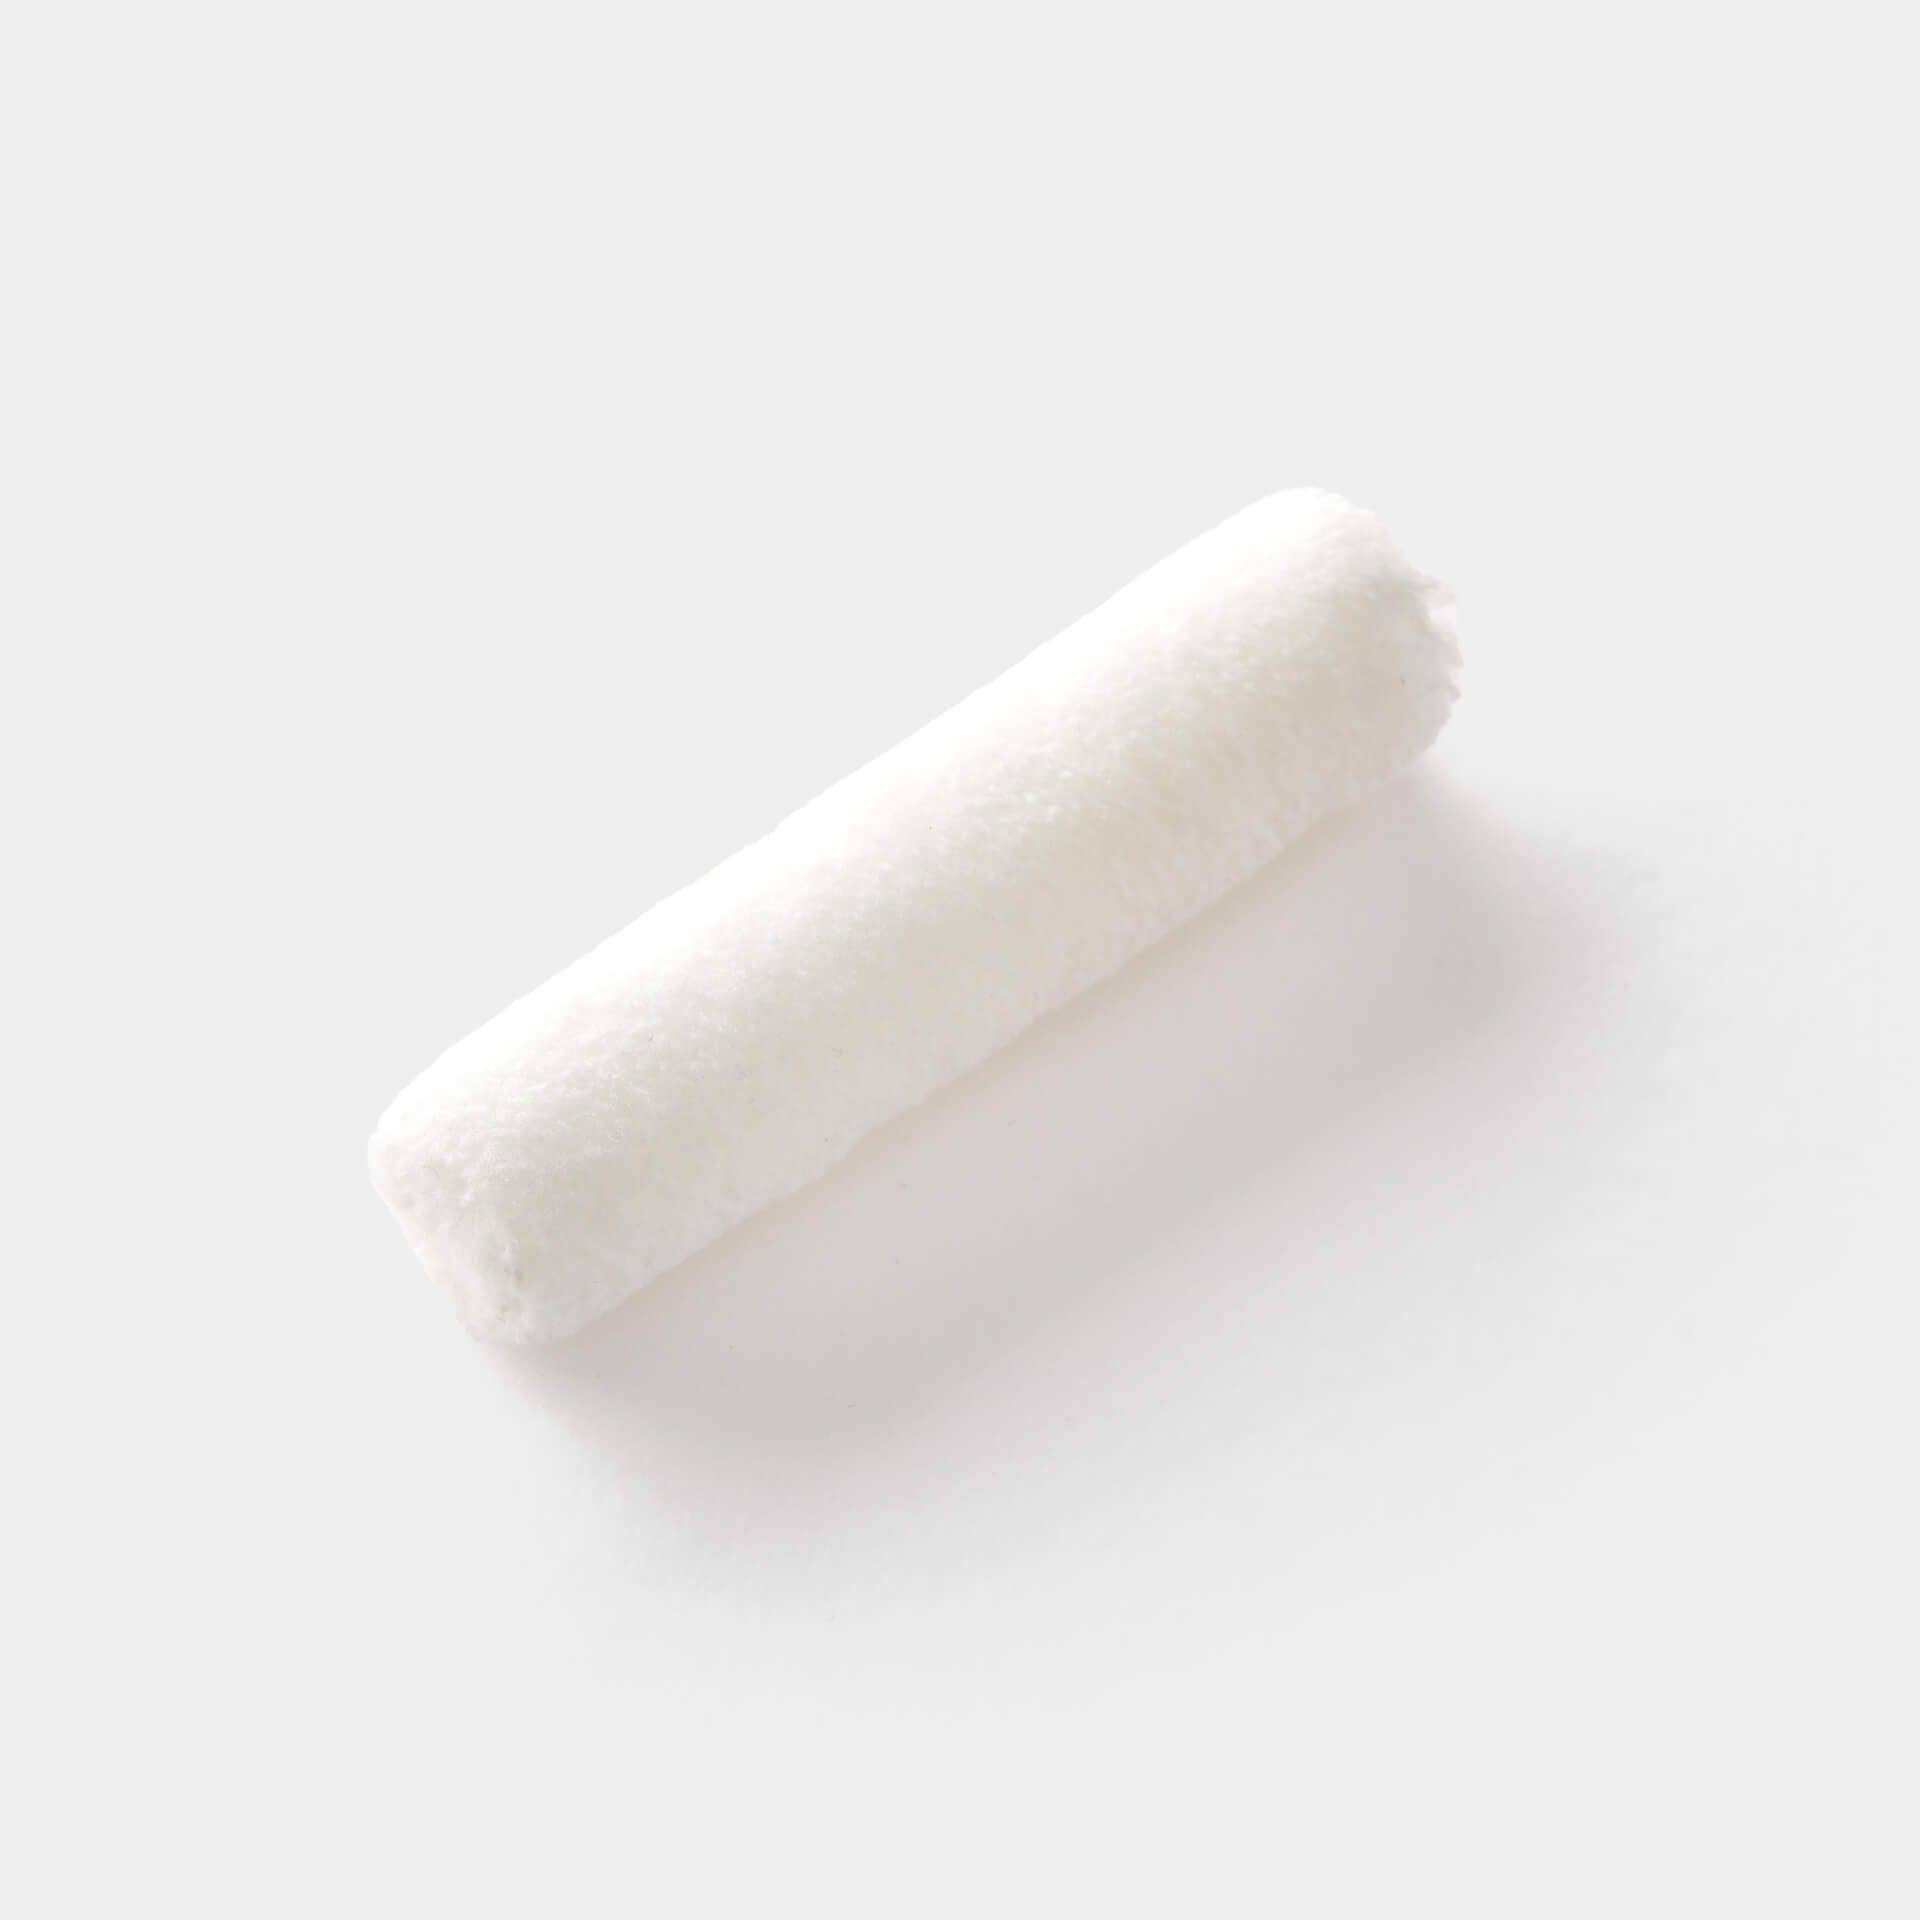
- varnish roller: For larger surfaces, such as garden tables, varnish rollers are ideal. They give you a nice even coat of paint.
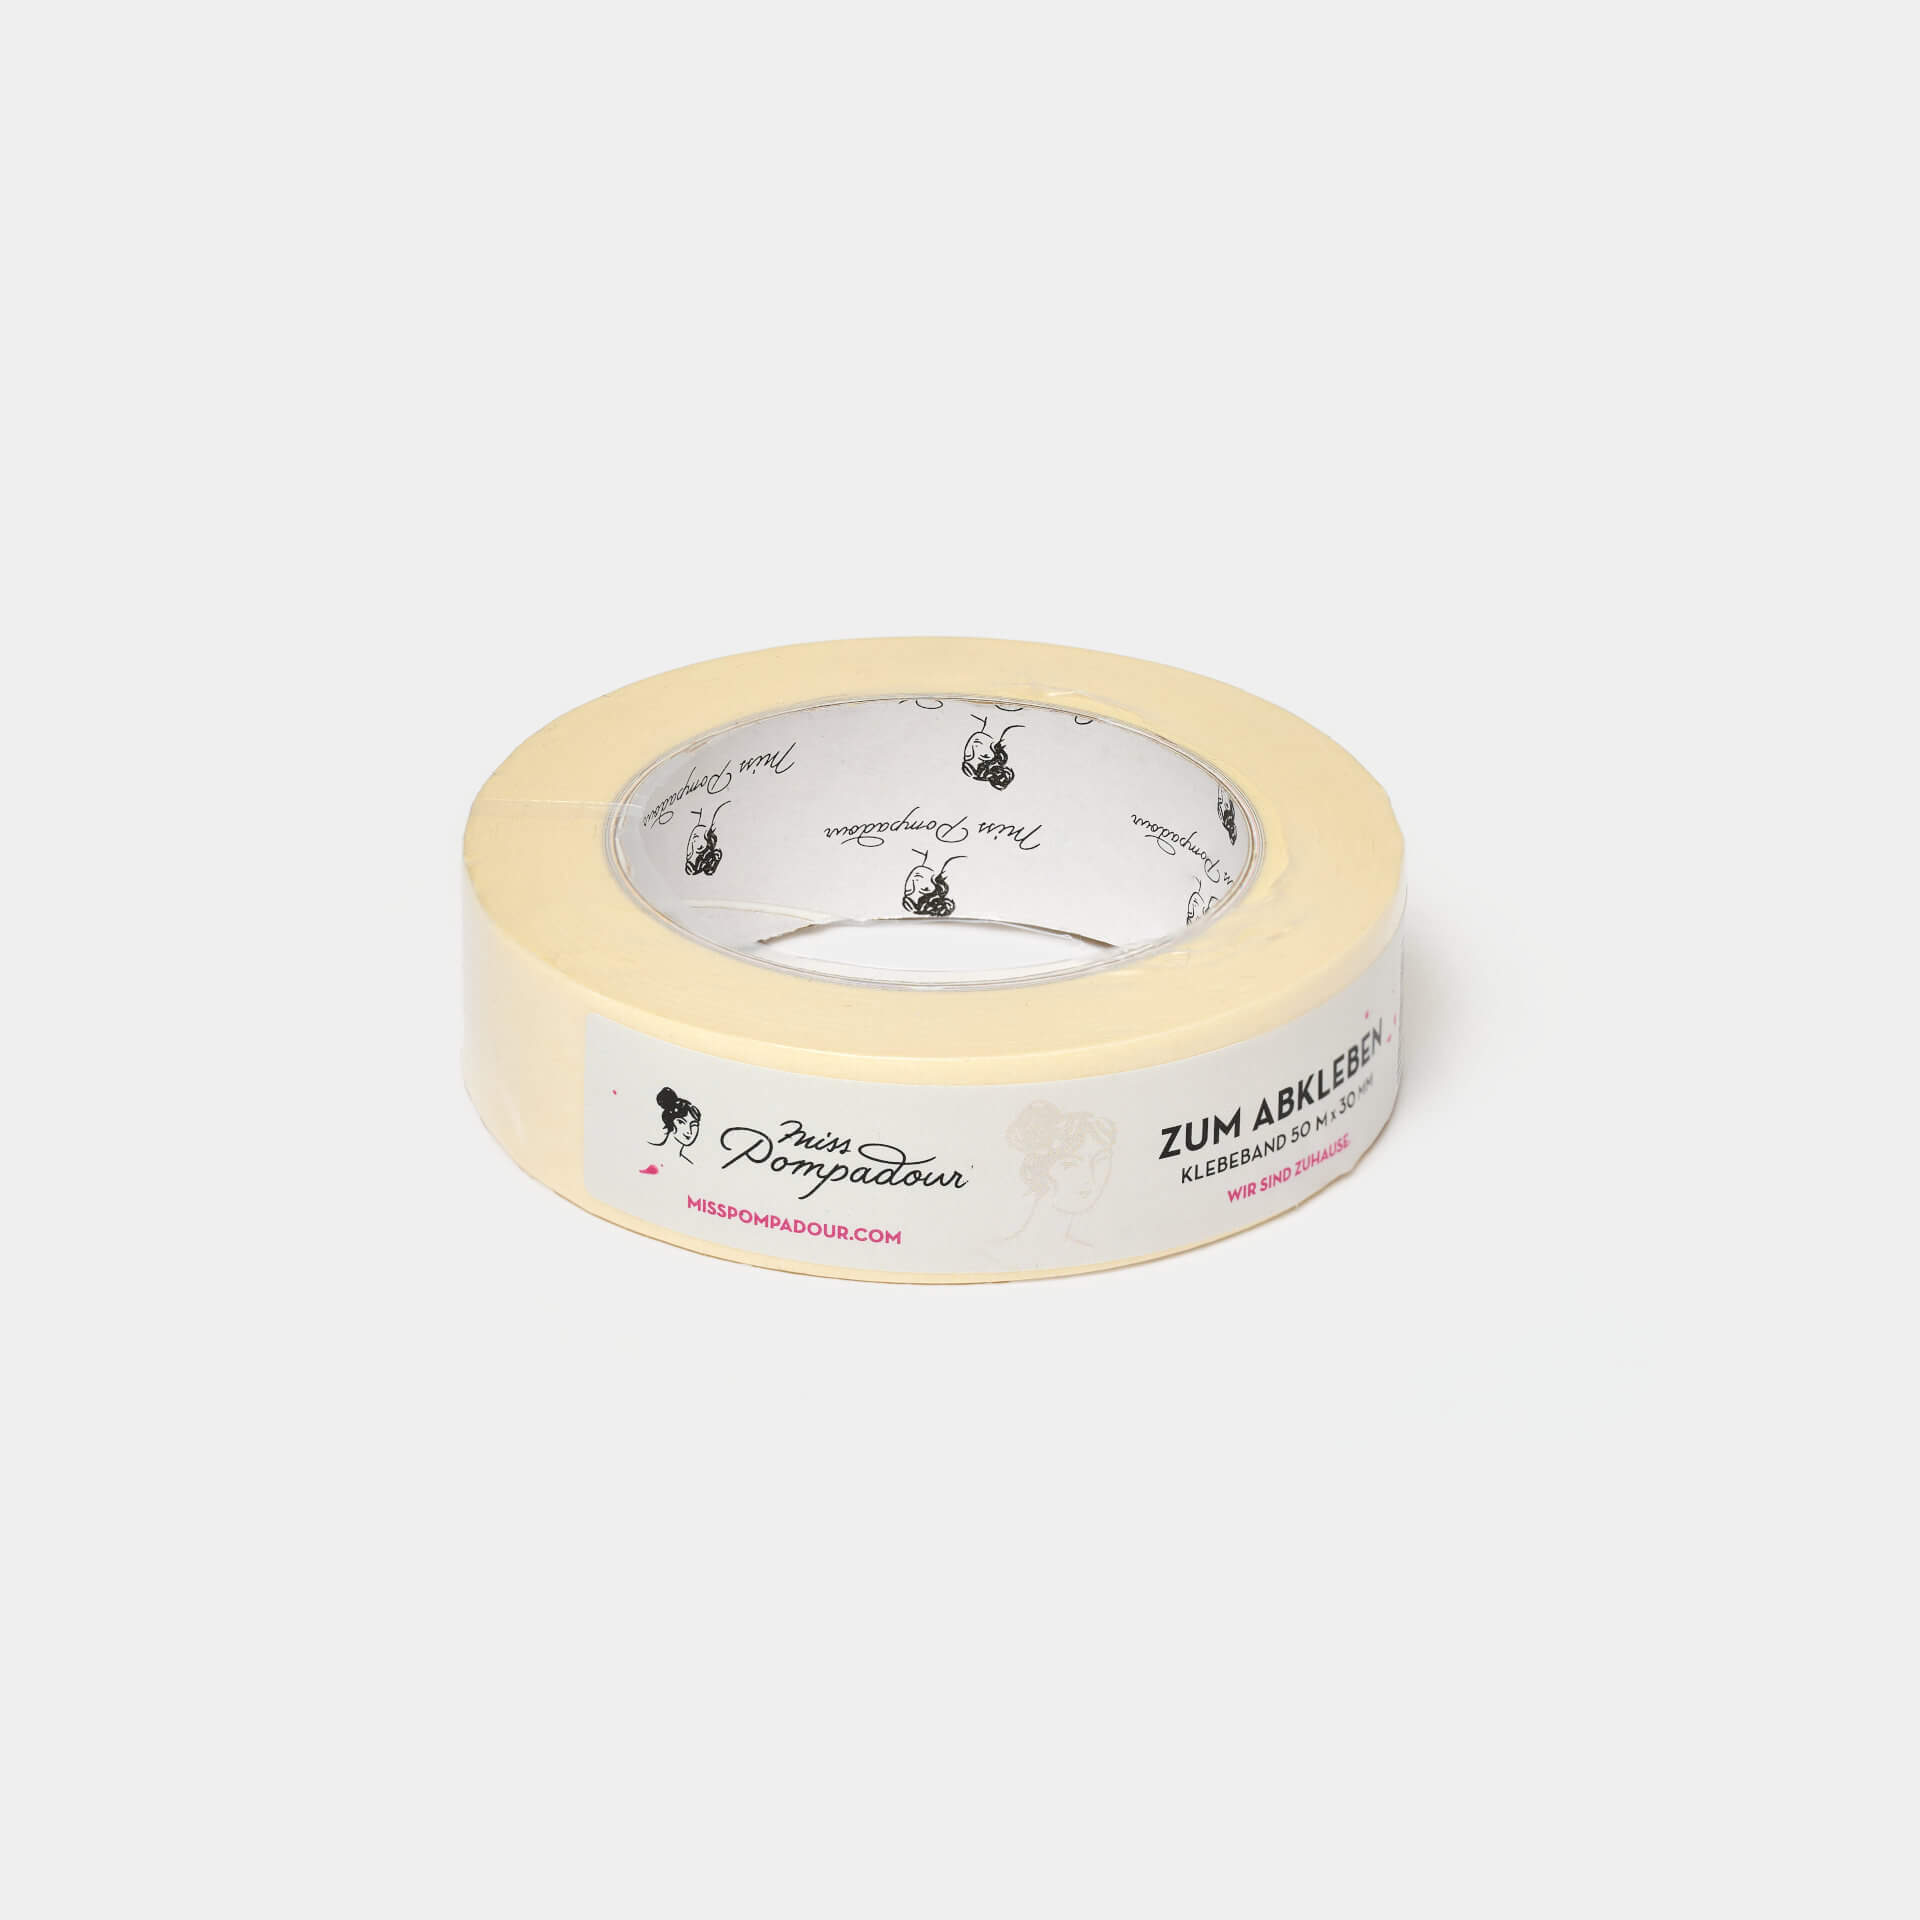
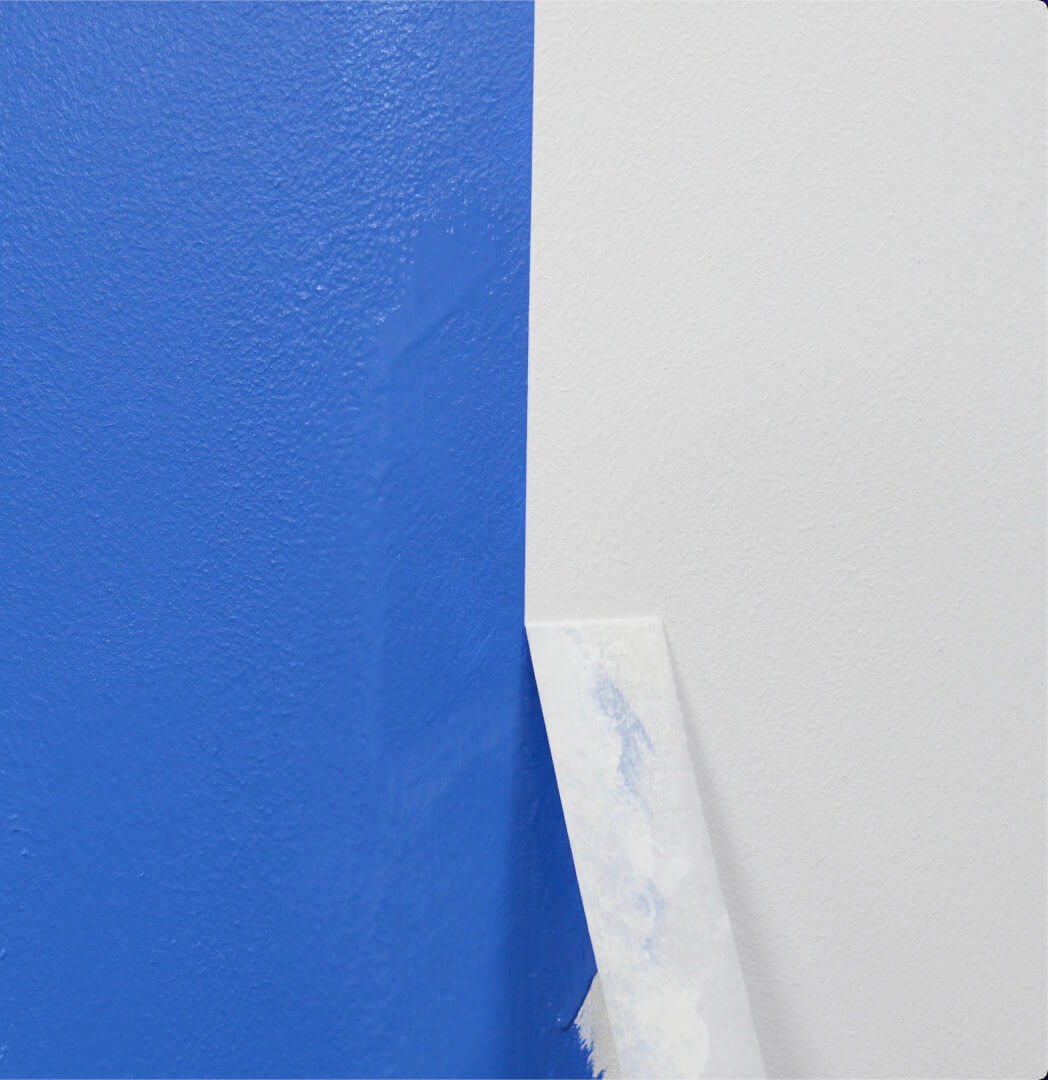
- Adhesive tape: A high-quality adhesive tape that does not peel off during painting and allow paint to run underneath is worth its weight in gold. MissPompadour accessories offer a wide selection in various widths.
- Sanding Pad: The MissPompadour Sanding Pad To Sand is gentle on your garden furniture and at the same time effectively removes old varnishrests.
Bring colour into your garden
How to make your project perfect
Finished reading yet?
Here you will find more exciting topics

