Painting a Front Door with Chalk Paint: Beautify Your Home
10 min reading time
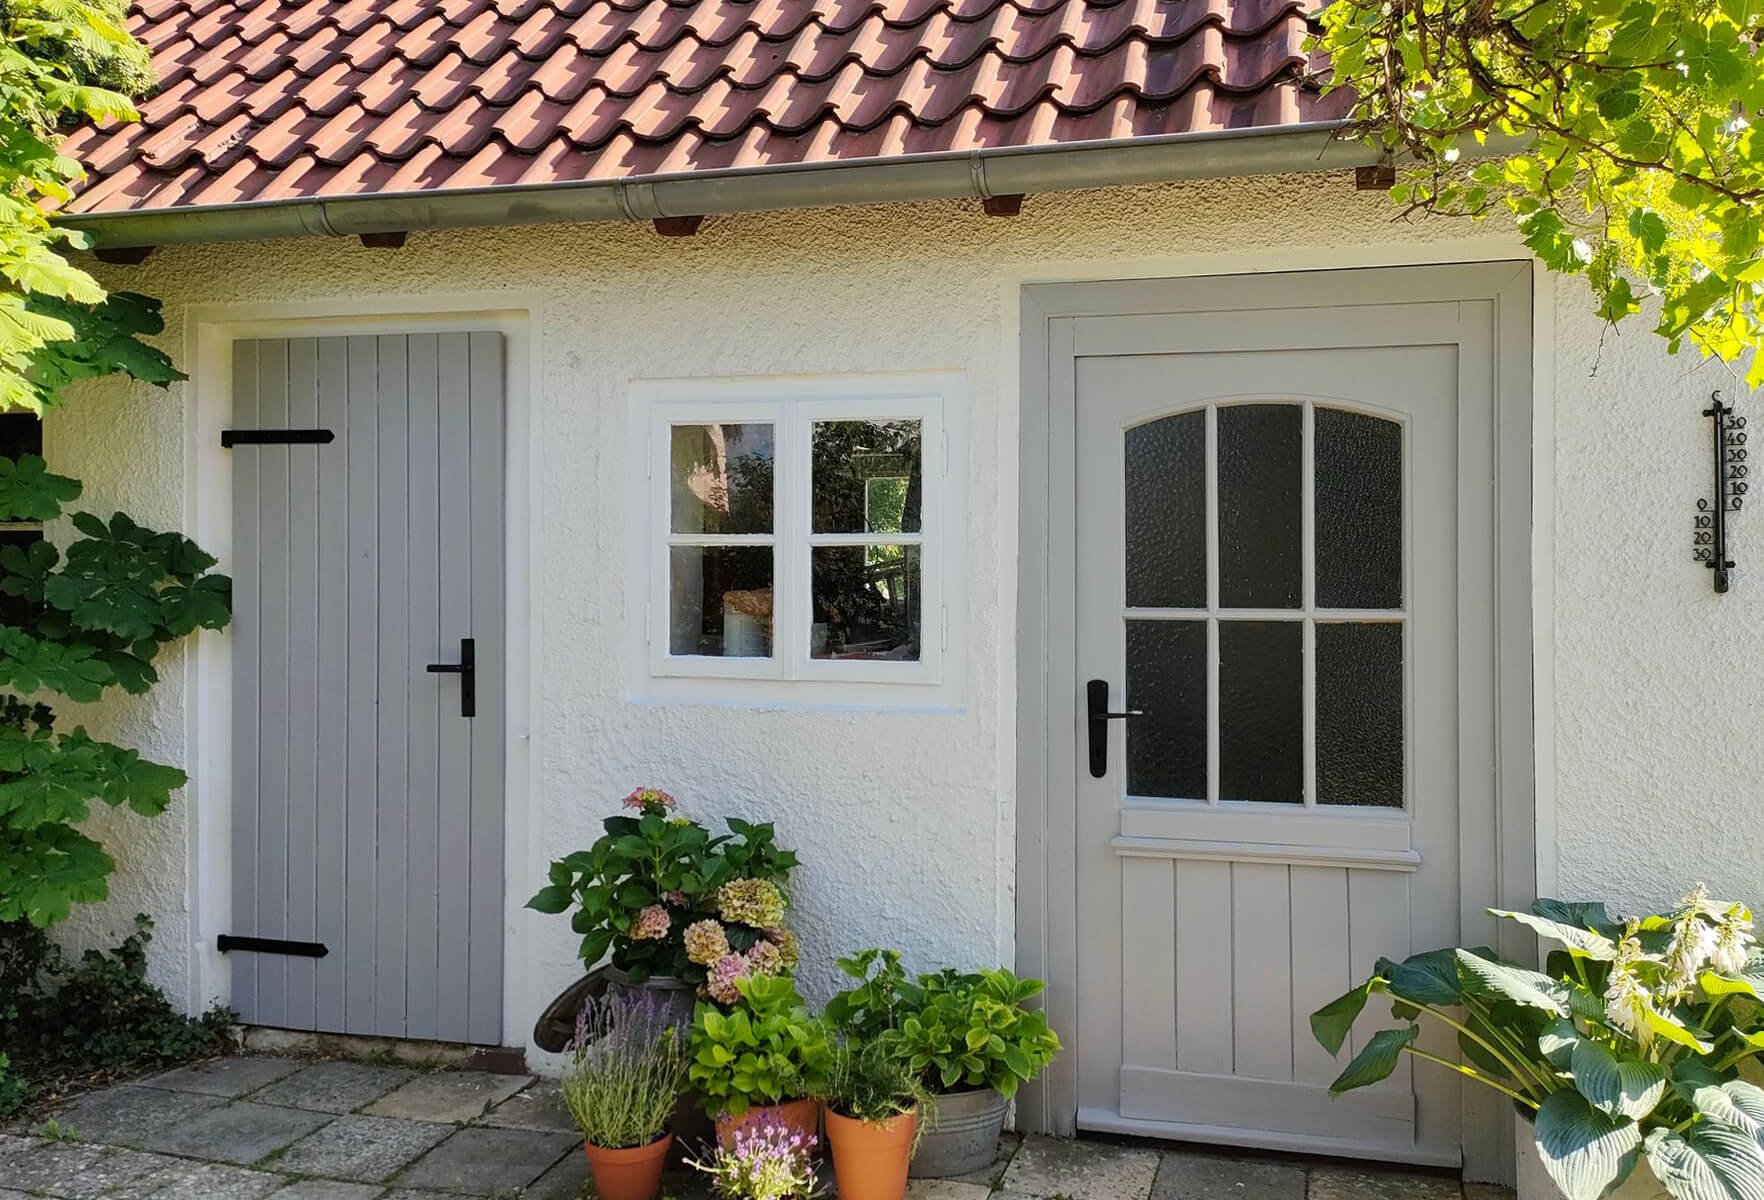
The front door is more than just an entrance through which people enter and leave the house. It conveys the first impression of a house and its inhabitants from the outside. It should always welcome family members, friends and guests. And keep unwanted visitors away. At the same time, it should shield our very own, private area from the outside world and still open itself in a friendly manner to most visitors. And if it's no longer beautiful, or simply doesn't suit you? Then simply paint your entrance door!
Table of Contents
2. Step-by-Step: How do I paint my front door myself?
3. Wood, aluminium or plastic: These are the special features of the material
4. Video: Barbara's Suitcase Camera - Paint your front door yourself with MissPompadour colours!
5. Frequently asked questions about painting and varnishing your front door
6. These are the accessories you need to paint your front door
Before vs. After: Painting projects from the MissPompadour community
Why should you paint your front door? Because a new coat of paint makes it look new again. An exterior door is usually custom-made and therefore worth a lot. A new door always means a high financial outlay. But with just a little time and a little paint, you can create your very own entrance. Take a look at what our customers have already done with their entrance doors and let yourself be inspired! With our simple step-by-step instructions, you can paint your front door individually and for a long time.
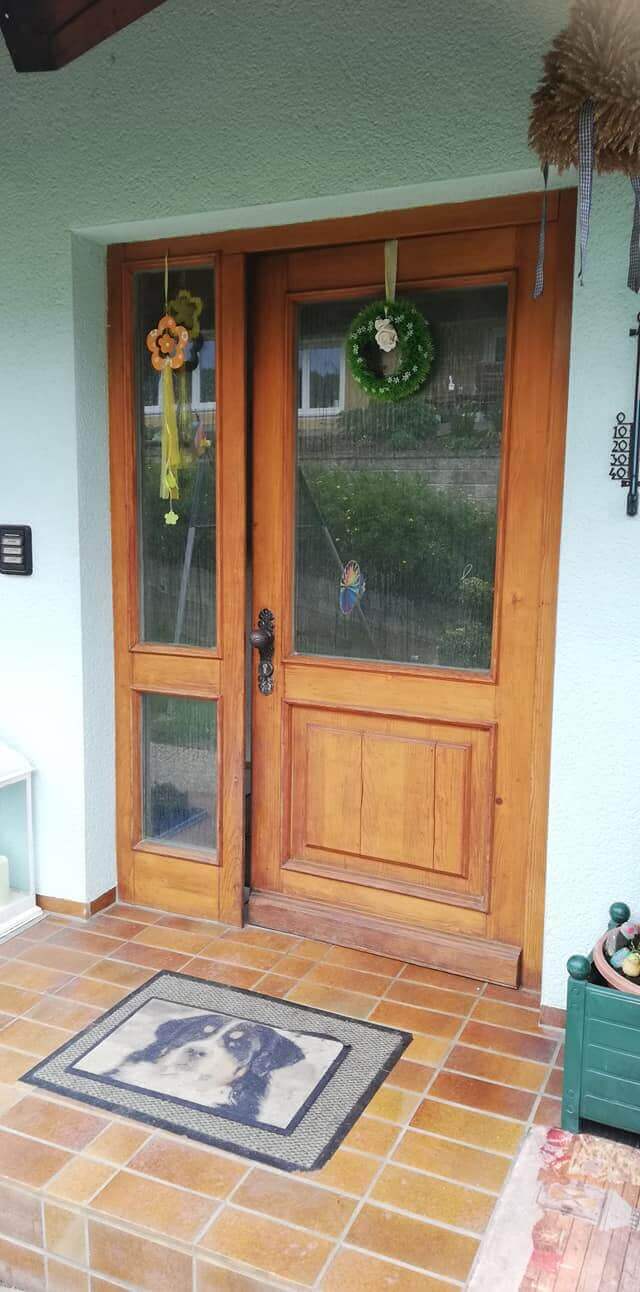
Before
- This once very beautiful front door made of wood with thick-film glaze simply got on in years and needed care.
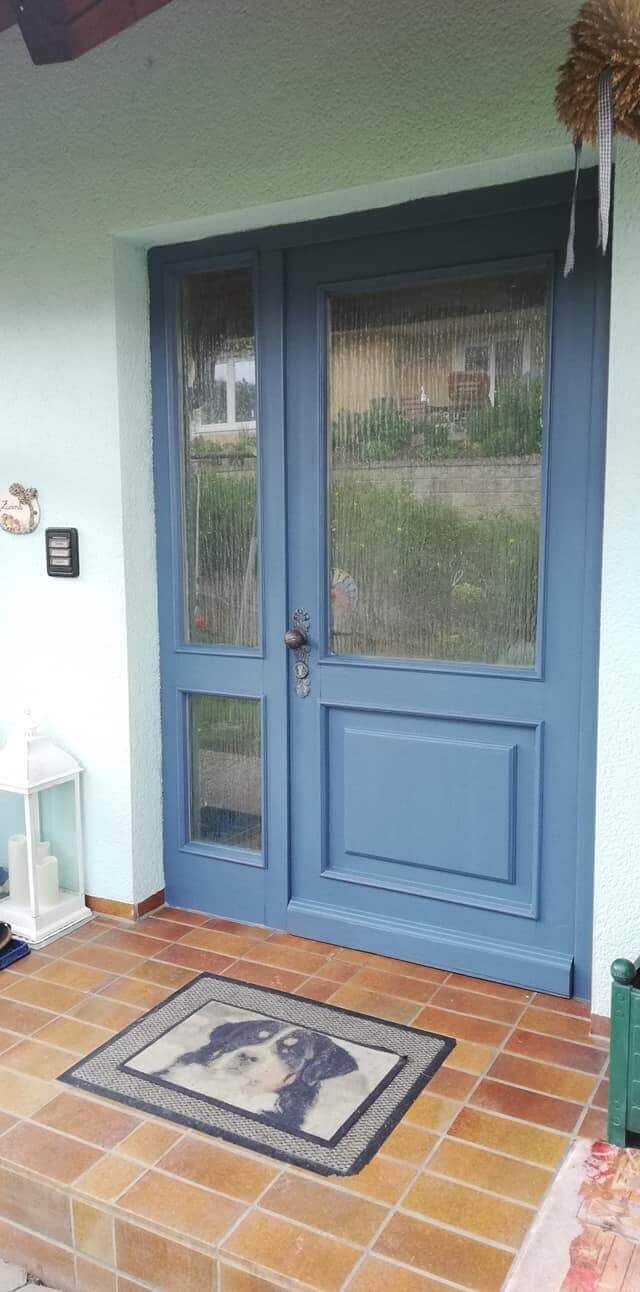
After
- After painting, the door shines freshly in new splendour.
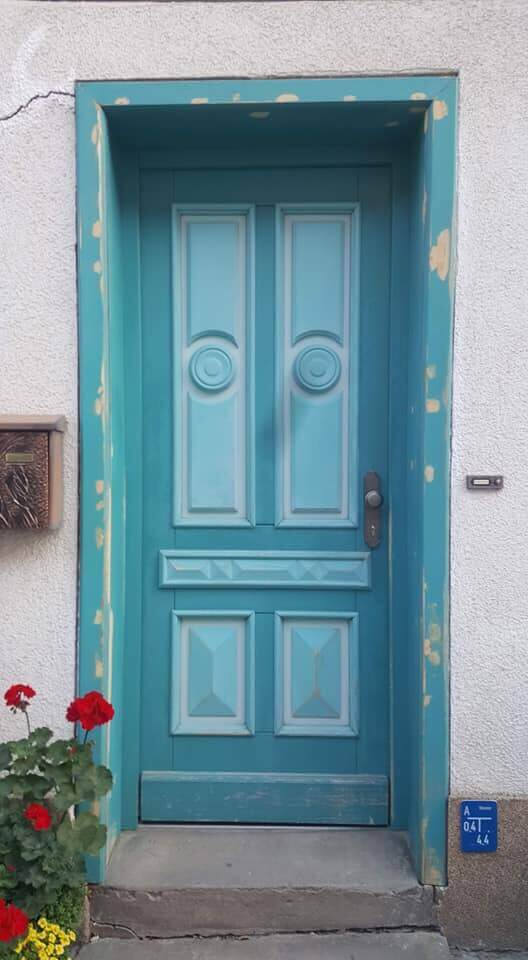
Before
- On this beautiful front door, the once wonderful old paint had come down quite a bit.
After
- Our customer has managed to preserve the beautiful look and has breathed new life into this door.
Before
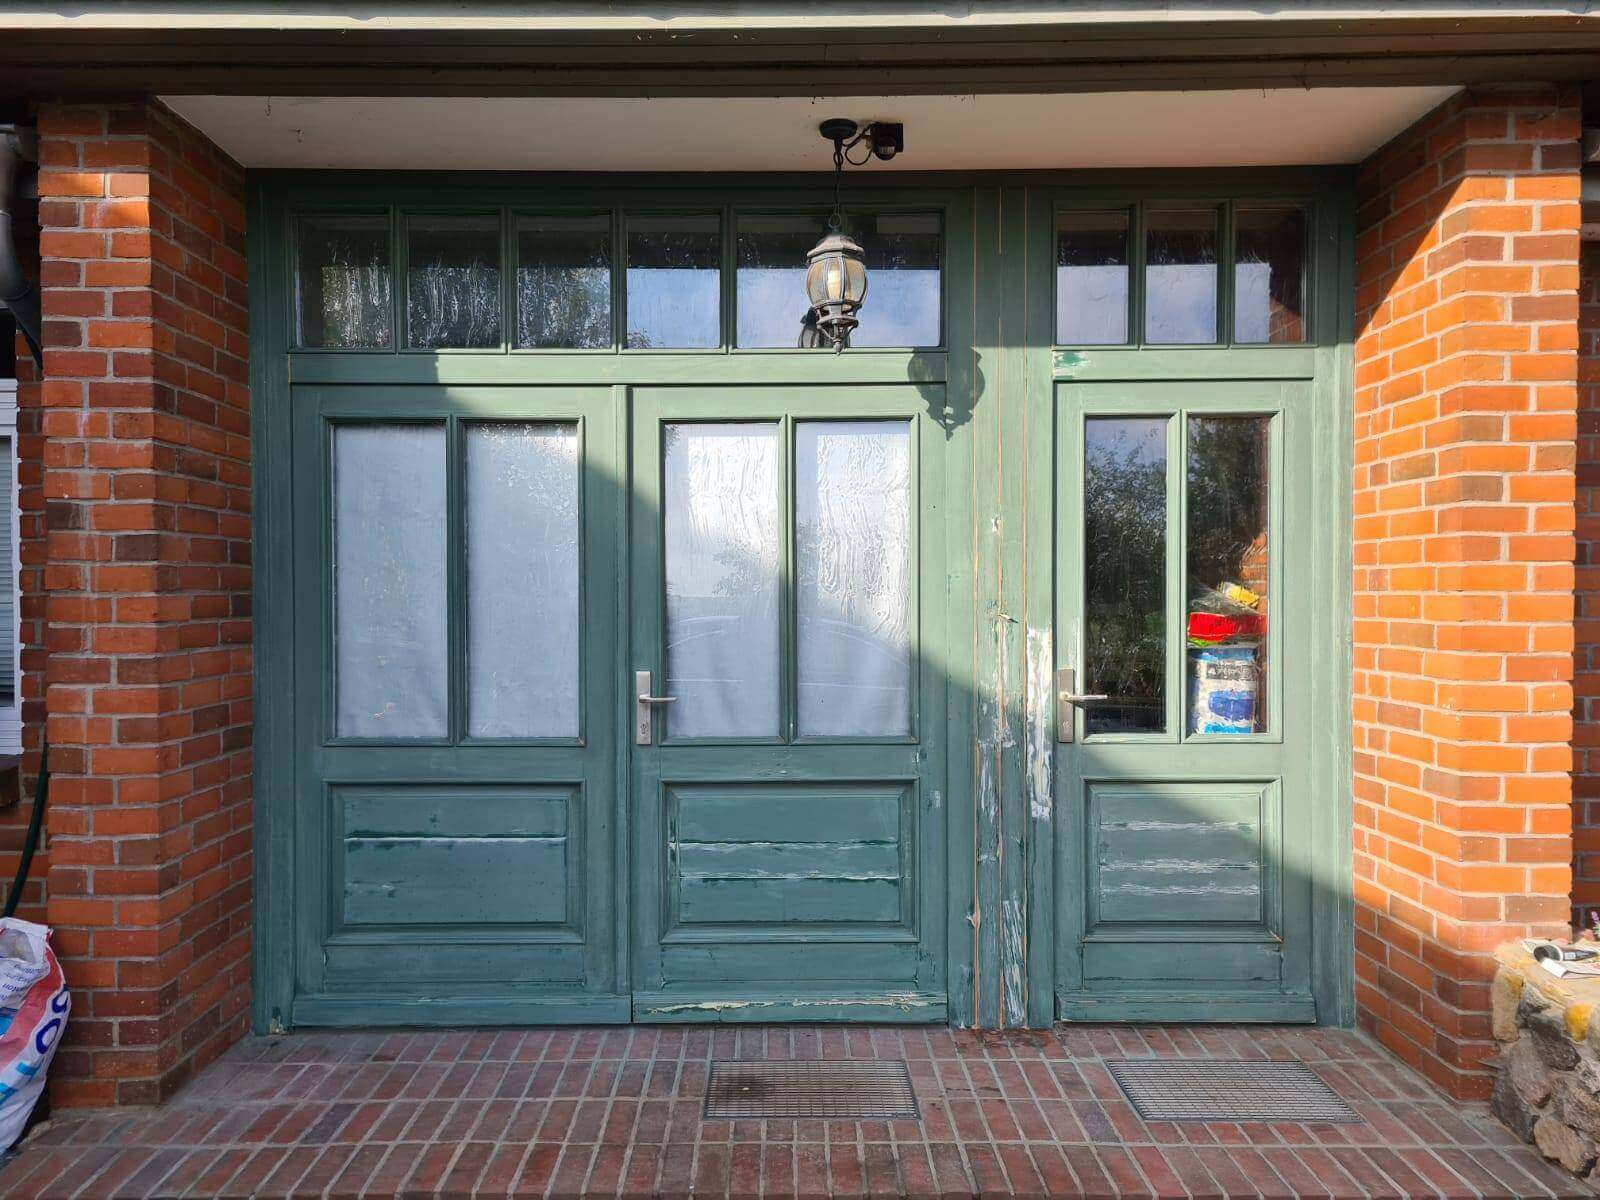
- Here, too, the paint layer was already badly damaged and urgently needed to be renewed.
After
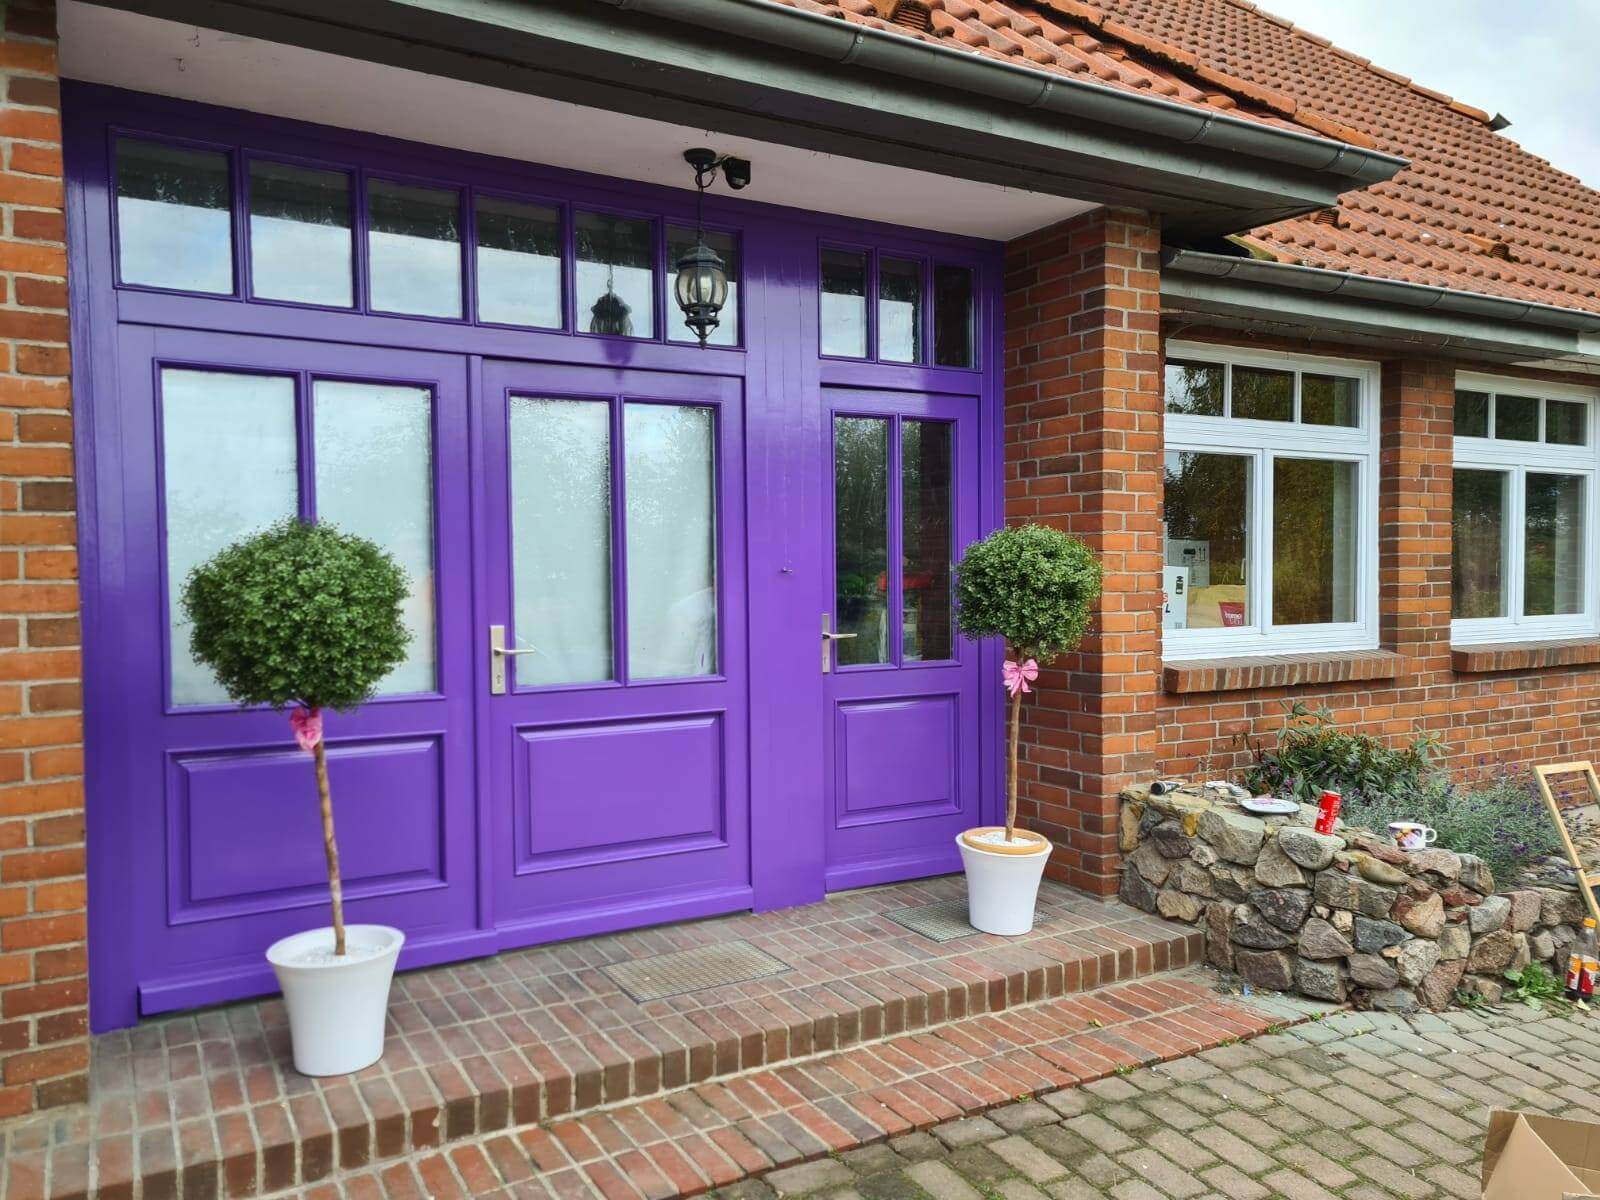
- Our customer loves it colourful, and so of course the front door should also welcome her guests.
Before
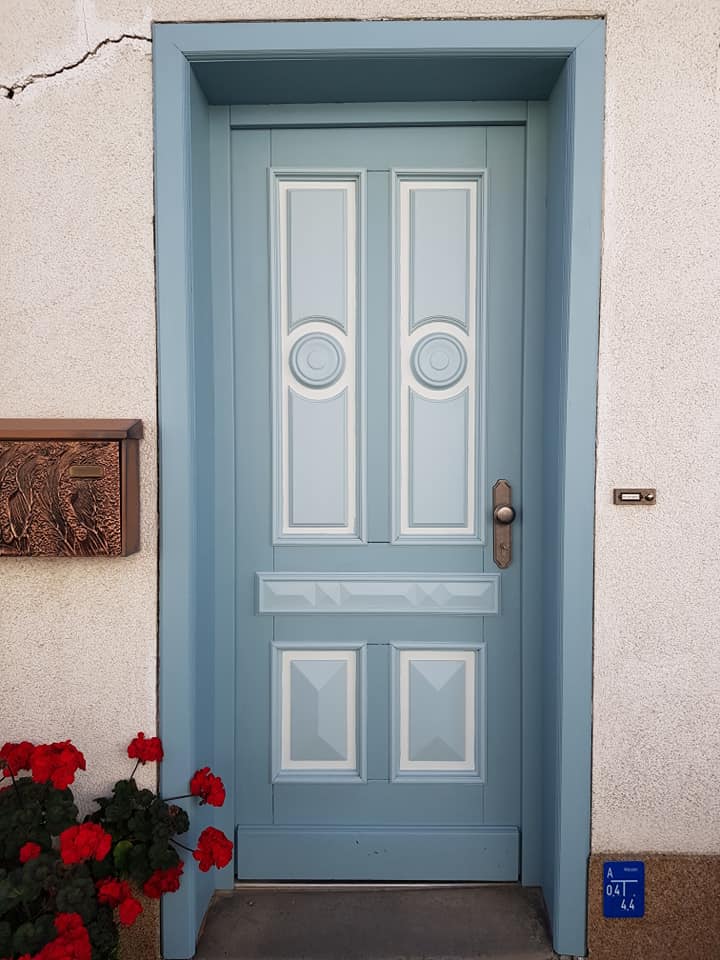
- A classic, old-fashioned front door that didn't match the rest of the house at all.
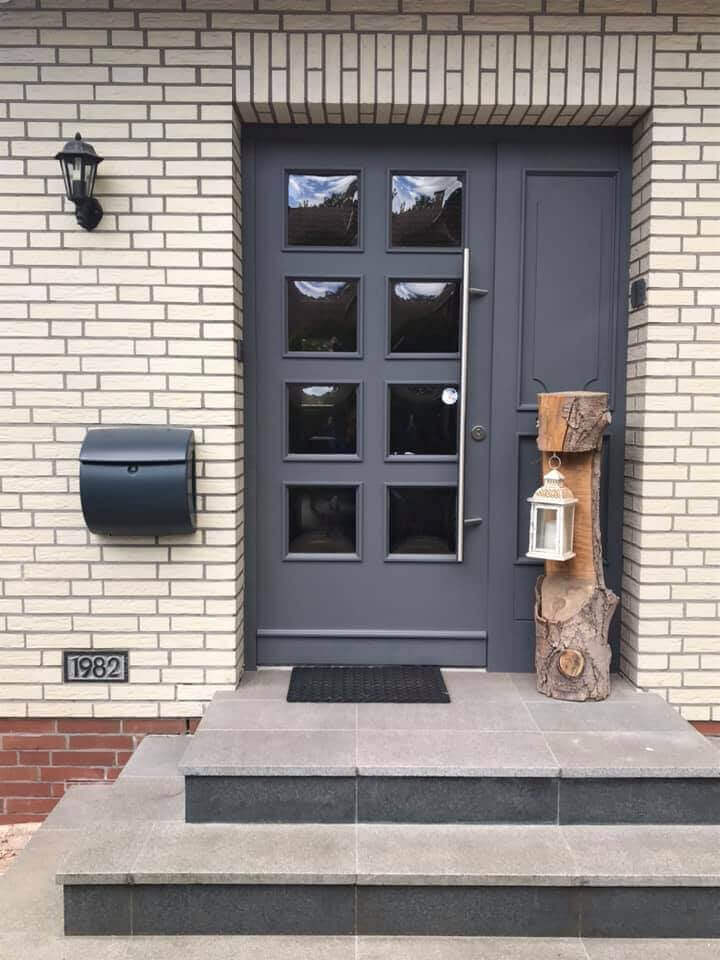
After
- The painting made this door modern again. By the way, this is currently one of the most popular colour shades for front doors.
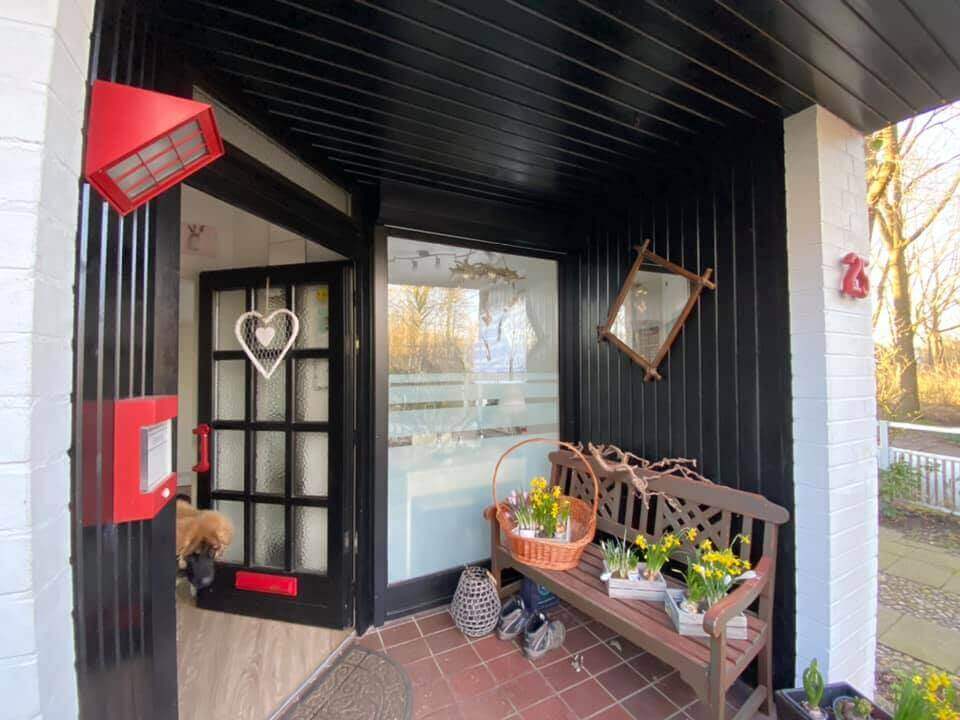
Before
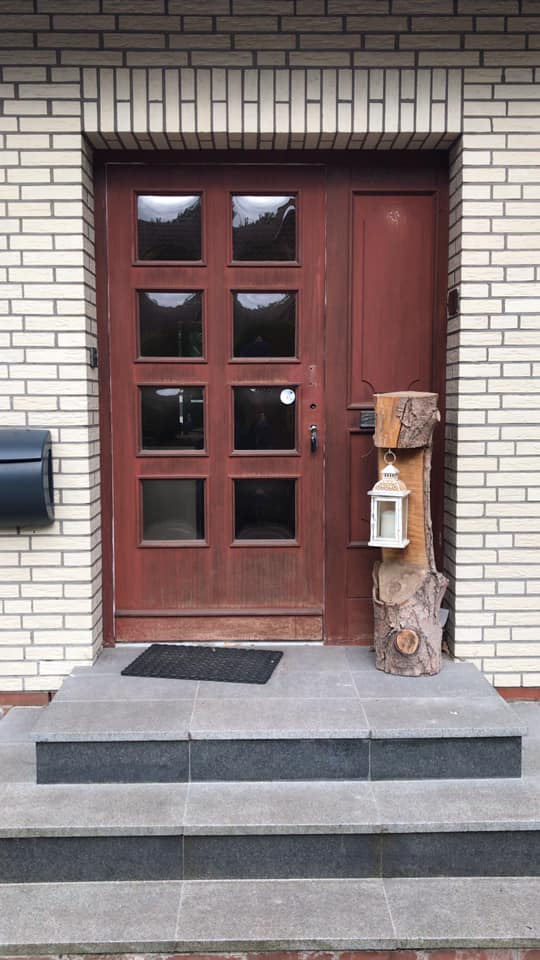
- This dark entrance simply doesn't suit a colourful family. Something had to happen.
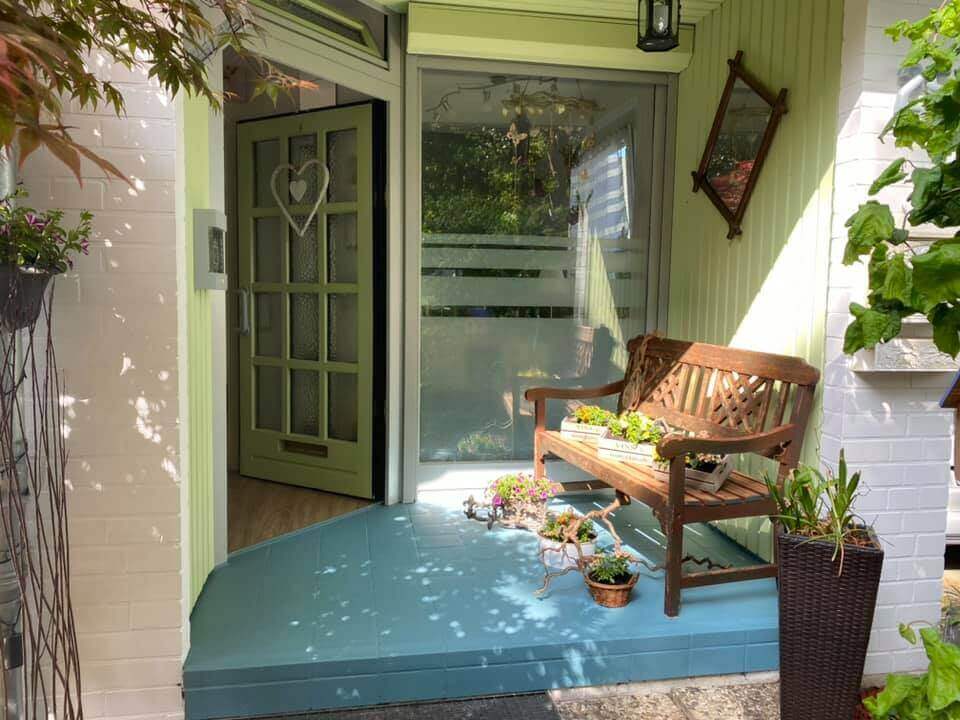
After
- The front door and panelling were painted. No comparison to Before!
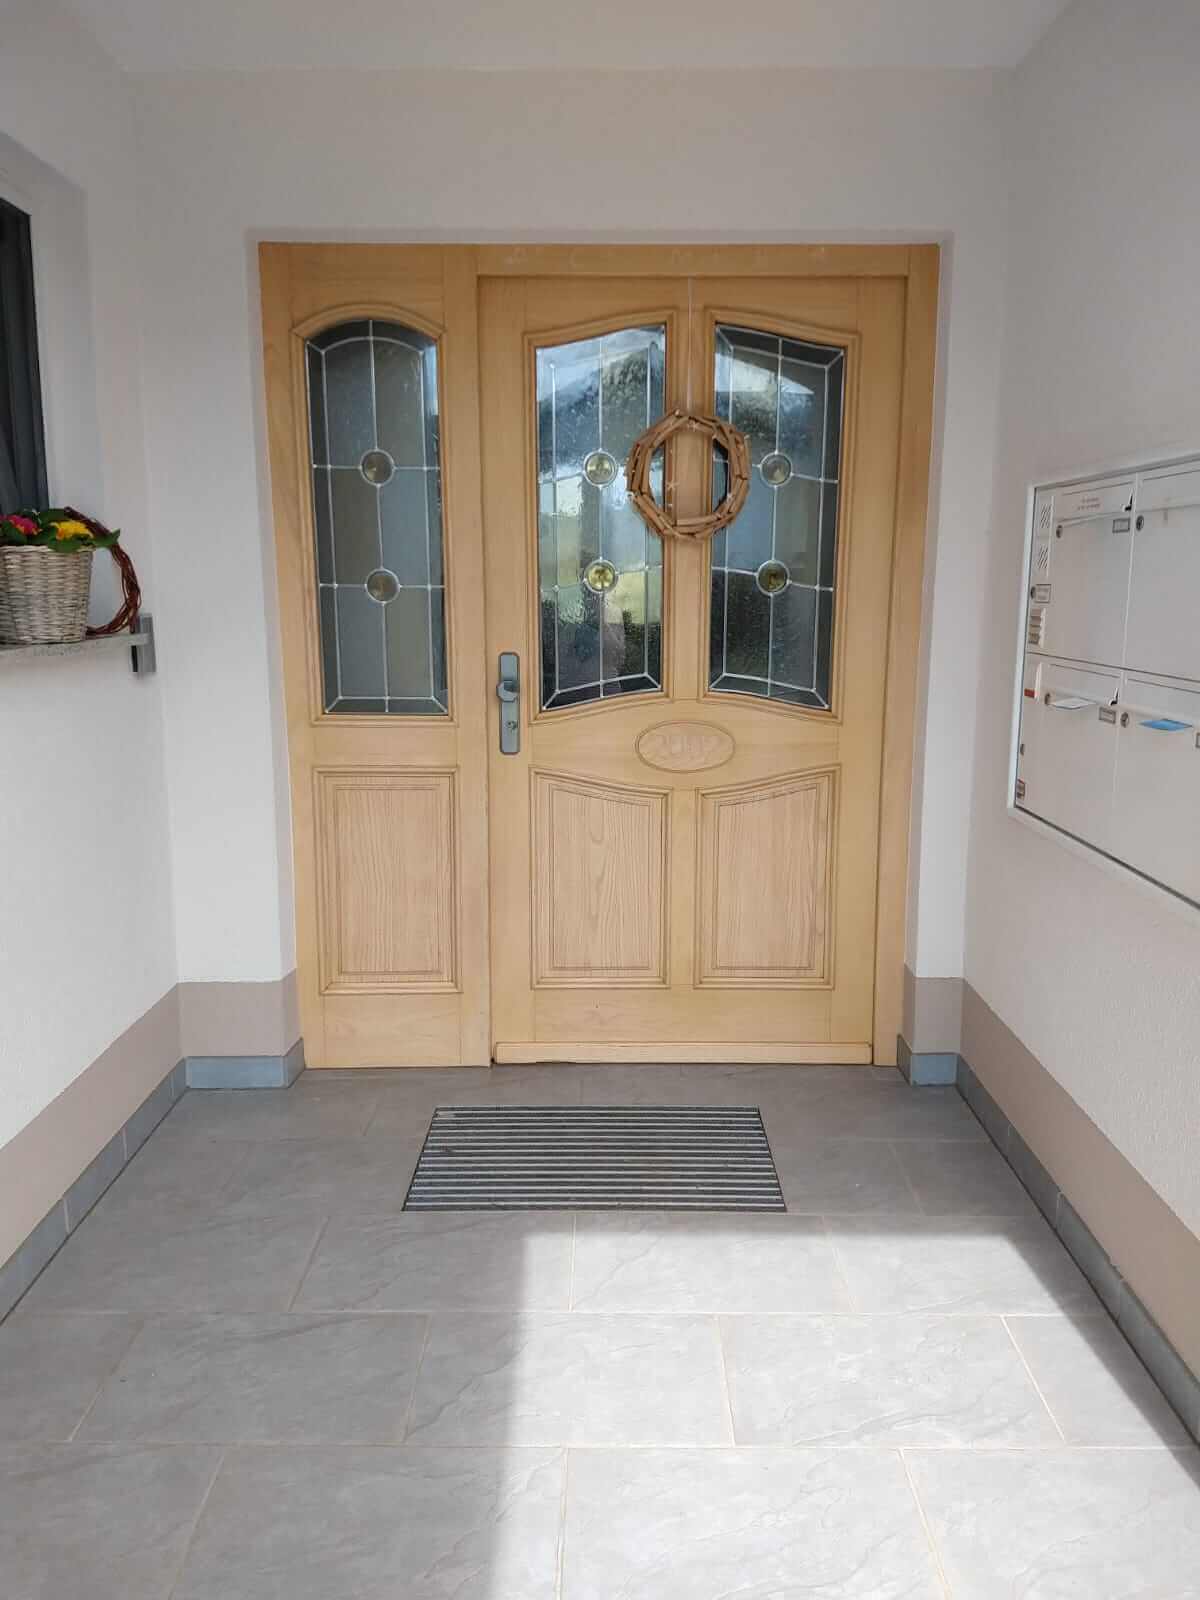
Before
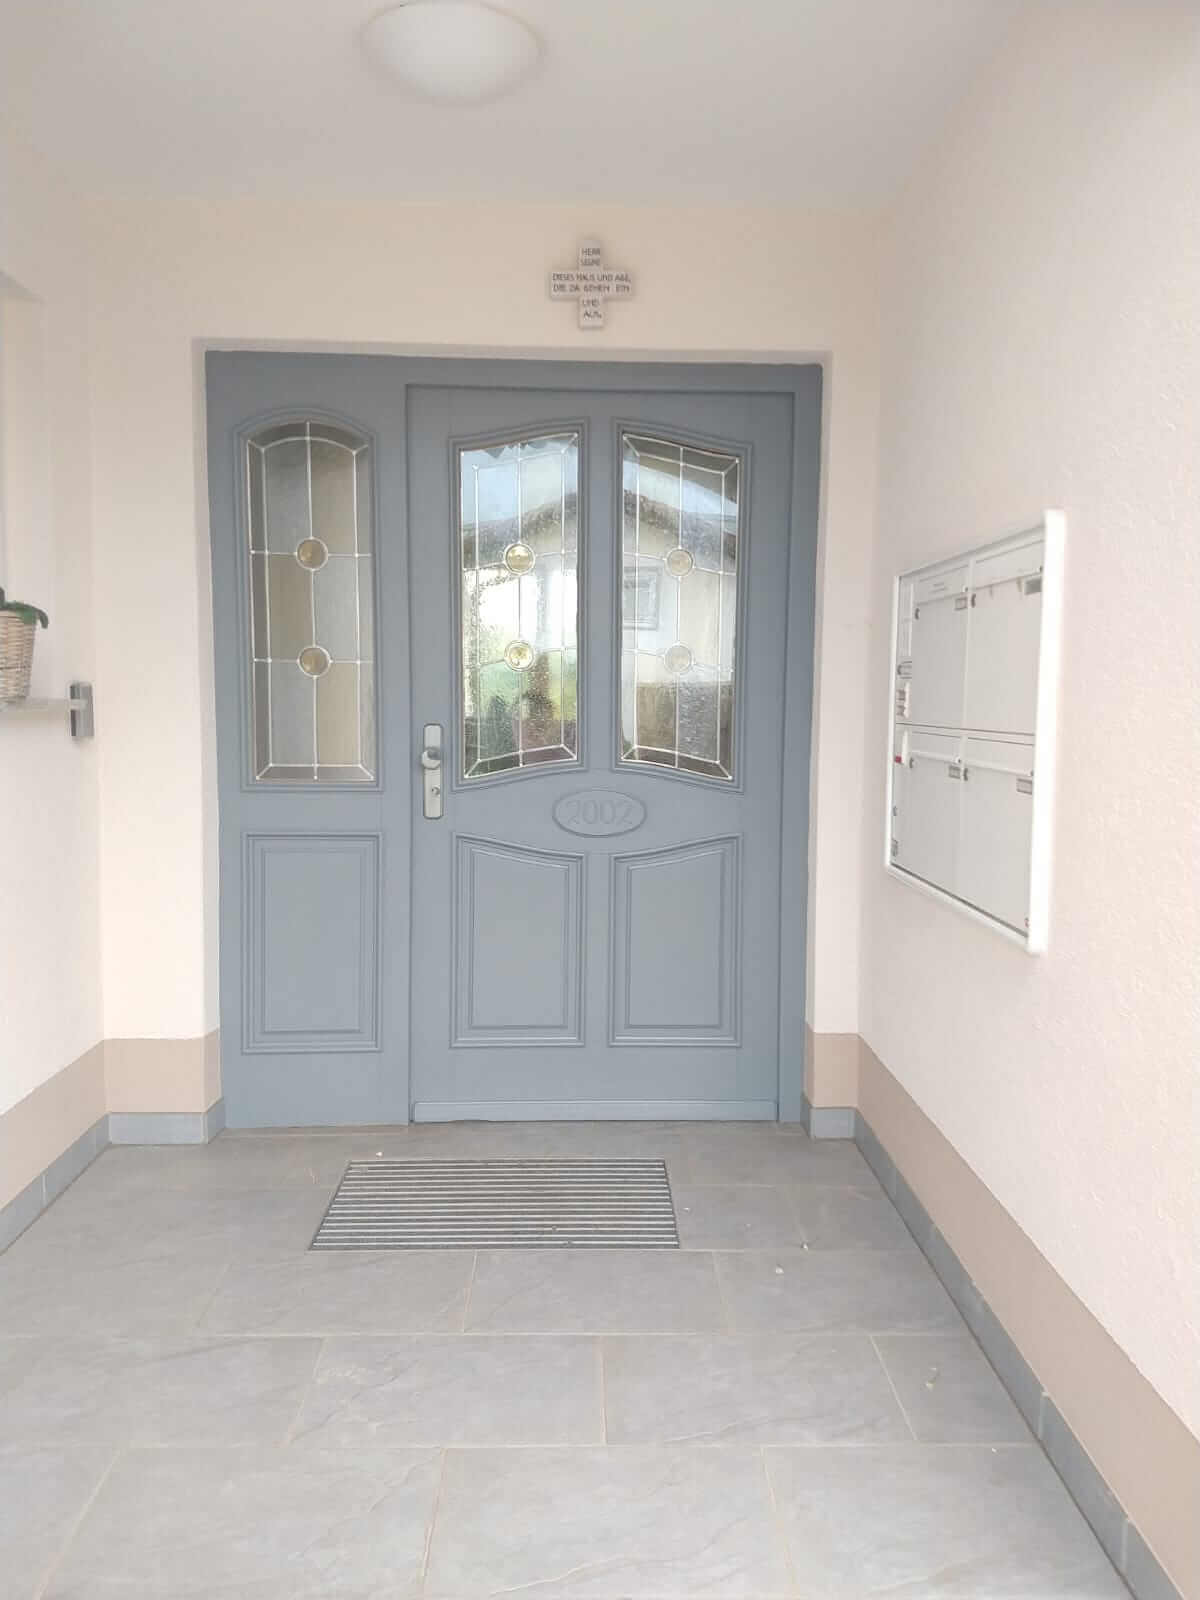
- The residents simply no longer liked the light wood grain and glaze. So the wooden front door was simply painted.
After
- Now the front door and floor look coherent again and the style suits the owners.
Before
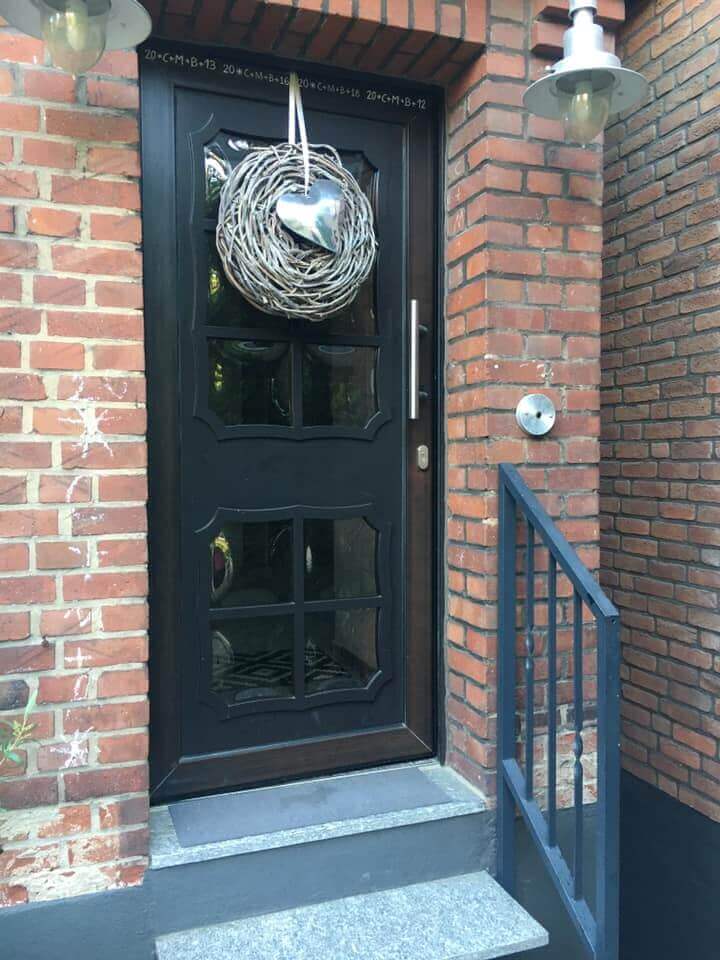
- This entrance area looked uninviting because of the dark front door.
After
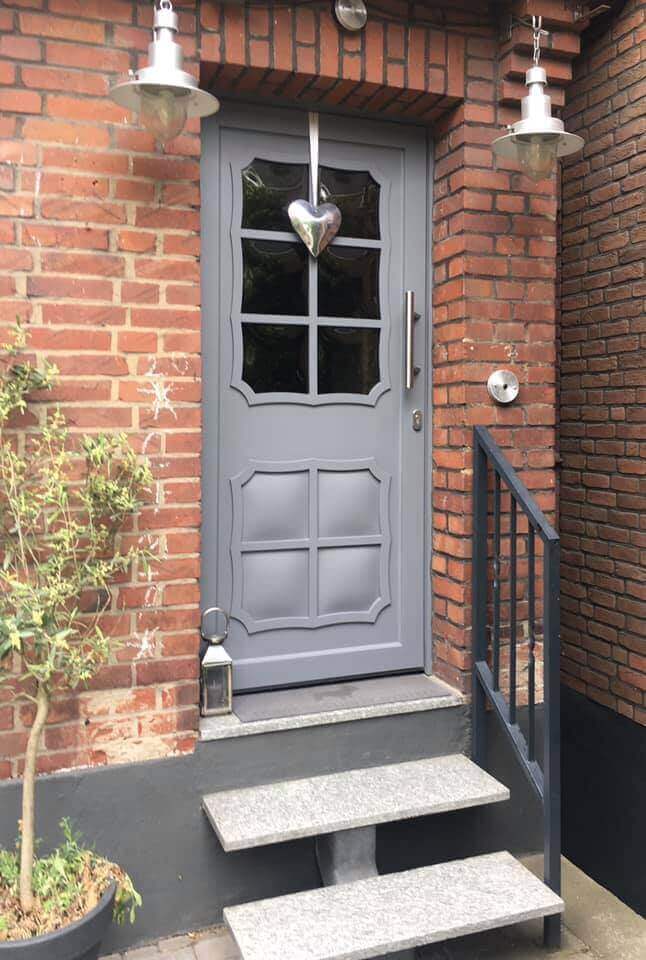
- With a new coat of paint, the entrance was given a friendly atmosphere. The lower windows were simply painted to provide privacy.
Before
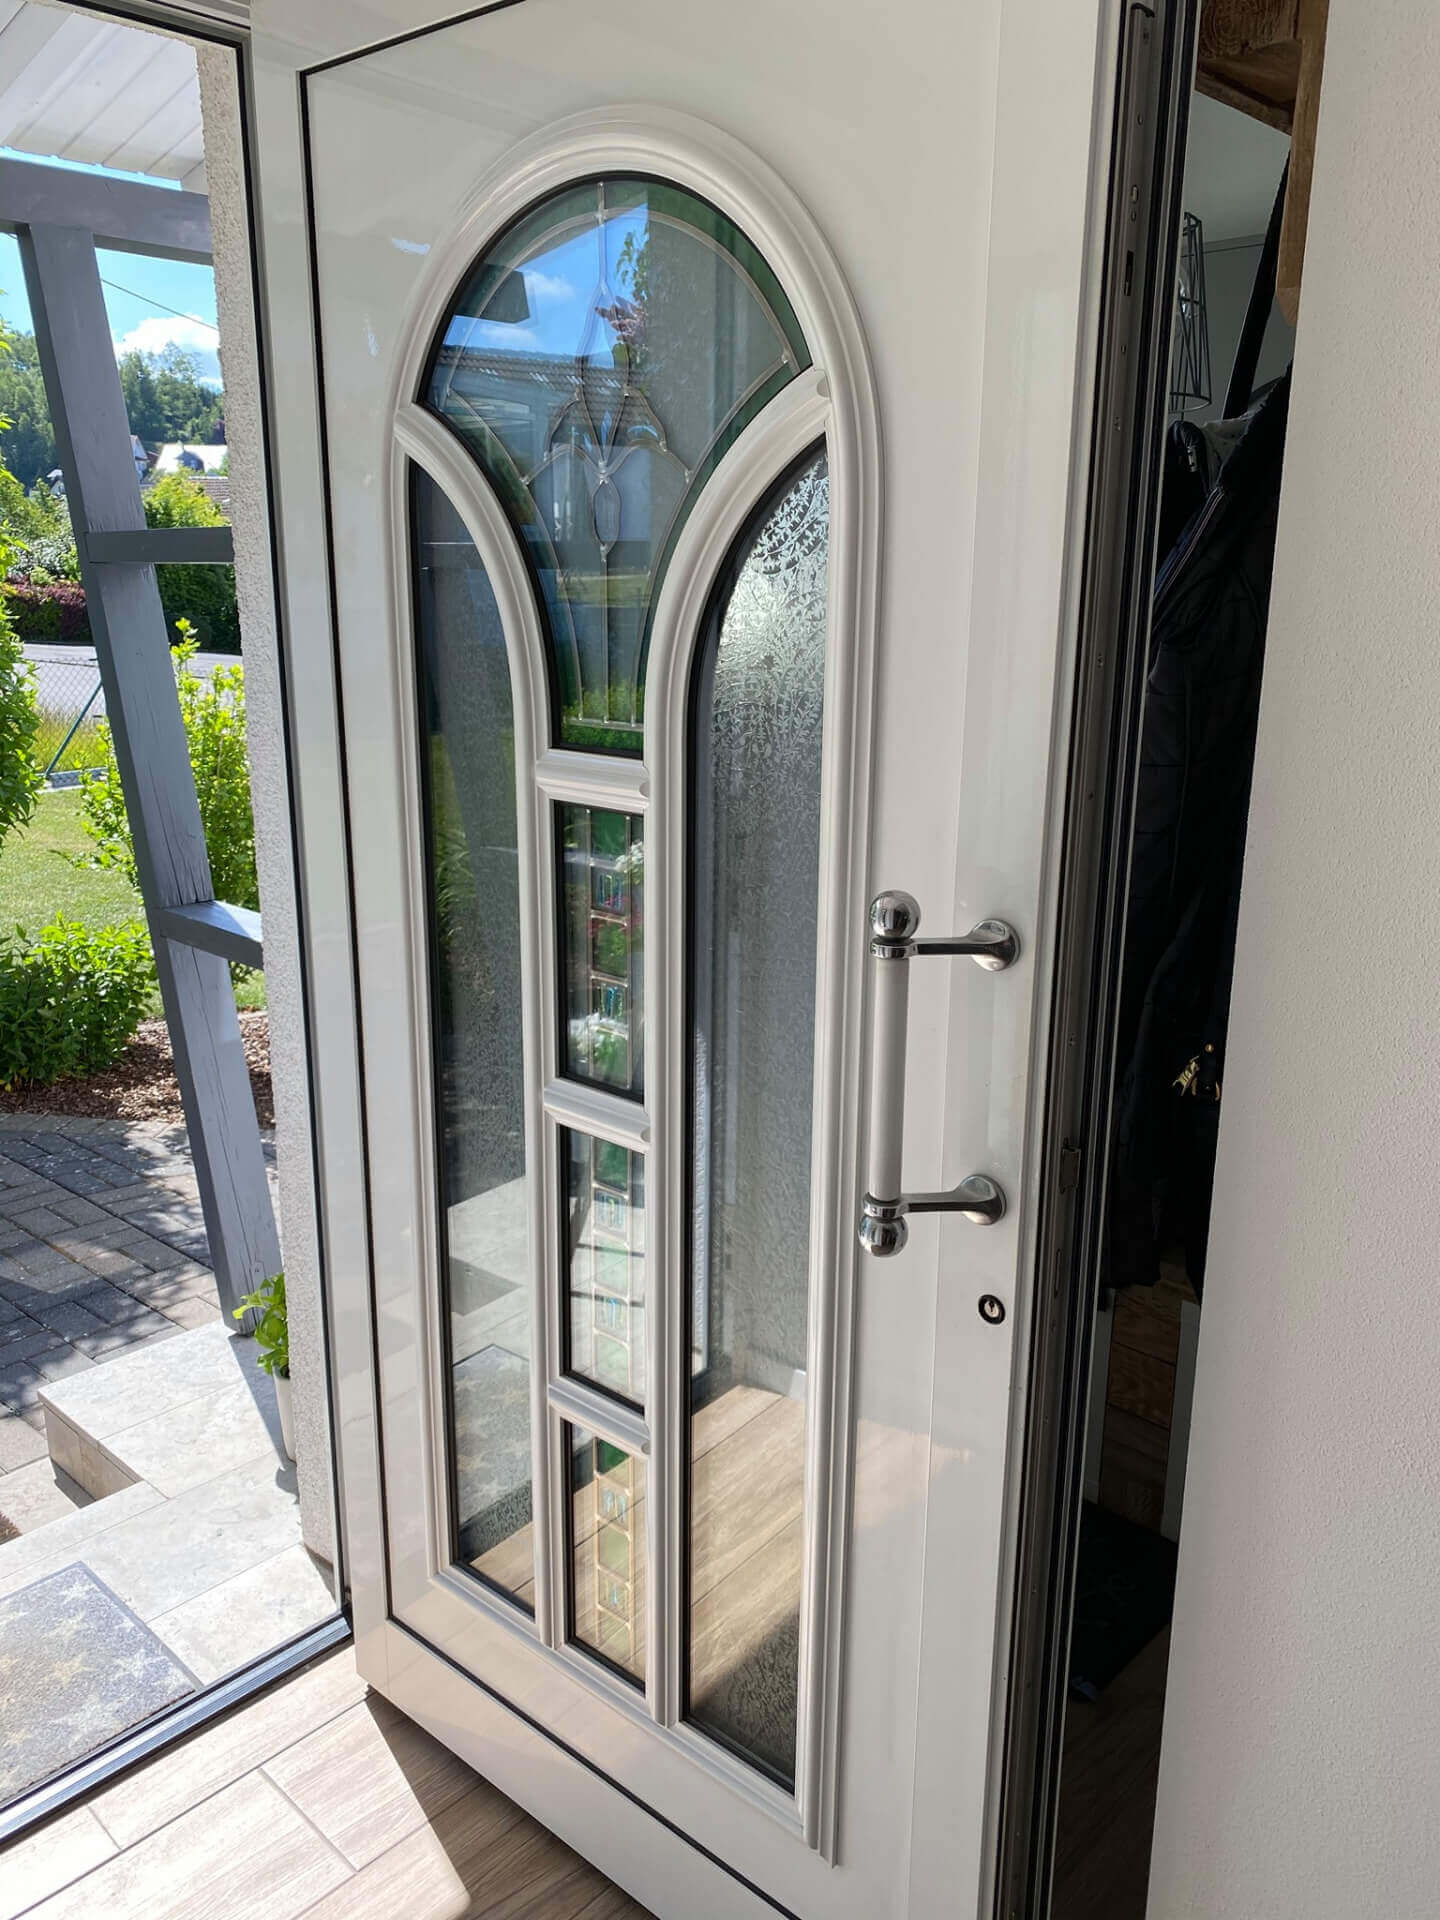
- A classic plastic door. Easy to clean? Yes. Beautiful? Not in the eyes of our customer.
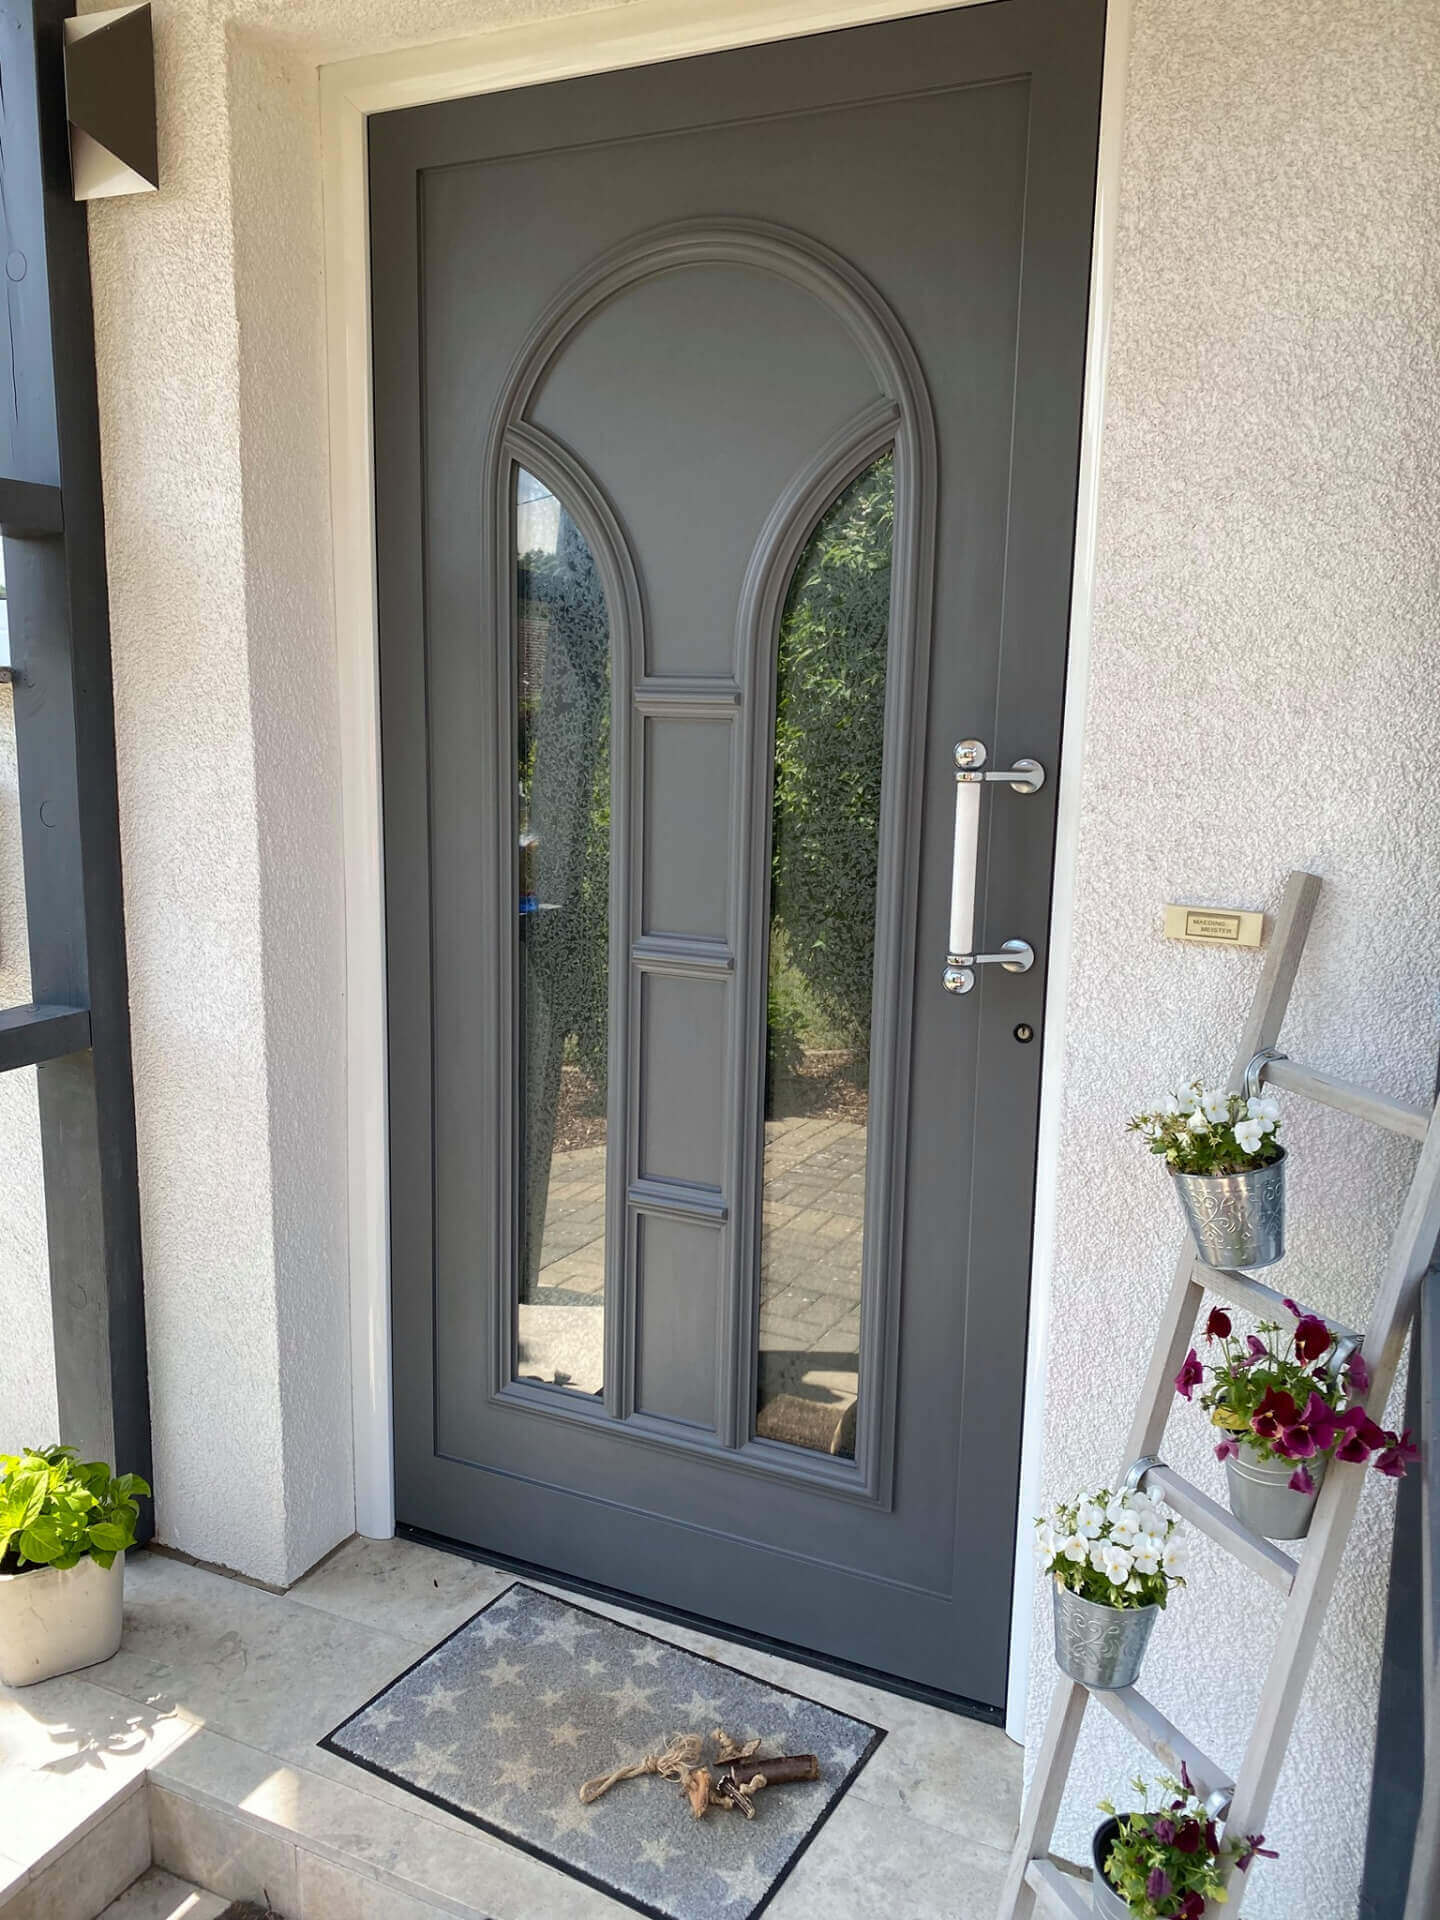
After
- After painting, you can no longer see the plastic on the door. Absolutely an upgrade.
Step-by-Step: How do I paint my front door myself?
Step 1: Choose your varnish
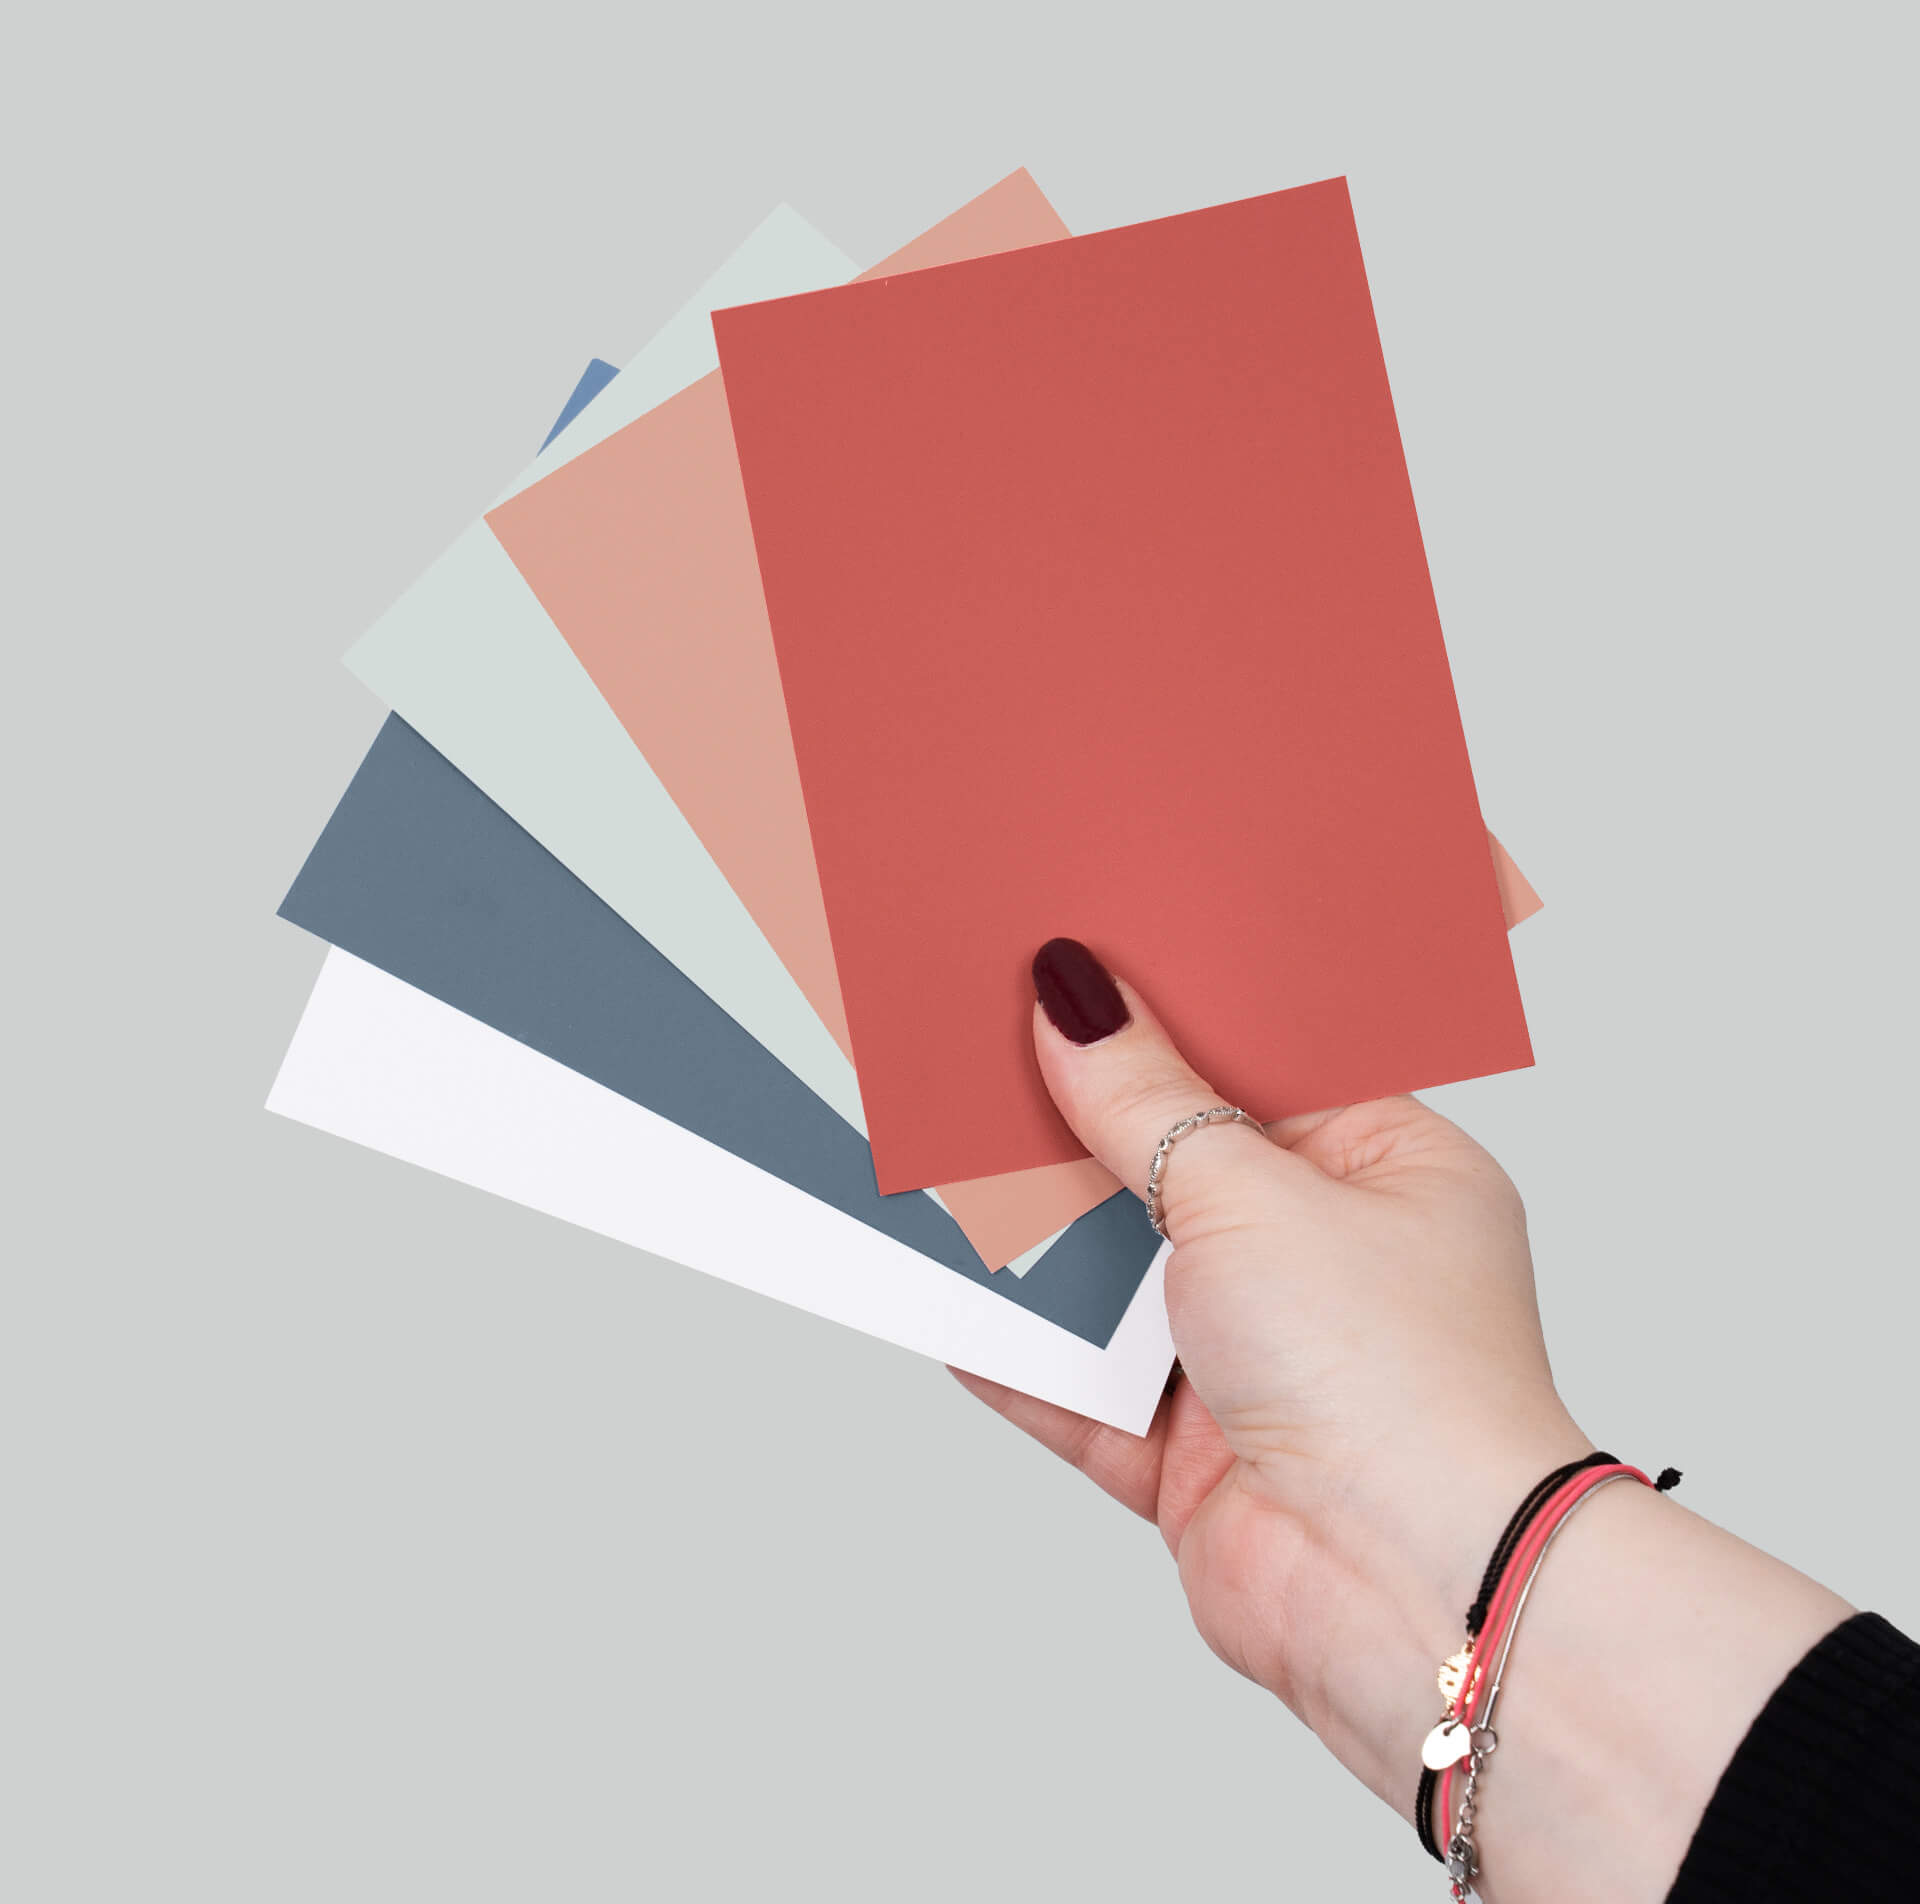
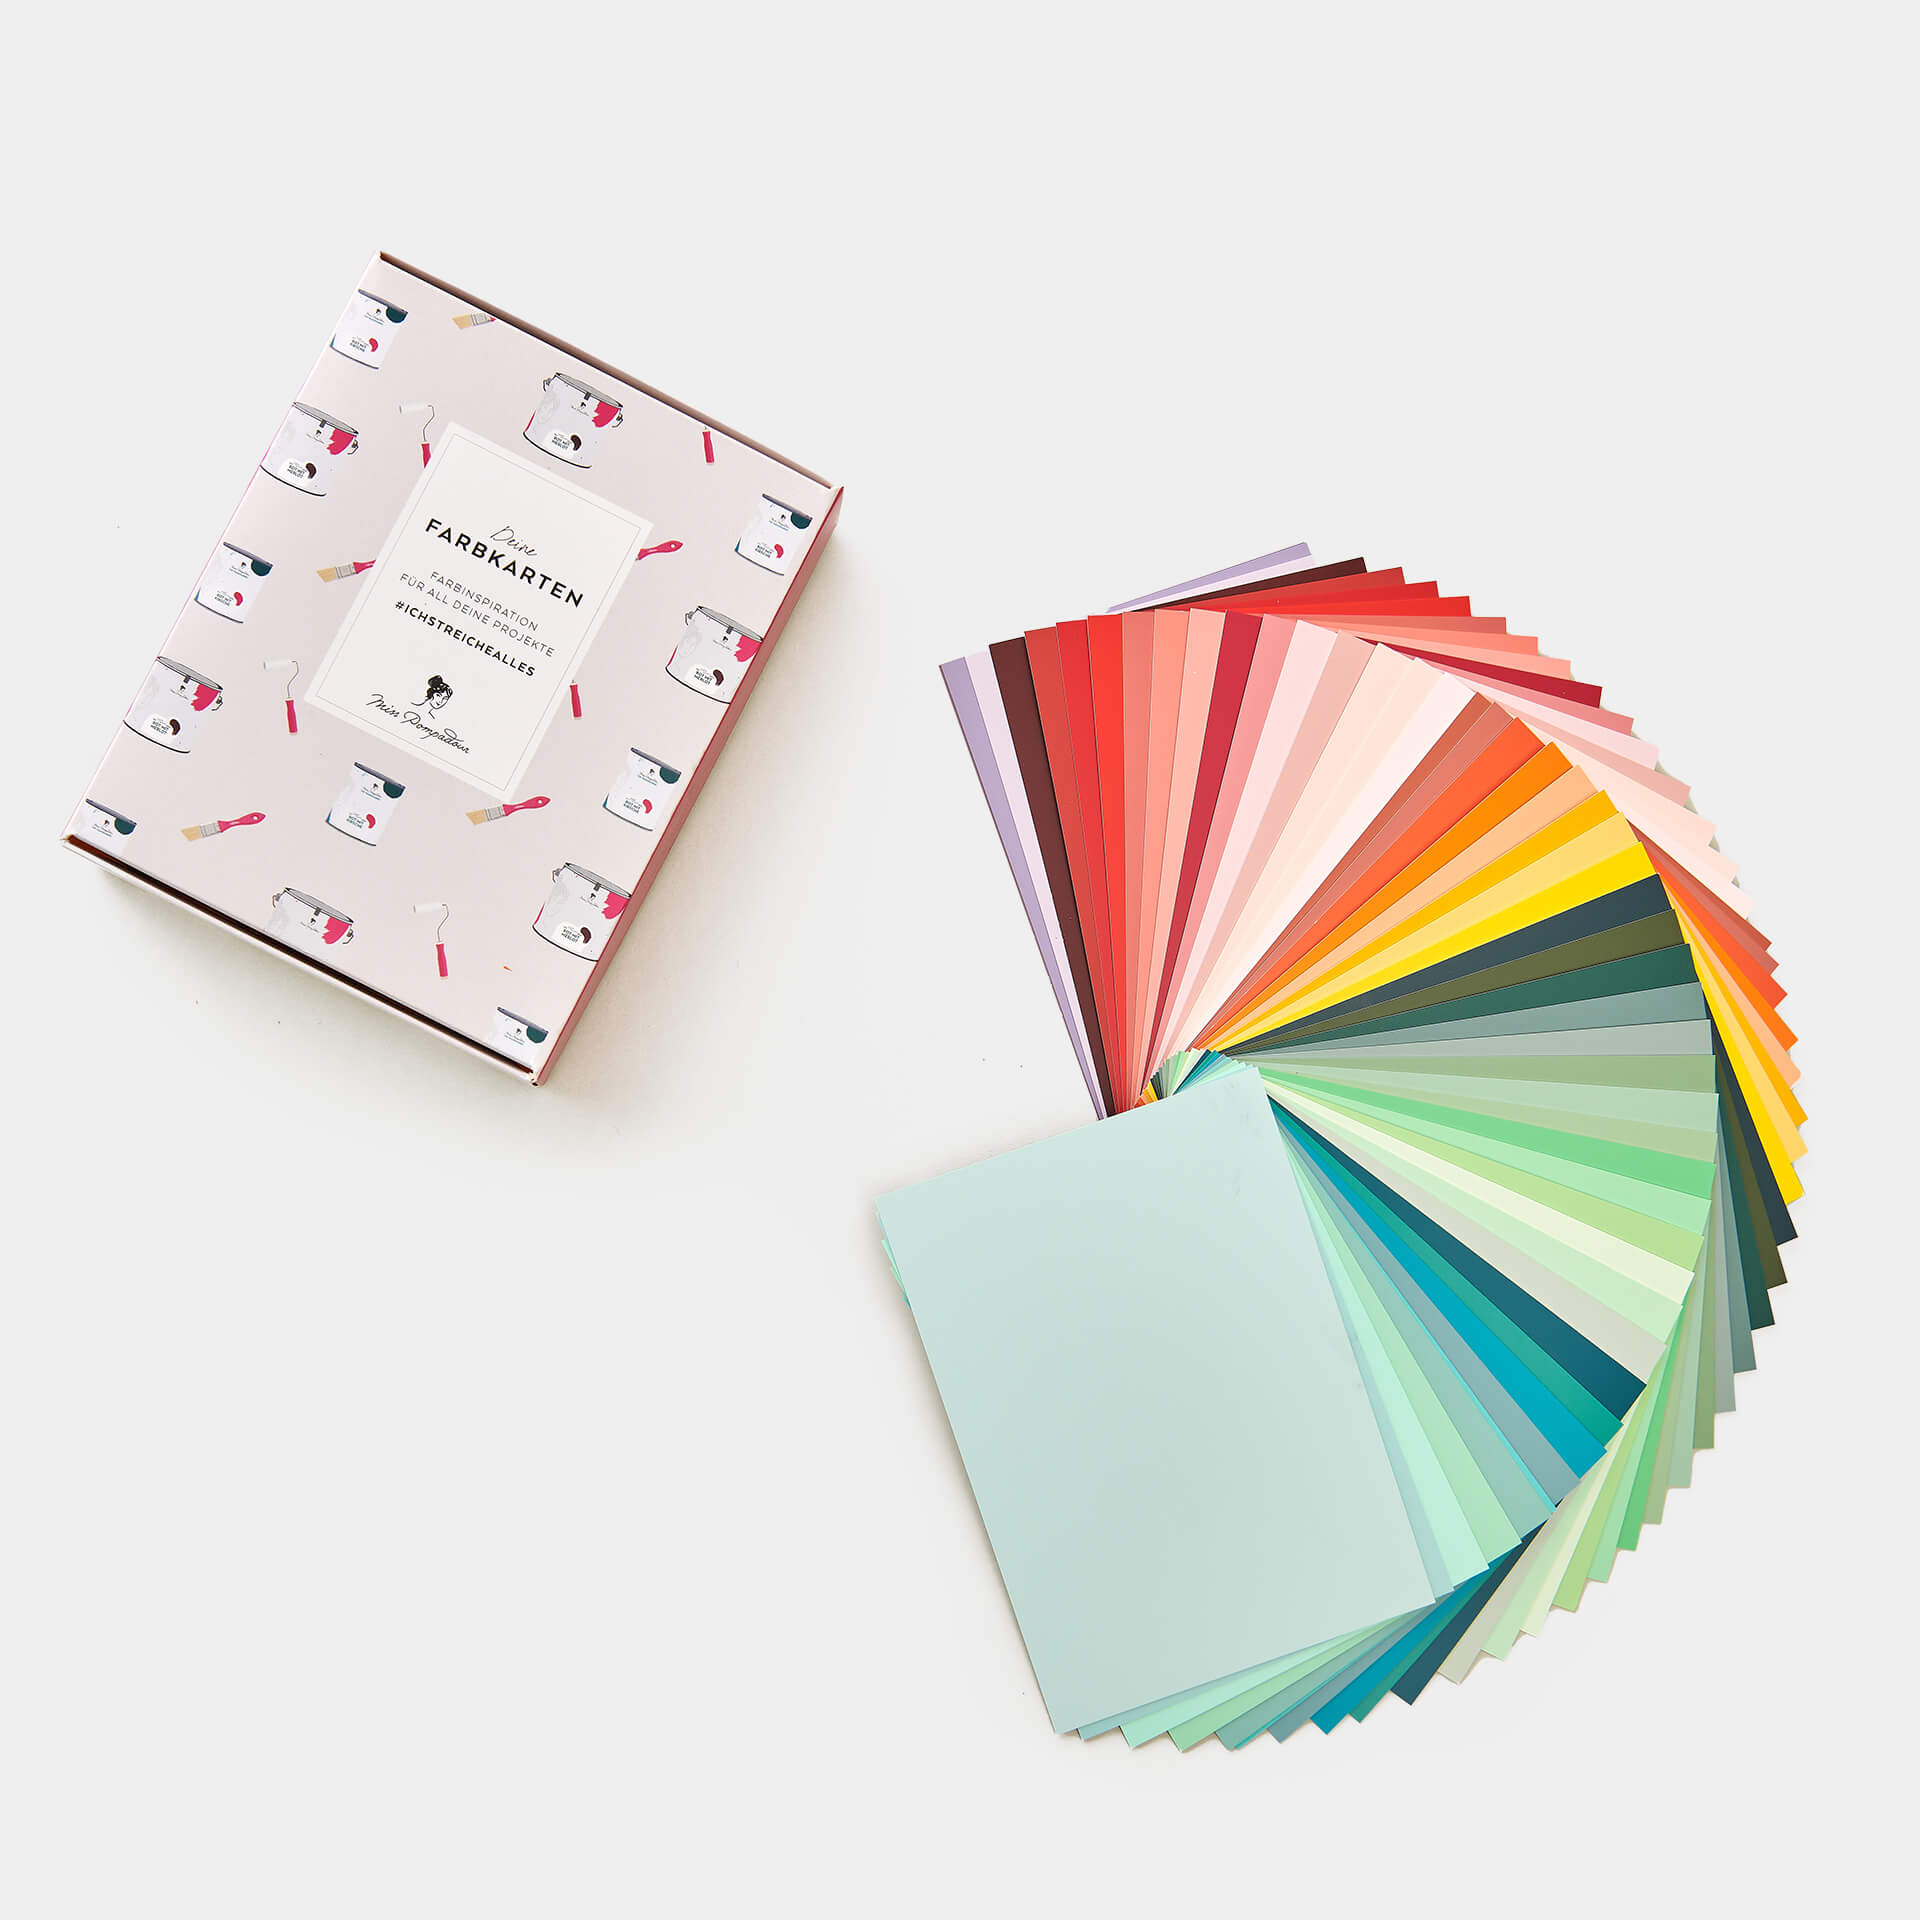
To paint your front door, we recommend our sustainable MissPompadour Eggshell Varnish. It's perfect for outdoor use. Use it to paint any front door, whether it's real wood, plastic or metal. You can get it in many beautiful colour shades. Please note that the colours can appear lighter outside depending on the incidence of light. It is best to choose the colour shade directly on site with our colour cards.
Step 2: Prepare the surface
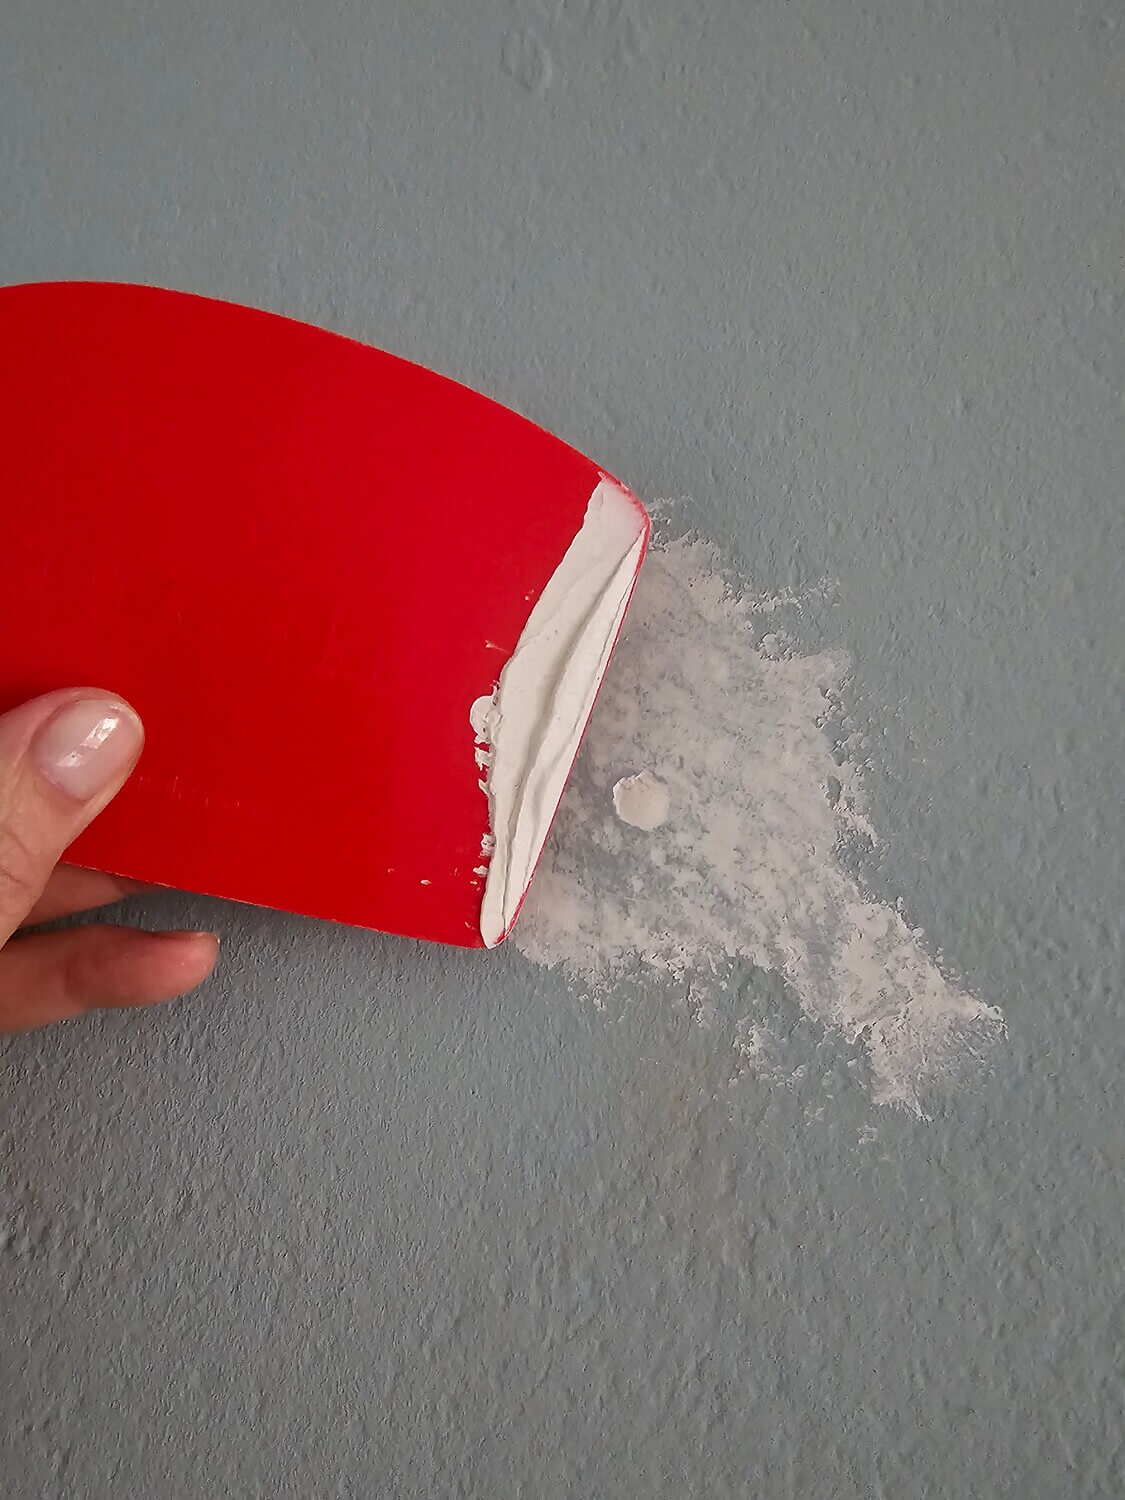
Paint a front door with an intact varnish without sanding. However, if there are damaged areas and chipping, you should first smooth or sand them down. Use very fine-grained sandpaper for this.You can easily conceal any holes or d ents withTo Fill - MissPompadour putty. You can remove or tape off the door handle and fittings.
Step 3: Clean door and frame
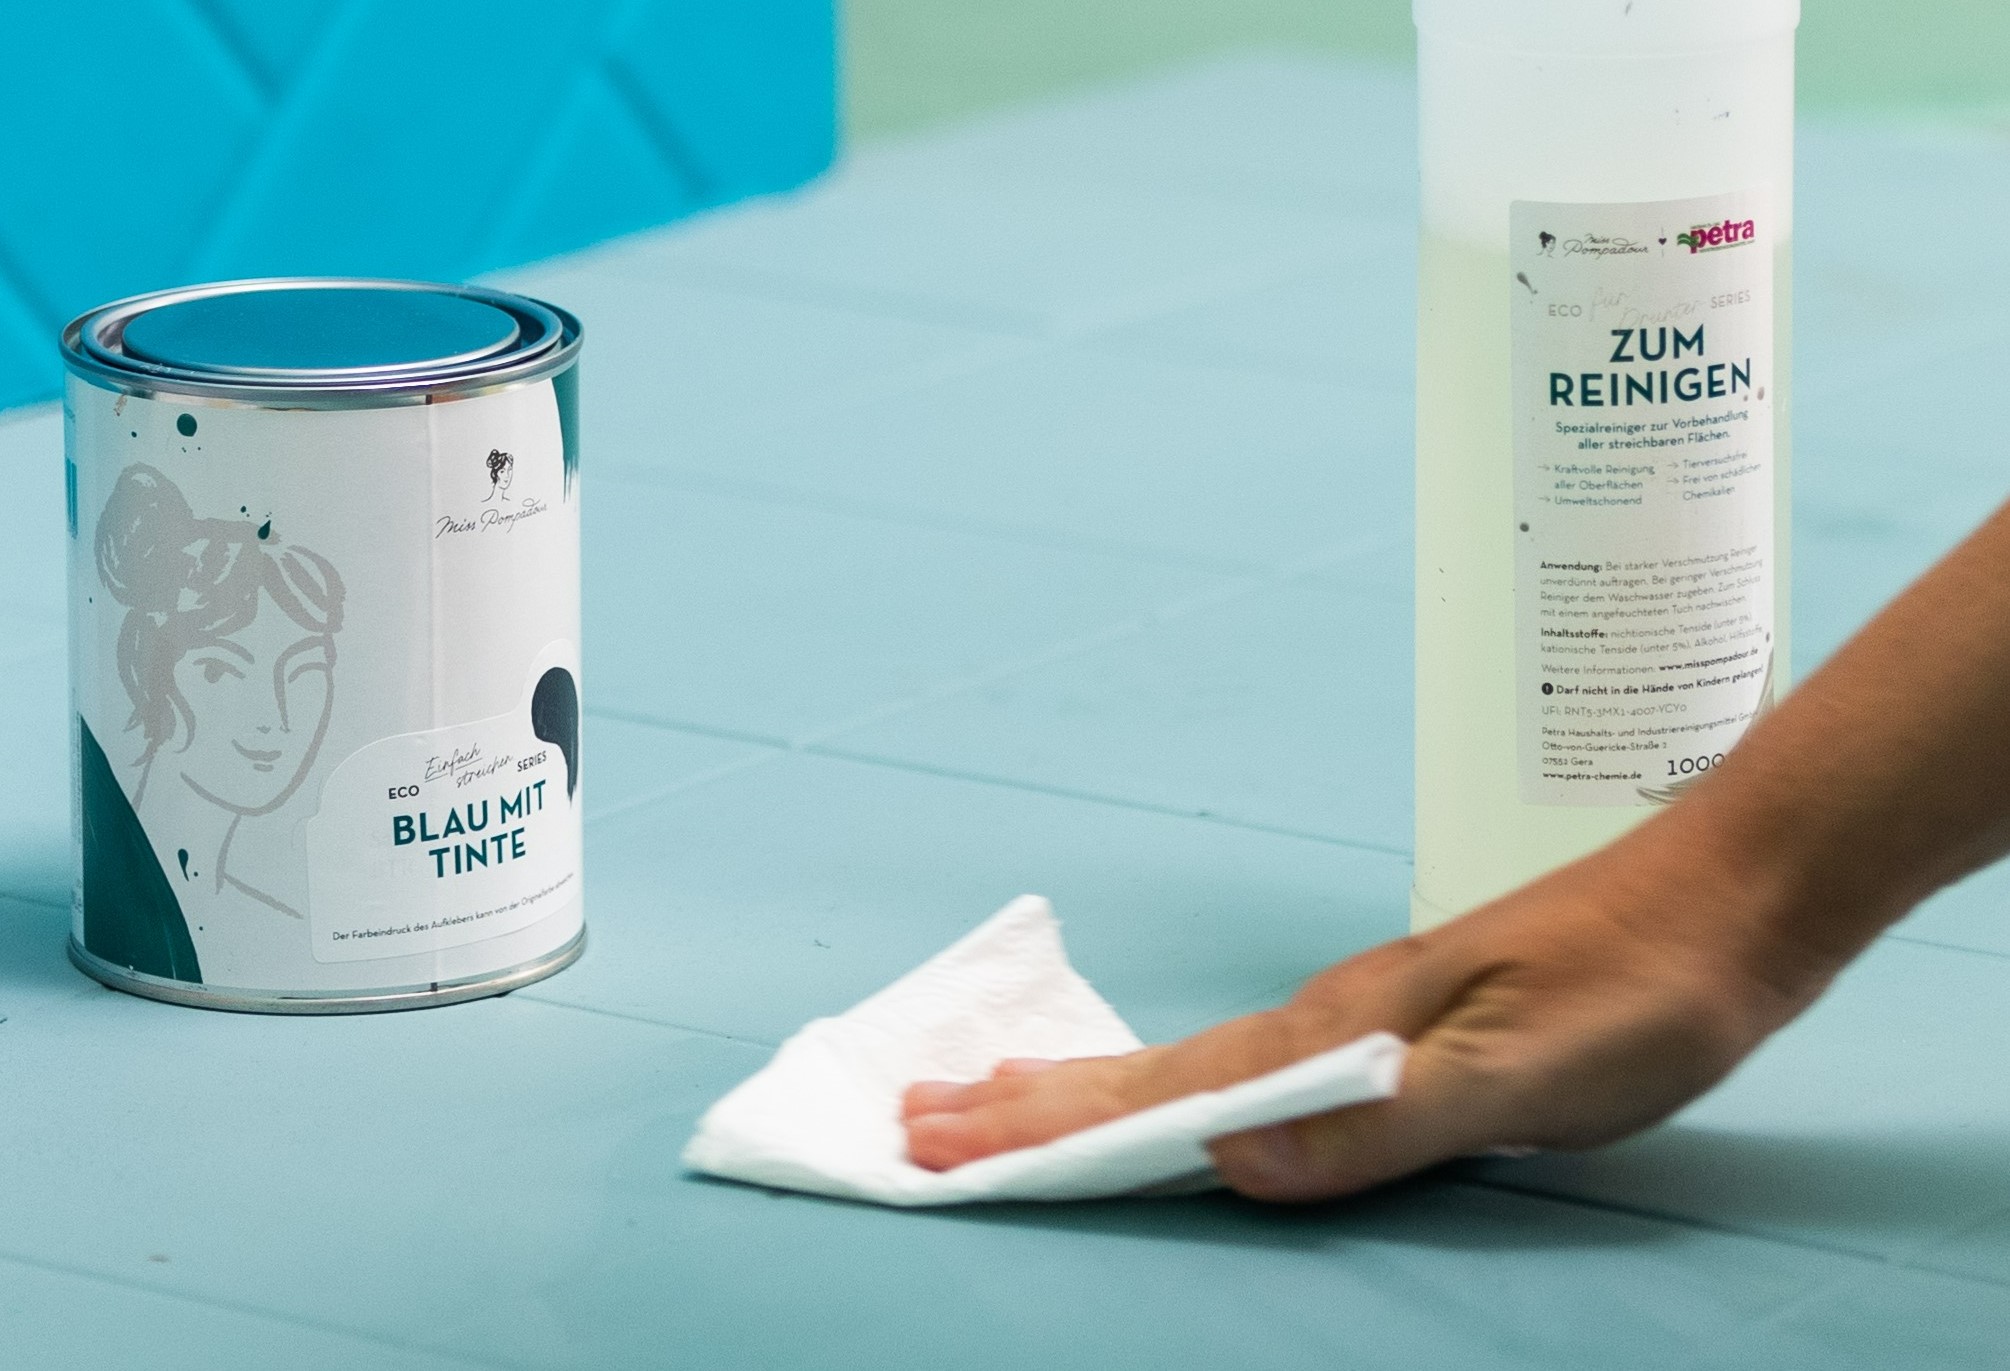
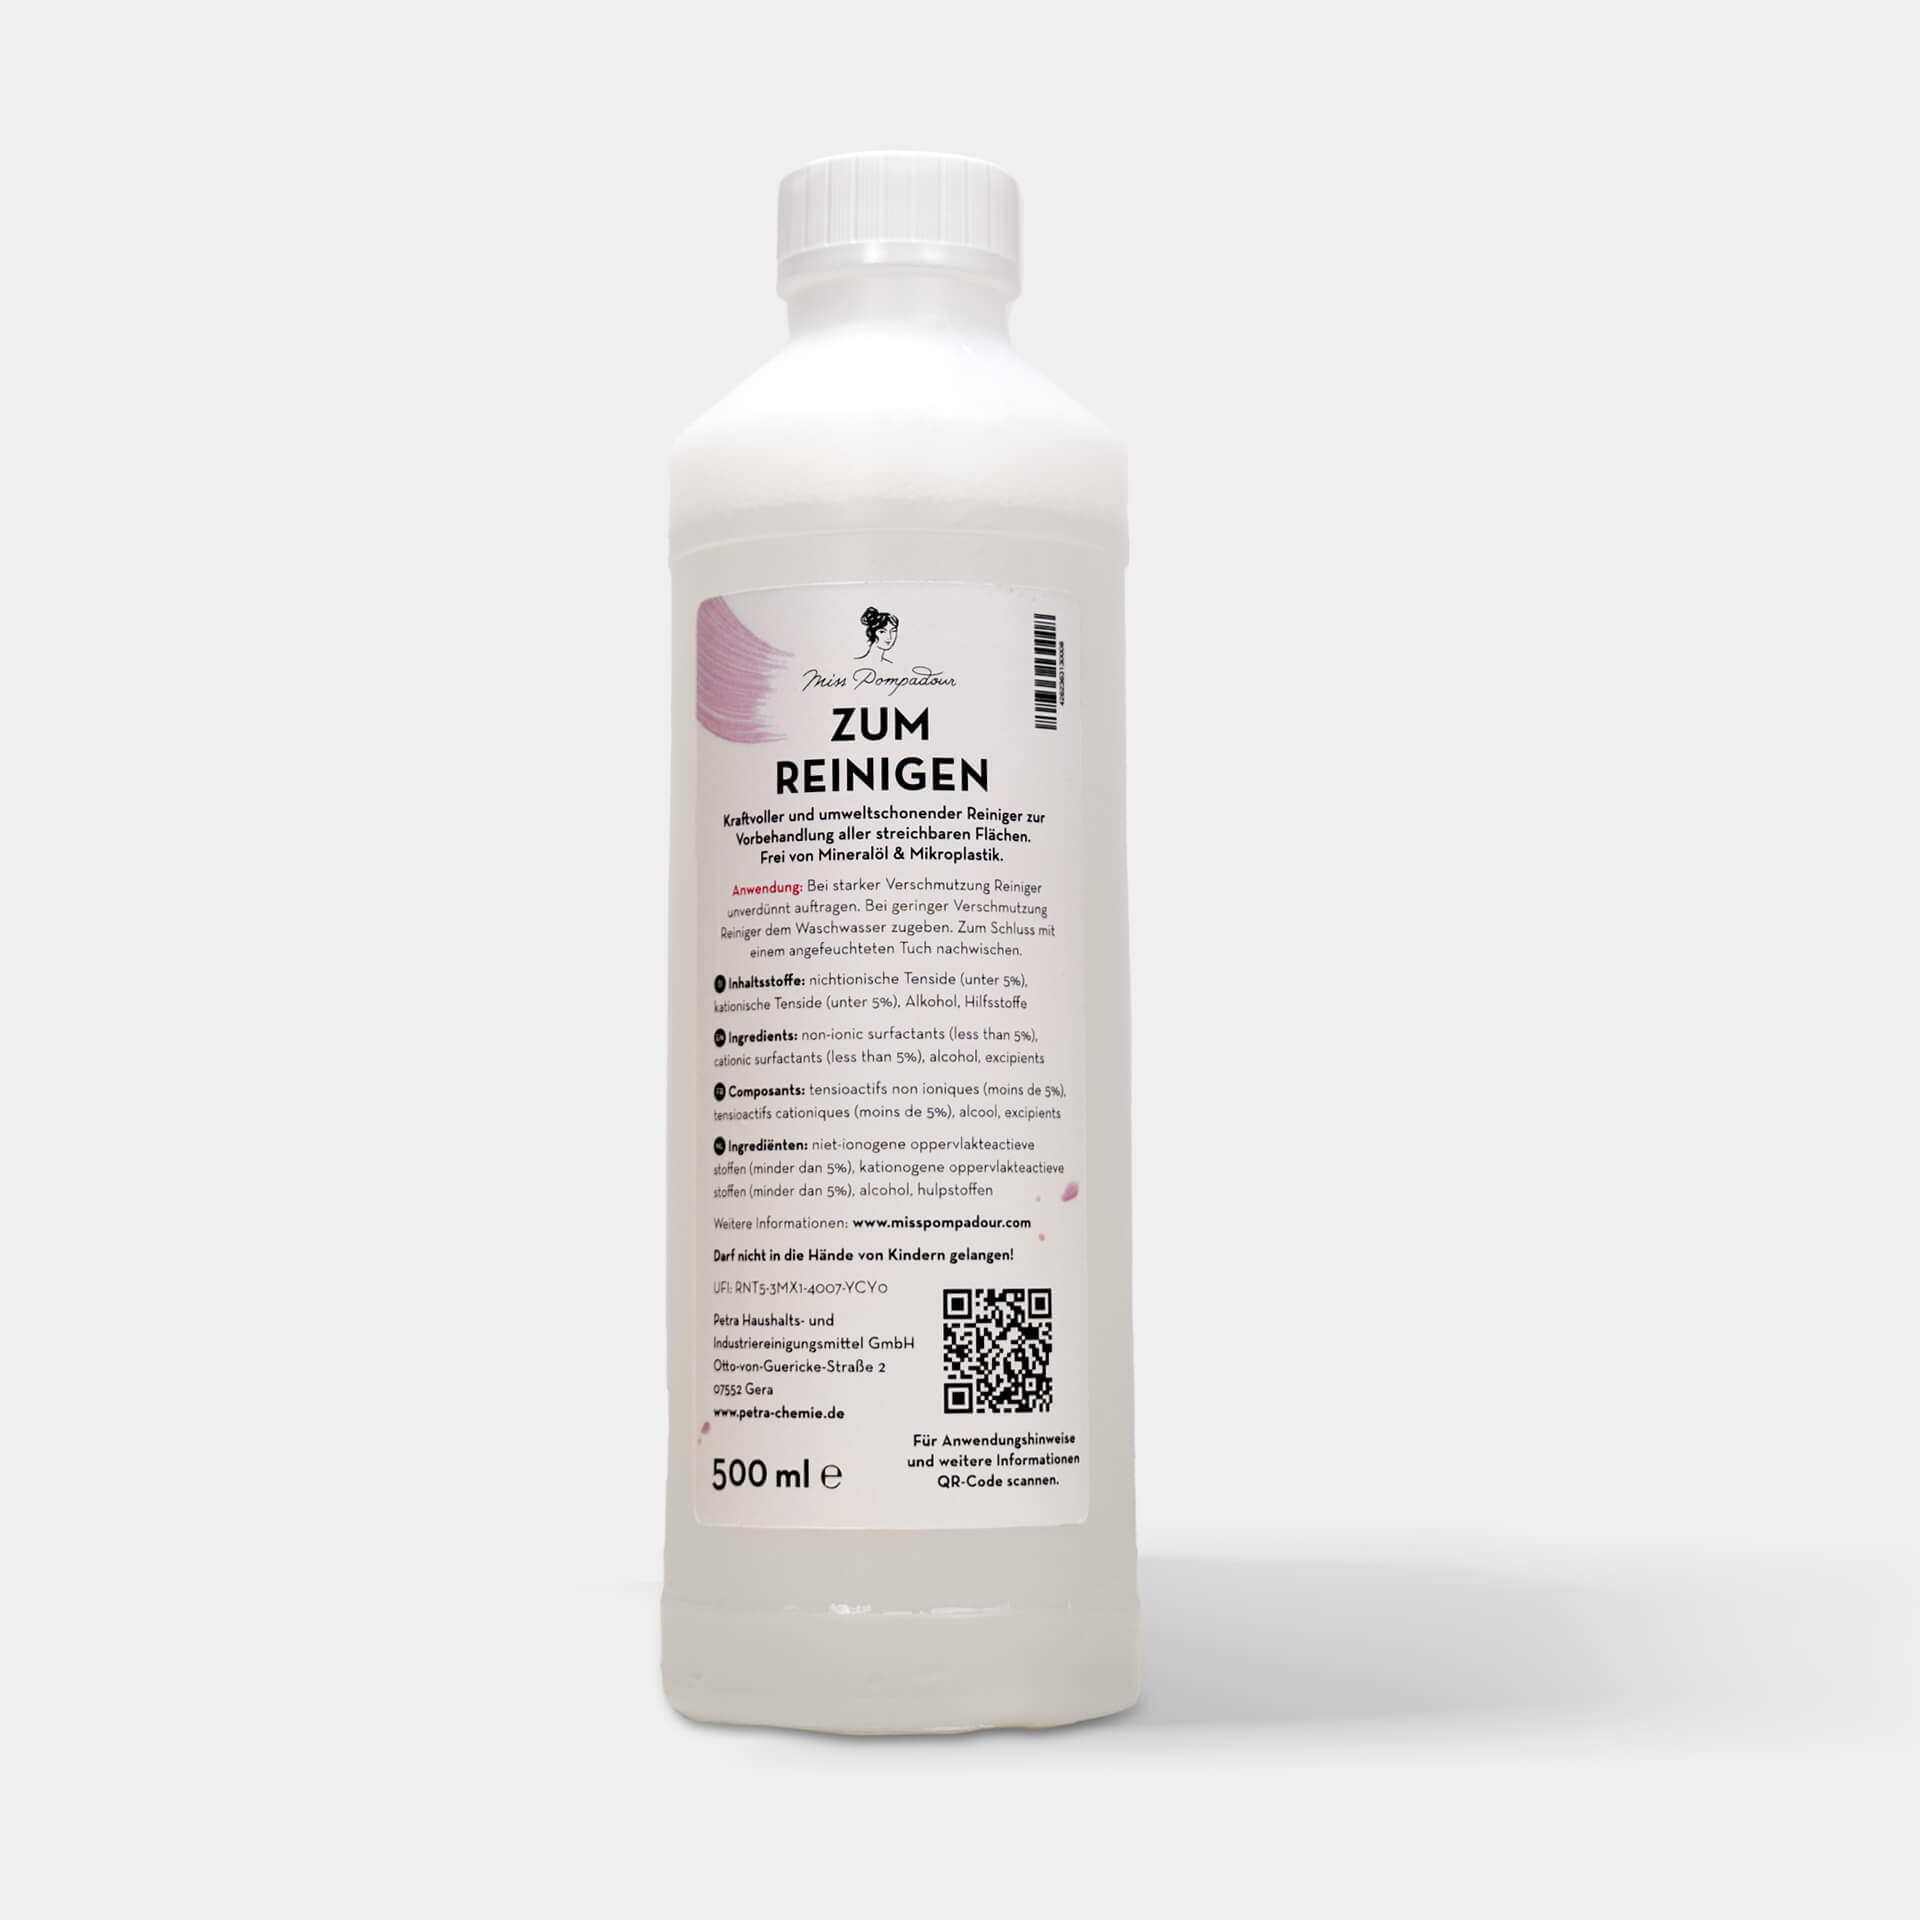
Degrease the door leaf and door frame with To Clean - MissPompadourcleaner and lukewarm water and wipe well with clean water. It is important that the surface is free of dust and grease. However, it is not necessary to apply lye or other chemicals.
Step 4: Prime the surfaces
With real wood, you can use To Block- MissPompadour Stainblock to make sure that ingredients from the wood do not stain the new colour. This discolouration is called "bleeding". You can also prime metal doors that have not yet been painted, or have only been painted in places, with To Block. This ensures that the metal does not rust.
After priming, wait 4 - 5 hours or overnight.
Step 5: Paint the door
Now apply the colour shades! Apply as many coats as you like until you are happy with the result. Often 2 coats are enough for a perfectly opaque result. Let each coat dry very well. Usually 4 - 5 hours are enough, but depending on the environmental conditions, it may take longer. The surfaces harden more and more with each day and have reached a very good stability after 10 - 14 days. Our varnishes are very resilient and, from experience, the front door is not exposed to any great stresses that would require sealing.
Wood, aluminium or plastic: These are the special features of the material
- Wooden doors: Open, glazed or stained wood should be primed with MissPompadour To Block to prevent the wood from discolouring your paint. This can also be useful on clearlacquered or thick-film stained wood doors, depending on the condition and thickness of the varnish.
- Metal doors: You should also prime raw metal with MissPompadour To Block to prevent the metal from rusting under the paint. Please also note our advice in the FAQs on metal doors.
- Doors made of plastic or glass elements: Apply a thin layer of MissPompadour To Bond to ensure that the paint adheres well to the substrate. This makes it more robust.
Video: Barbara's Suitcase Camera - Paint your own front door with MissPompadour colours!
Frequently asked questions about painting and varnishing front doors
1. Before painting
What colour should I use for my front door?
Paint your front door with our robust and easy-care MissPompadour Eggshell Varnish. It is weather and UV resistant.
How much paint do I need?
There are very different sizes of front door constructions. For a normal front door, we assume approx. 500 ml varnish per door including frame. Depending on how wide your front door is and how much of the outer construction is also involved, it can of course be more. The best thing to do is to measure the area to be painted and enter the number of square metres into the practical quantity calculator that you will find next to each of our colour shades. You will then get the estimated consumption for 2 coats.
Do I paint the front door with a brush or roller?
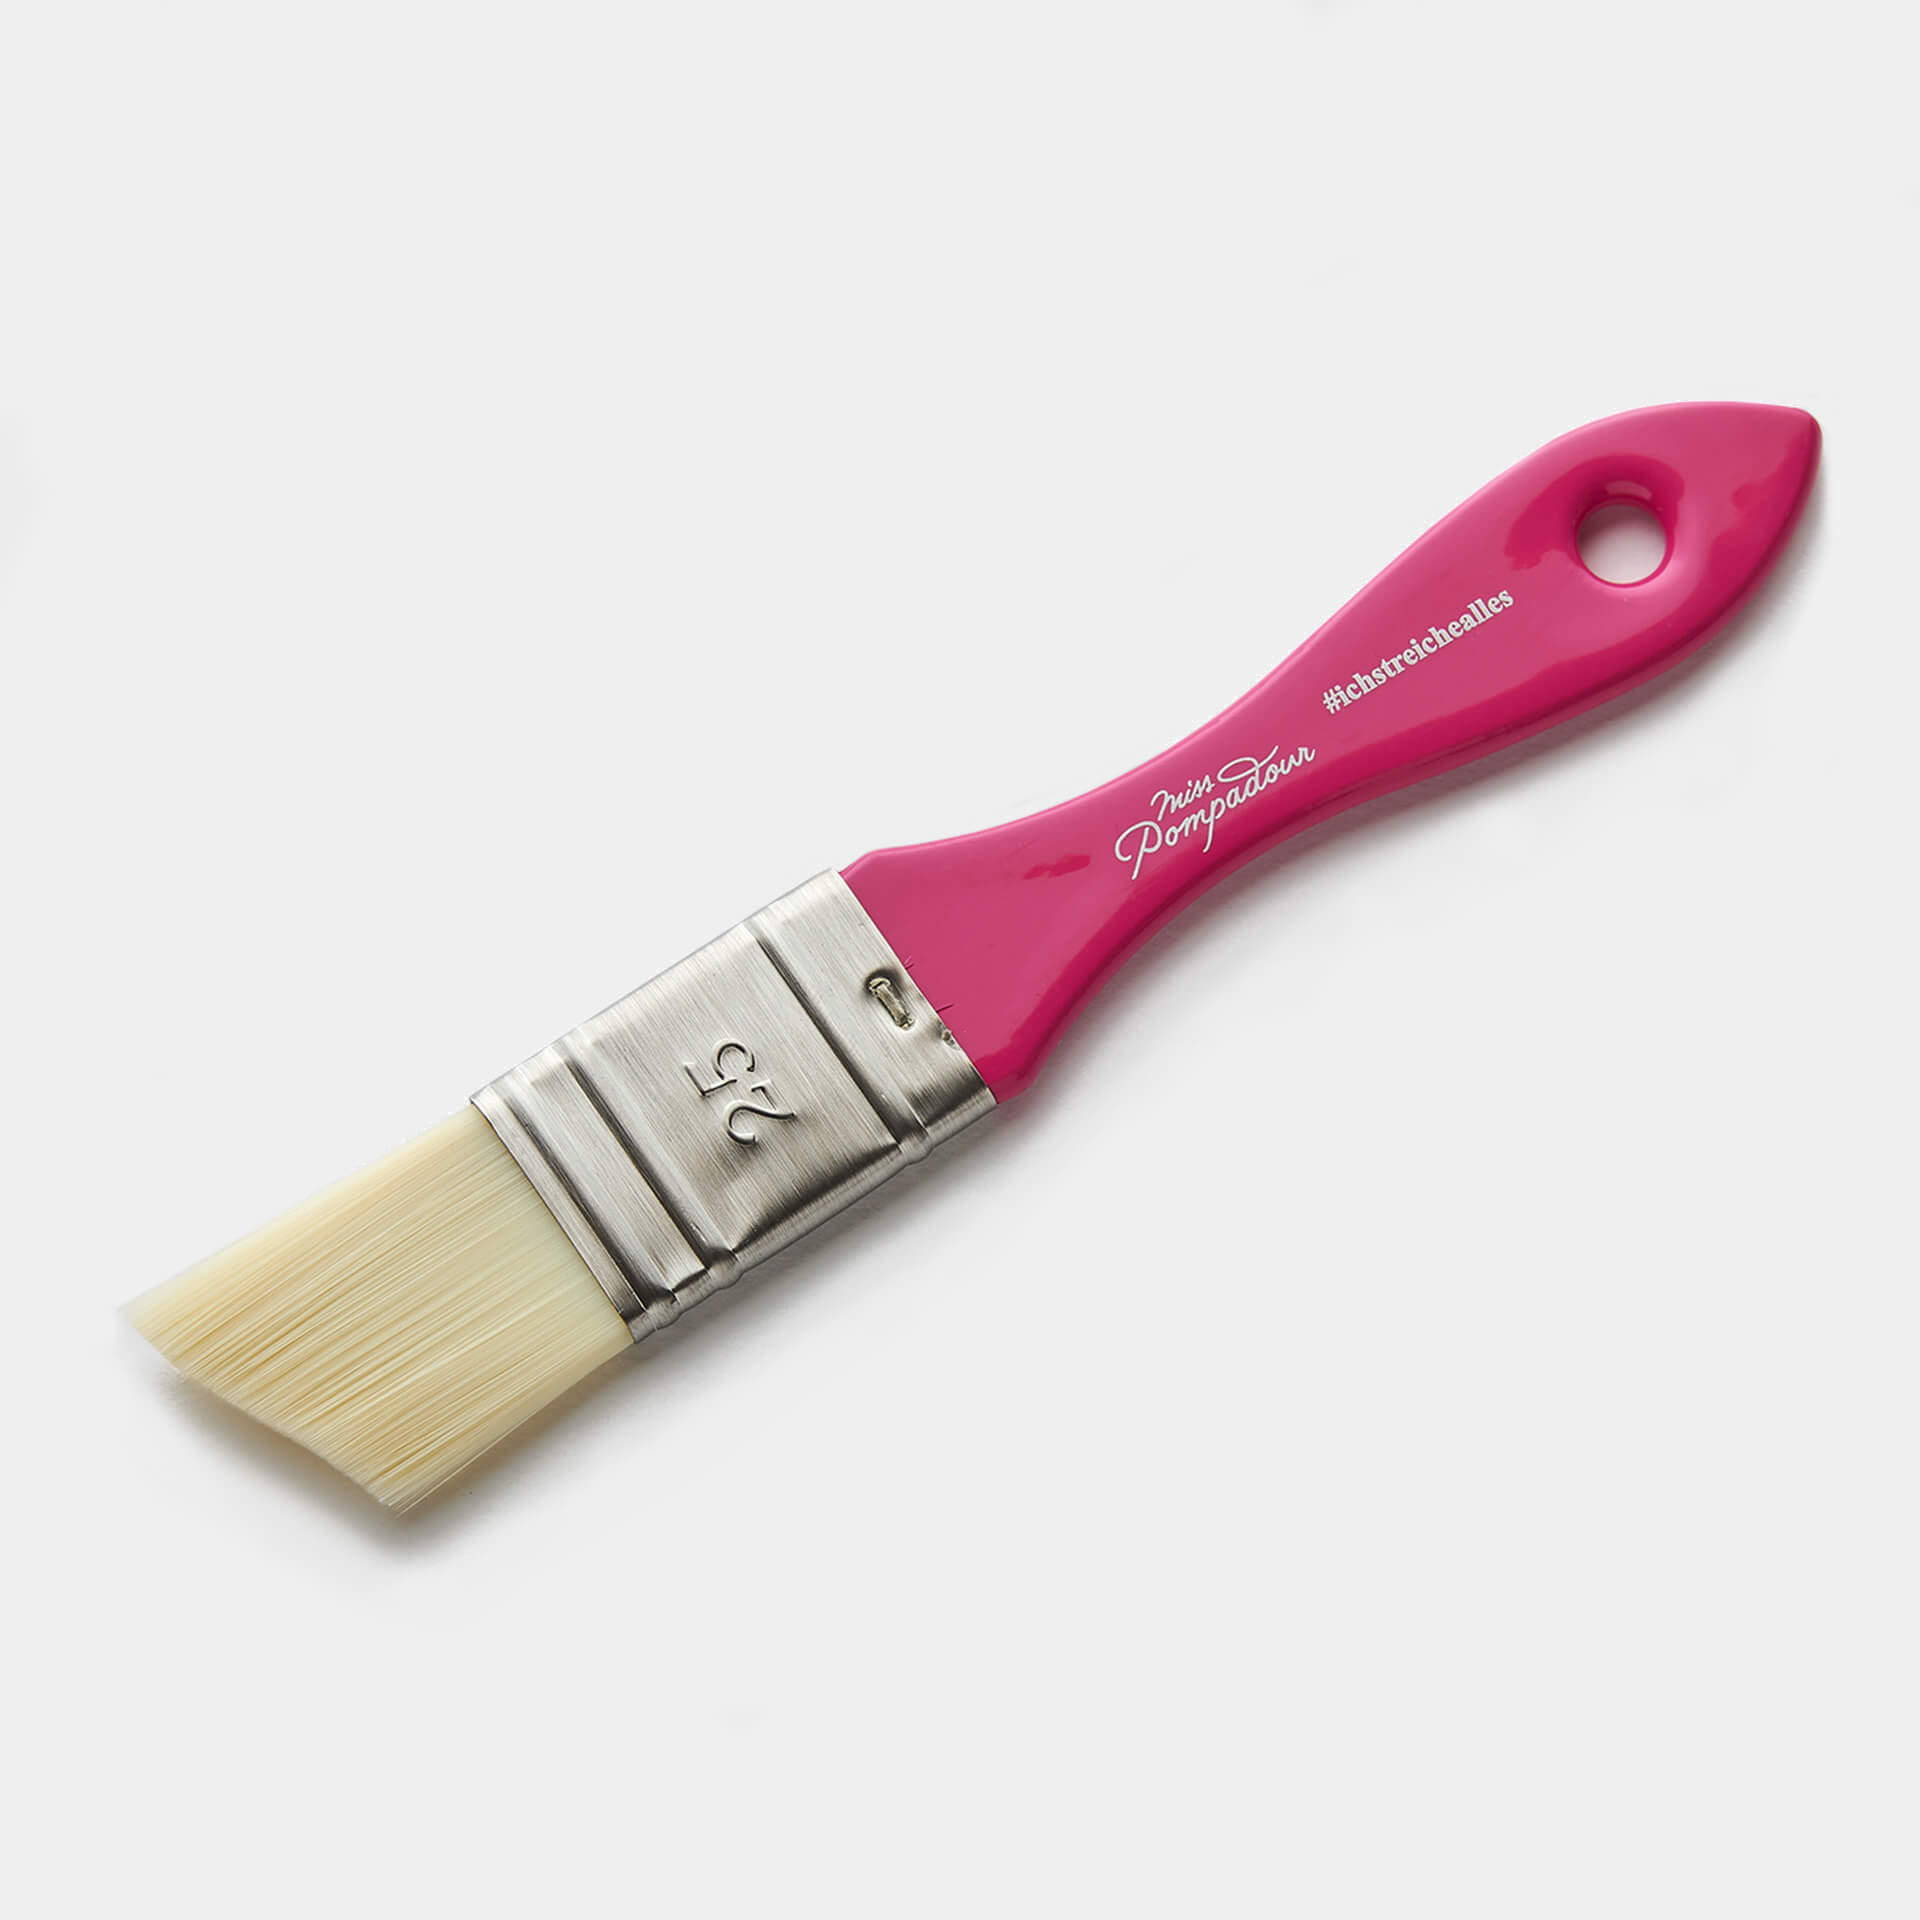
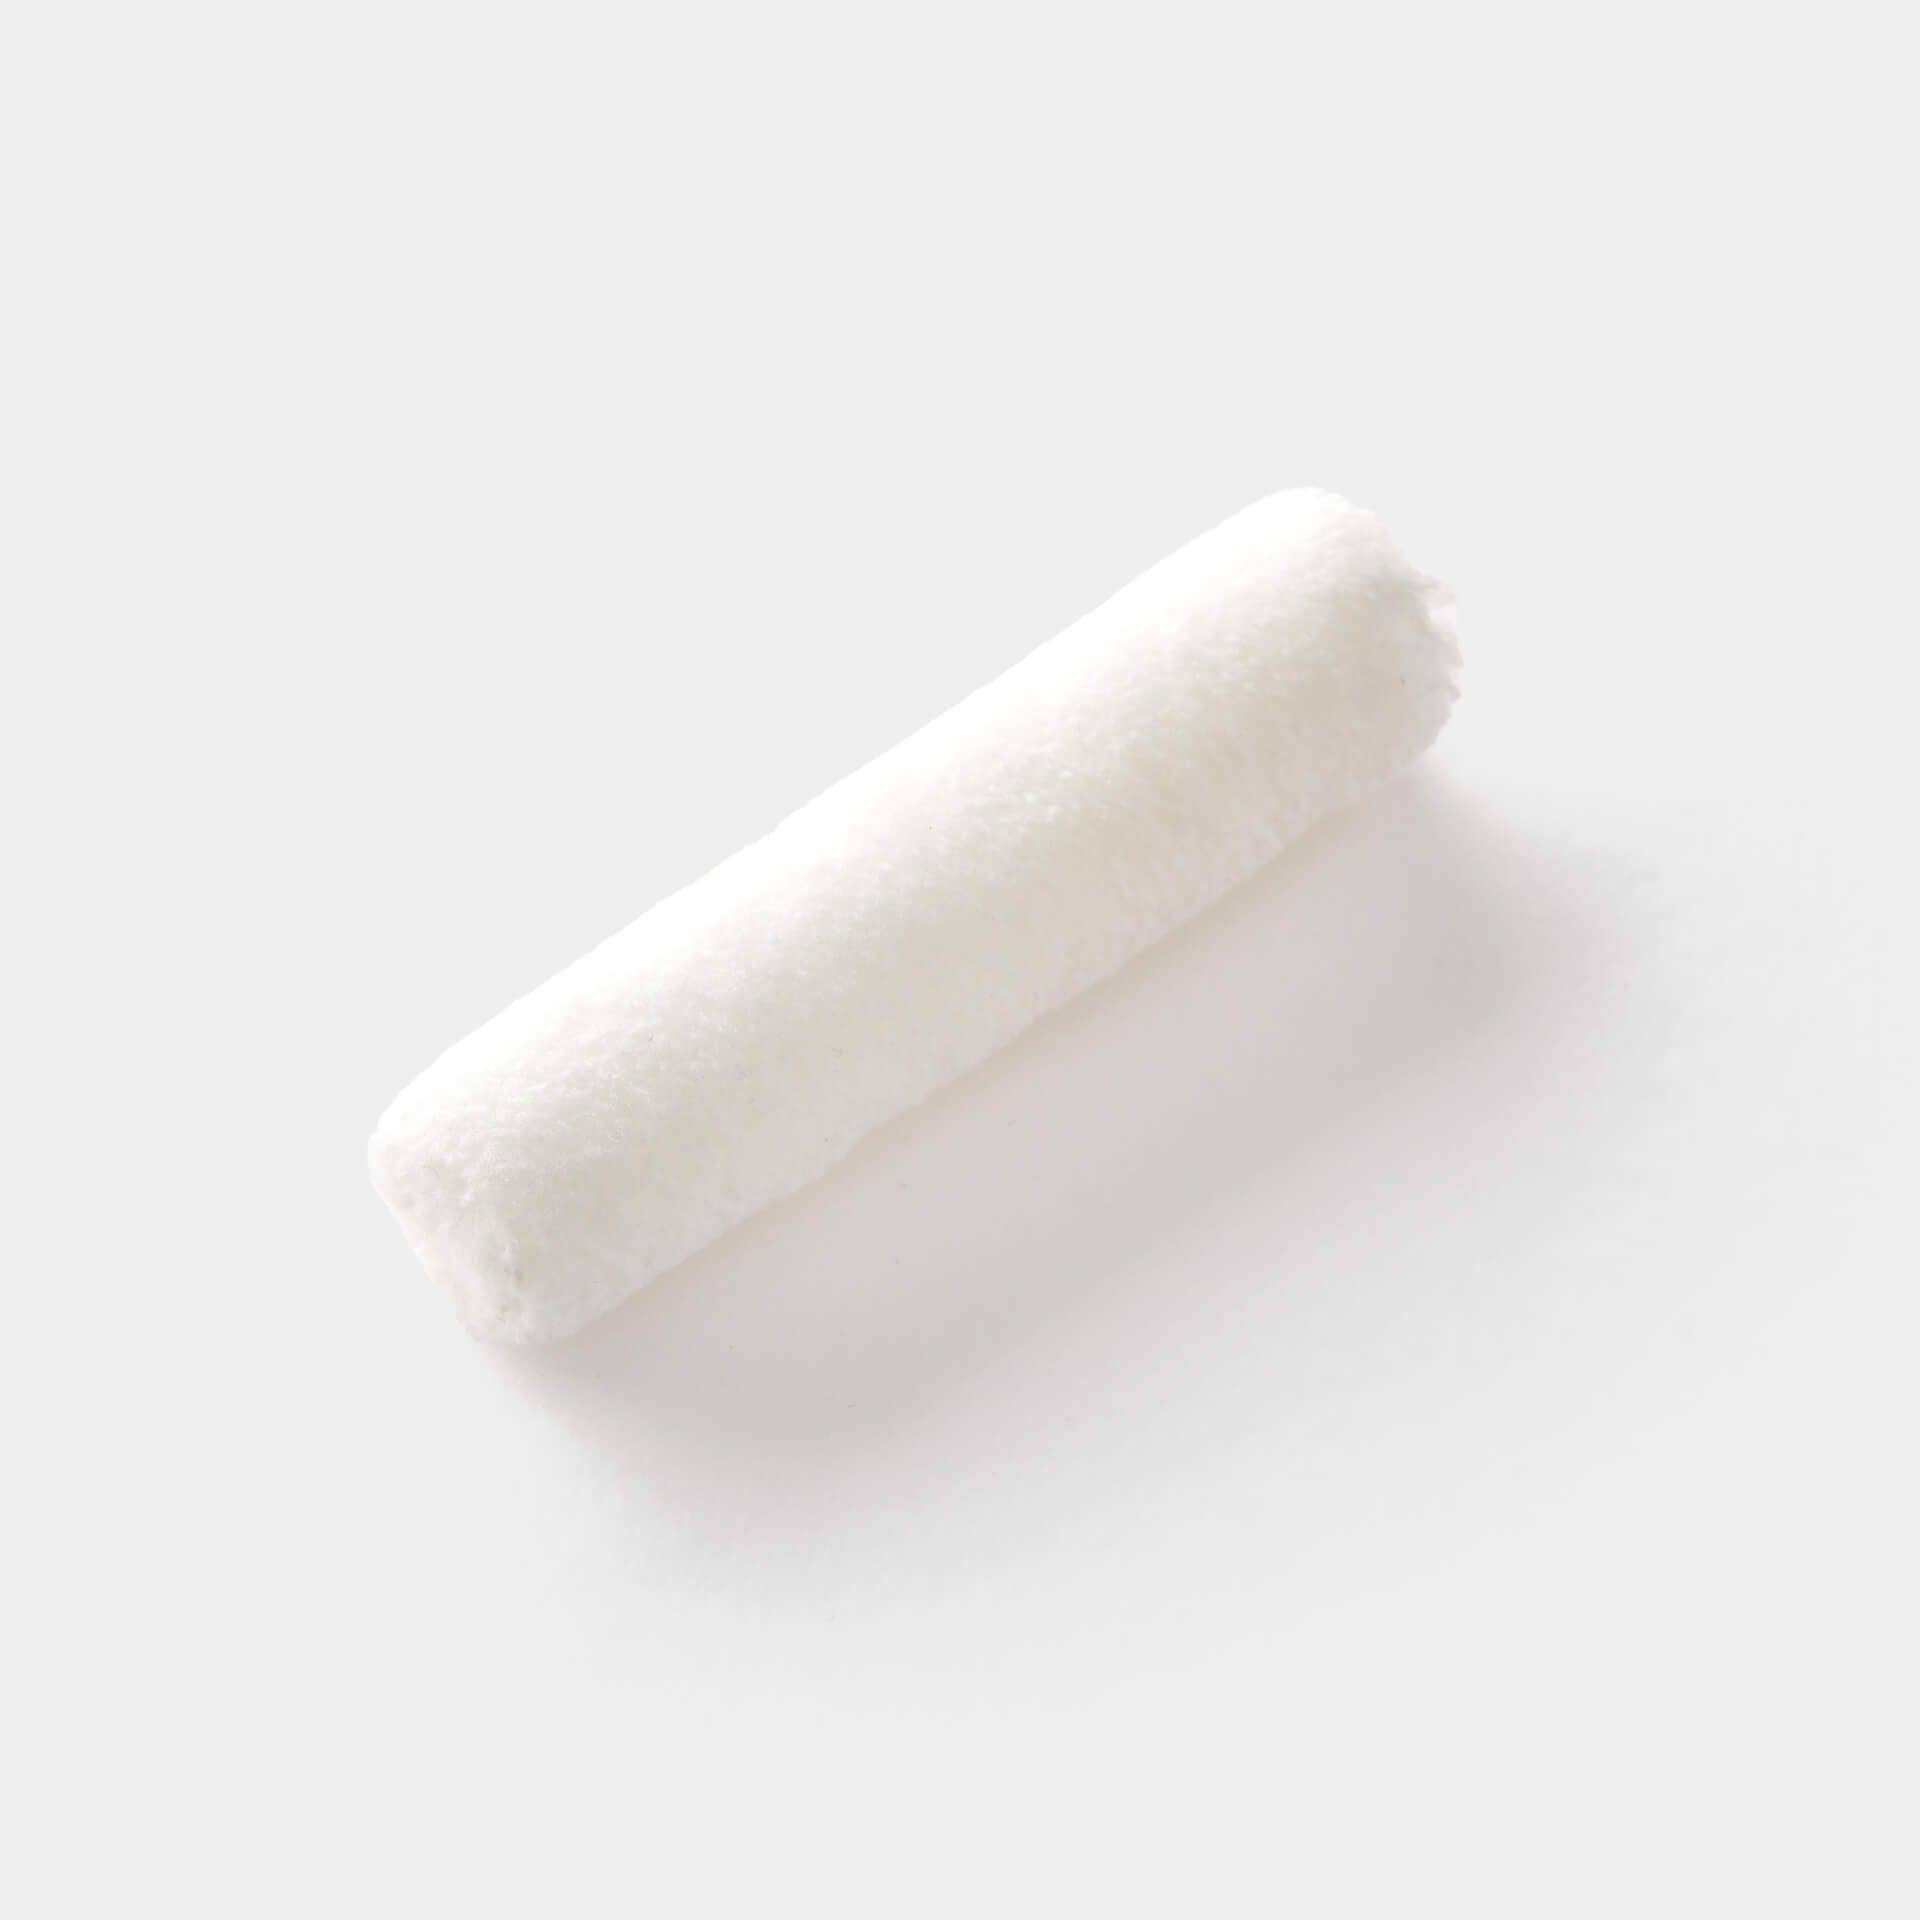
The majority of front doors have decorative elements such as mouldings, windows or recesses. You can paint these very well with our fine MissPompadour brushes. The brushes are very flat and bevelled. They are available in 25, 50 and 75mm, so there is the right brush for every situation. With these great brushes, you almost don't need tape to mask. If your front door also has larger flat surfaces, you can paint them very well with the varnish roller for water-based varnishes. And if you prefer to paint your door with a large, straight brush, we have our fine brush in 100mm for you.
Do I have to unhinge the front door?
A front door is very heavy. Therefore, unhooking it is much more difficult than with a room door. Most of our customers simply paint the front door when it is open.
When is the best time of year to paint my front door?
Exterior painting is best done when temperatures stay above 10°C for a long time. So you should not paint too early in spring and not too late in autumn. In summer, temperatures above 28°C can be difficult, as the paint dries very quickly. If you paint in the middle of summer, we recommend early in the morning. You can then close the door again until the evening.
2. Various material at the front door
Can I also paint a metal front door?
Yes, in principle it works very well. If your front door is made of aluminium, however, you must first check whether it is anodised aluminium. Anodised means that the metal has been coated with a protective layer. This cannot be painted. The best thing to do is to take a coin and scratch the surface. If scratches appear, the aluminium is not anodised. If the surface cannot be scratched, it is anodised and cannot be painted. Raw metals should be primed with MissPompadour To Block to prevent rusting. For more information, take a look at our blog article on painting metals.
What do I do with glass panes and door handle?
If you want a little more privacy and can do without the translucent light, you can simply paint all or part of the glass panes. For these smooth surfaces, a thin primer coat of To Bond is suitable. For the door handle and attached decorative elements, you can consider whether you simply paint them as well or remove them before painting. Of course, masking is also an option, but it's not as much fun!
Can I also paint the silicone seals on glass inserts?
3. Things to know afterwards
When can I close the front door again?
It is advisable to wait more than 4 hours before closing the door. It is best to paint in the morning and then close the door in the evening. You can rub baby powder into the areas of the door leaf and door frame that come into contact with each other when closing the door. This will prevent the freshly painted surfaces from sticking together.
How long does the coating last?
As a rule, a coat of our varnishesn lasts very well, so you don't have to worry about your front door for years to come. If you have prepared the surface sufficiently well, i.e. it is load-bearing and clean, you will benefit from it for a long time. Of course, we can't make any general statements about exactly how many years a coat of paint will last. In the case of a front door, it depends very much on how exposed the door is. A front door on the North Sea, which is exposed to salty wind, rain and sun, will be more stressed than a front door on the north side of the house in a region with little rain, for example.
These are the accessories you need to Paint your front door
With these additional materials you are well prepared for the work on the front door:
- Screwdriver, to remove the door handle: This is the cleanest way to work and saves you a lot of tedious masking.
- Sandpaper or sanding pad: For all places where old varnish has flaked off. These should be sanded smooth first.
- Cleaningcloth and bucket to thoroughly clean the door first: The surface must be free of dust and grease for your paint to hold well.
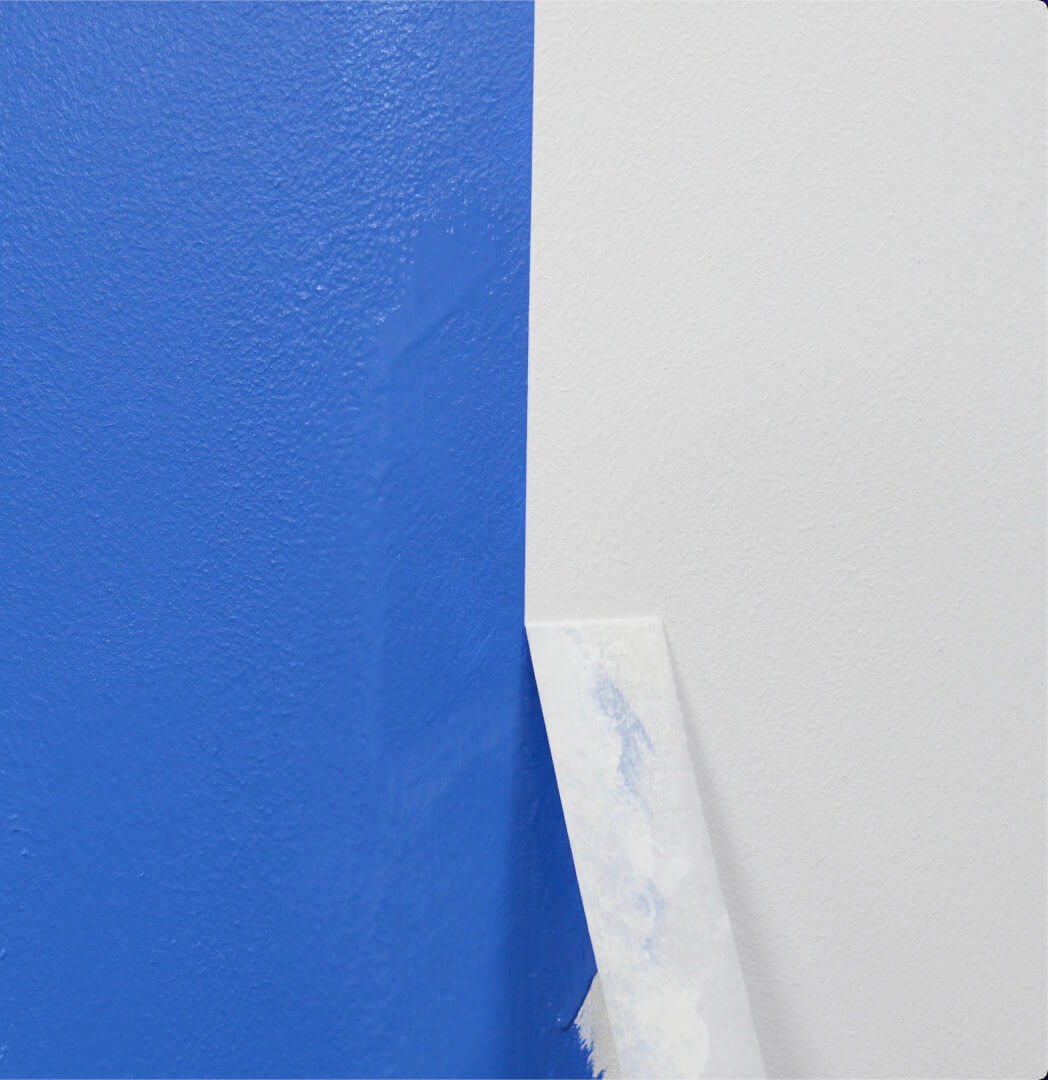
- Masking tape for masking the door frame: It is best to remove the masking tape when the paint is not yet dry so that you get a clean edge.
- plastic drop cloth or newspaper: To protect your floor.
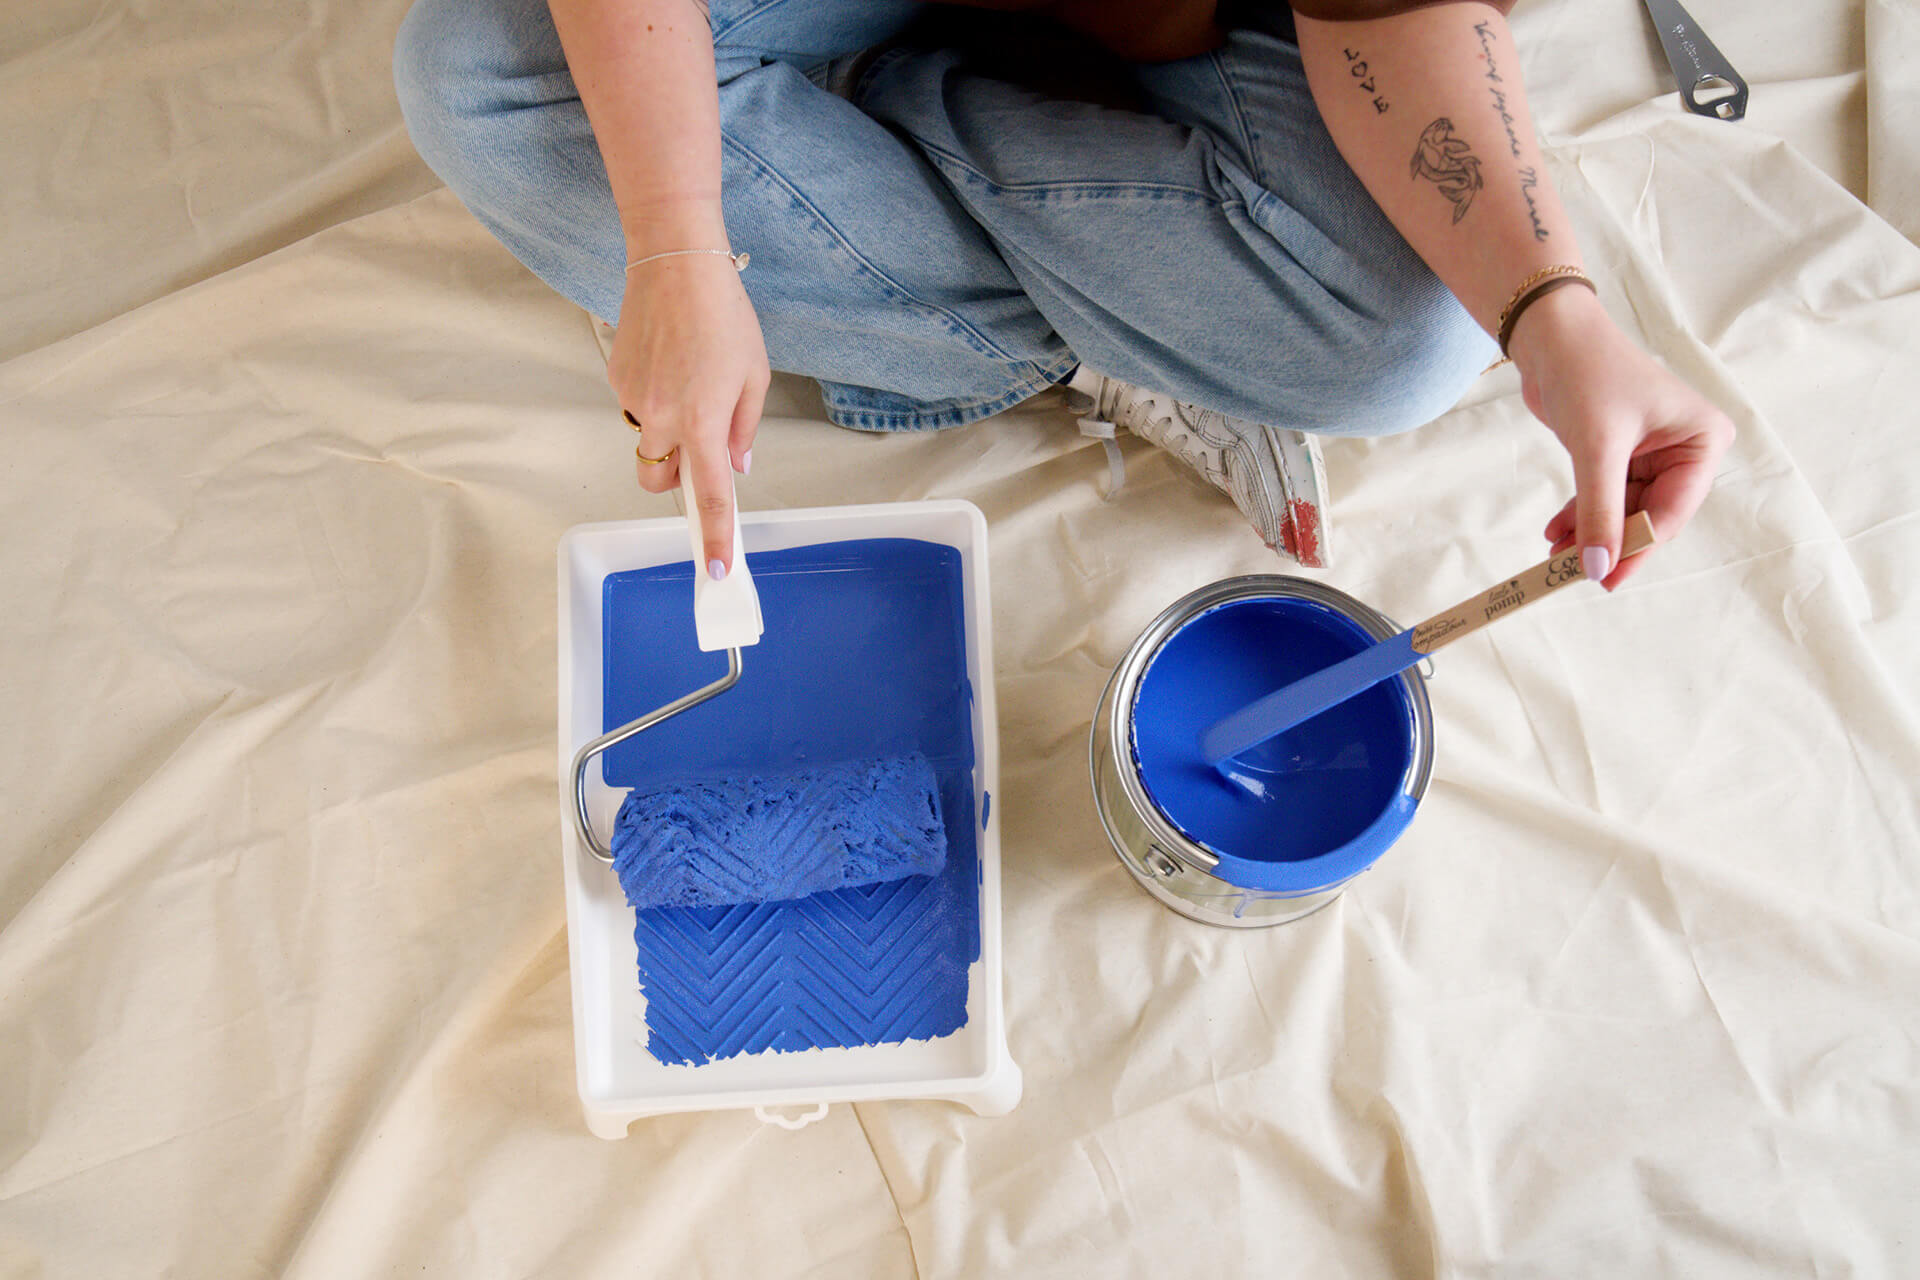
- Brush, varnish roller and paint tray: It is best to pour the varnish into the paint tray. Paint corners and edges with the brush, larger areas with the paint roller.
- Usebaby powder to rub into the painted parts that come into contact with each other when closing the front door. This way you can be sure that the parts do not stick together
Finished reading yet?
Here you will find more exciting topics

