


IKEA Hack: Build your own BYAKORRE
4 min reading time
IKEA BYAKORRE: Not available? No problem!
First came the hype and then no shelf: BYAKORRE, the trend shelf from the new IKEA Nytillverkad Collection, is still not regularly available. Tired of waiting? So are we, which is why we simply painted a BYAKORRE shelf ourselves. Here we show you how to do it and what materials you need.
Making BYAKORRE yourself: Step-by-step
Step 1: The scaffolding
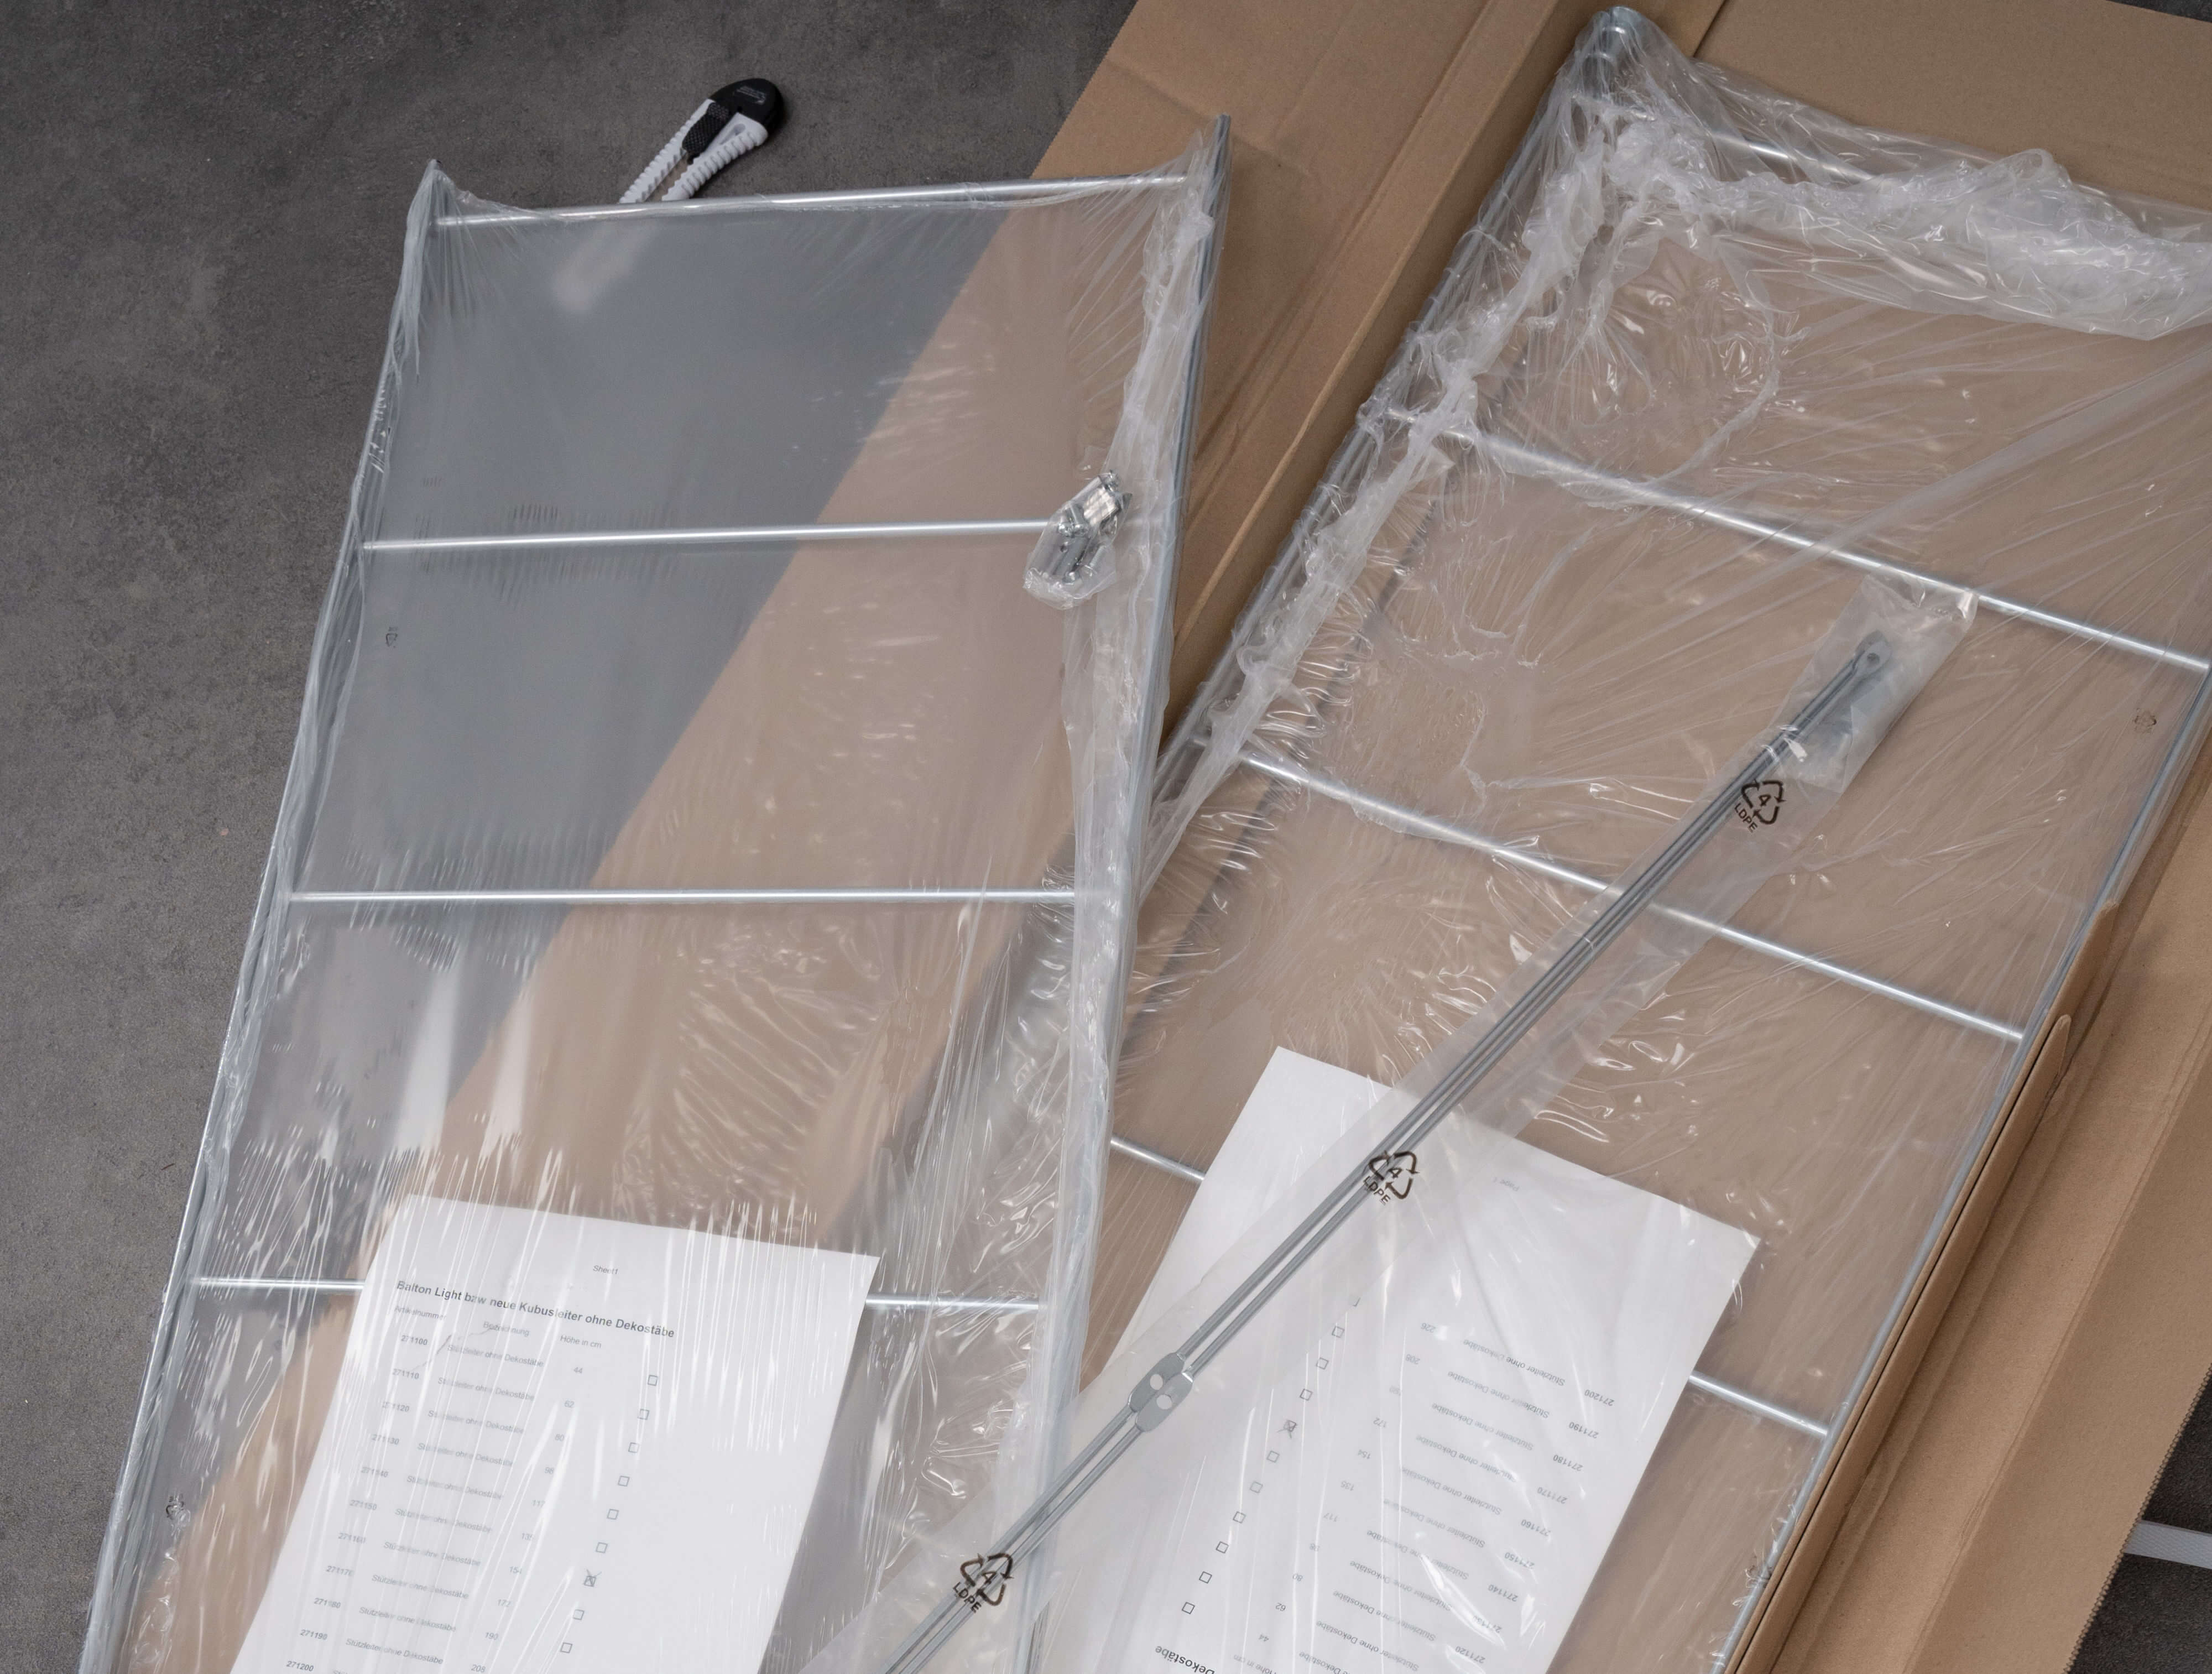
We found the scaffolding for our shelving online via Ebay at Balton. We ordered two BIII series shelf ladders with matching cross braces with a 90cm leg length and the matching assembly set.
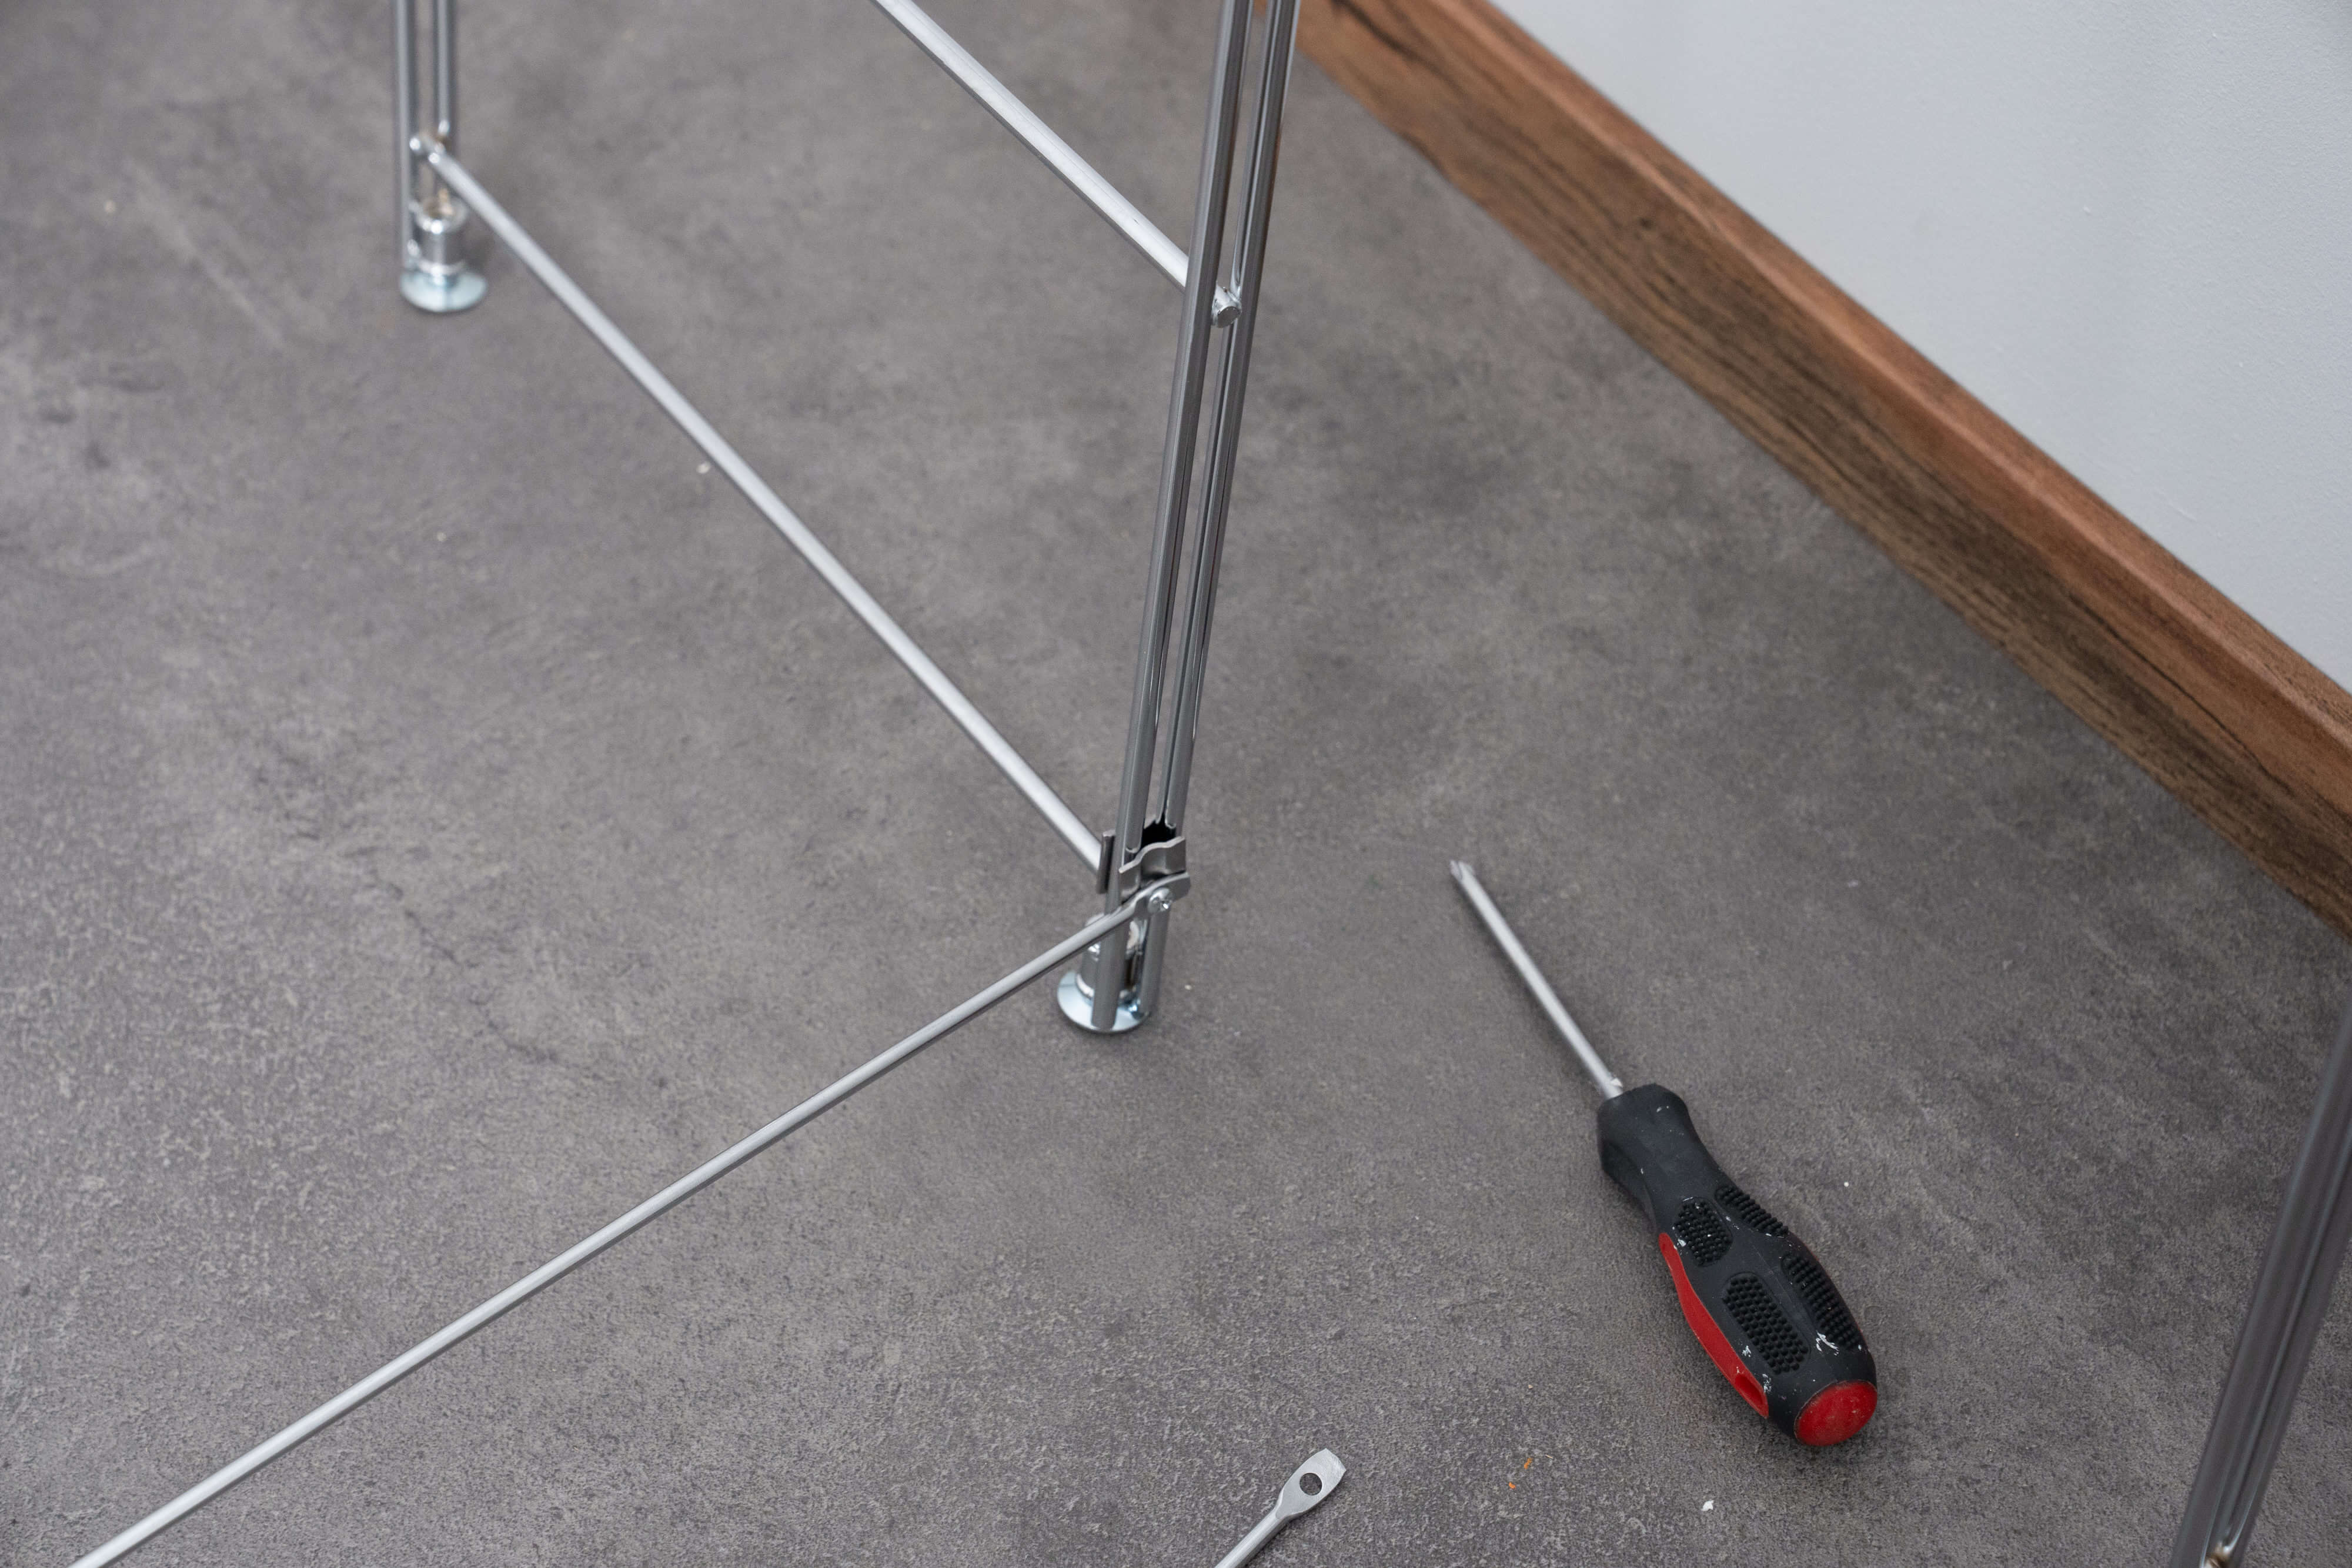
Step 2: Assembly
The two individual parts of the cross brace are connected in the centre with a screw. The cross brace is then attached just above the first and third rung of the shelf ladder using the assembly set.
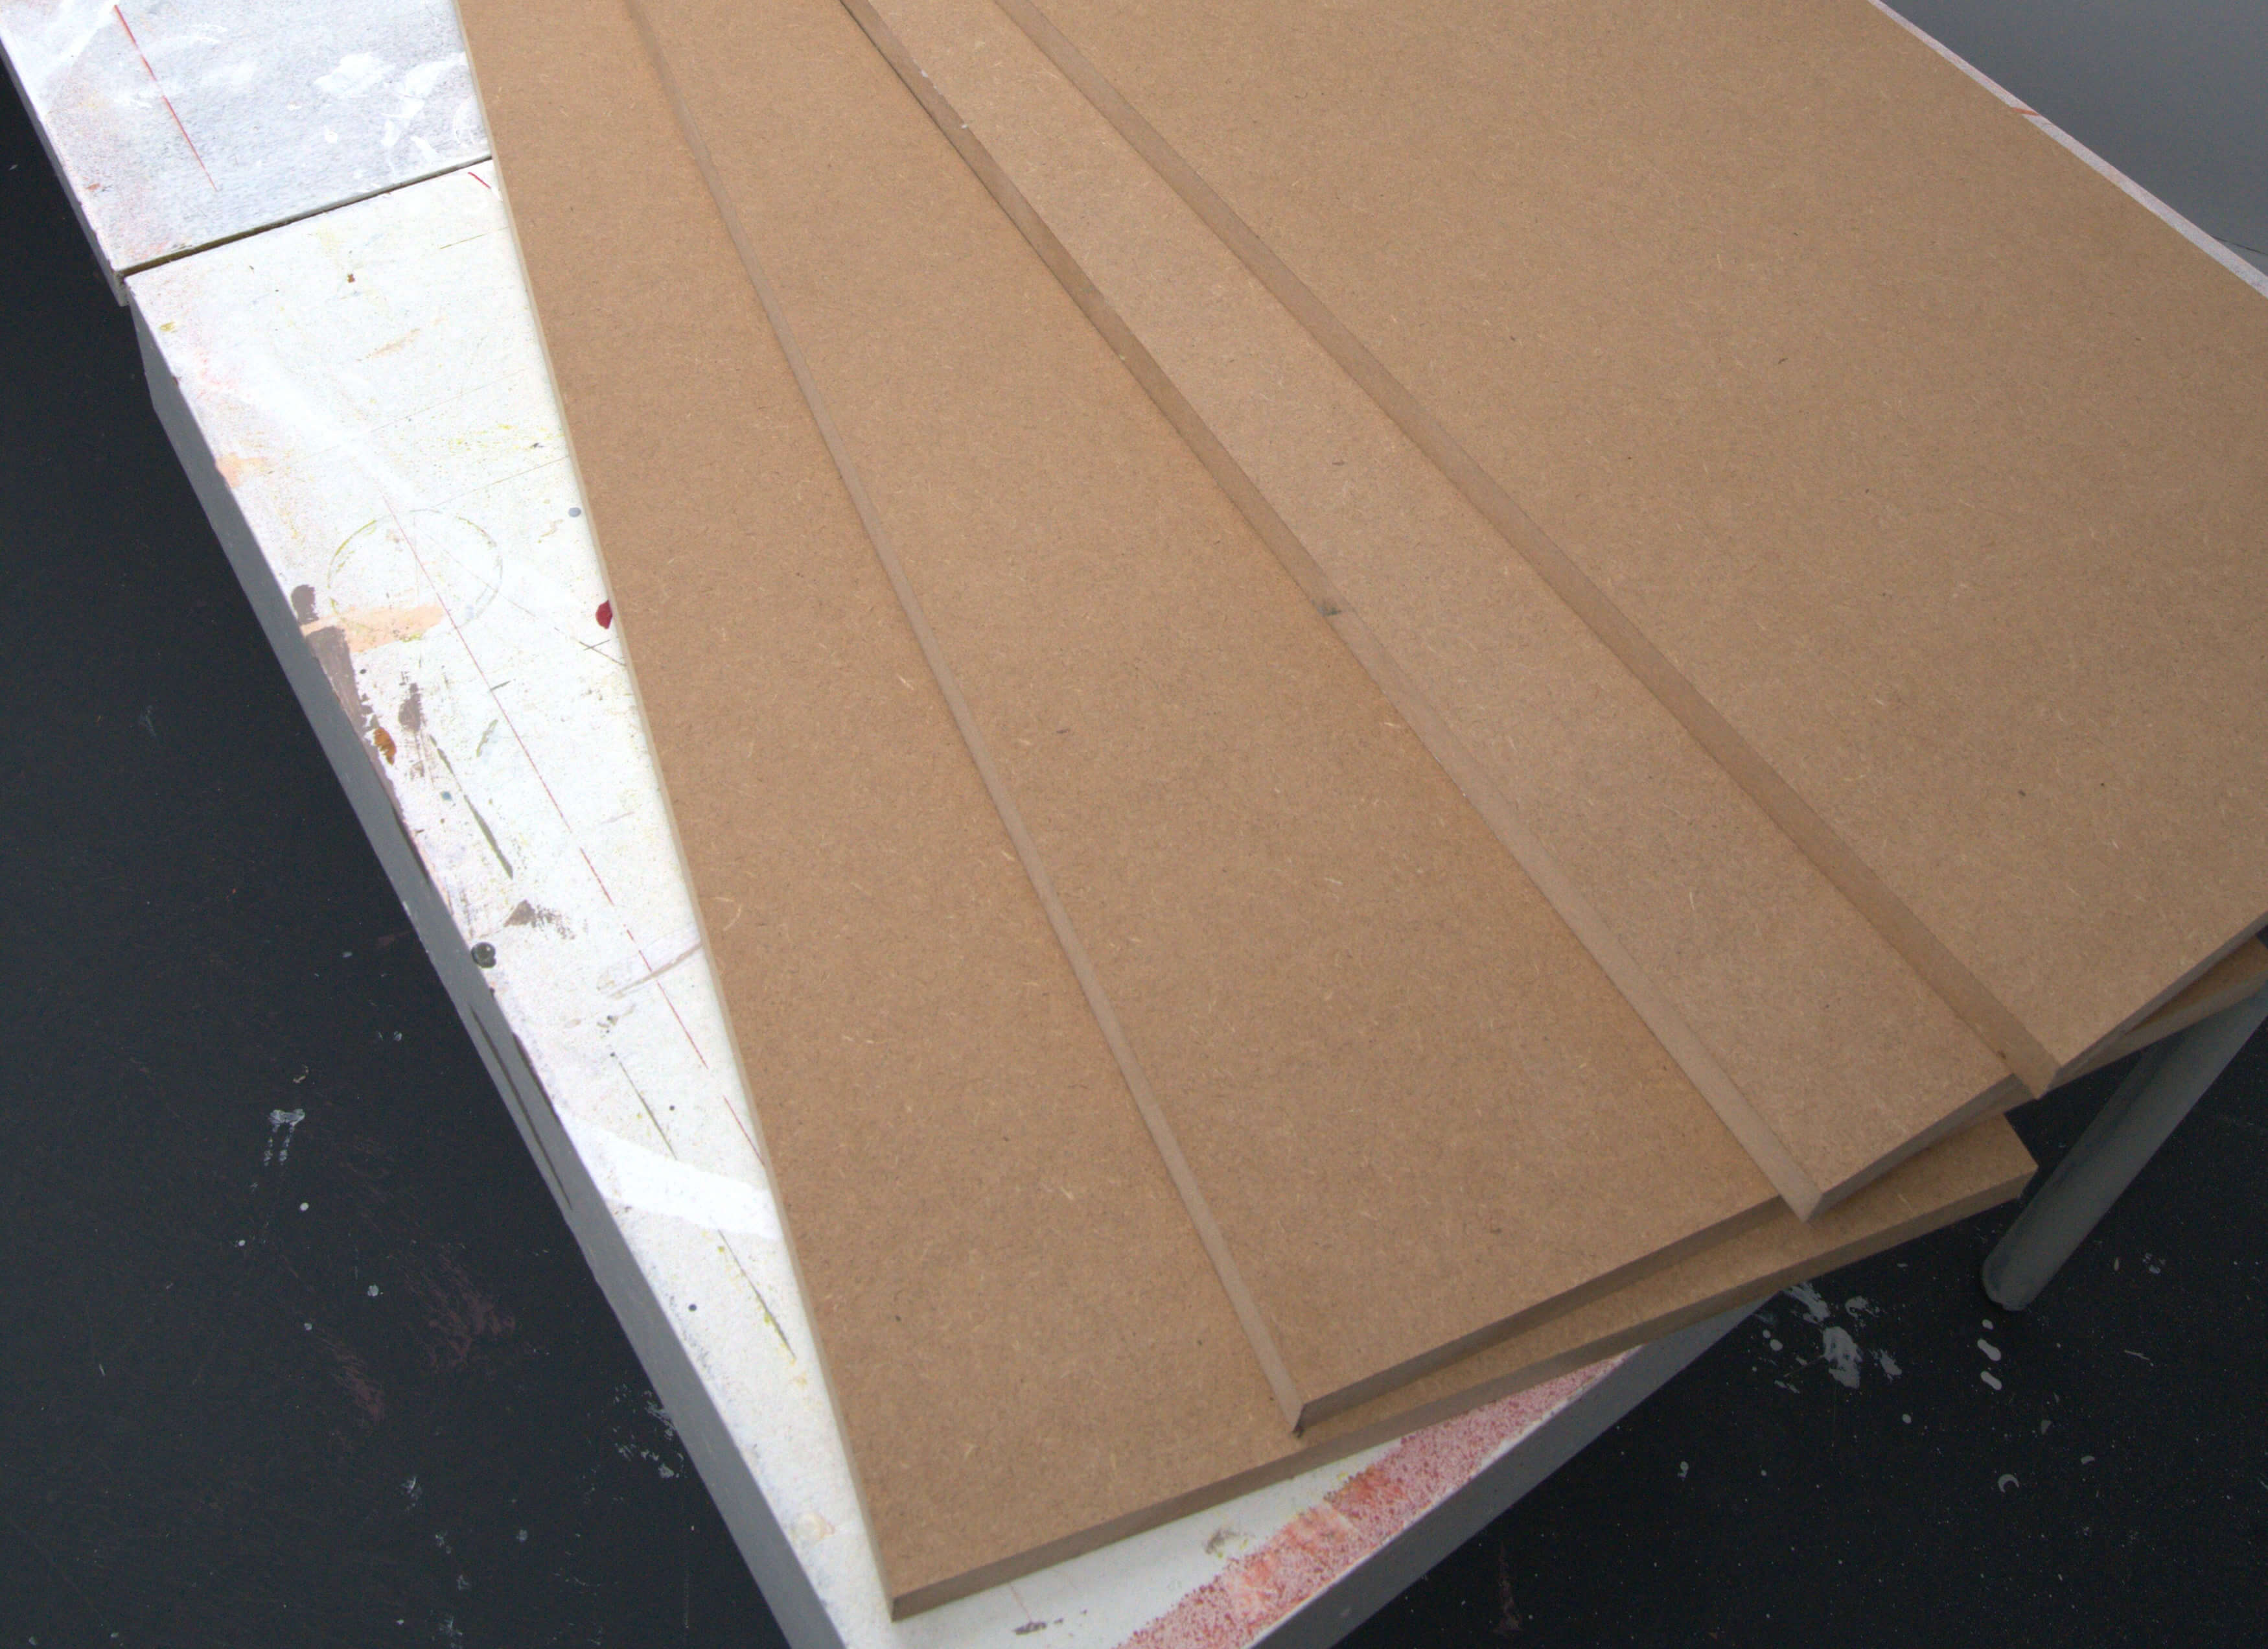
Step 3: The shelves
For the shelves, we travelled to our local DIY store to cut the wood. The shelf ladders are 38cm deep, but the part of the rungs on which the shelves rest is only 36.5cm long. The shelves of the original BYAKORRE are 170cm long. We therefore had MDF boards cut to size with a thickness of 19mm, a width of 36.5cm and a length of 170cm.
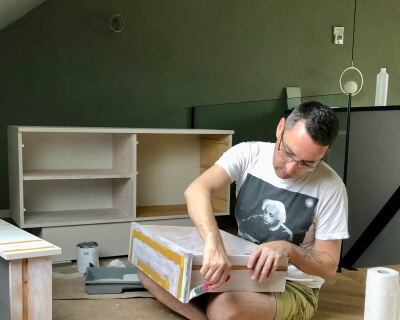
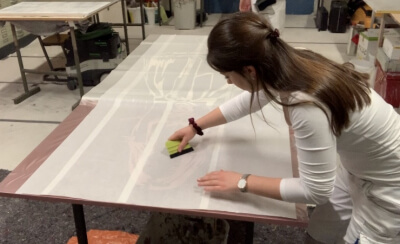
Step 4: Priming
Now it was time to paint. In the first step, we primed the boards on all sides with To Bond & Block and allowed everything to dry thoroughly.

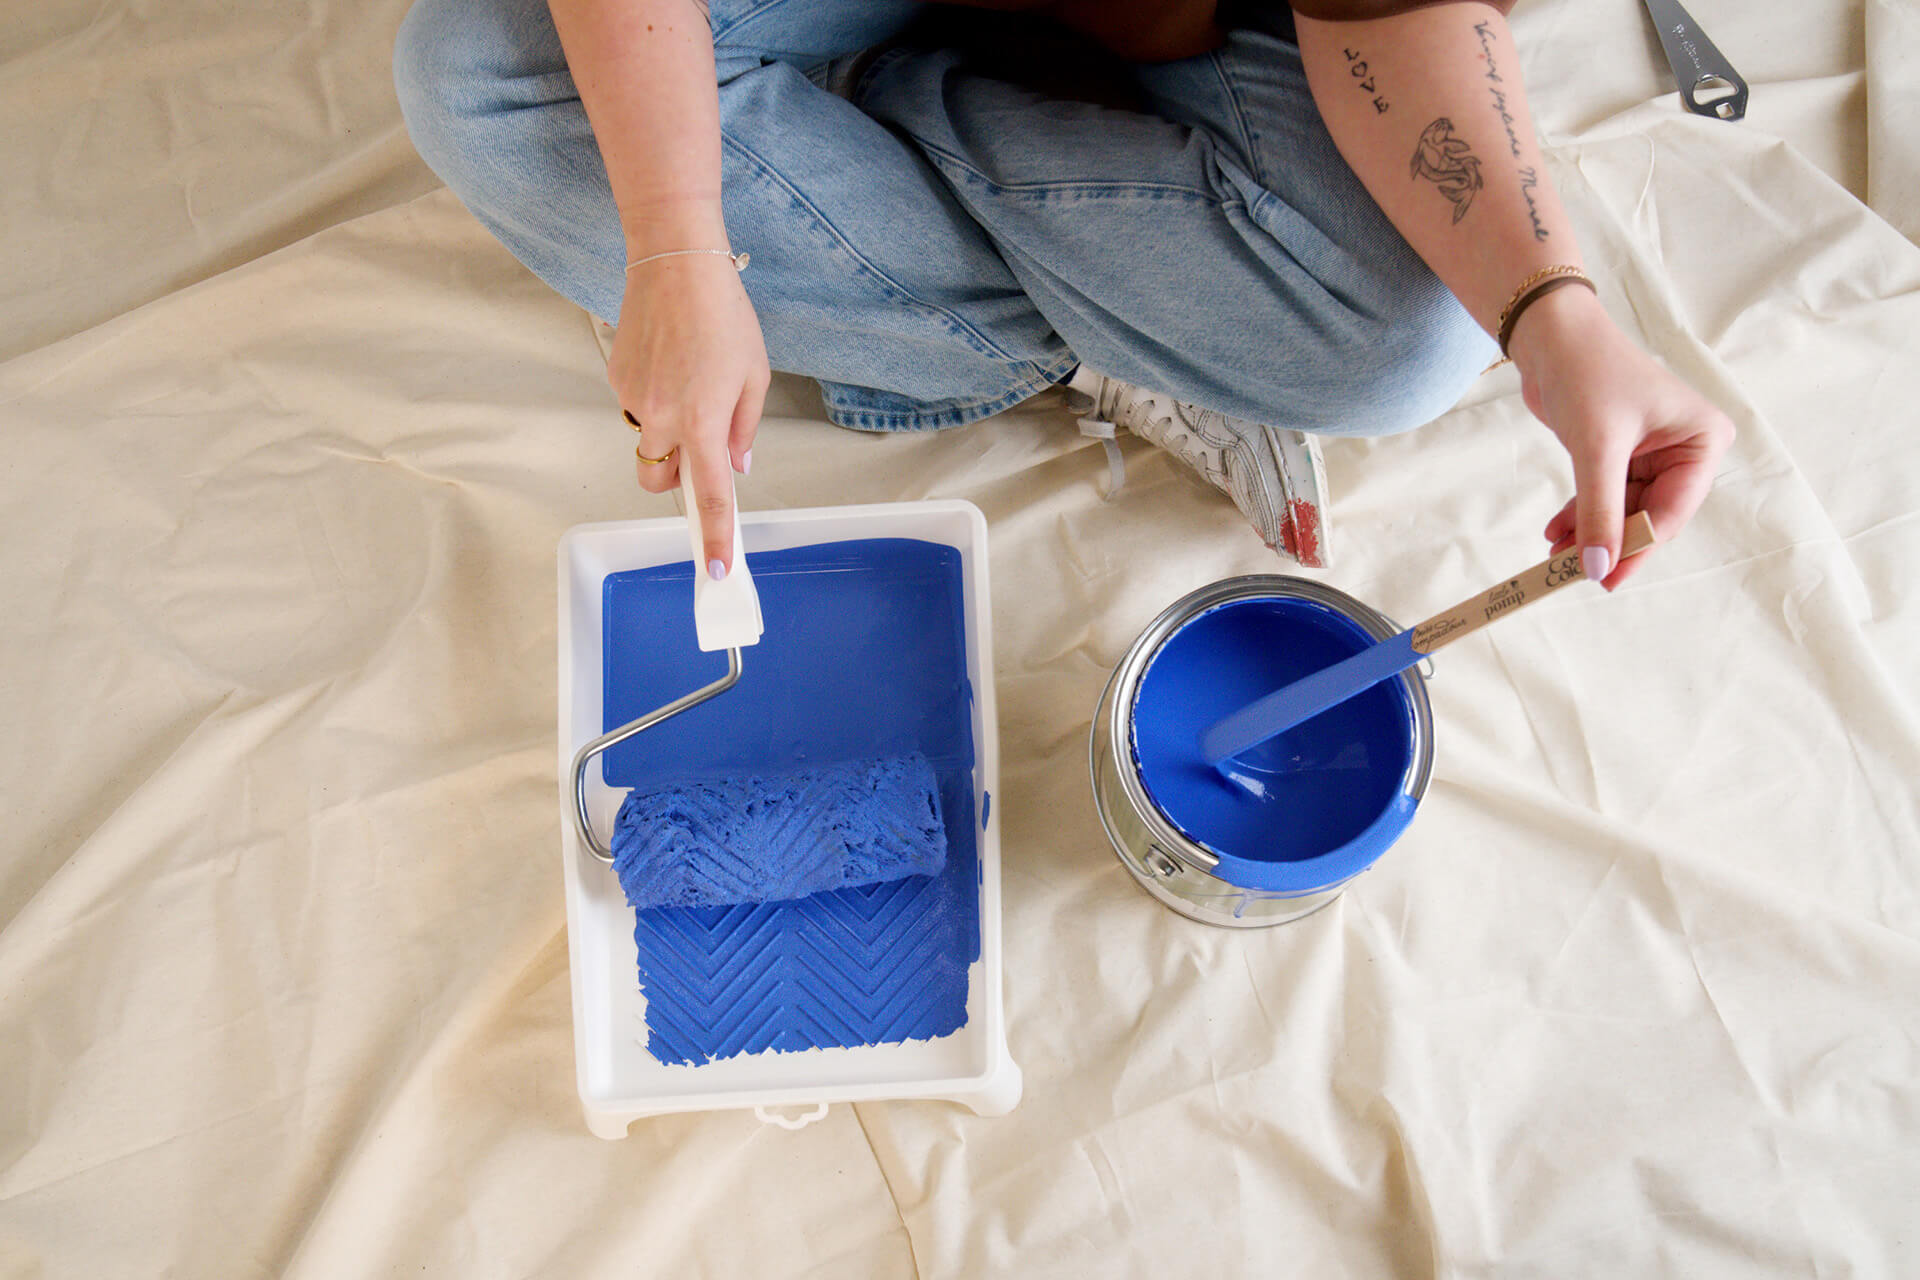
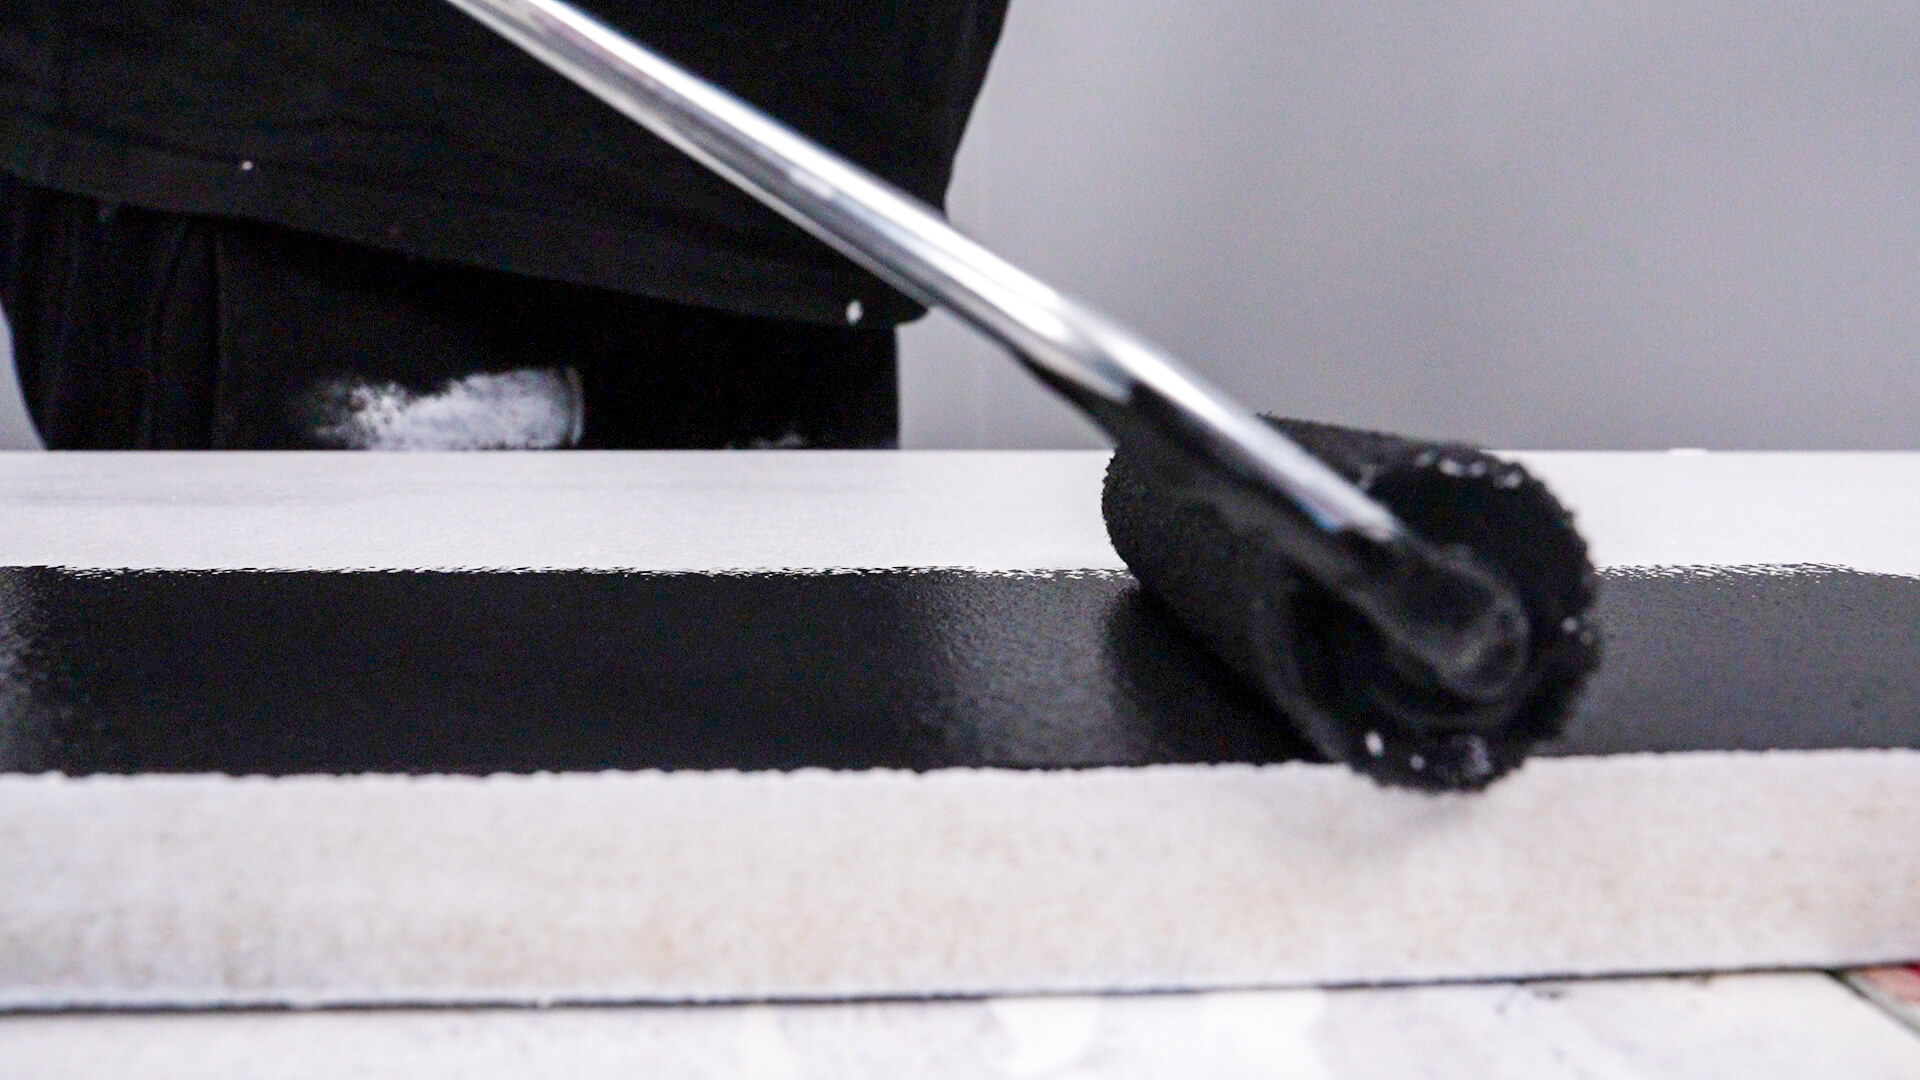
Step 5: Painting the 1st colour
In the 2nd step, we painted one of the surfaces of the boards with Black with Black in Eggshell Varnish quality. The original BYAKORRE can also be painted black on the top or underside. Again, let the paint dry for at least 4 hours.
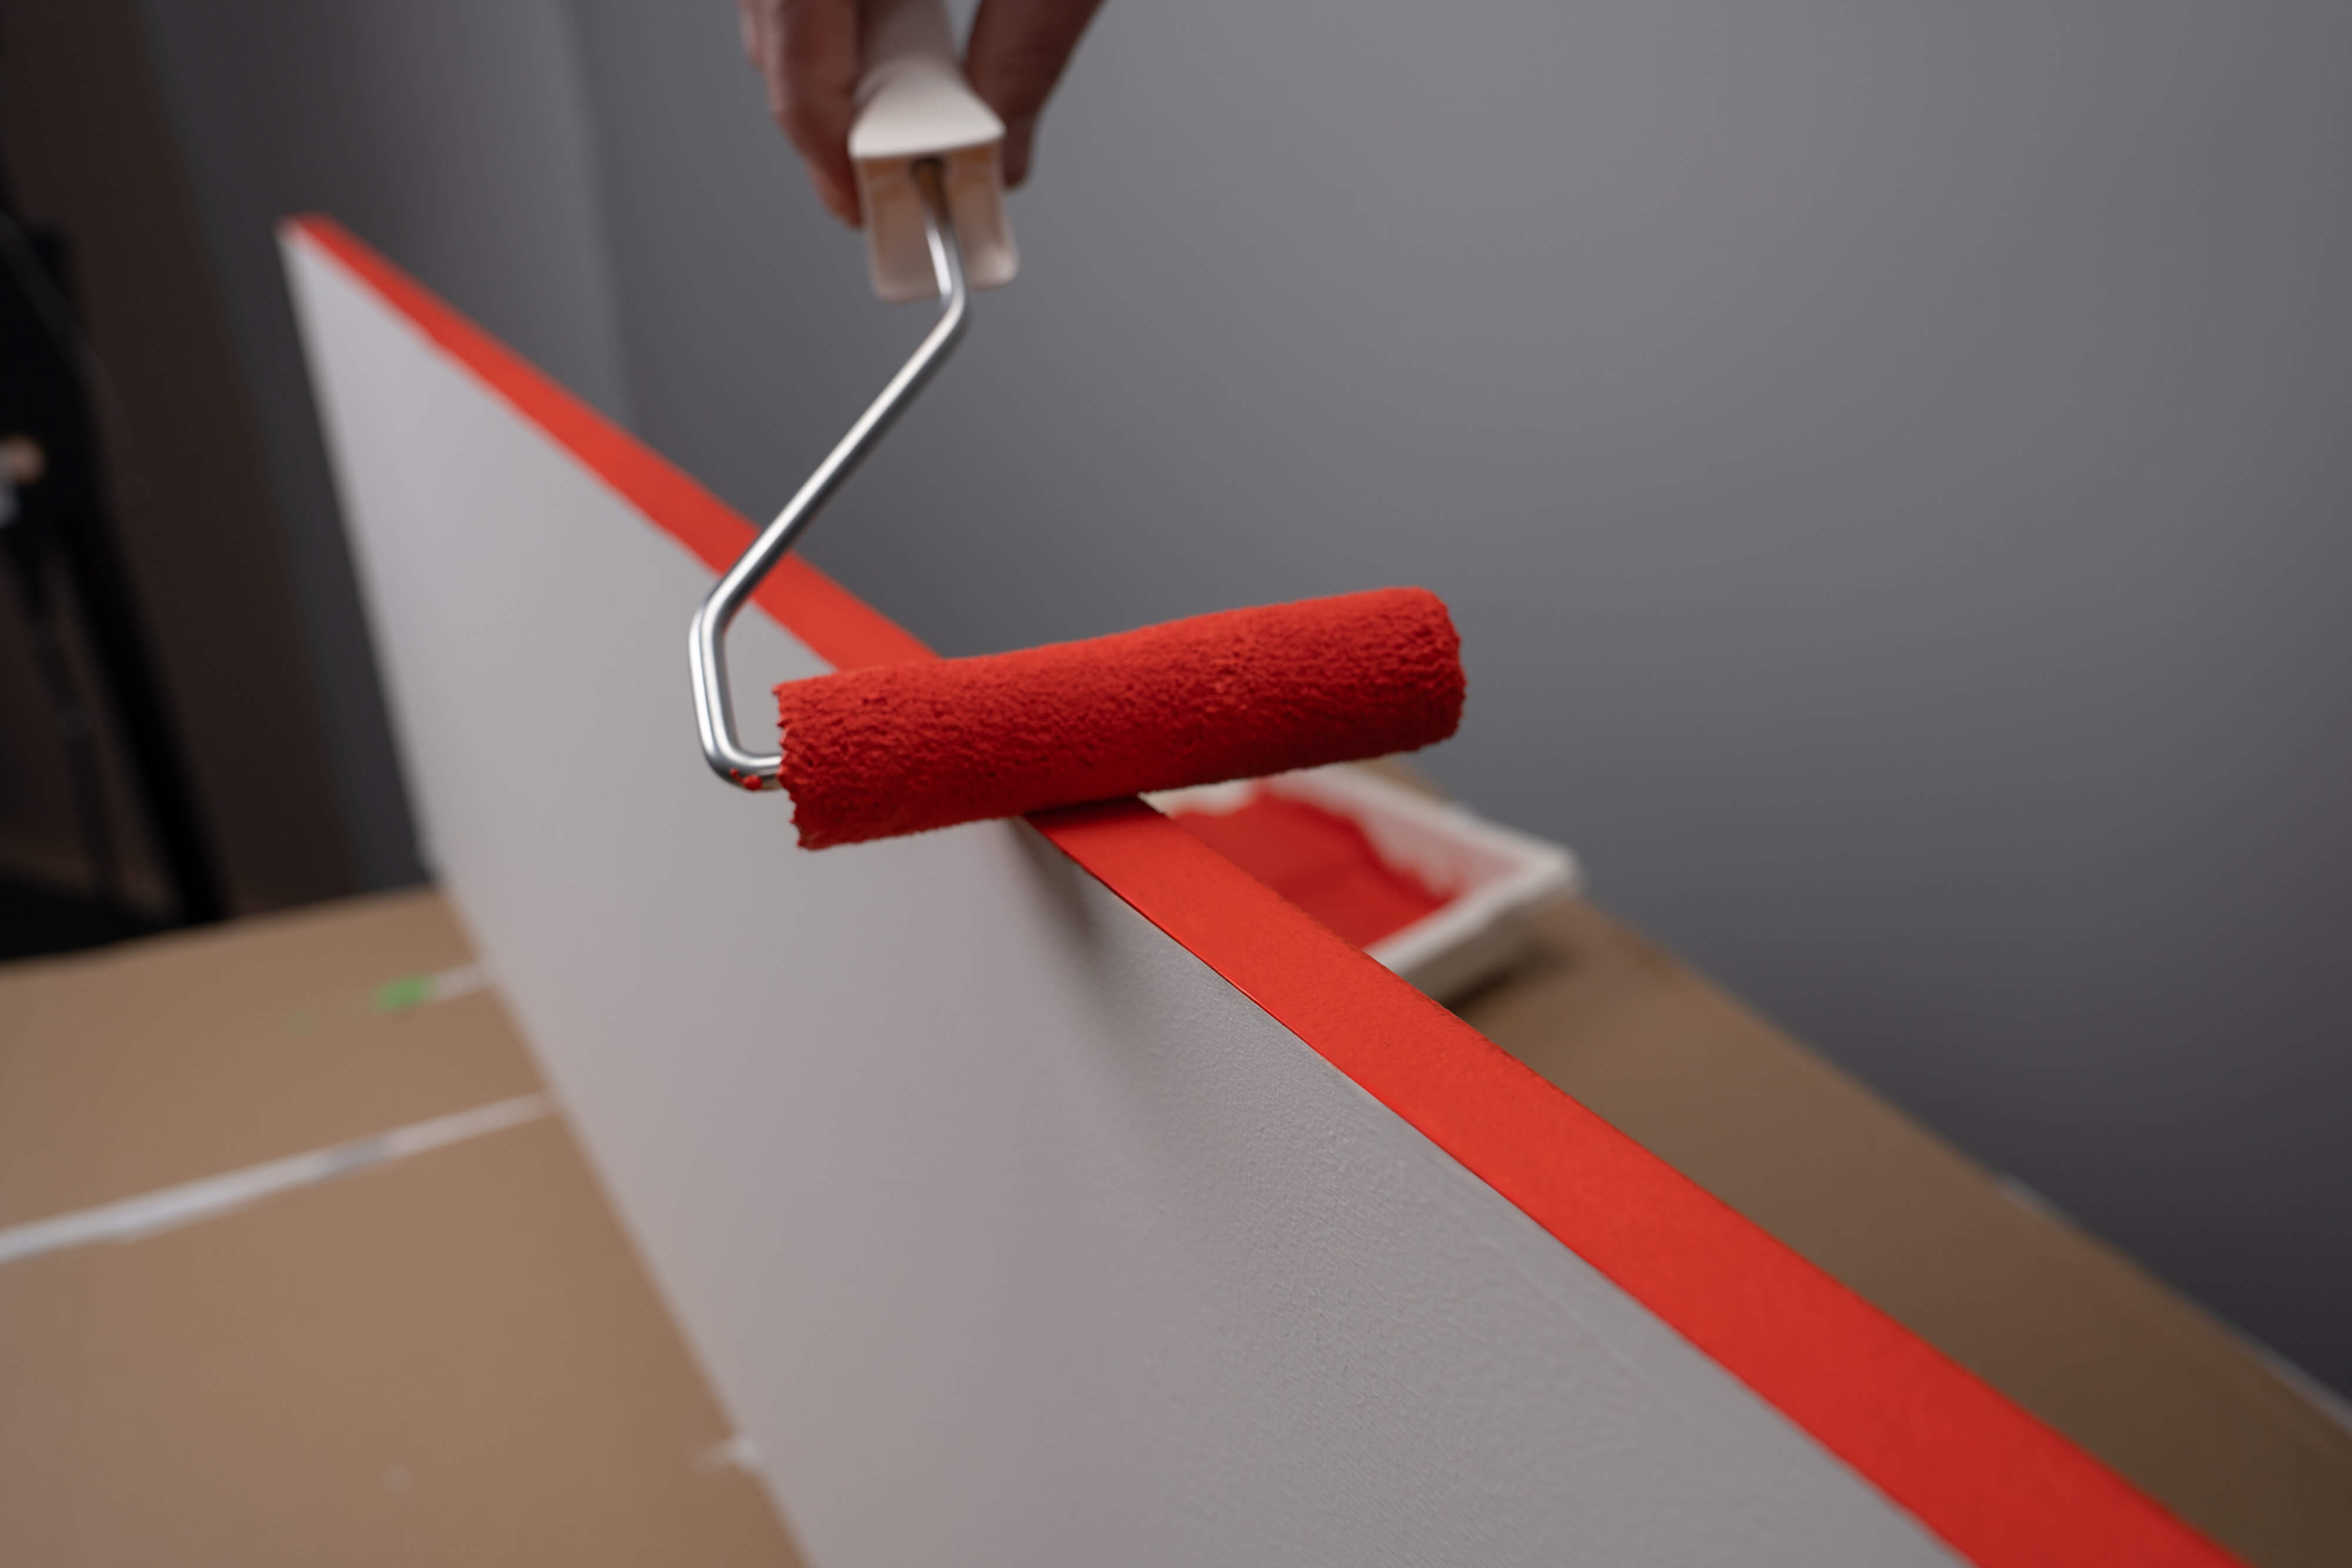
Step 6: Paint other colours
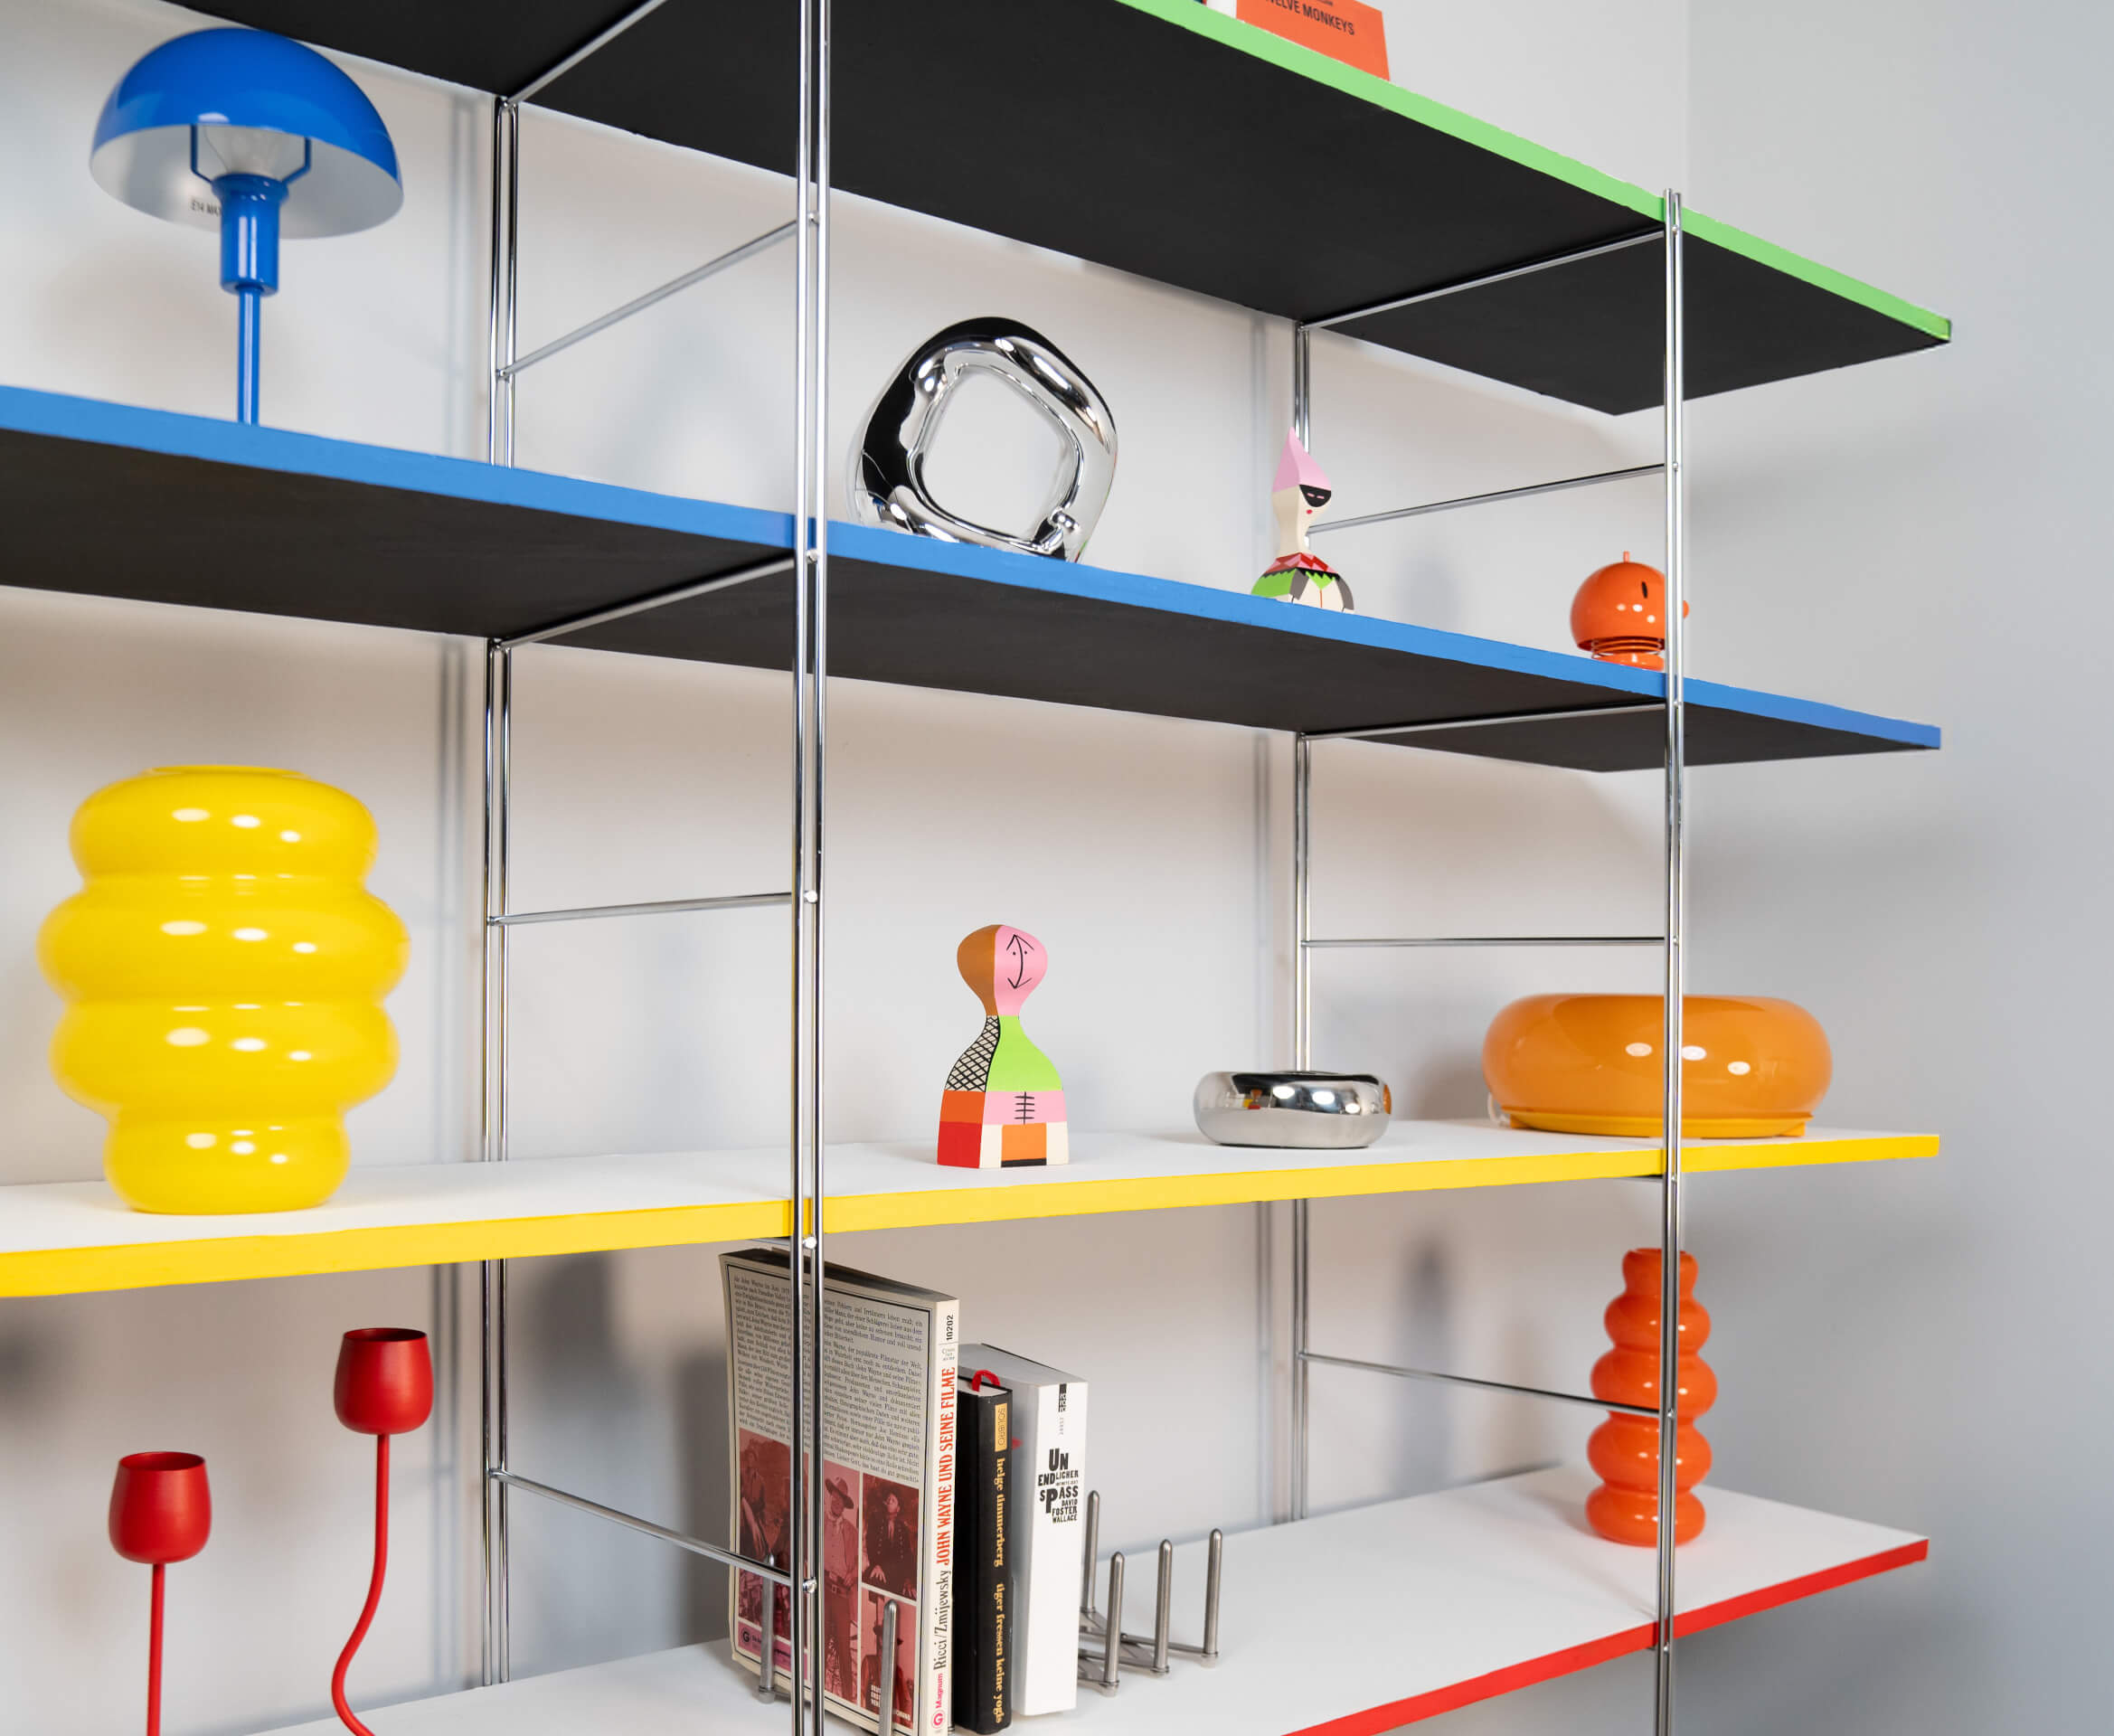
We painted the other surface and one long narrow side in White with White. The remaining 3 narrow sides of each board in a different colour.
We opted for the colour shades Green with Frog, Blue with Violet, Red with Chili, and Yellow with Lemon to create the original look. All colour shades are also in the Eggshell Varnish quality.
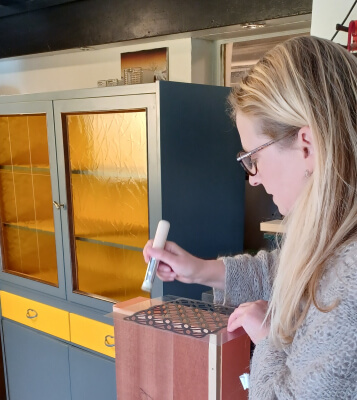
Step 7: Sealing
After drying, we sealed the boards with MissPompadour To Seal. Once the topcoat was thoroughly dry, we were able to place the boards on the shelf ladders.
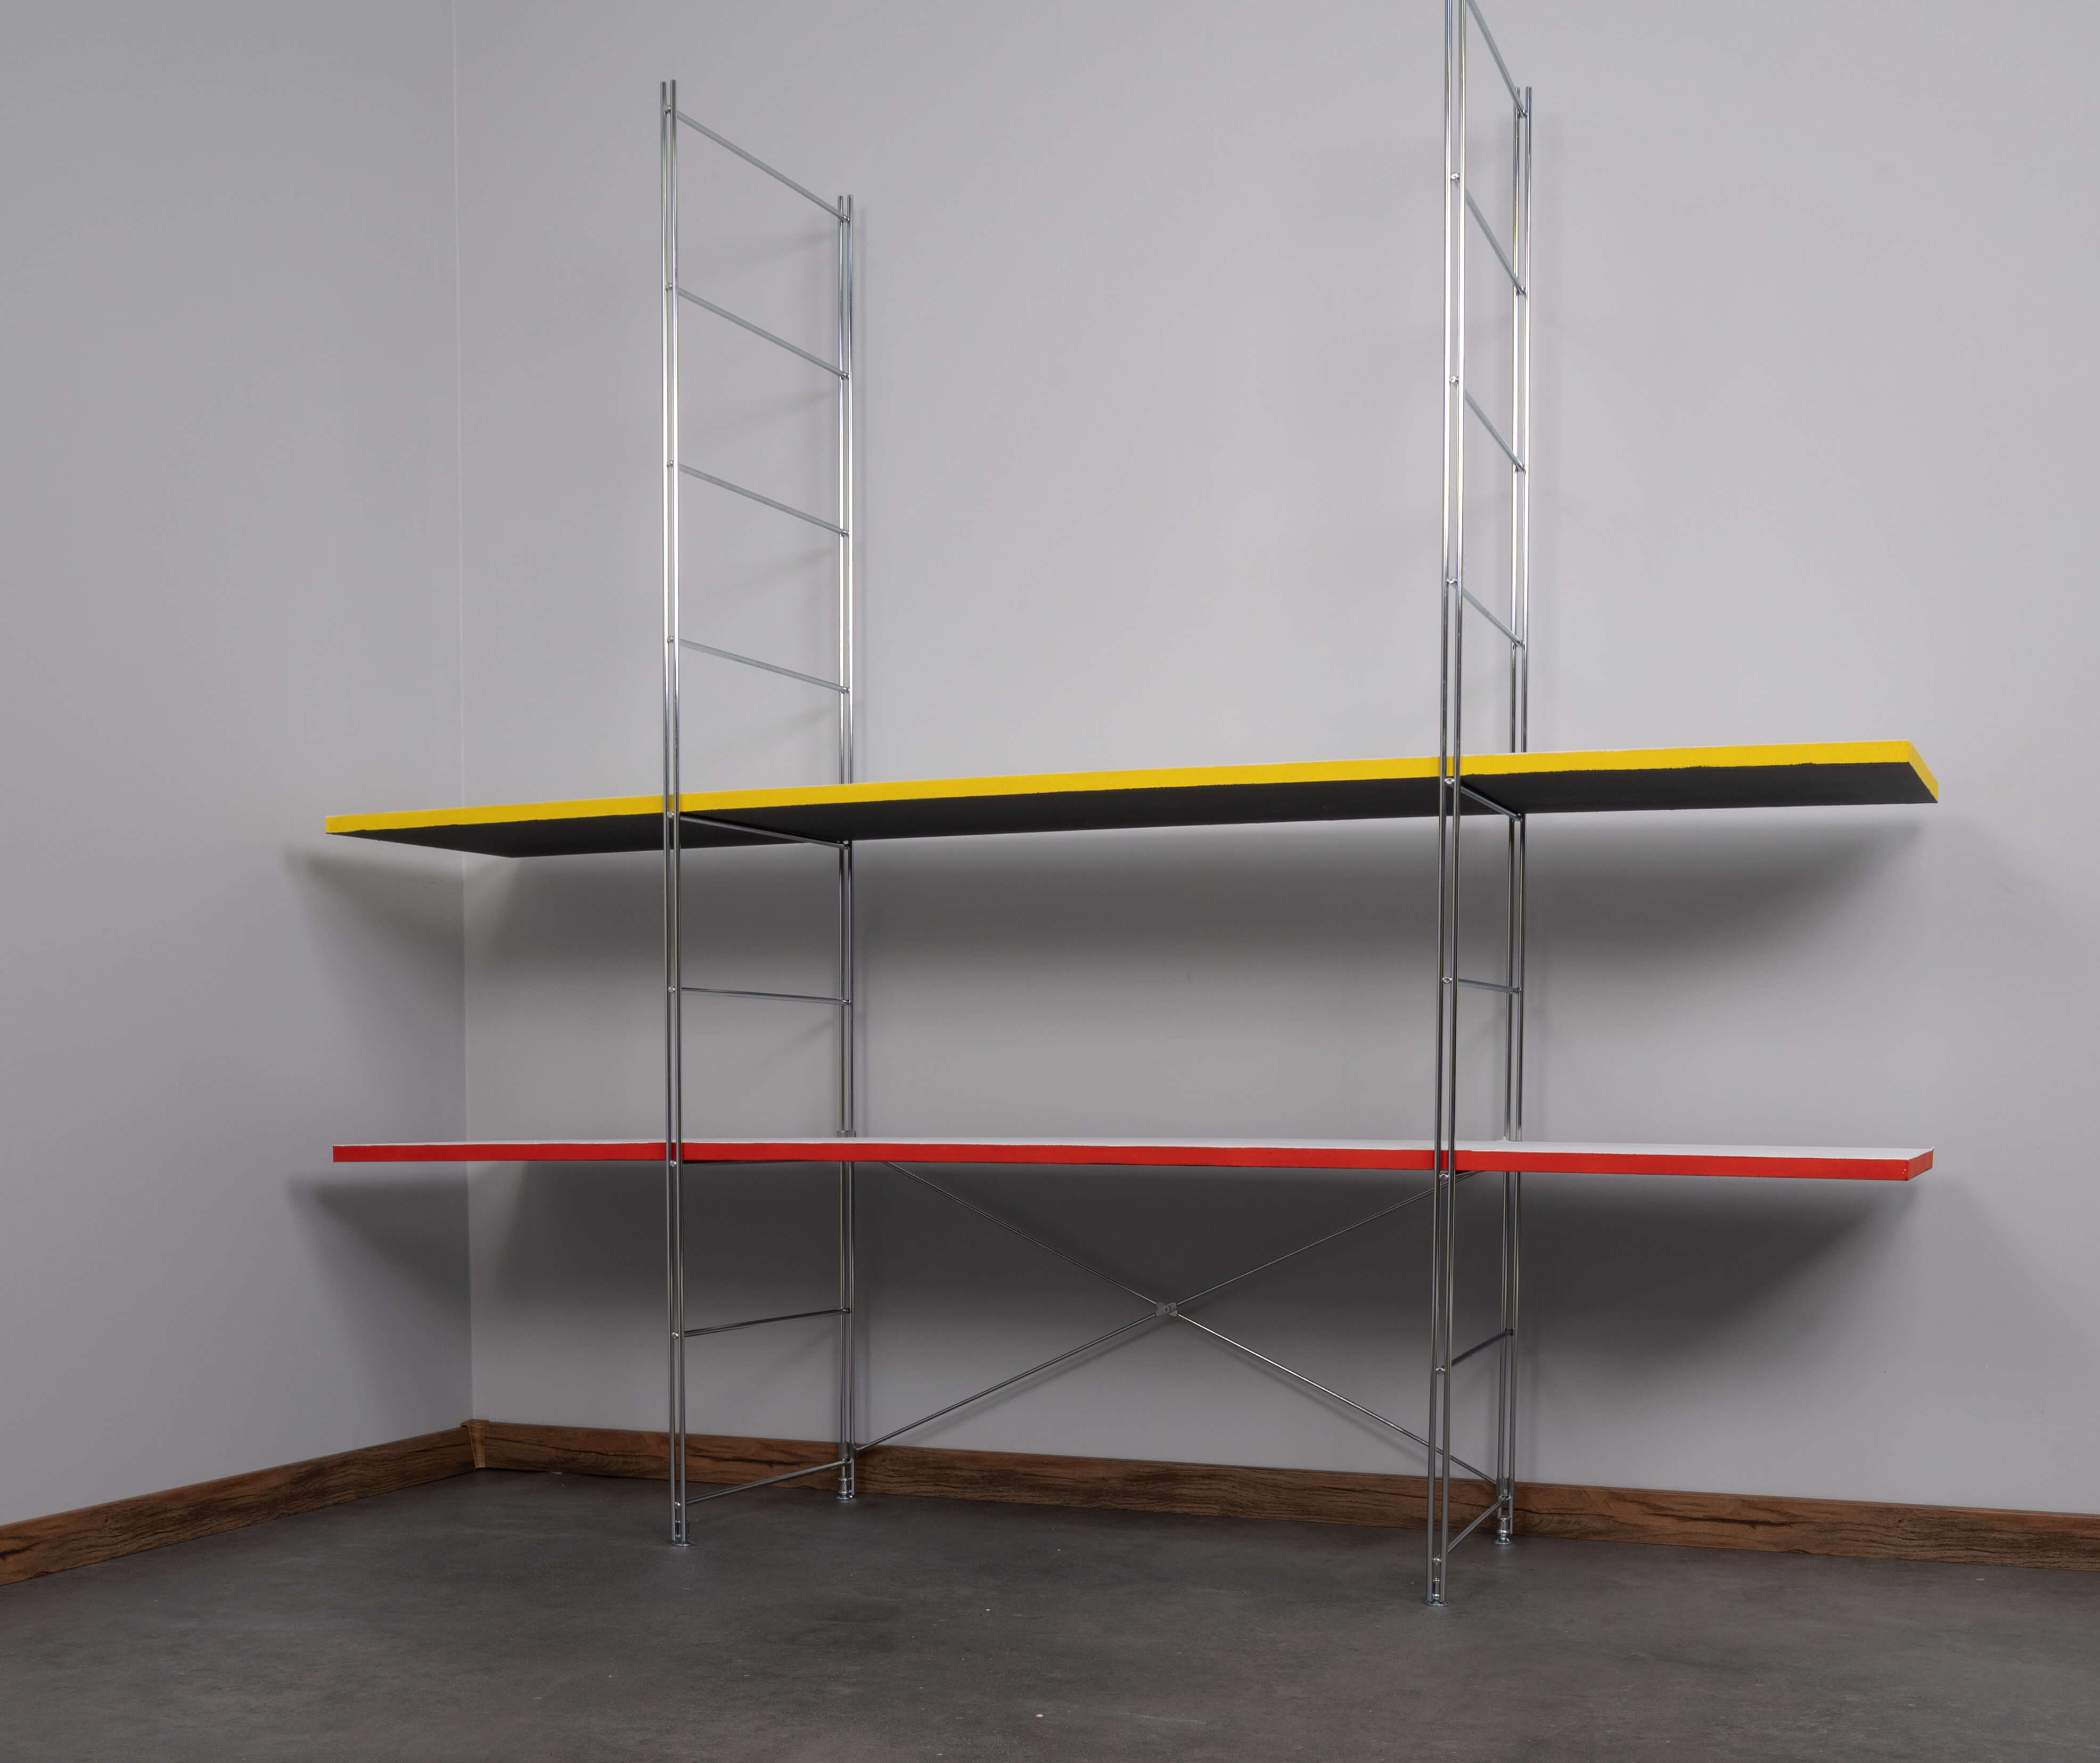
Done - we are really happy with the result!

2 little tips:
1. We paint a lot, so we have dispensed with masking. However, if you are unsure whether you can get the edges right without masking, leave more time between the individual steps, at least 1 day, before masking and continuing. This will prevent the colour from coming off with the tape. Don't forget to remove the tape immediately after painting!
2. Of course, we have a full range of colours in our studio - but it might make less sense for you to buy 4 different colour shades plus white and black if you only need a little bit of each. To make your shelf really individual, you can also simply use colourful varnishes that you already have at home!
What you need for your project
- 4x MDF boards raw, 19mm wide (170x36.5cm)
- 2 x shelf ladders (154x38cm)
- 1x cross brace (90cm leg)
- 1x assembly set for cross brace
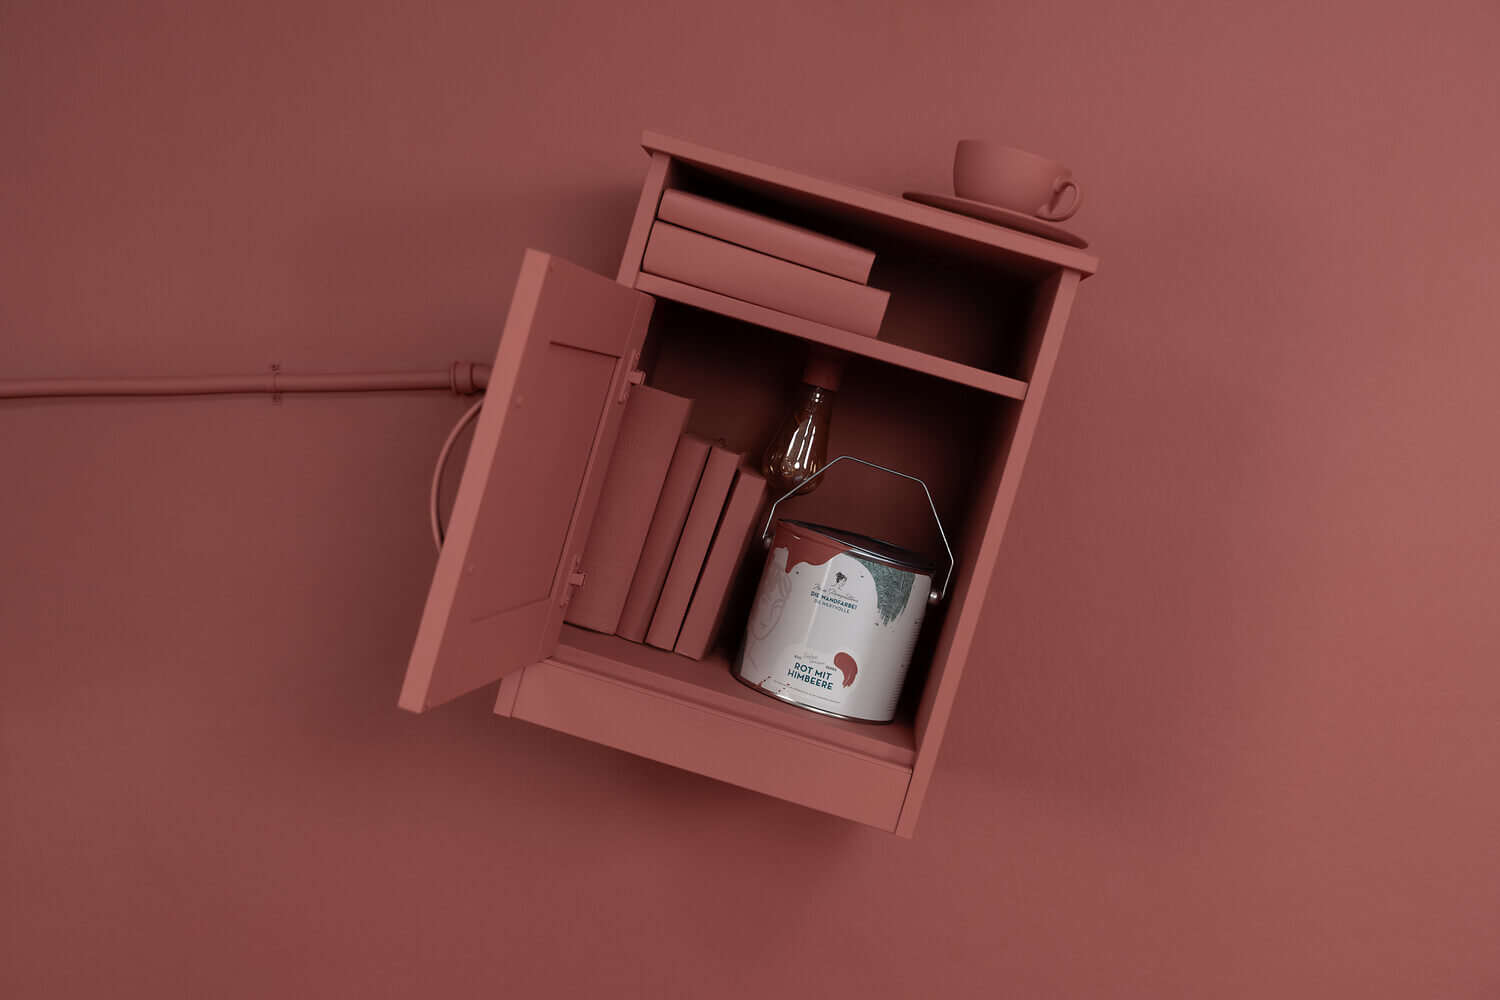
Colour & Co. for the BYAKORRE shelf


")


Questions?
We're here to help
We'll help you anytime, via Phone or Live-Chat (Mo-Fr 09-18, Sa until 16 Uhr), via WhatsApp or directly via our Contact Form.