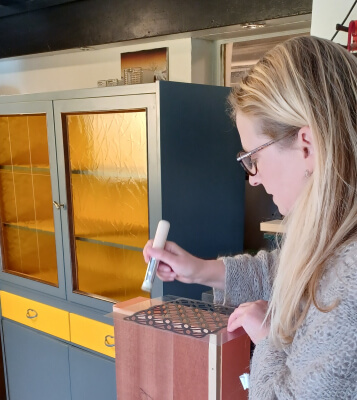
Painting high-gloss furniture
5 min reading time
Do you want to paint your high-gloss furniture and are looking for the right products?
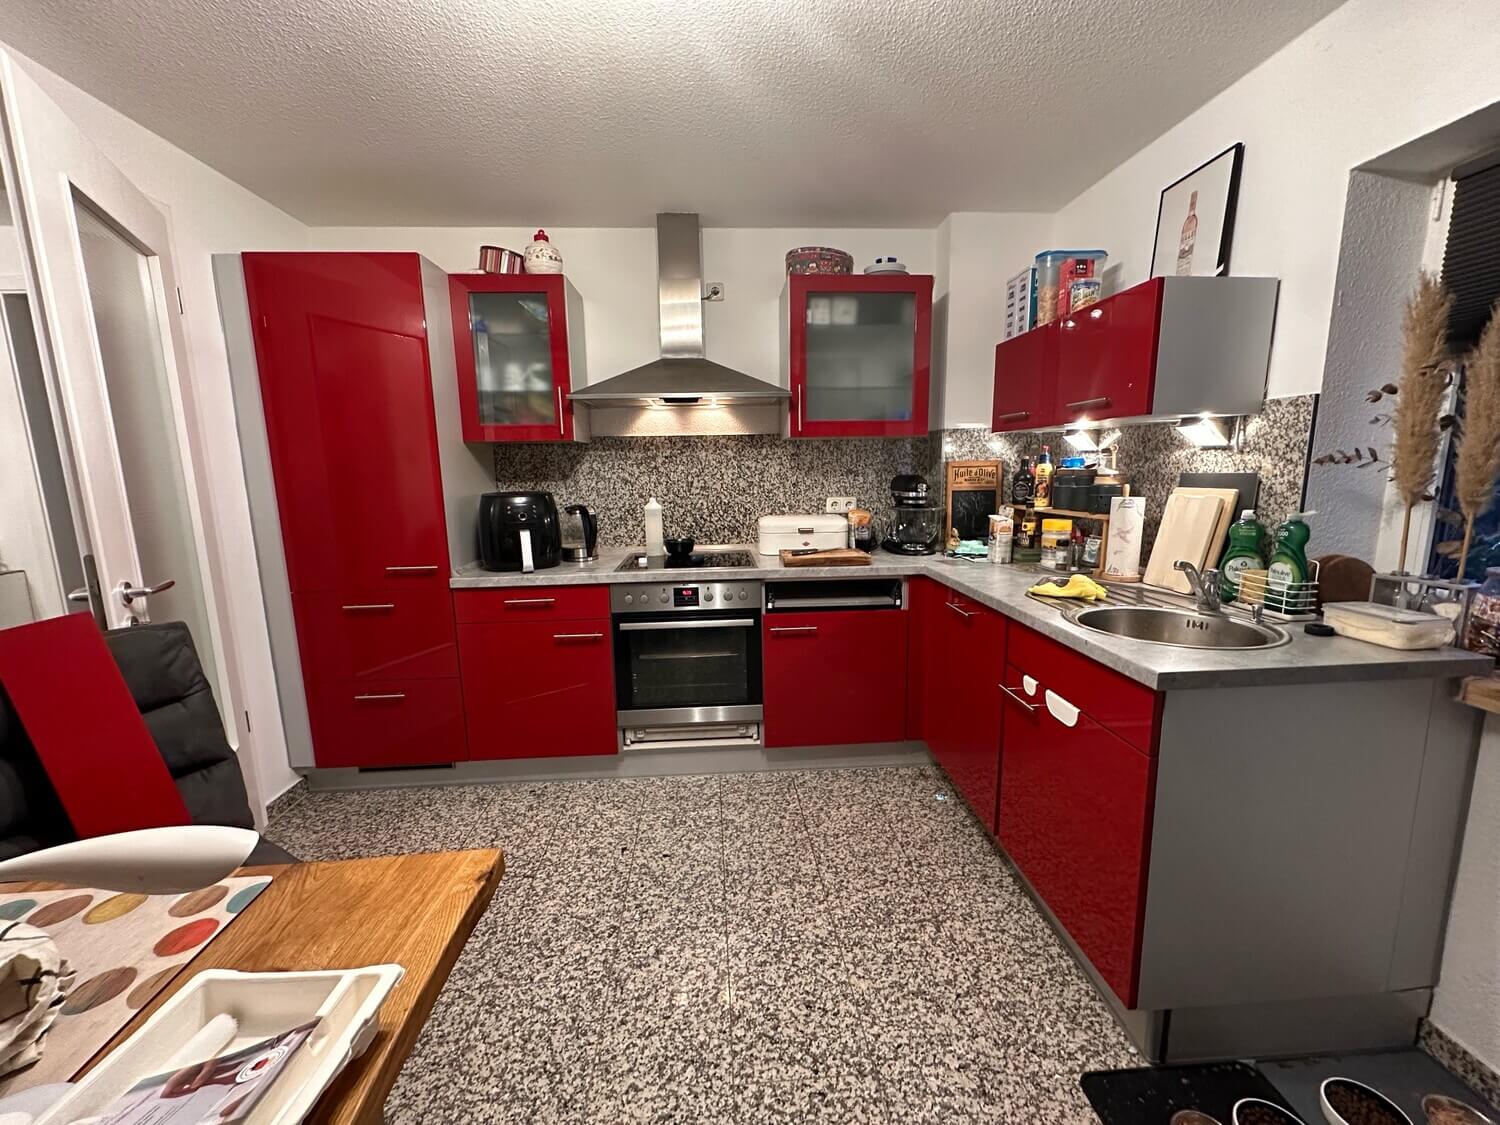
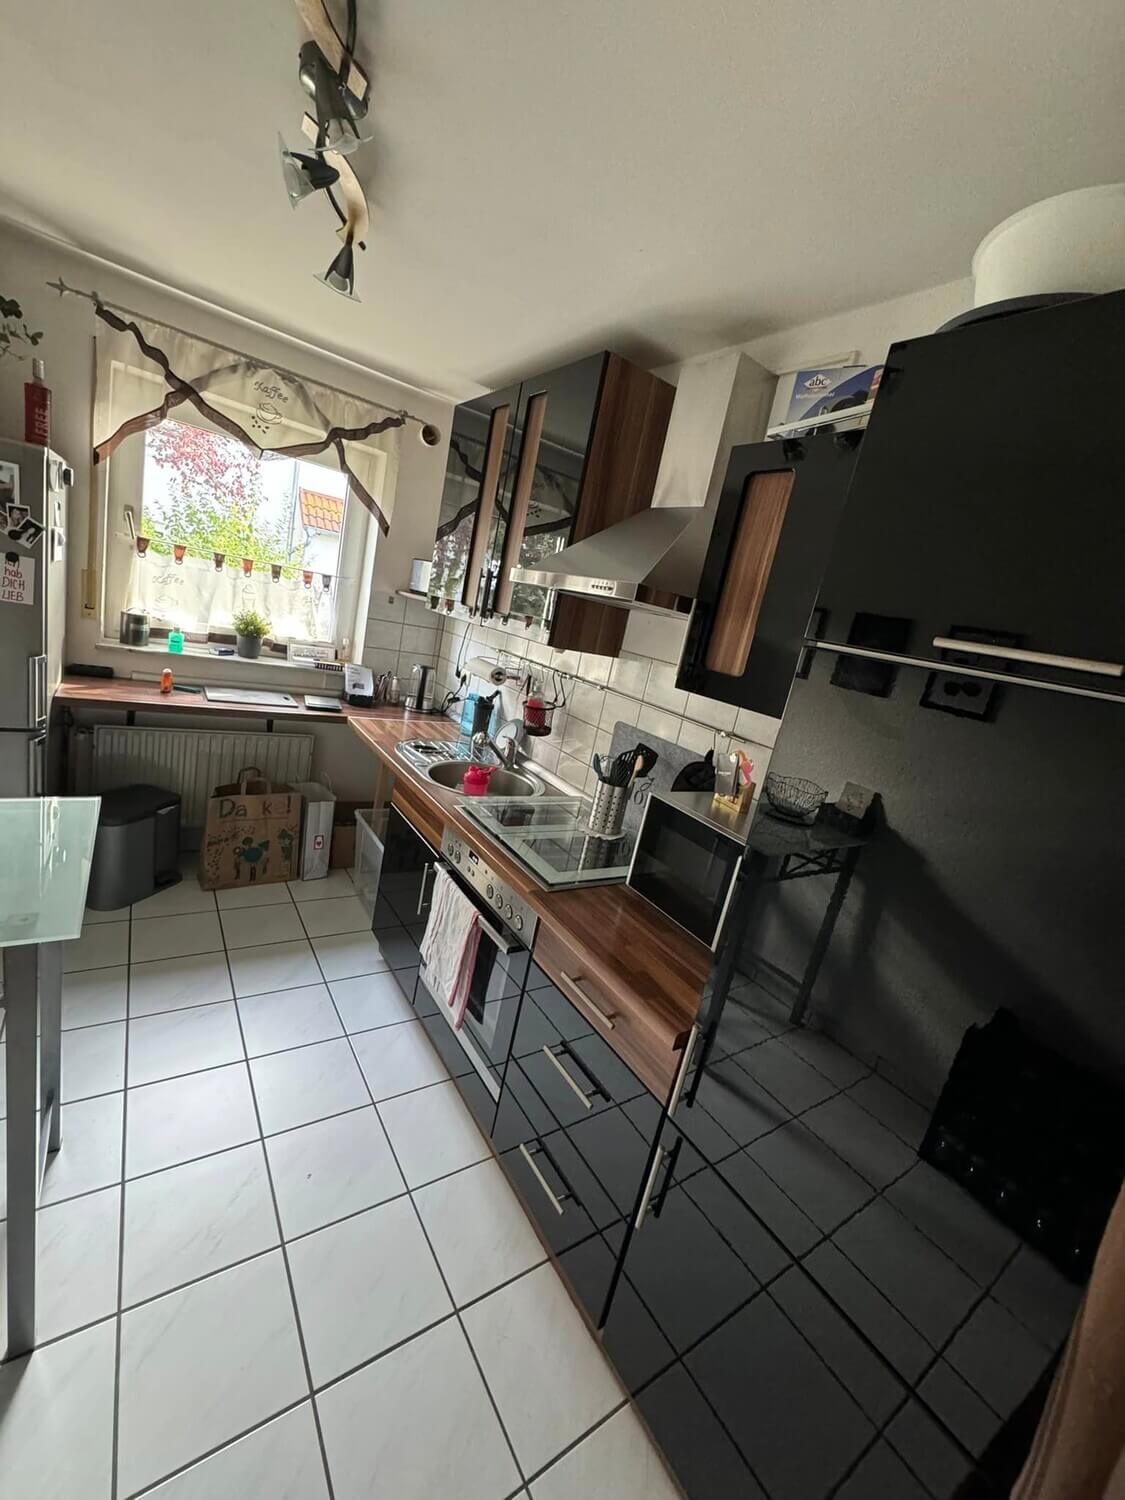
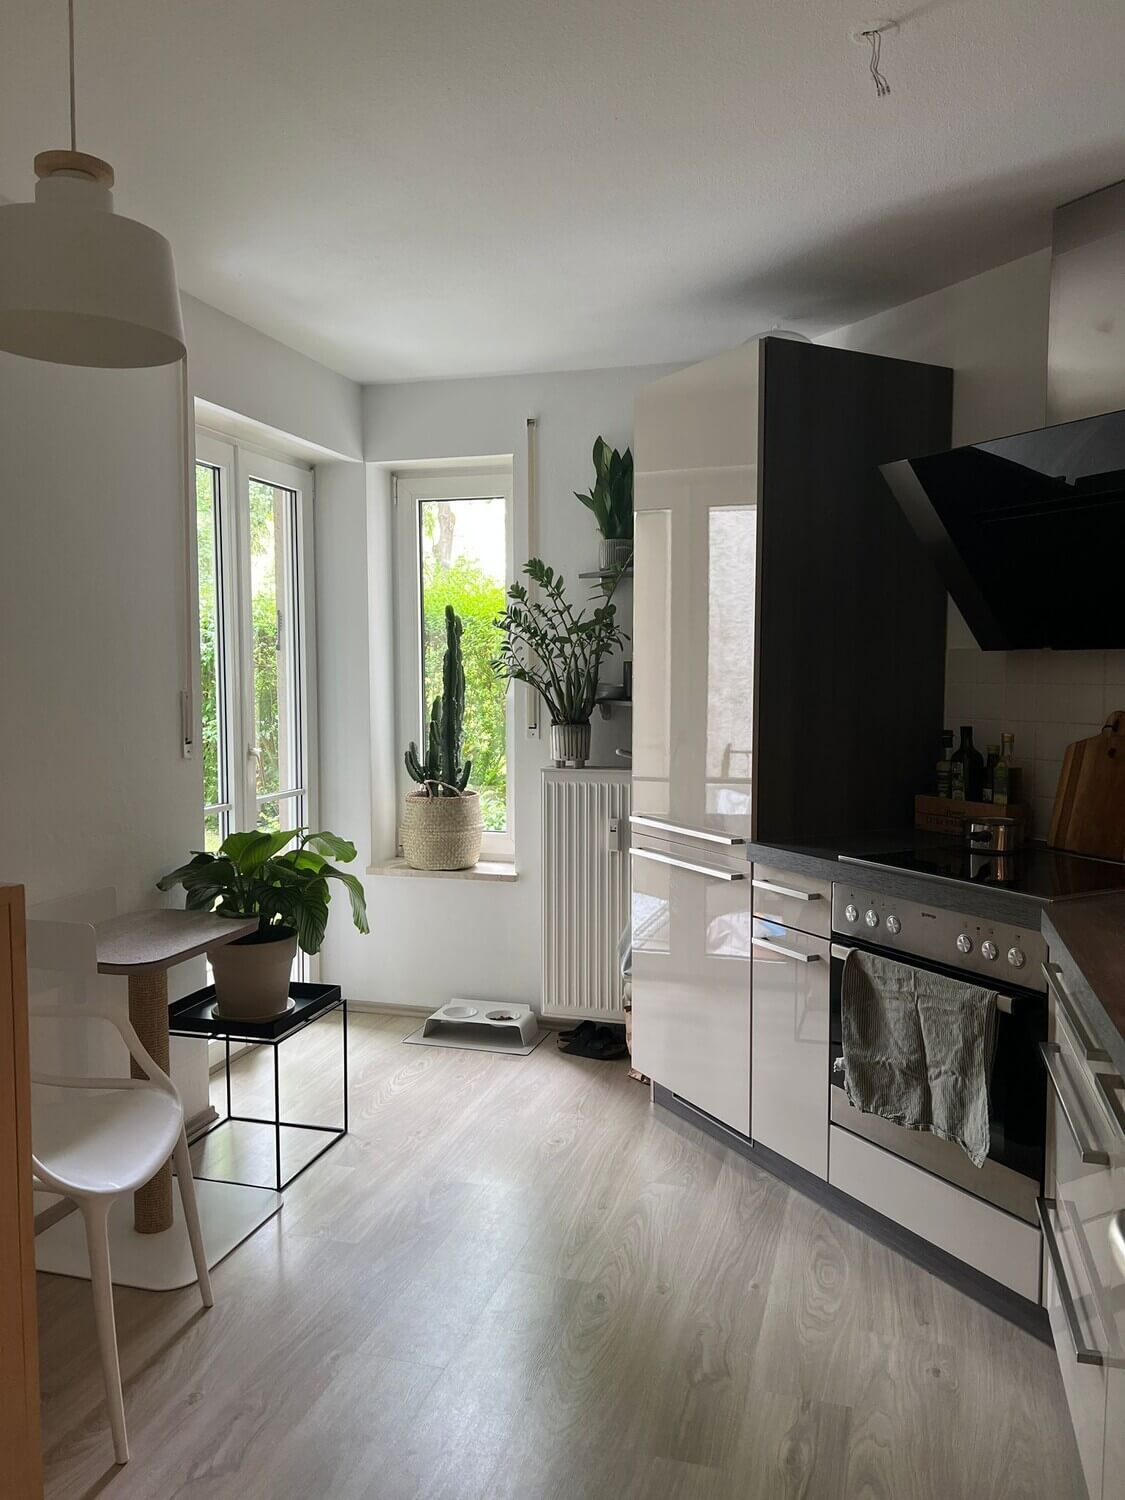
In the noughties, high-gloss furniture, especially high-gloss kitchens, were all the rage. Whether in vibrant shades of red or blue or in brilliant white, glossy surfaces were a must. In the meantime, the enthusiasm about the great look has often given way to frustration. Unfortunately, you can see every single fingerprint on these surfaces. And who wants to spend the whole day chasing after stains with a cloth? What to do when you've had enough of high gloss? Upcycle your furniture, of course!
Table of content
1. Ideas & inspiration for redesigning high-gloss furniture
2. Painting high-gloss furniture: step-by-step instructions from MissPompadour
3. Video tutorial: How to paint your kitchen
4. The tools you need to paint your high-gloss furniture & kitchen
5. FAQ: Frequently asked questions about painting high-gloss furniture
Ideas & inspiration from our community for remodelling high-gloss furniture
In our Painting community, where thousands of members share their projects, you'll also find attractive examples of how to paint high-gloss kitchens. Why not get some inspiration!
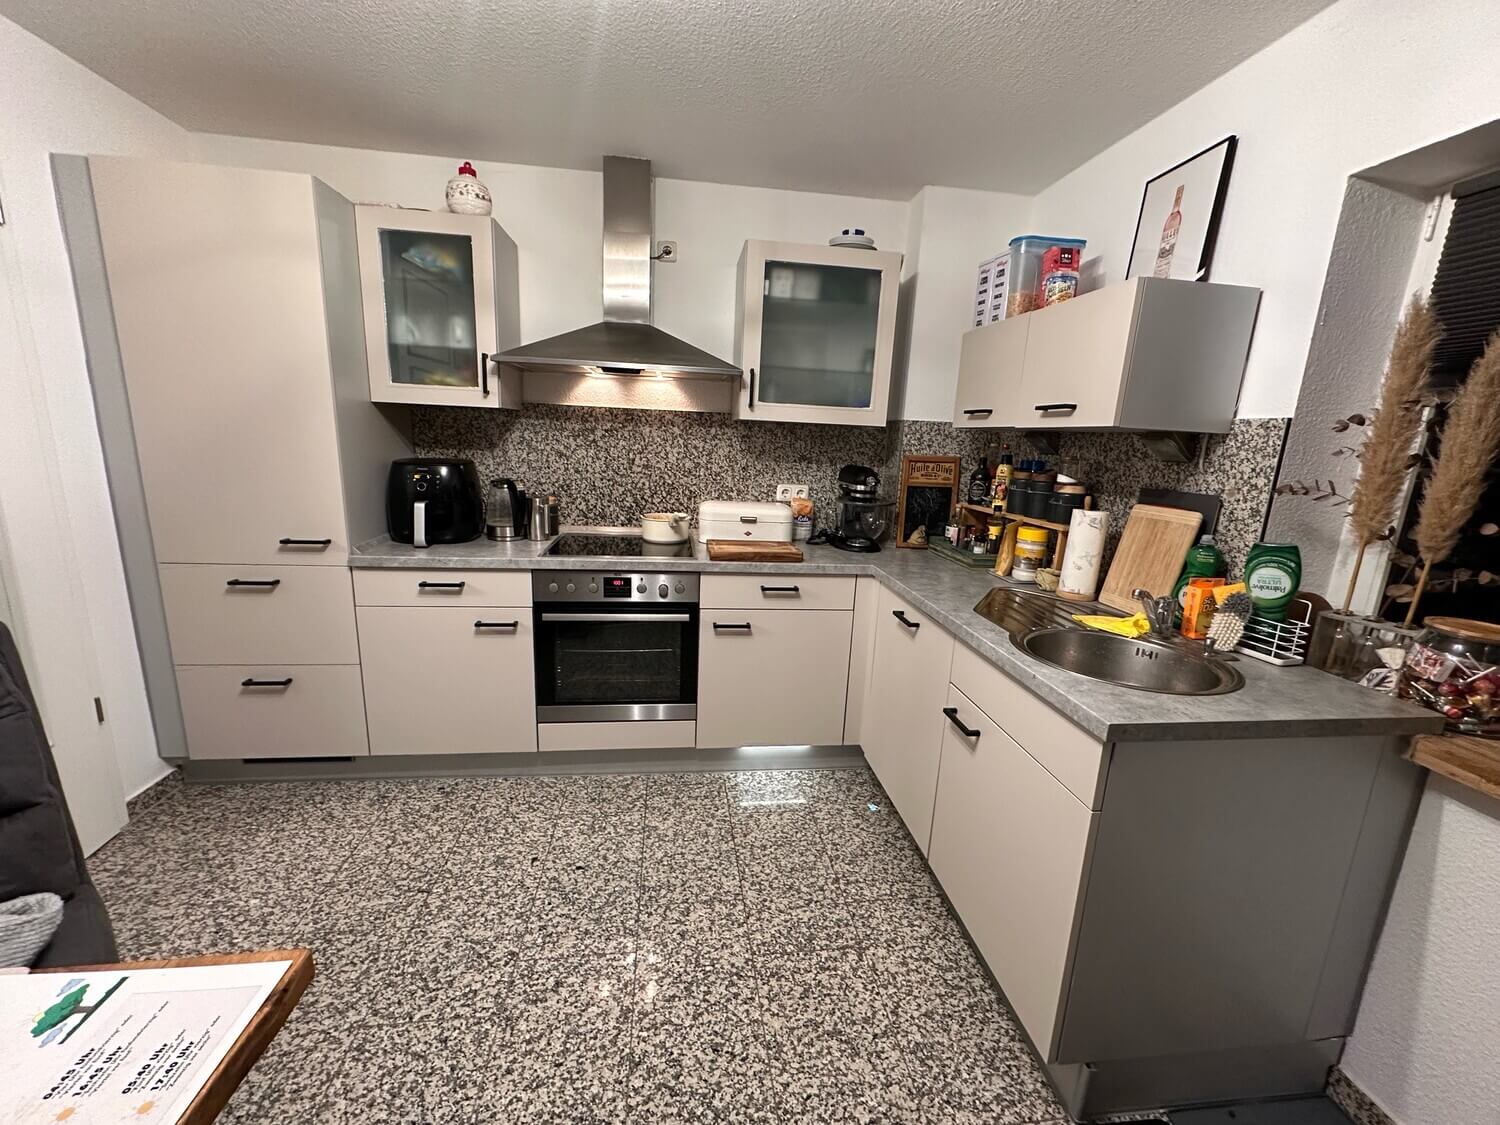
Matt finish
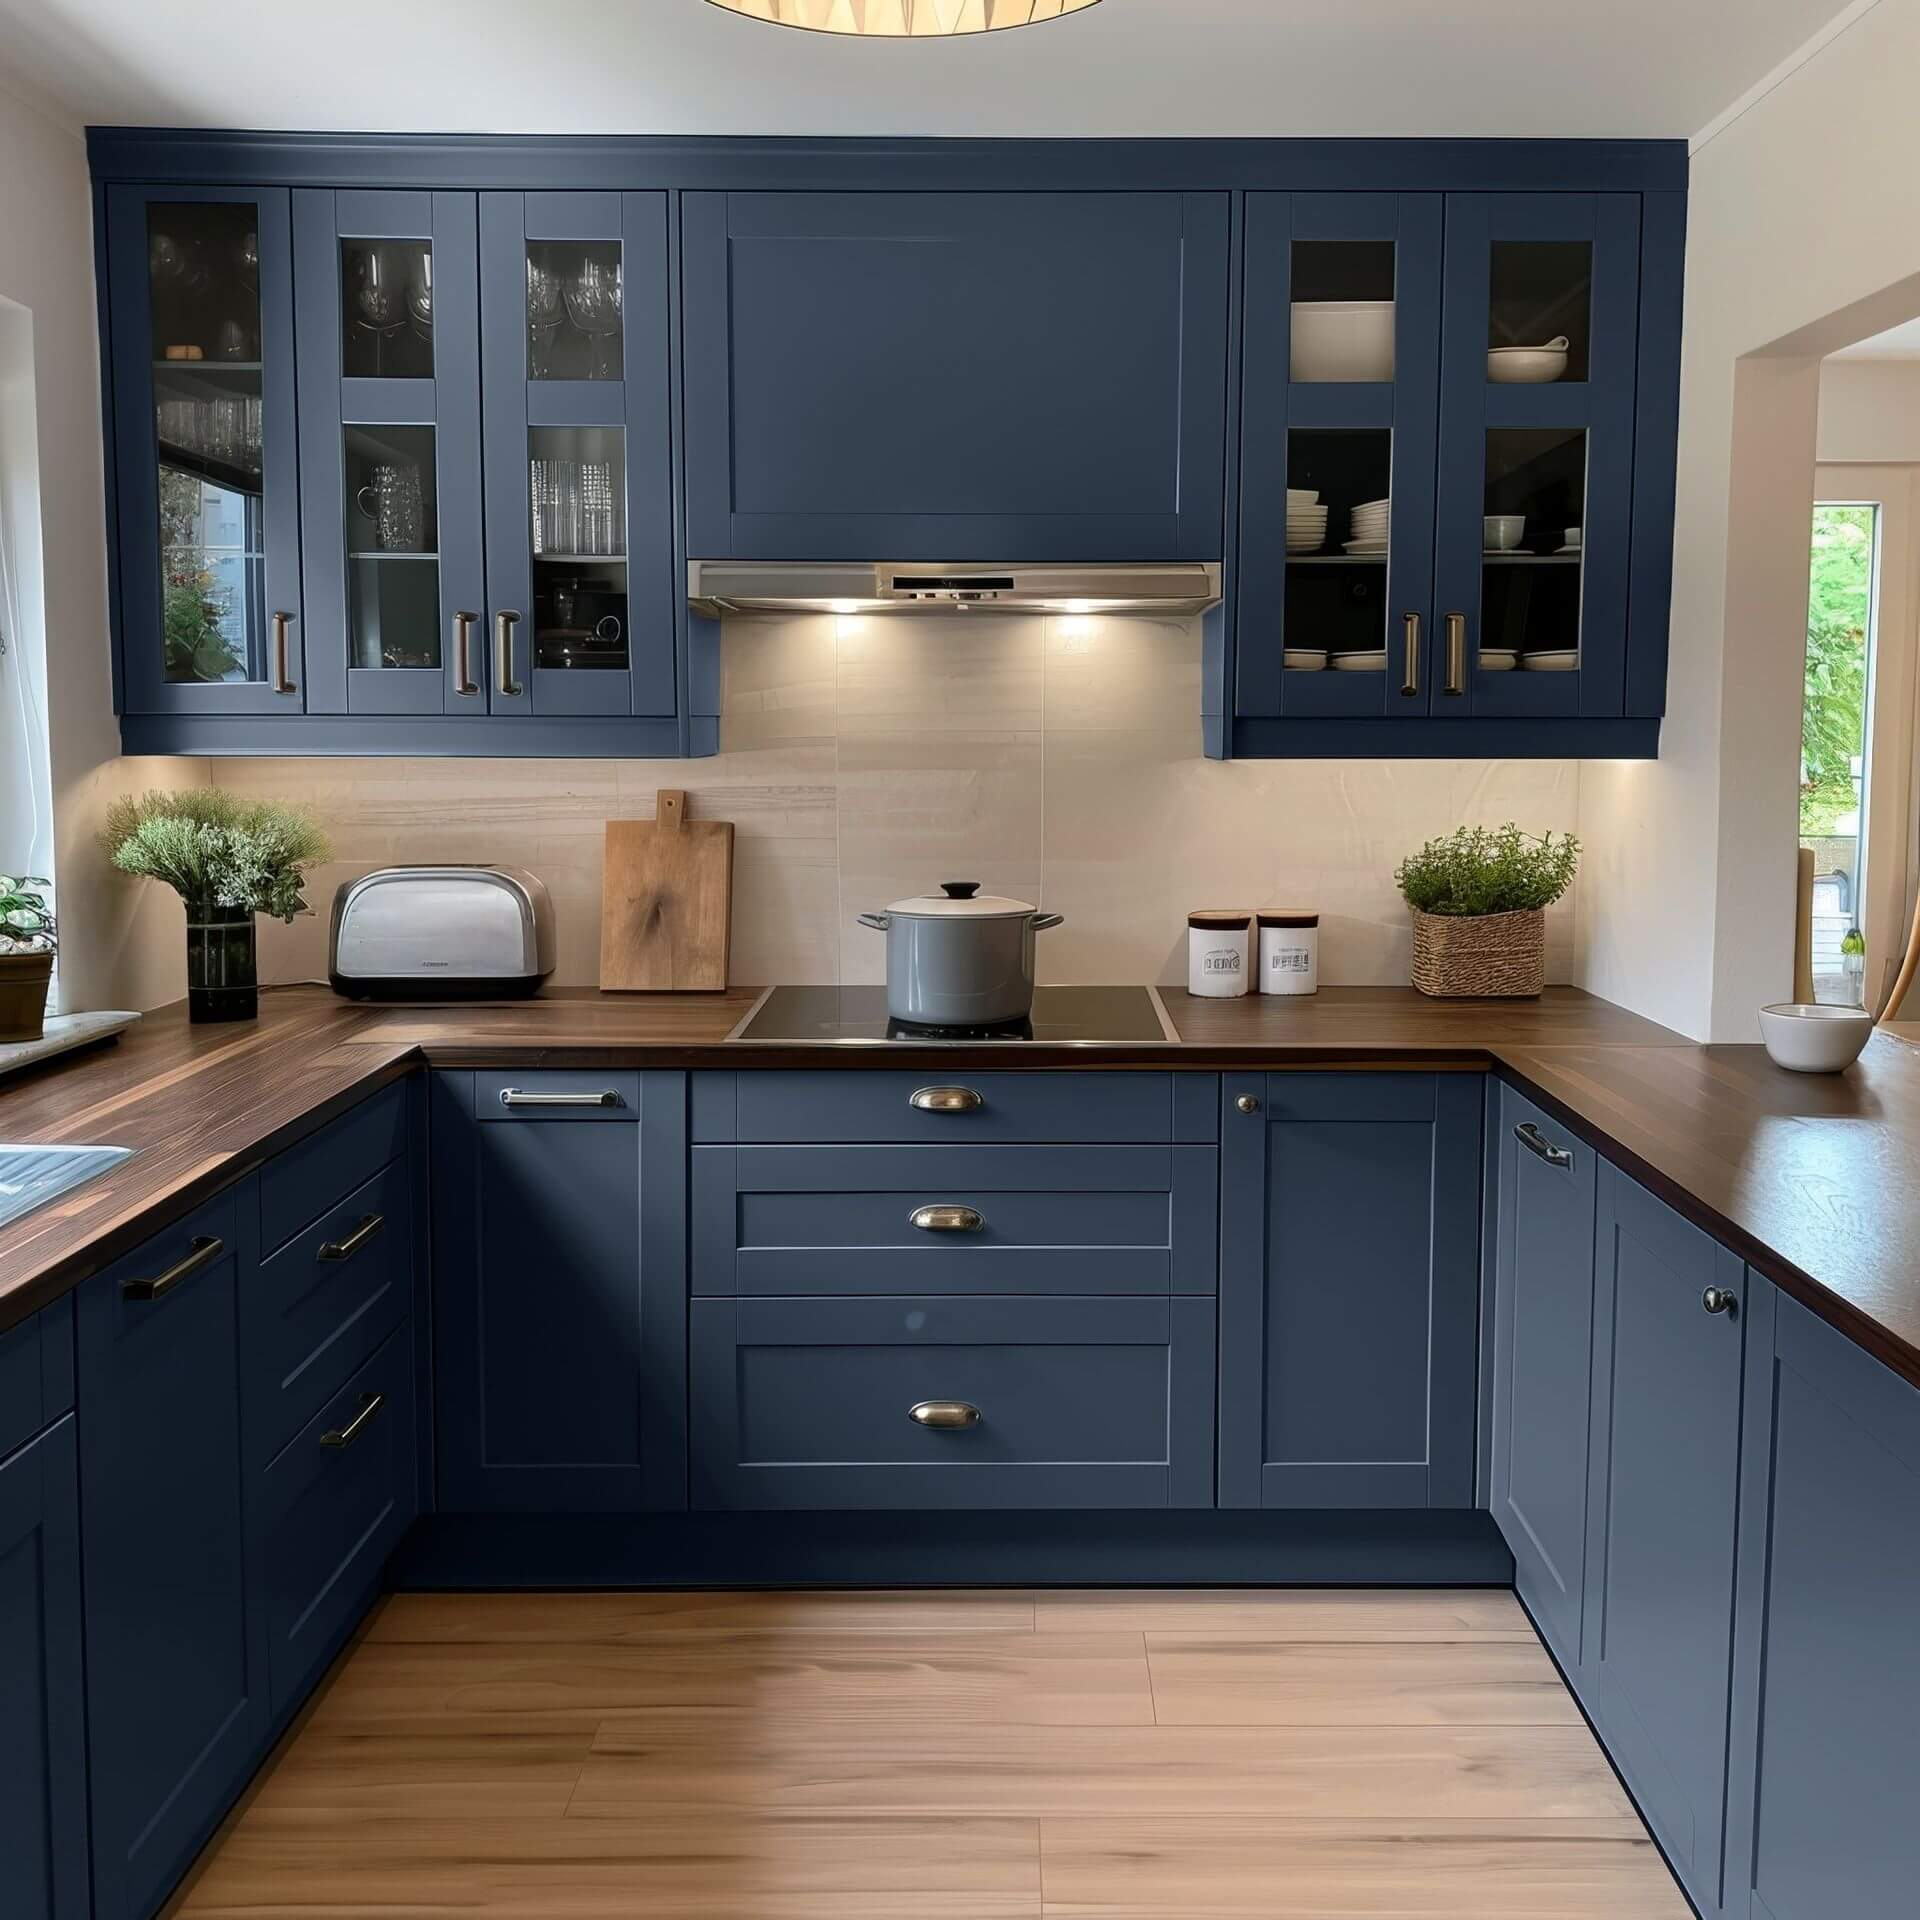
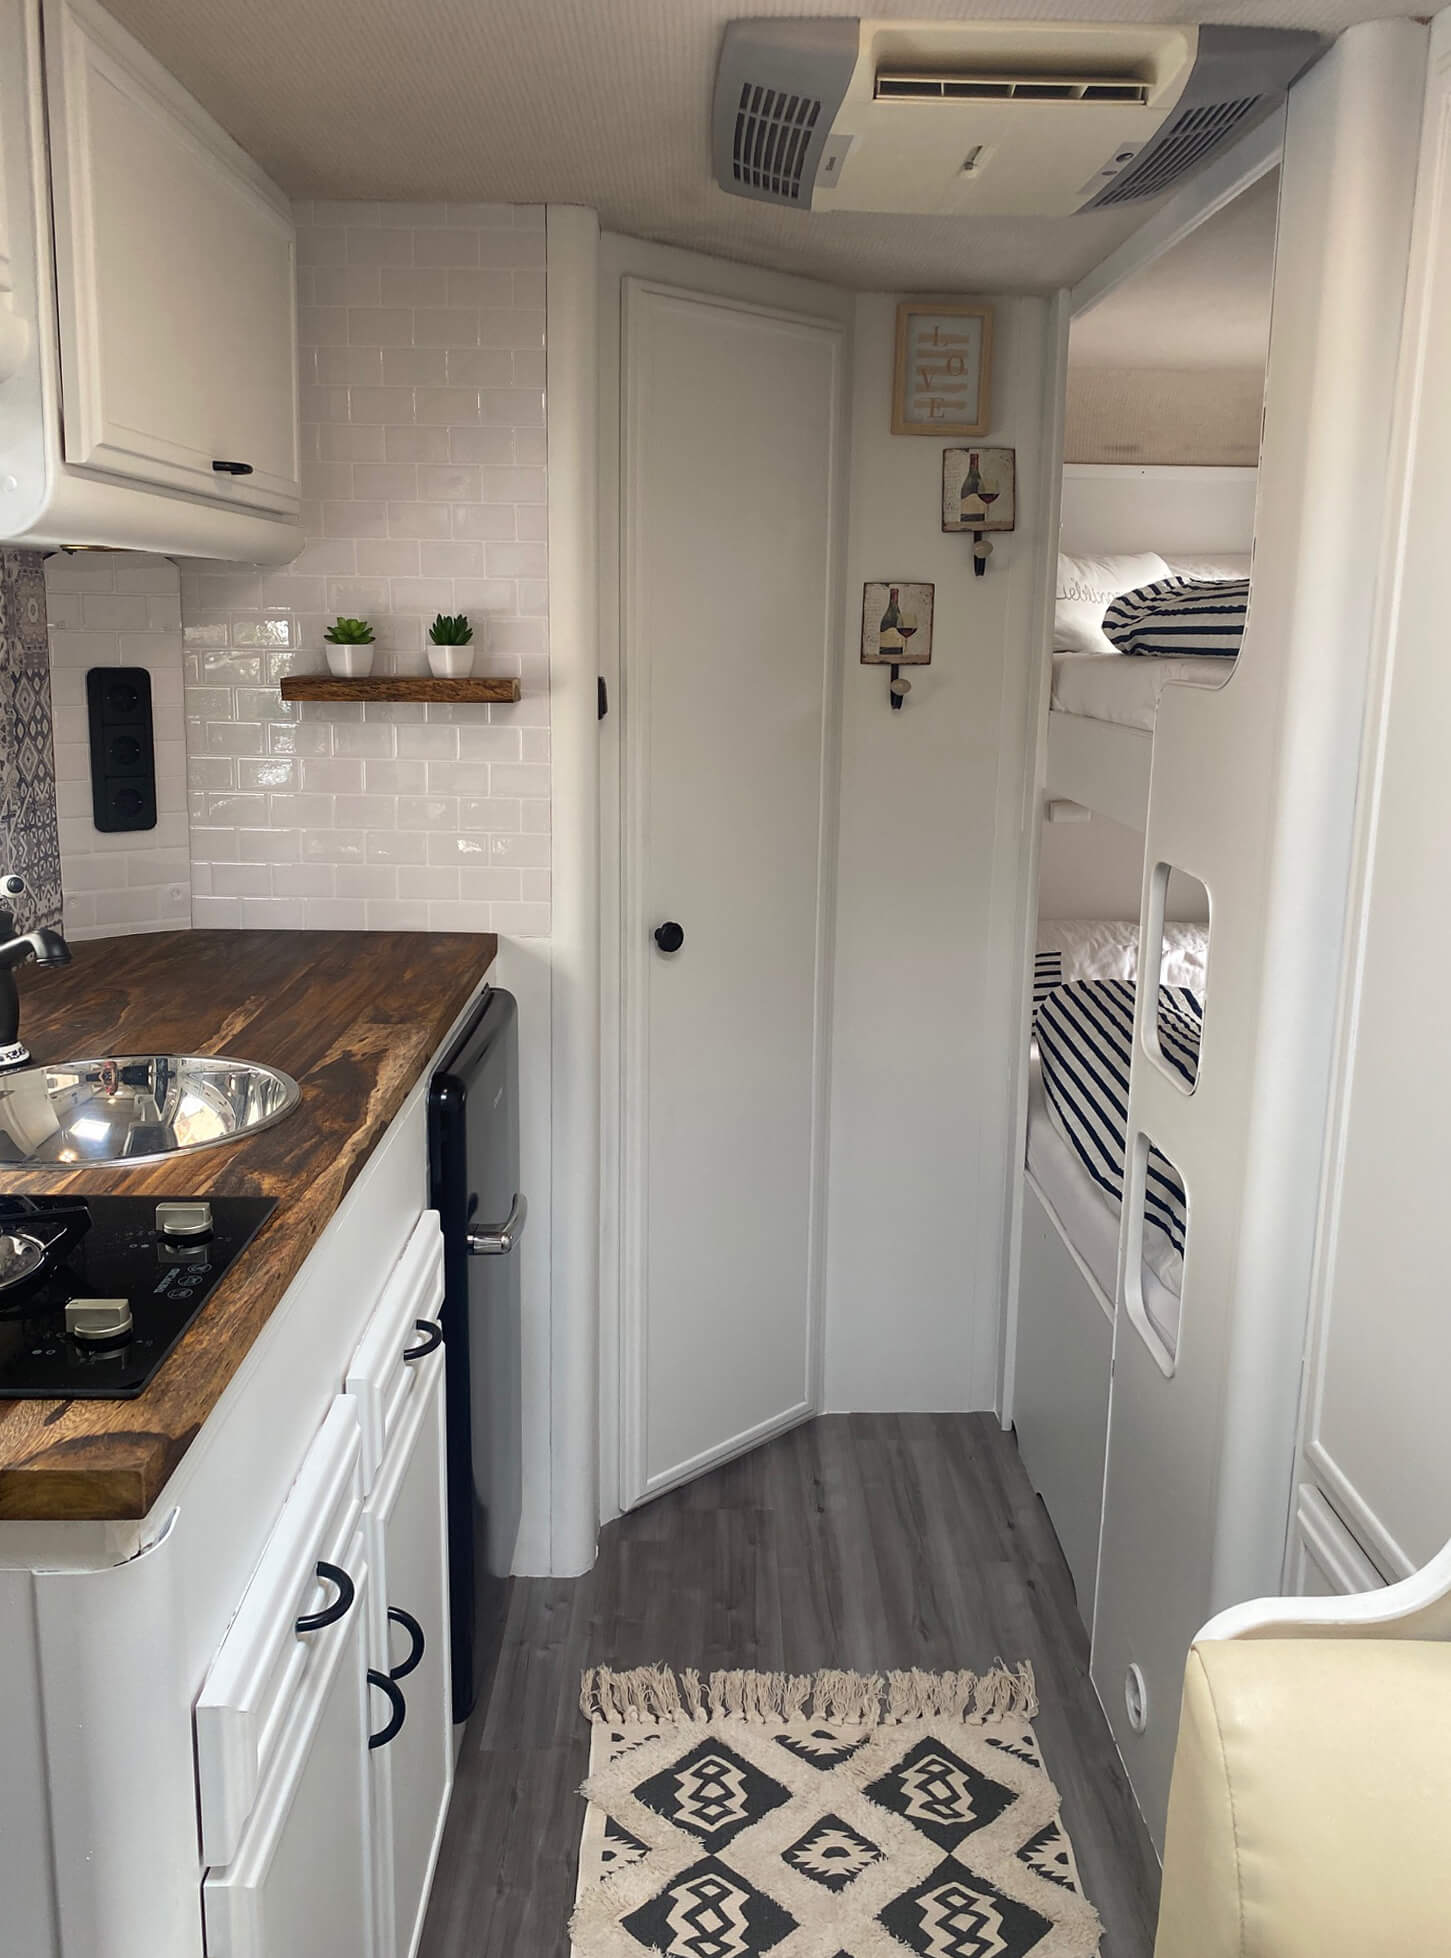
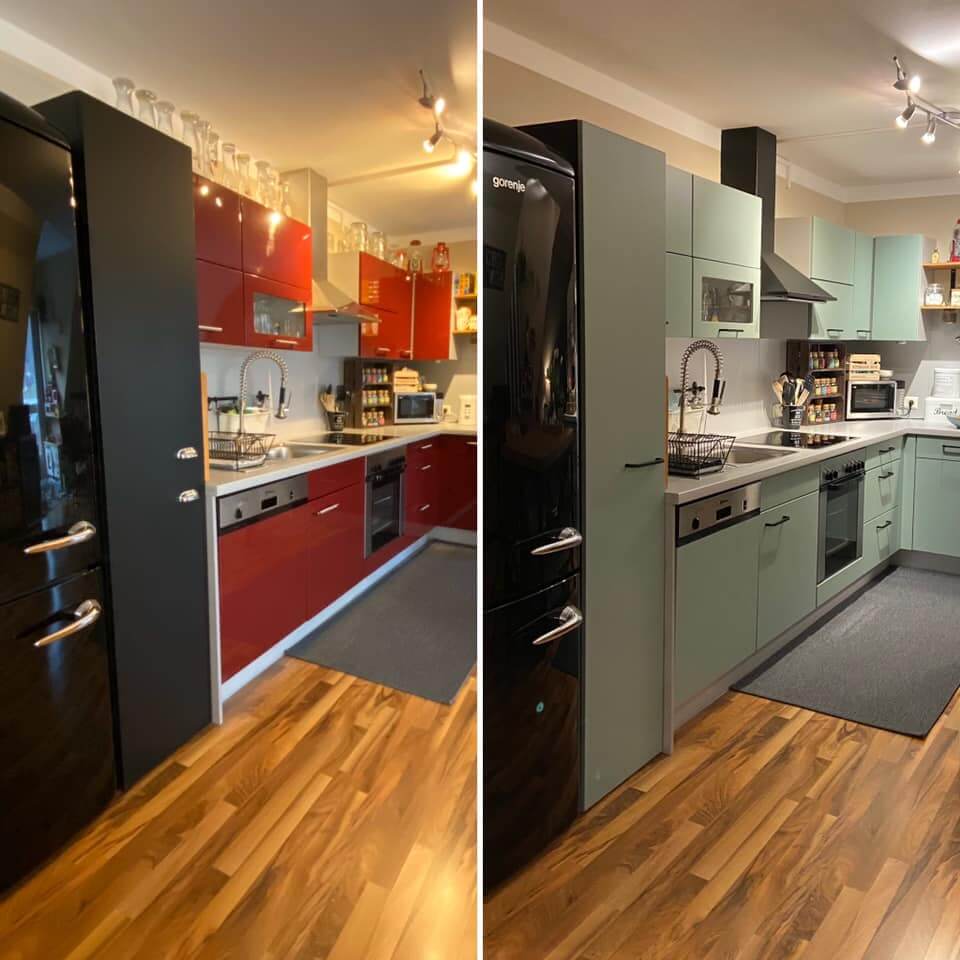
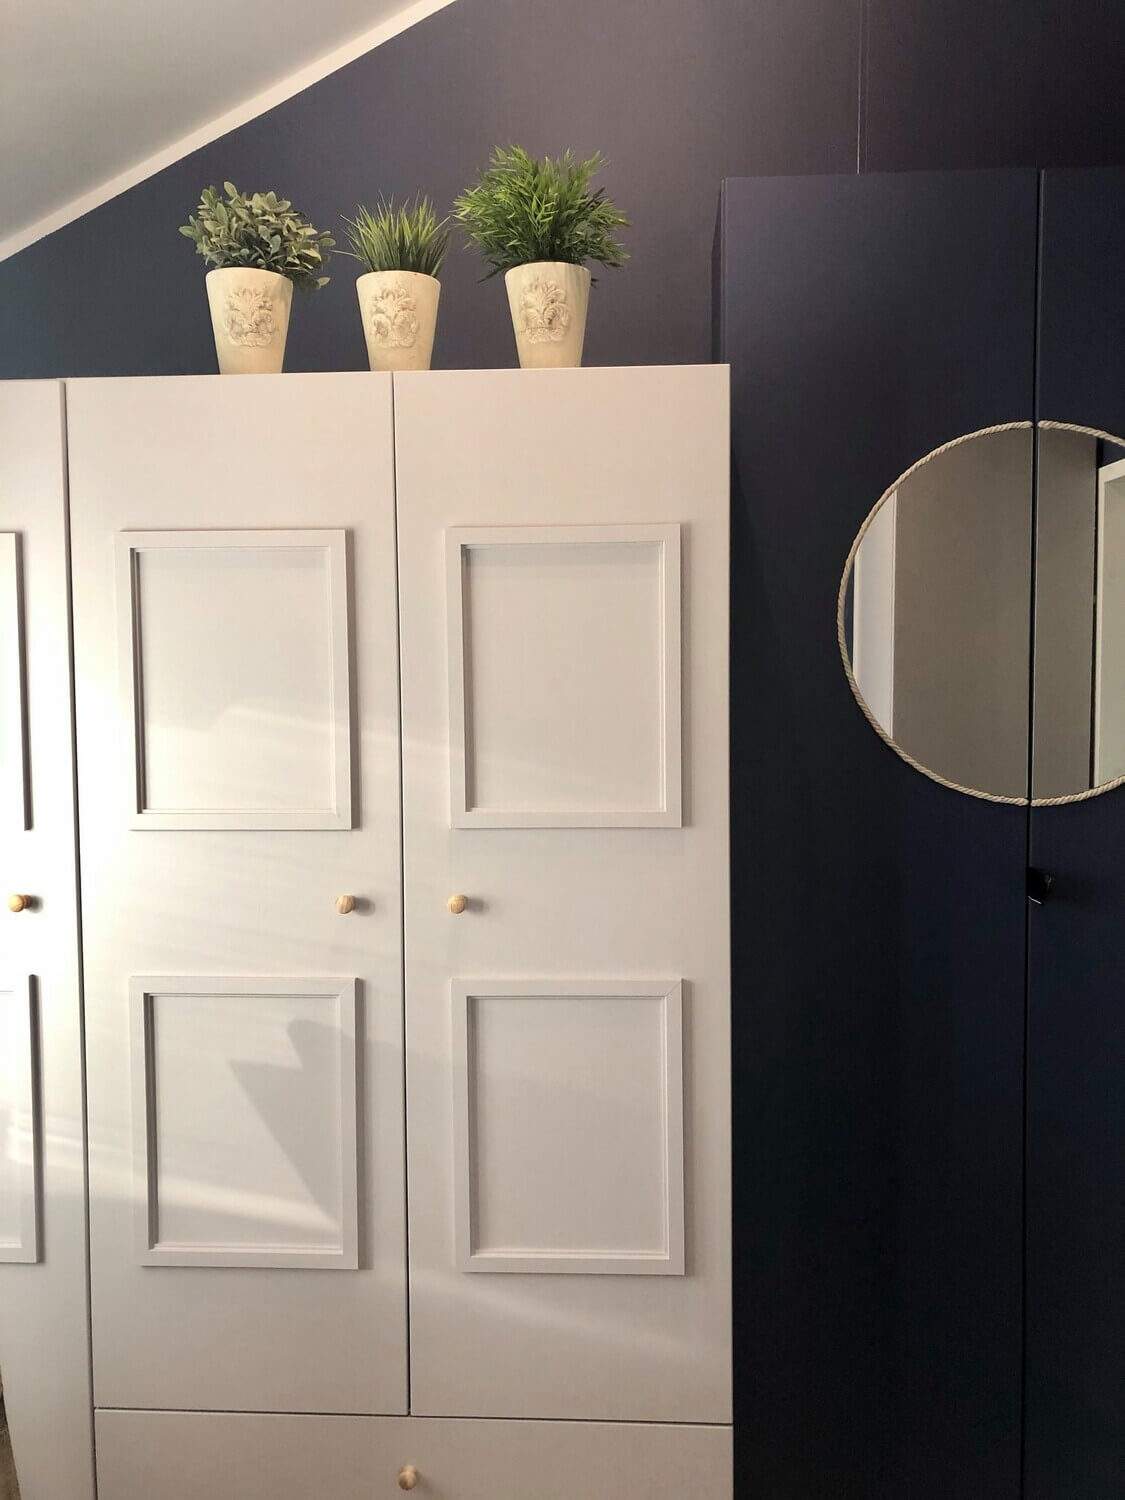
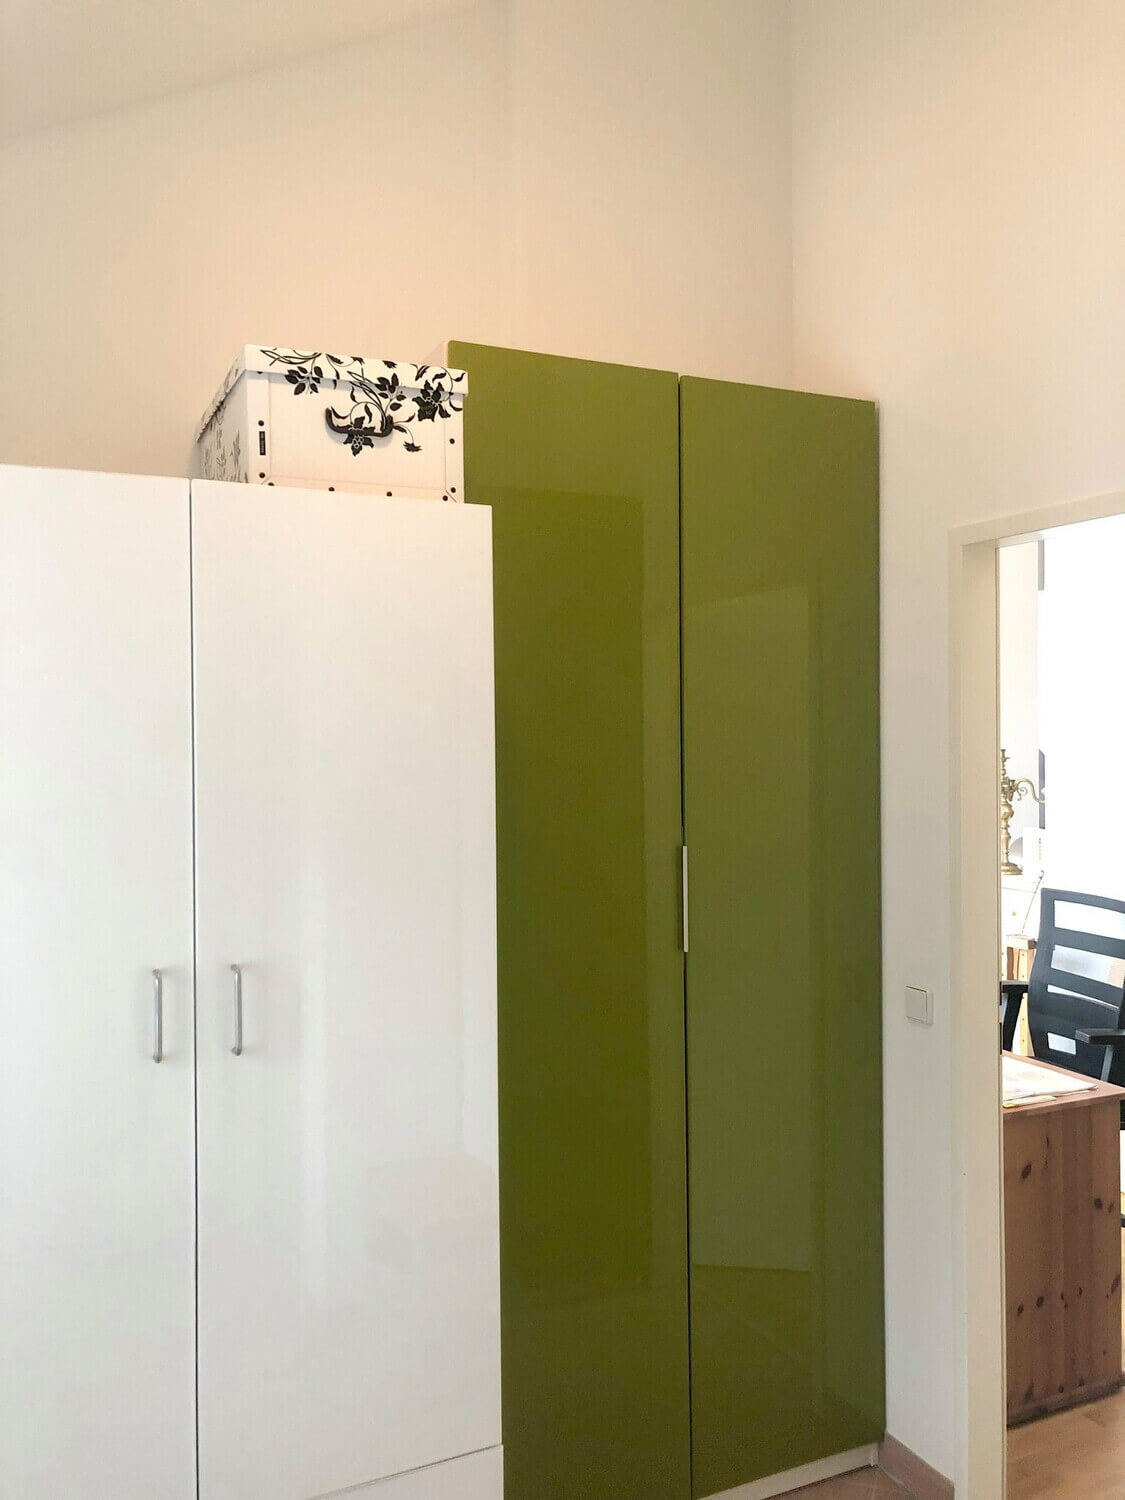
- These high-gloss cabinets were also completely transformed with a new coat of paint.
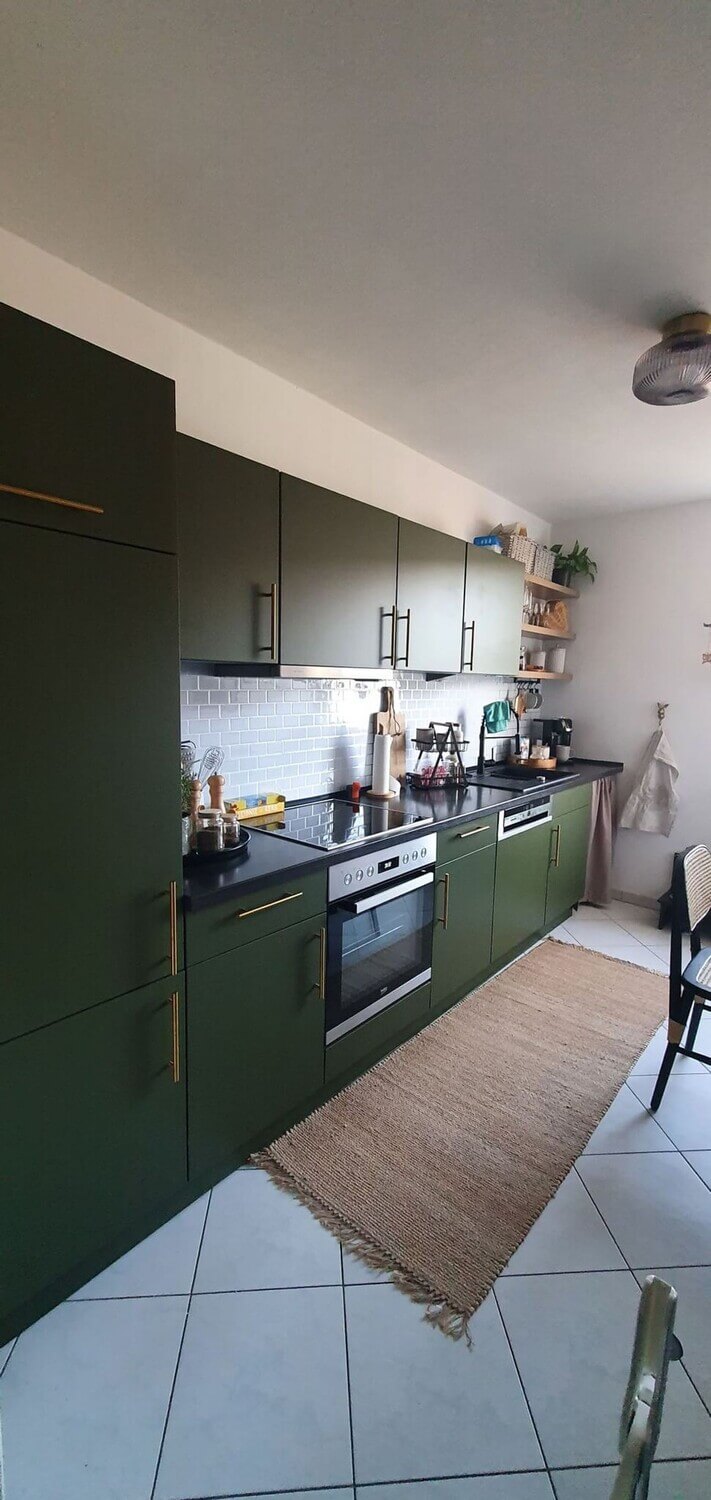
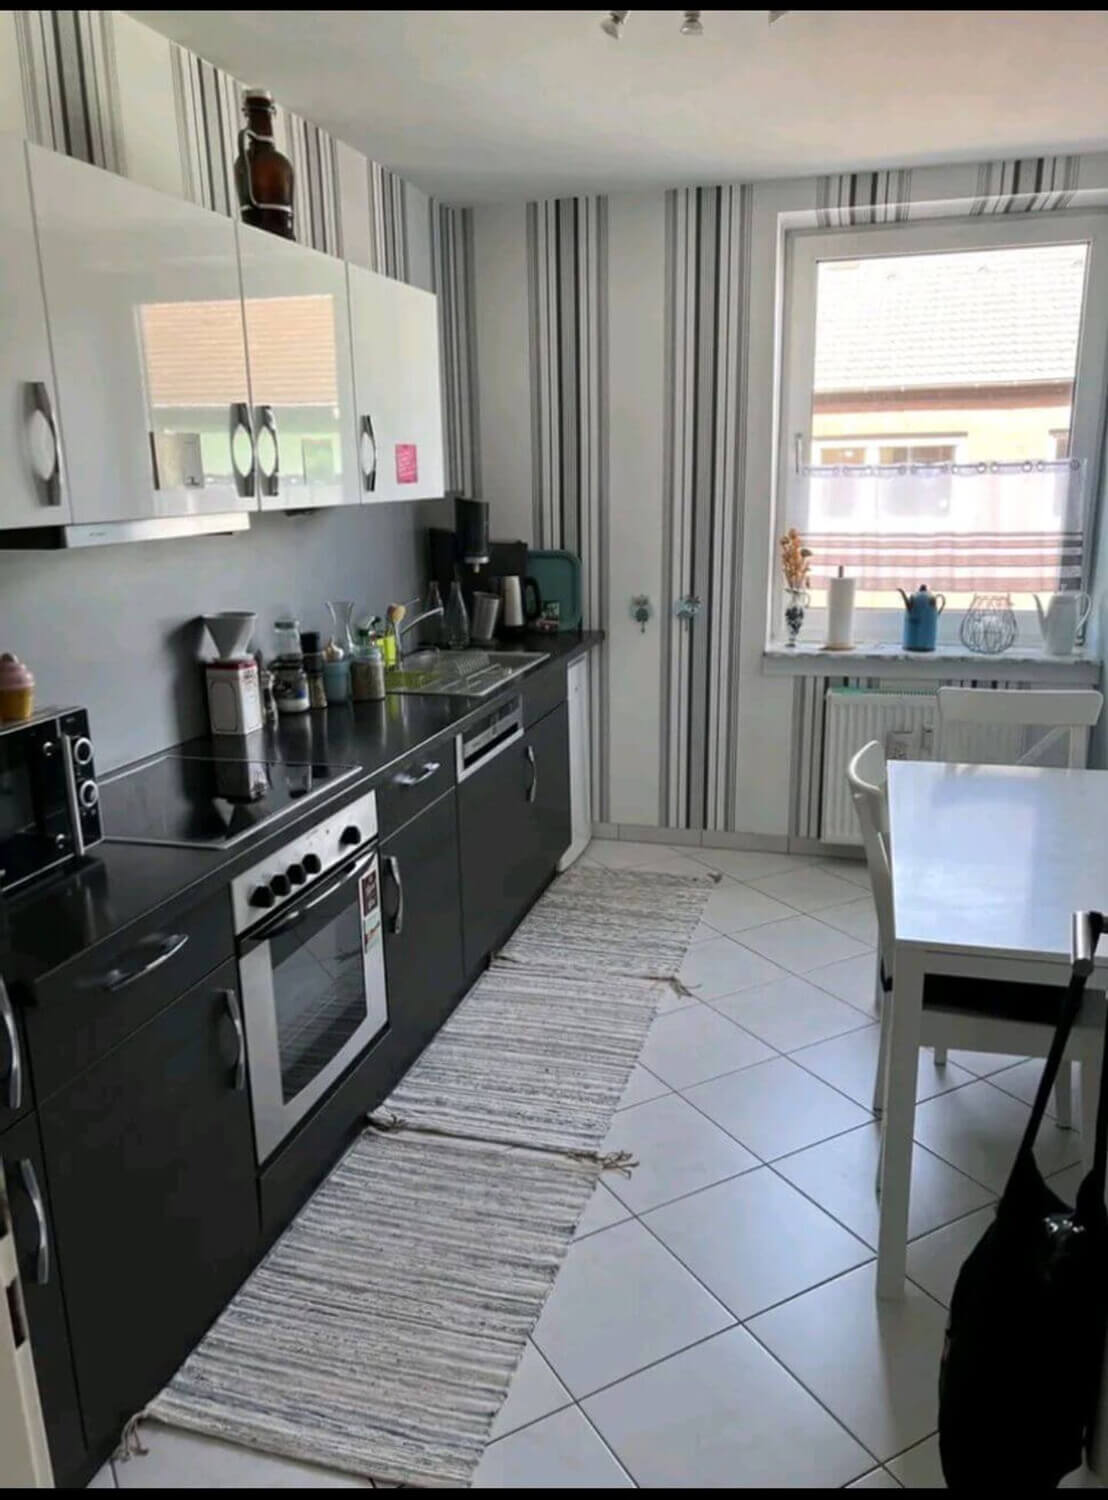
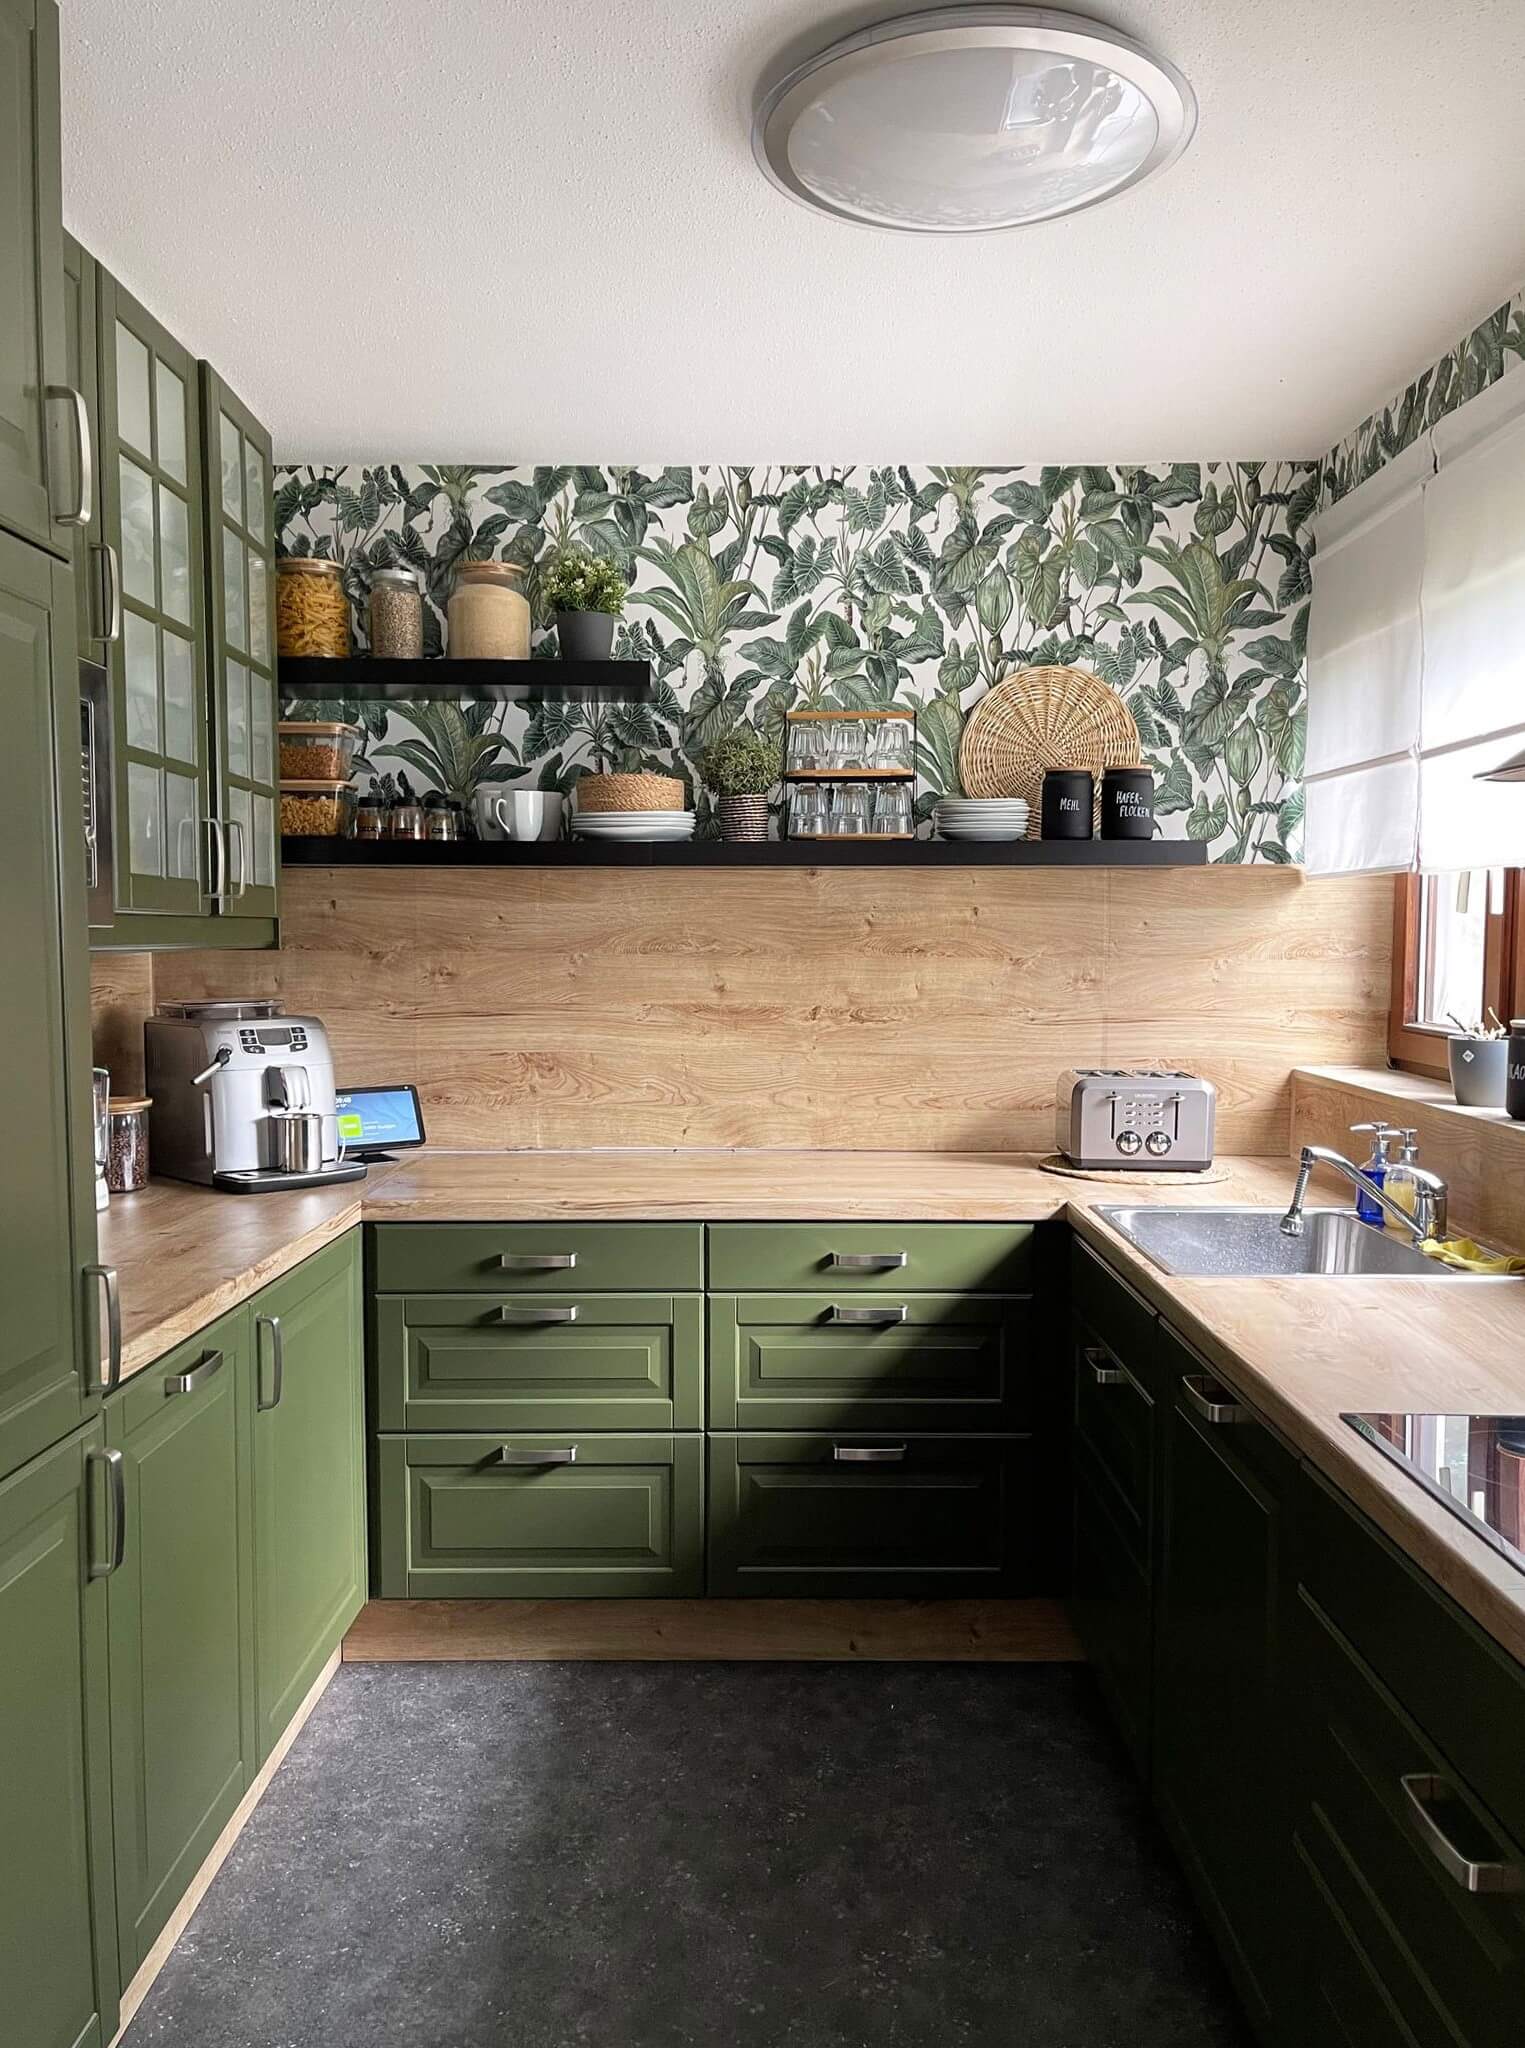
Green with Mud
- Sometimes more colour is needed. Instead of high-gloss black, this kitchen now shines in green.
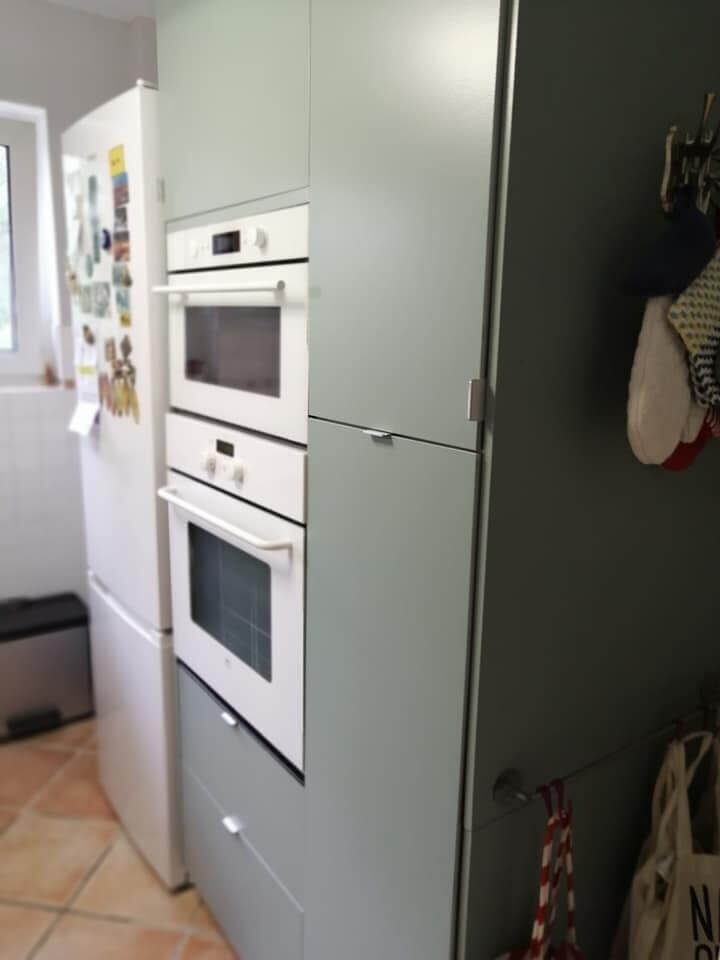
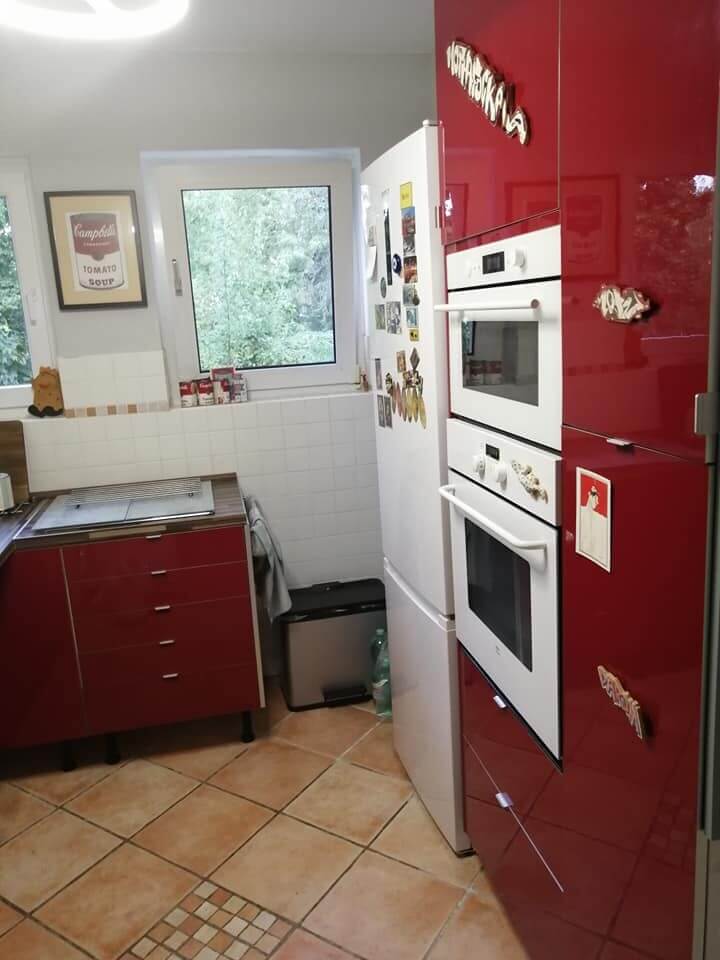
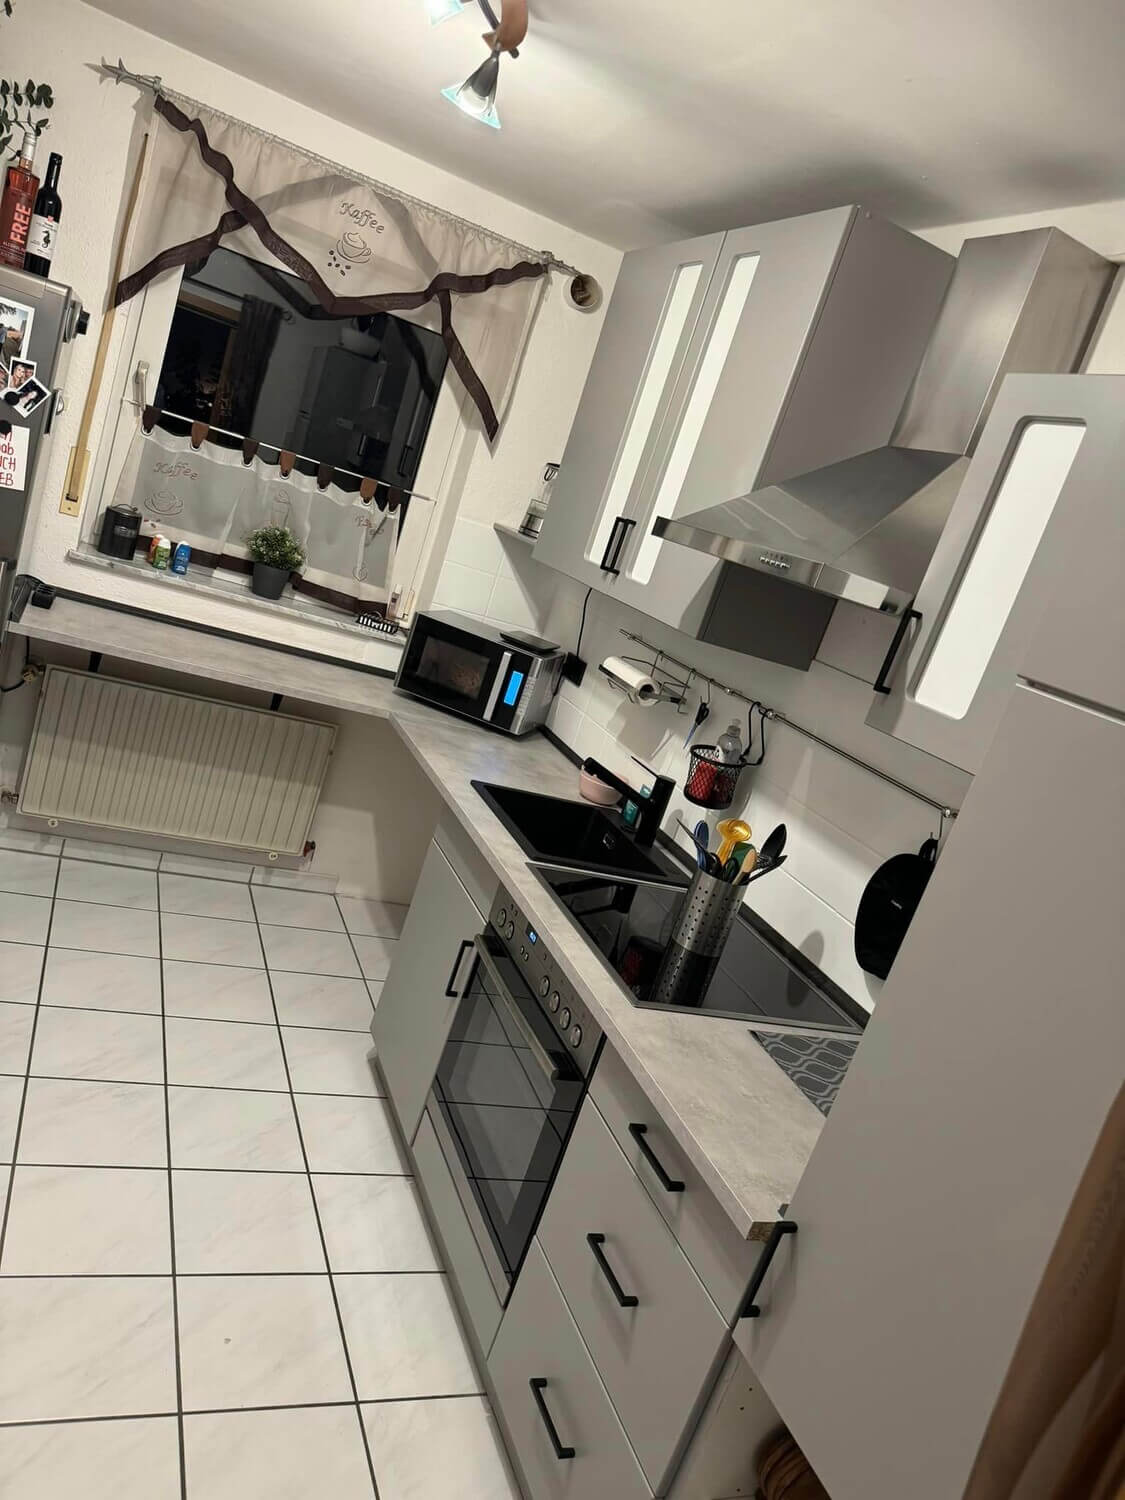
Update
- This kitchen looks fresh and lively with its new colour.
Painting high-gloss furniture in the kitchen: step-by-step instructions from MissPompadour
Of course, repainting an entire high-gloss kitchen is a big project. But you can also follow the same instructions to paint smaller pieces of high-gloss furniture and work your way up slowly. And the best thing is: you can paint your high-gloss furniture without having to sand it!
Step 1: Choose a varnish
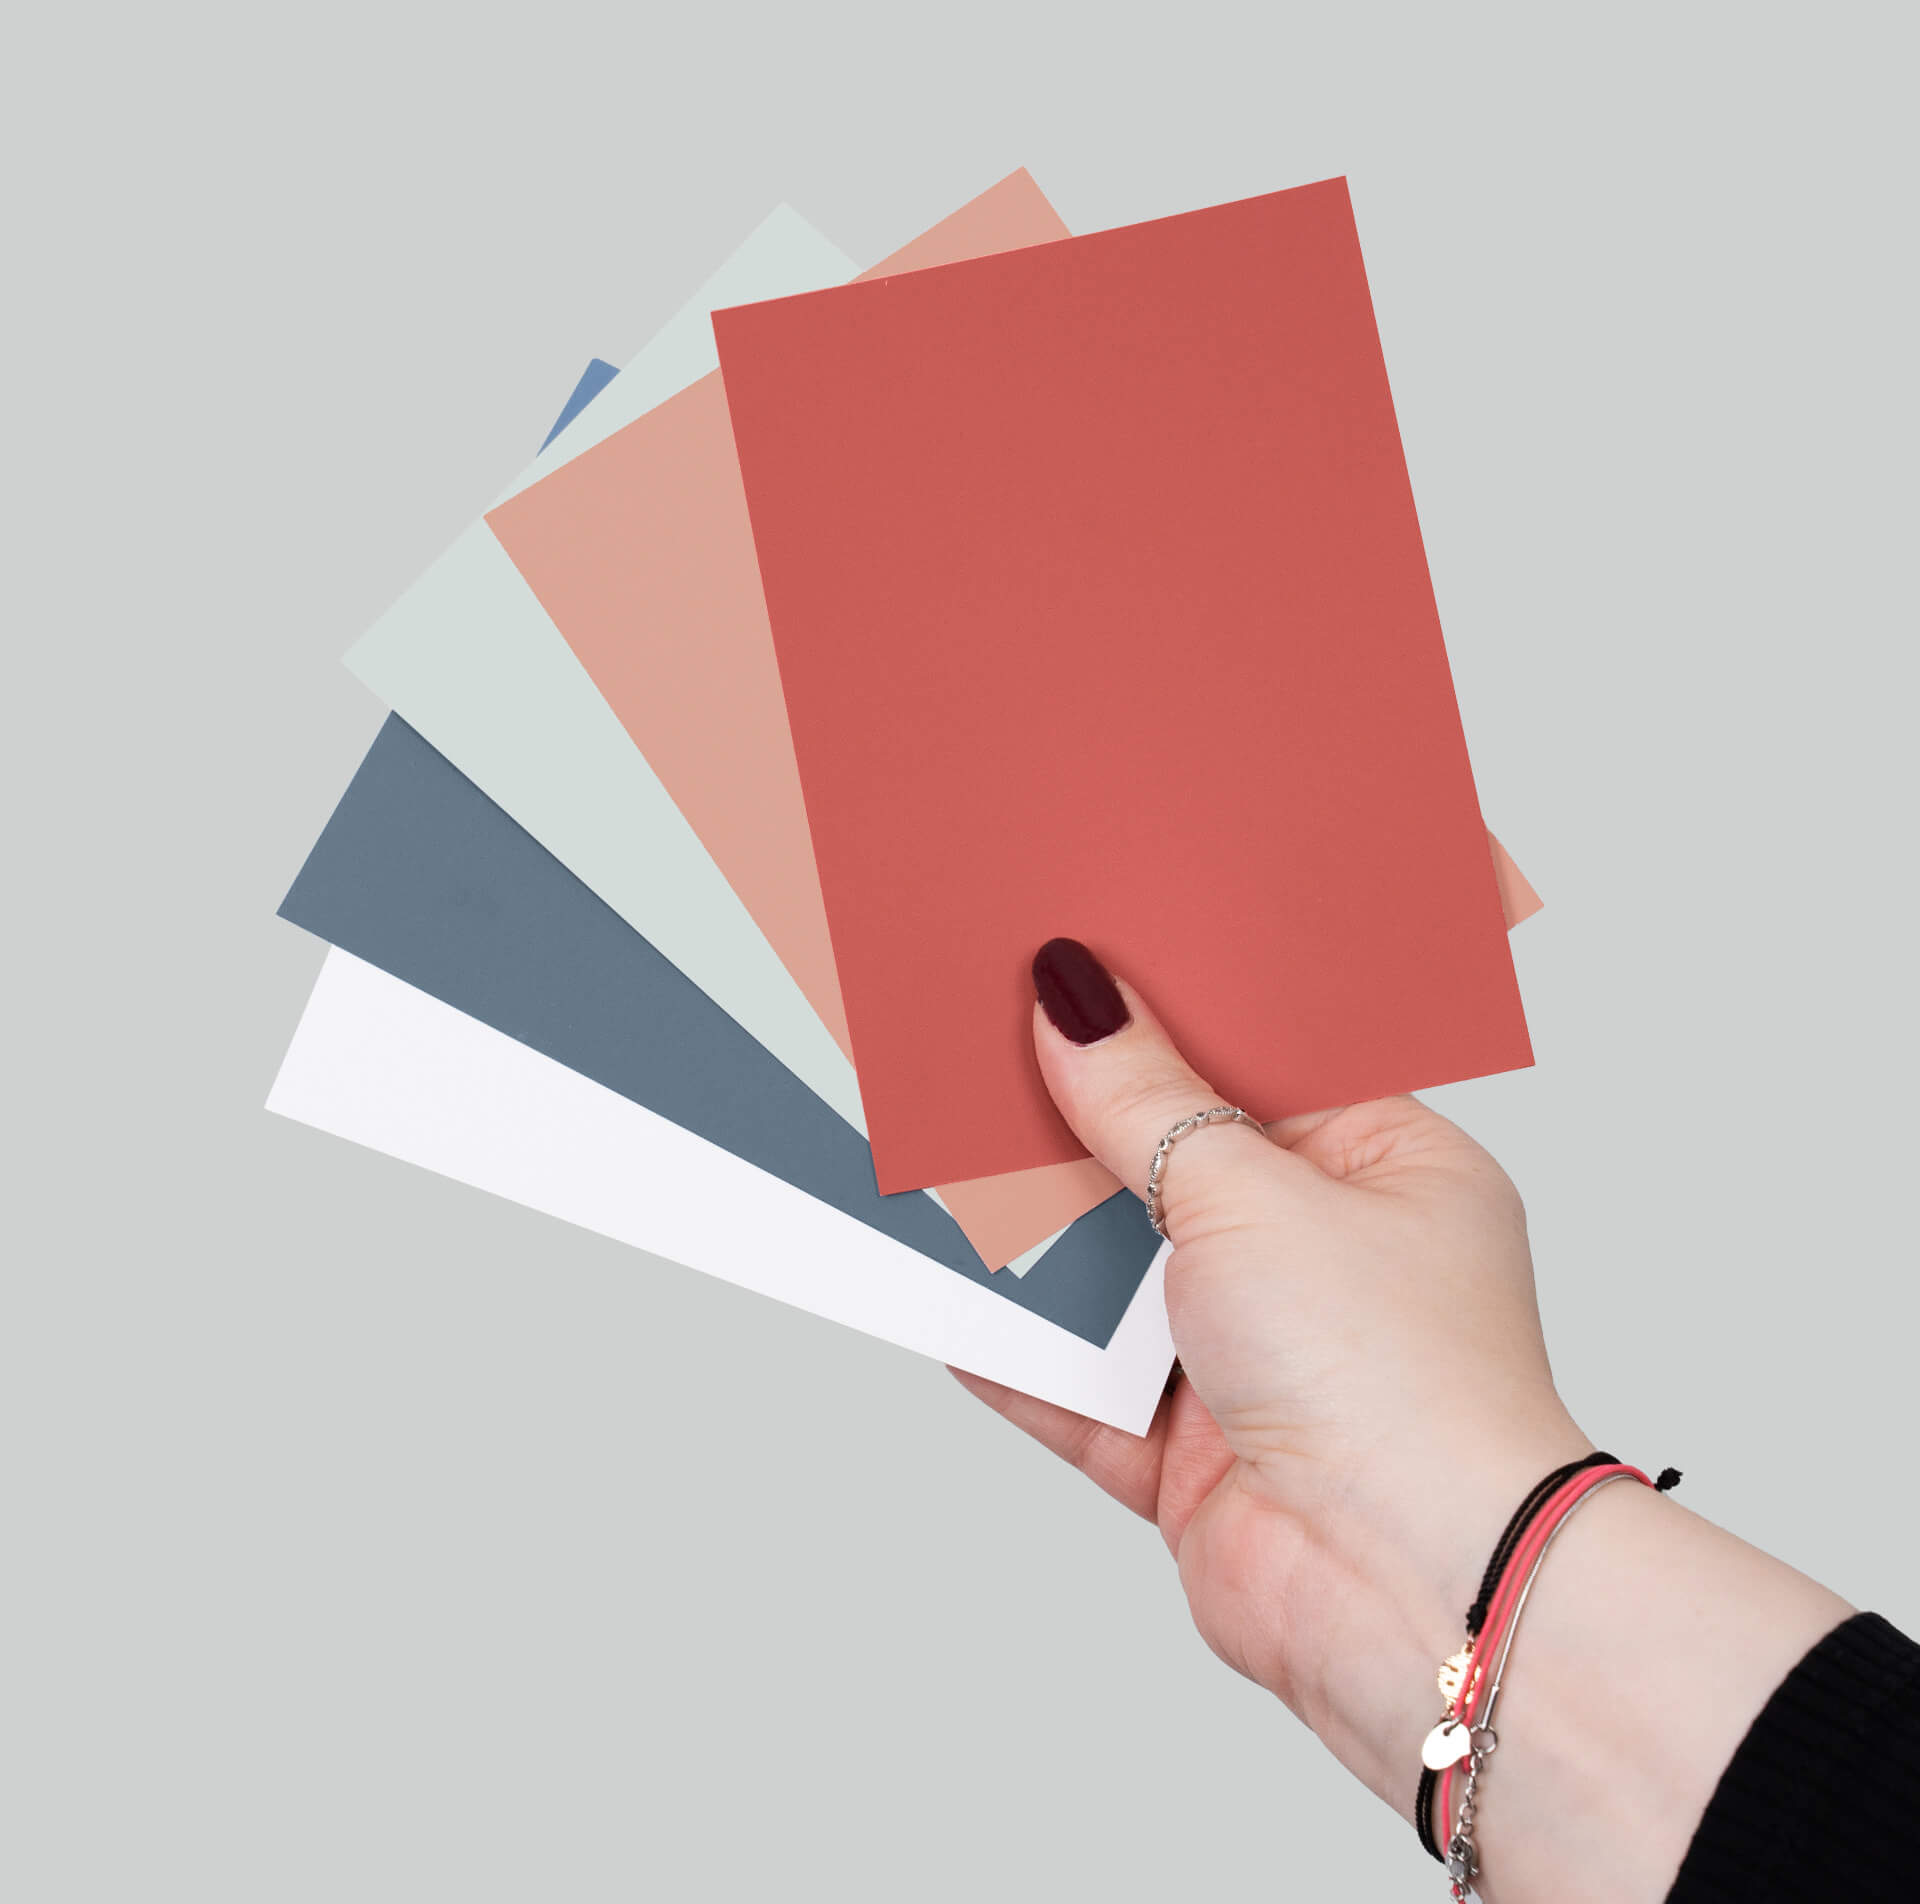
If you are painting your high-gloss kitchen, you should use a particularly stable varnish. MissPompadour Eggshell Varnish is perfect for this. You can also use chalk paints such as the CosyColours chalk varnishes for less stressed high-gloss surfaces. Use our colour-cards to find the perfect colour shade for you!
Step 2: Prepare
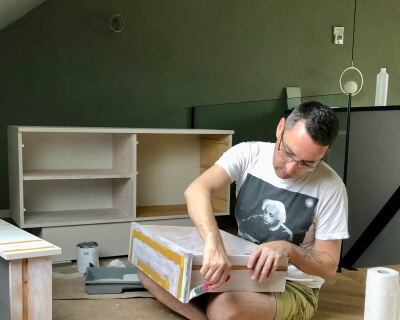
Whether you unscrew the doors of your cabinets or leave them on is up to you. Unscrewed doors are a little easier to paint because you can place them horizontally on trestles. You should also consider whether you only want to paint the doors of the high-gloss units or whether you also want to work on the carcasses. If your kitchen has handles and hinges, unscrew them. If you want to replace them, it may be necessary to fill the screw holes before varnishing and later drill holes to match the size of the new handles.
Step 3: Cleaning
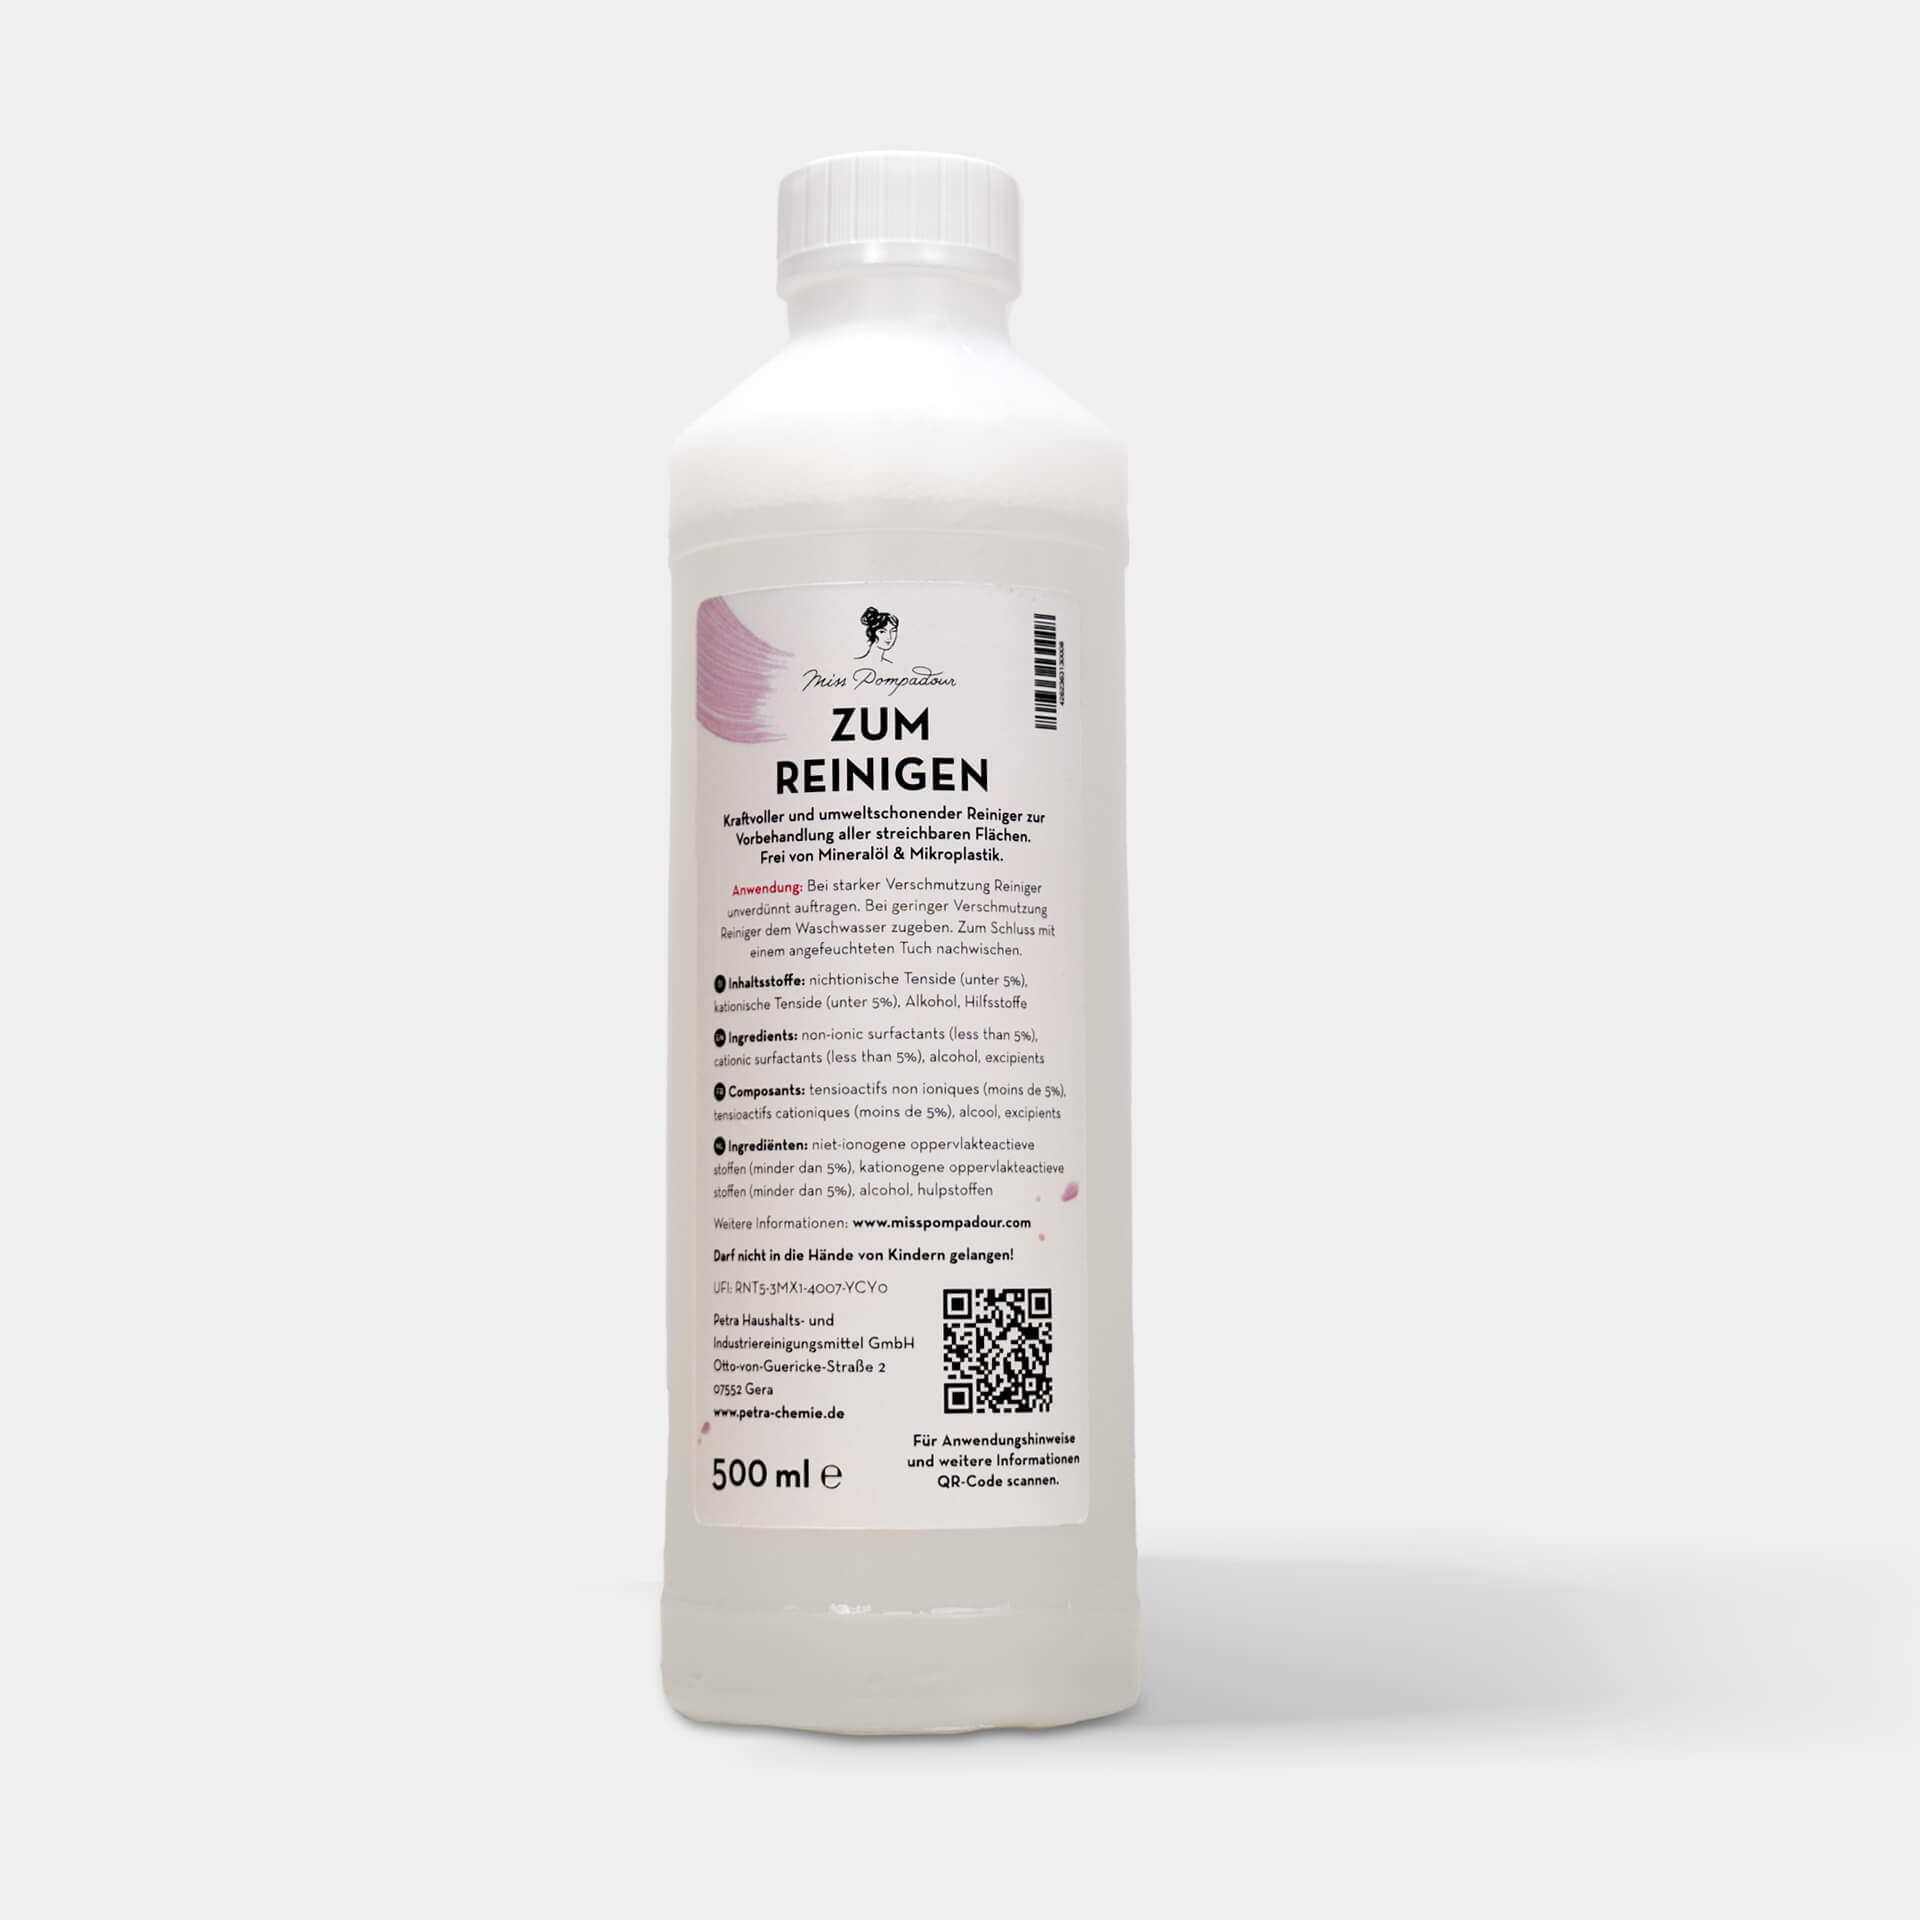
As always, painting begins with carefully cleaning the surfaces of the kitchen fronts. This is particularly important in a kitchen, because despite all the cleanliness, cooking vapours form a fine, invisible film on all surfaces. The kitchen front and carcass must therefore be cleaned of grease, but of course also of dust and dirt, before you can start painting. To do this, use the mild but extremely effective MissPompadour To Cleaner.
Step 4: Priming
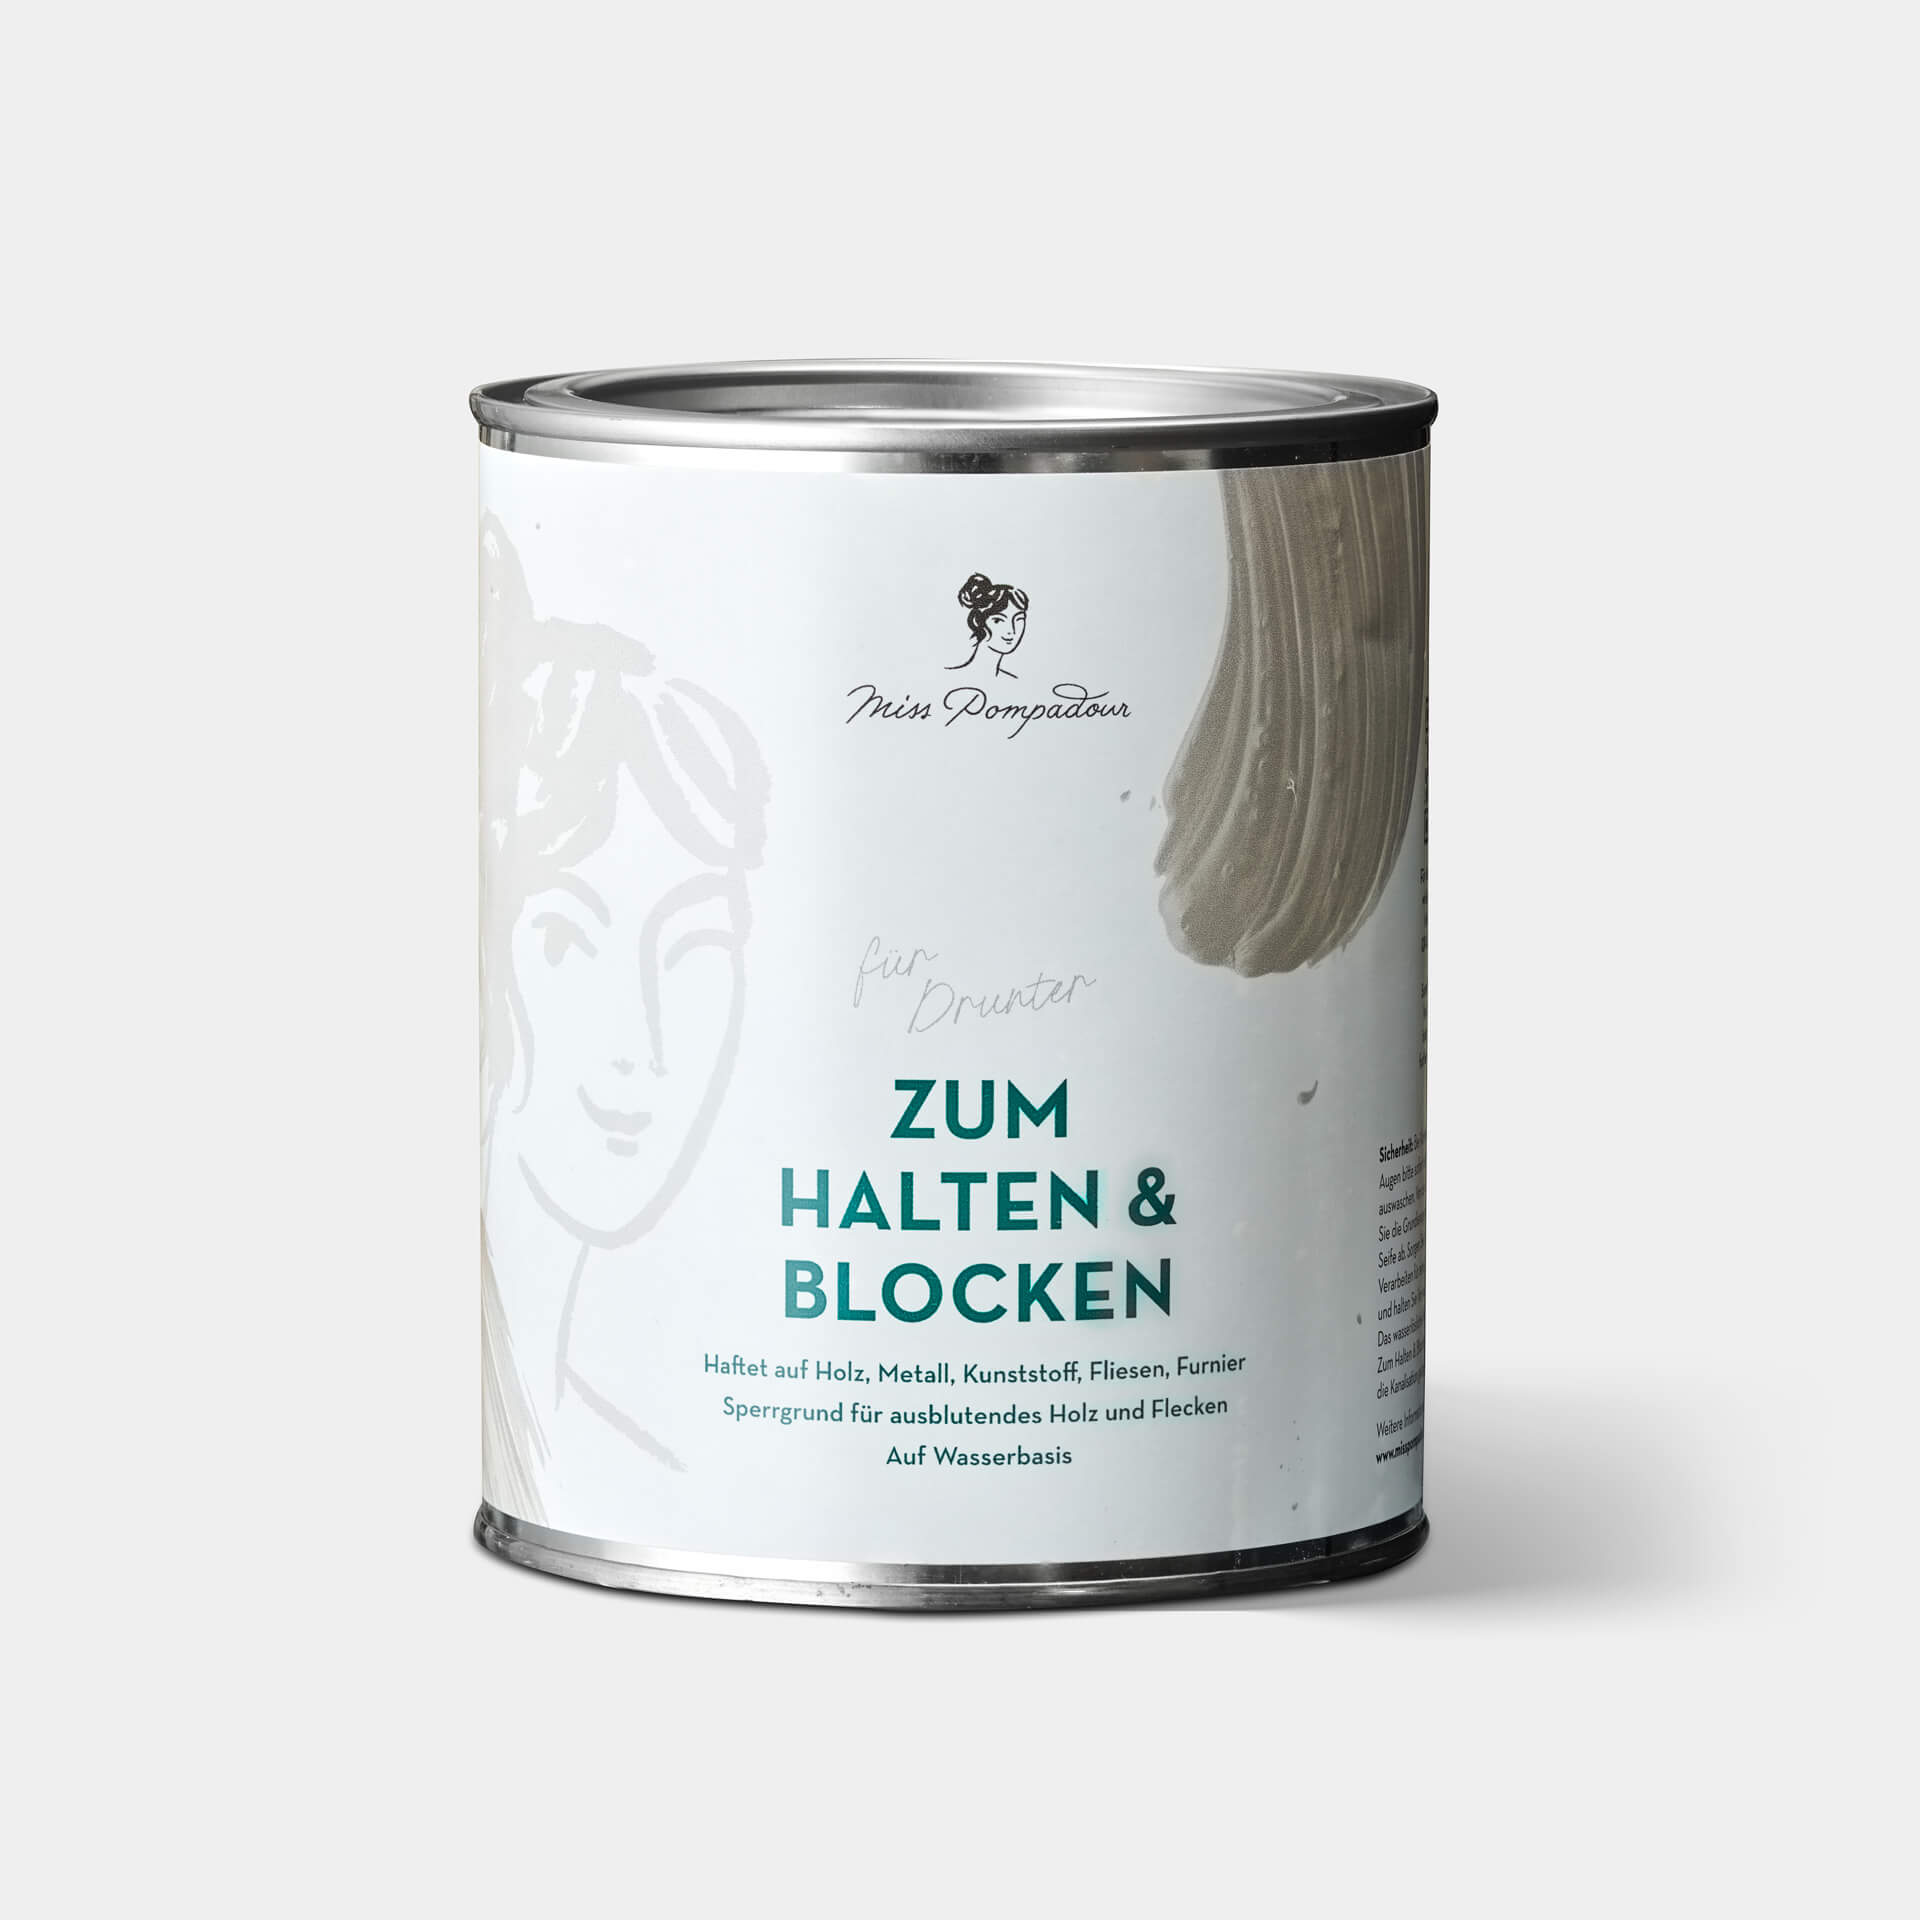
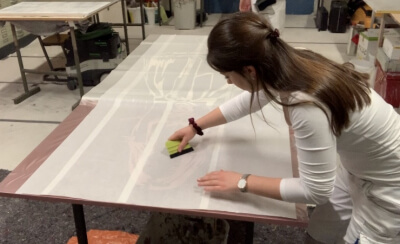
Now comes the important process of priming. After priming, you can paint your high-gloss furniture without having to sand it. Priming gives your furniture paint a firm hold on the smooth surface and an even base. The white primer also covers a dark colour shade well. Use MissPompadour To Bond & Block for this. Allow the primer to dry for approx. 3 hours before continuing with your work.
Step 5: Colour coat
Once the primer has dried, you can repaint your high-gloss furniture. Apply the paint once and leave it to dry for approx. 4 hours. Don't be alarmed if the surfaces don't look even at first. The second coat will give them their final look and you will be happy with the result. After 14 days of curing, the paint is fully resilient.
Step 6: Sealing
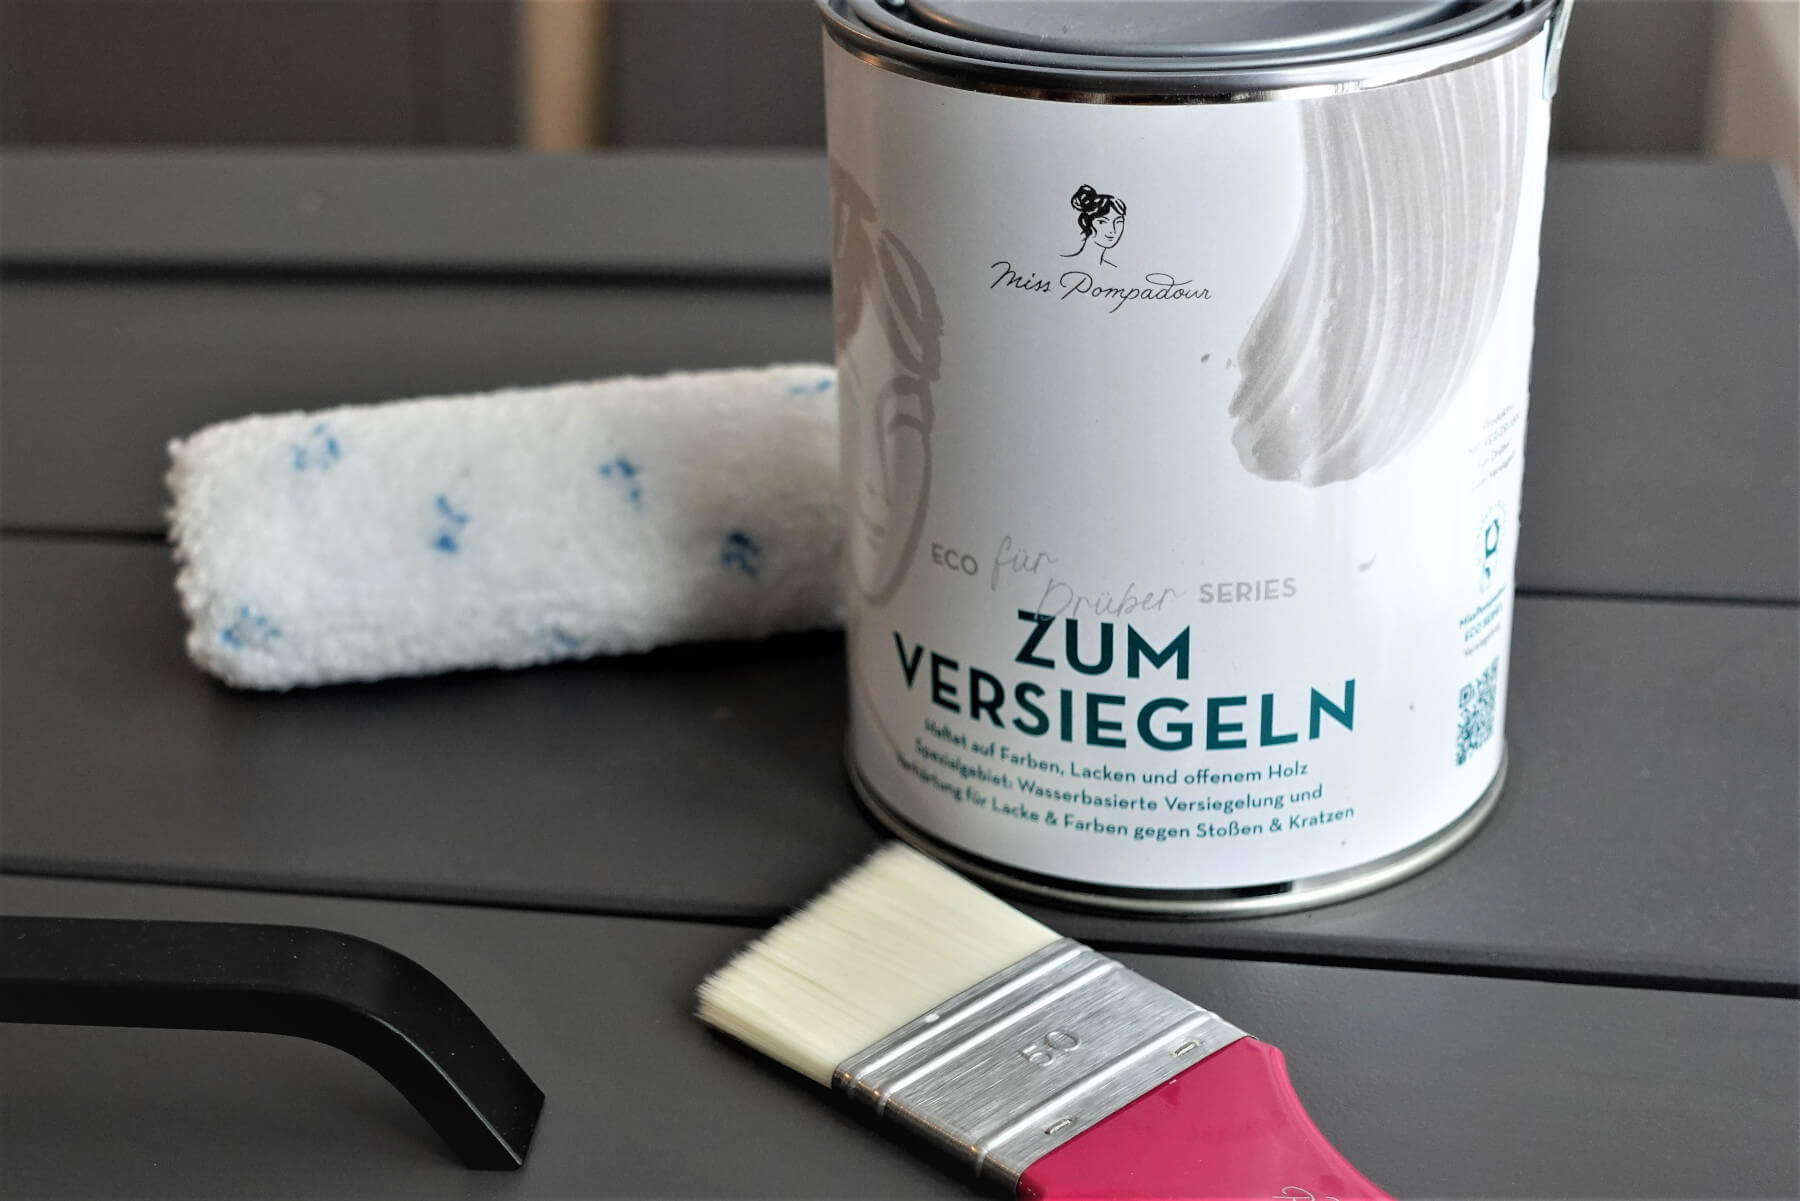
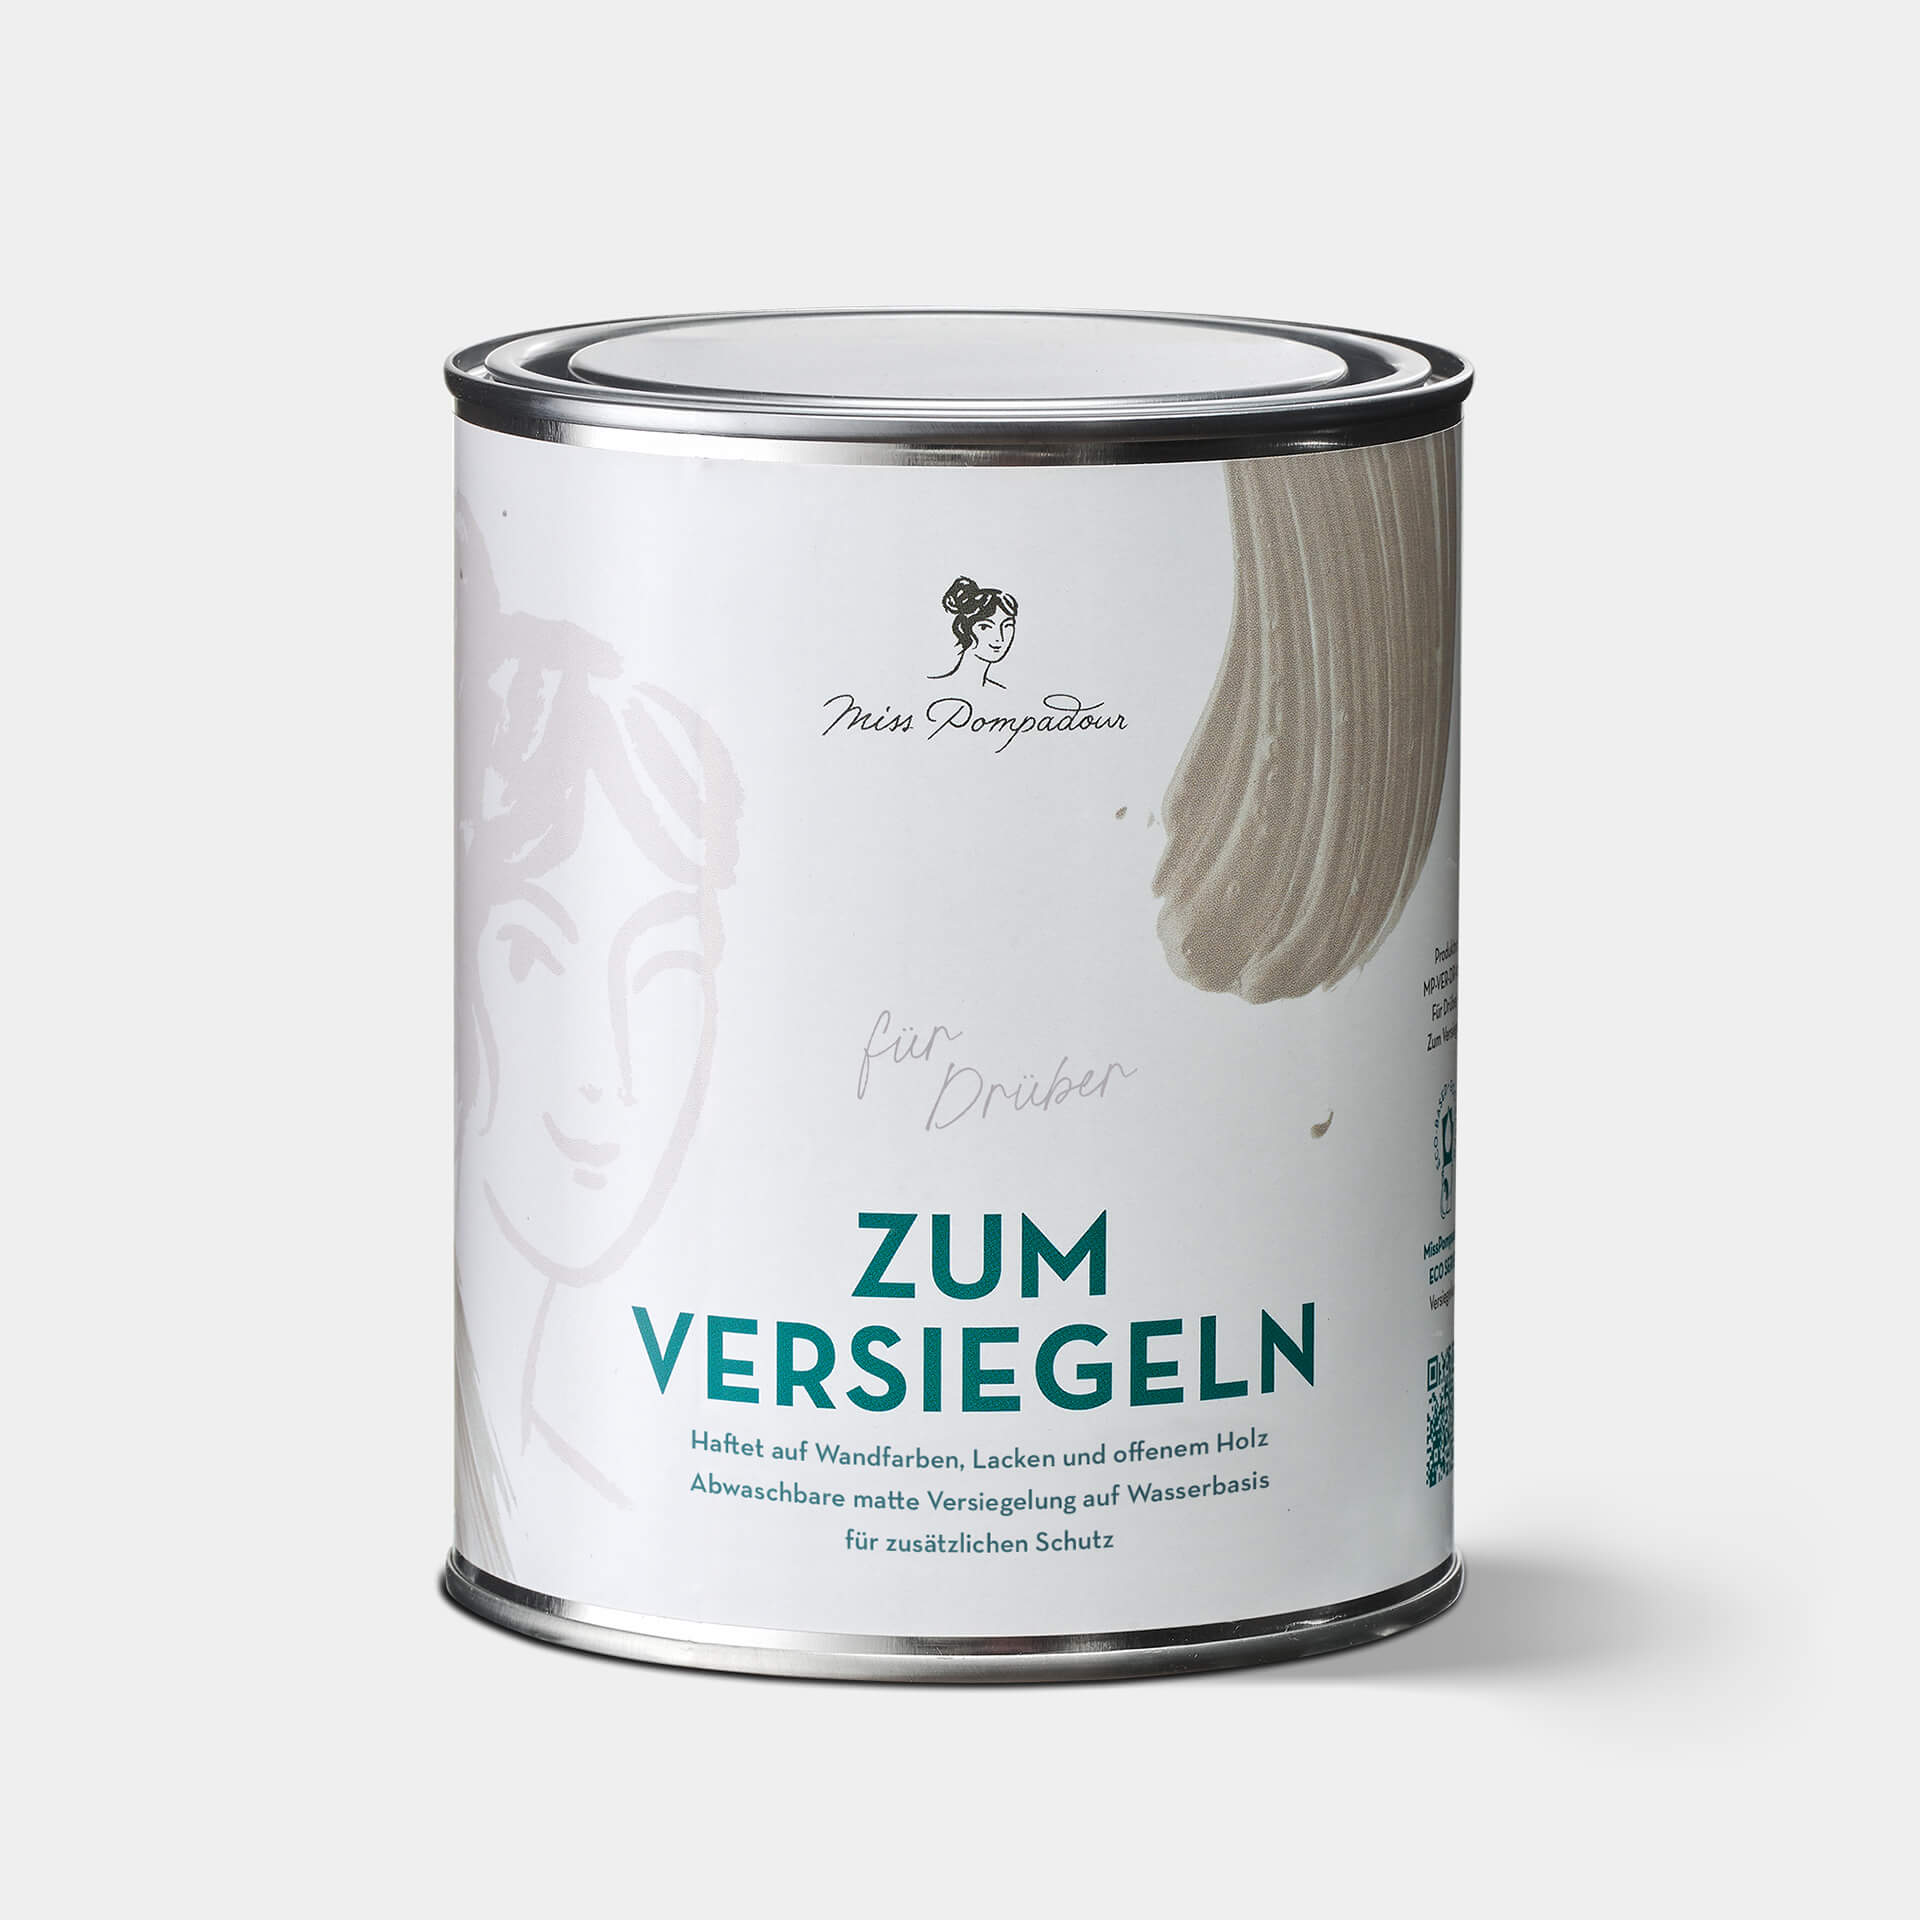
If you want to make your kitchen front particularly hard-wearing, stabilise your coat of paint with a topcoat at the end. Use MissPompadour To Seal for this. Wait 24 hours after the last coat of paint, then remove the dust from the surface and apply the topcoat evenly. The topcoat is cured after 14 days.
Video tutorial: How to paint your kitchen
The kitchen that Astrid is painting here is not a high-gloss kitchen - but she has lots of tips and tricks that you can also use for your high-gloss project.
You need these tools to paint your high-gloss furniture & kitchen
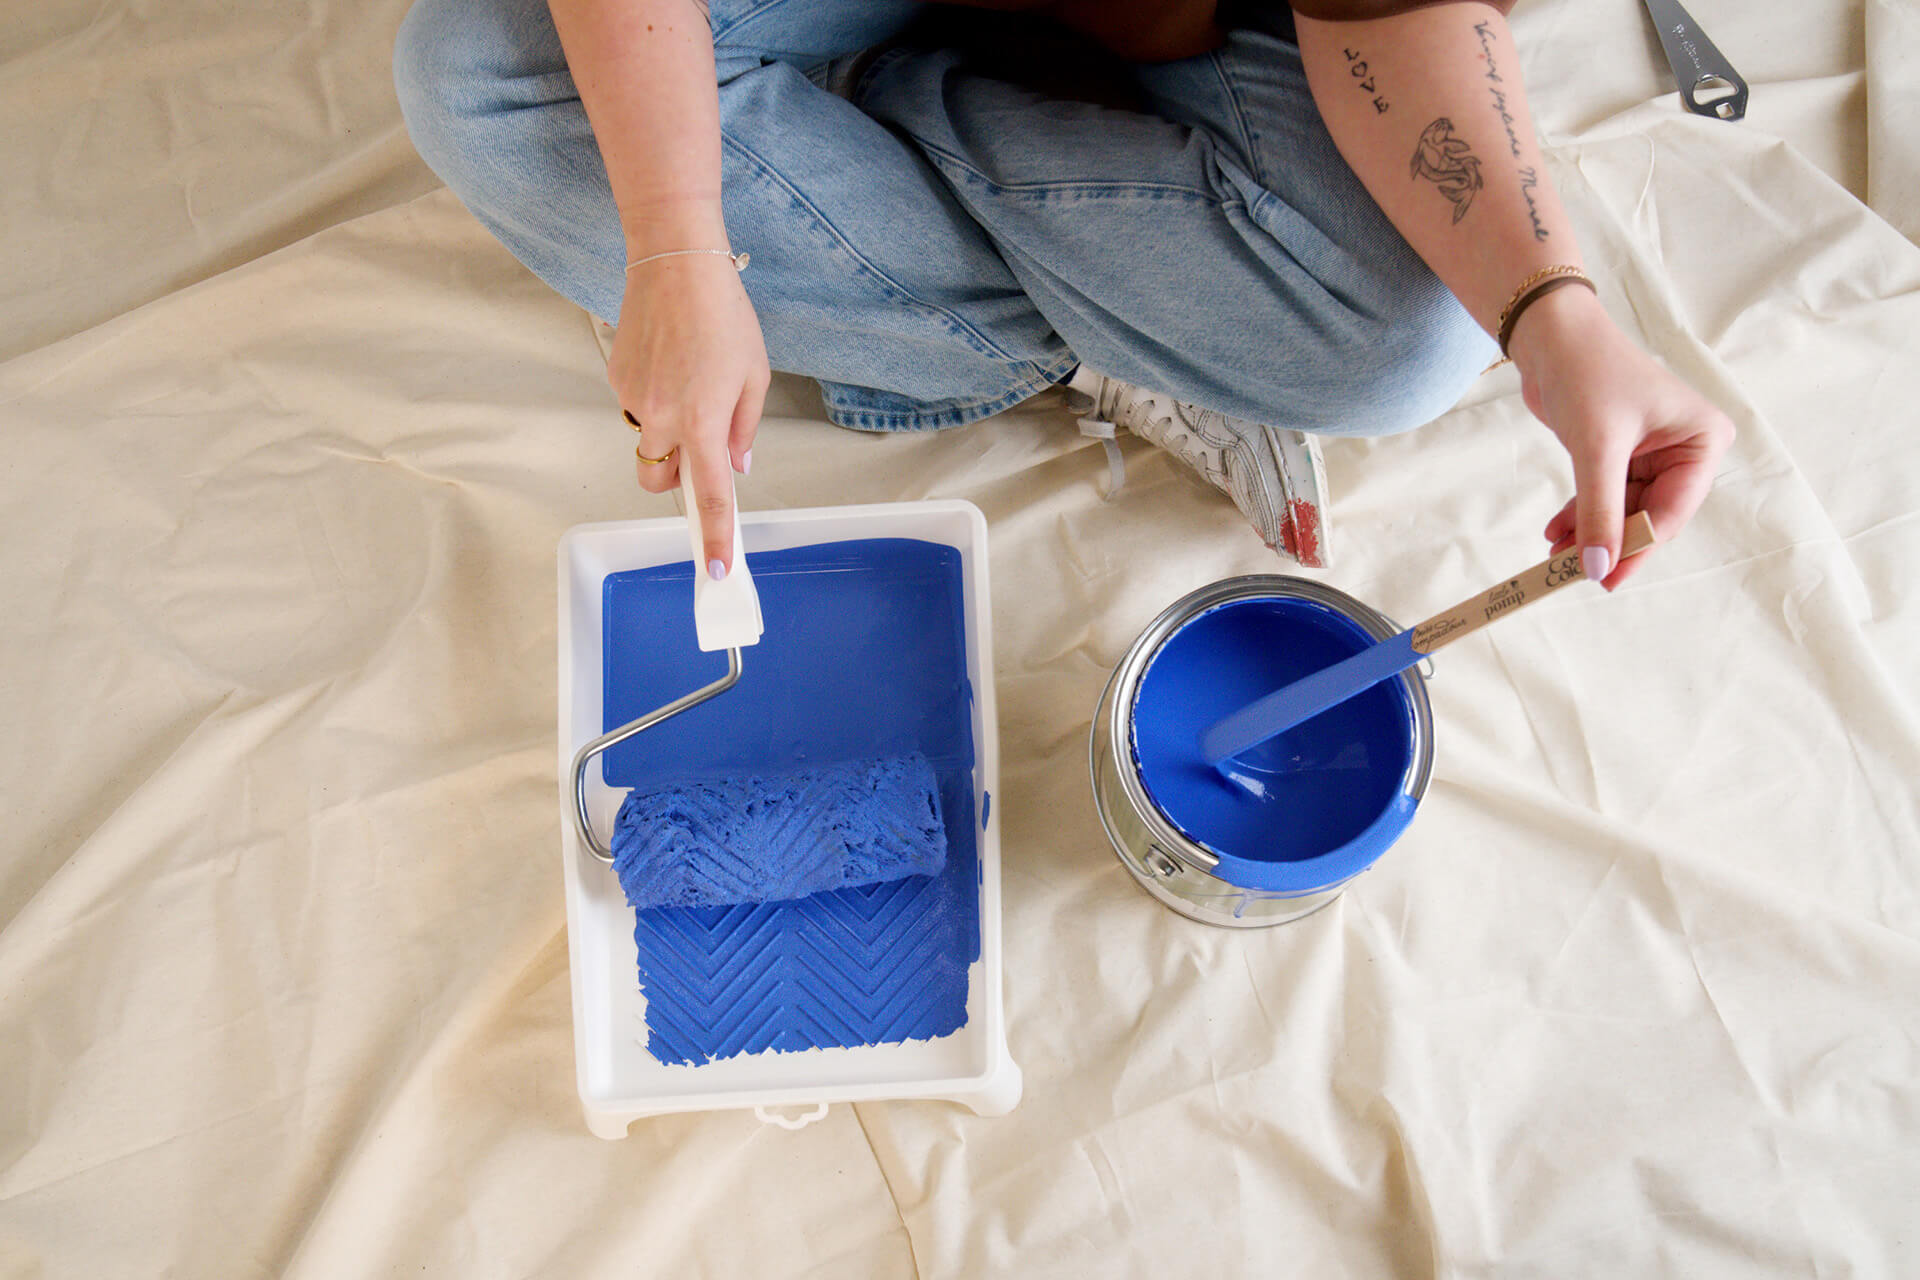
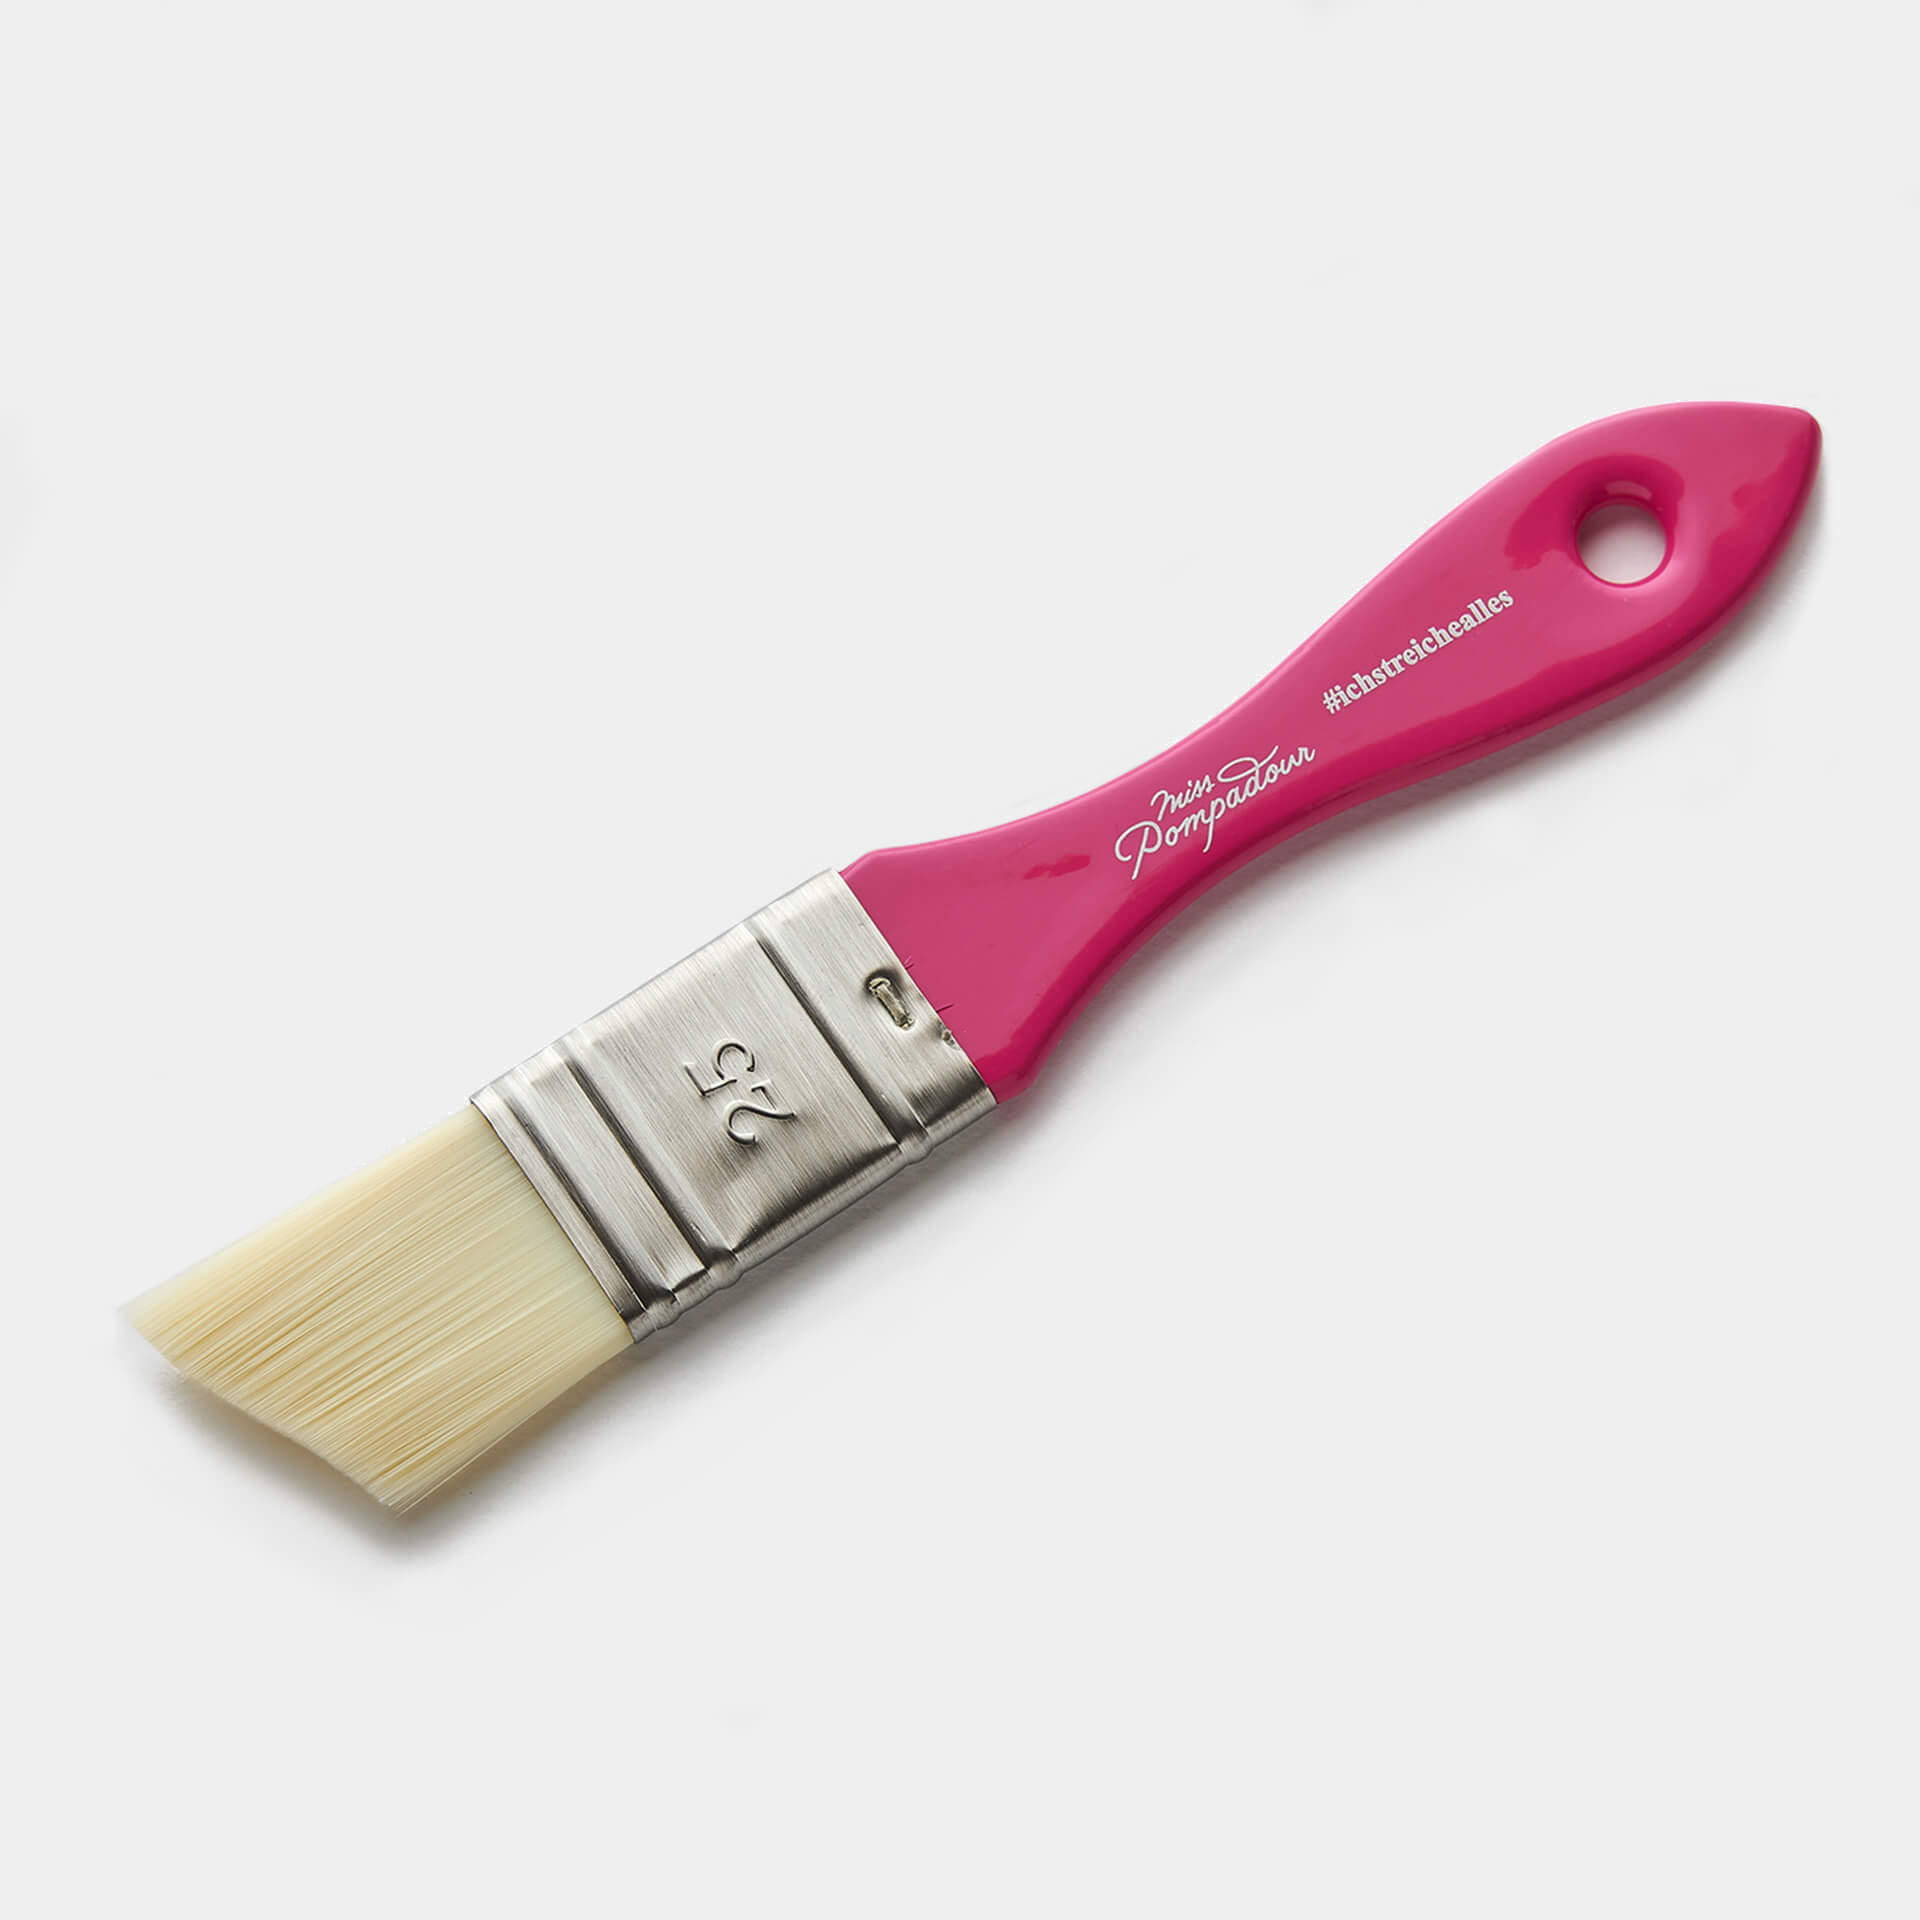
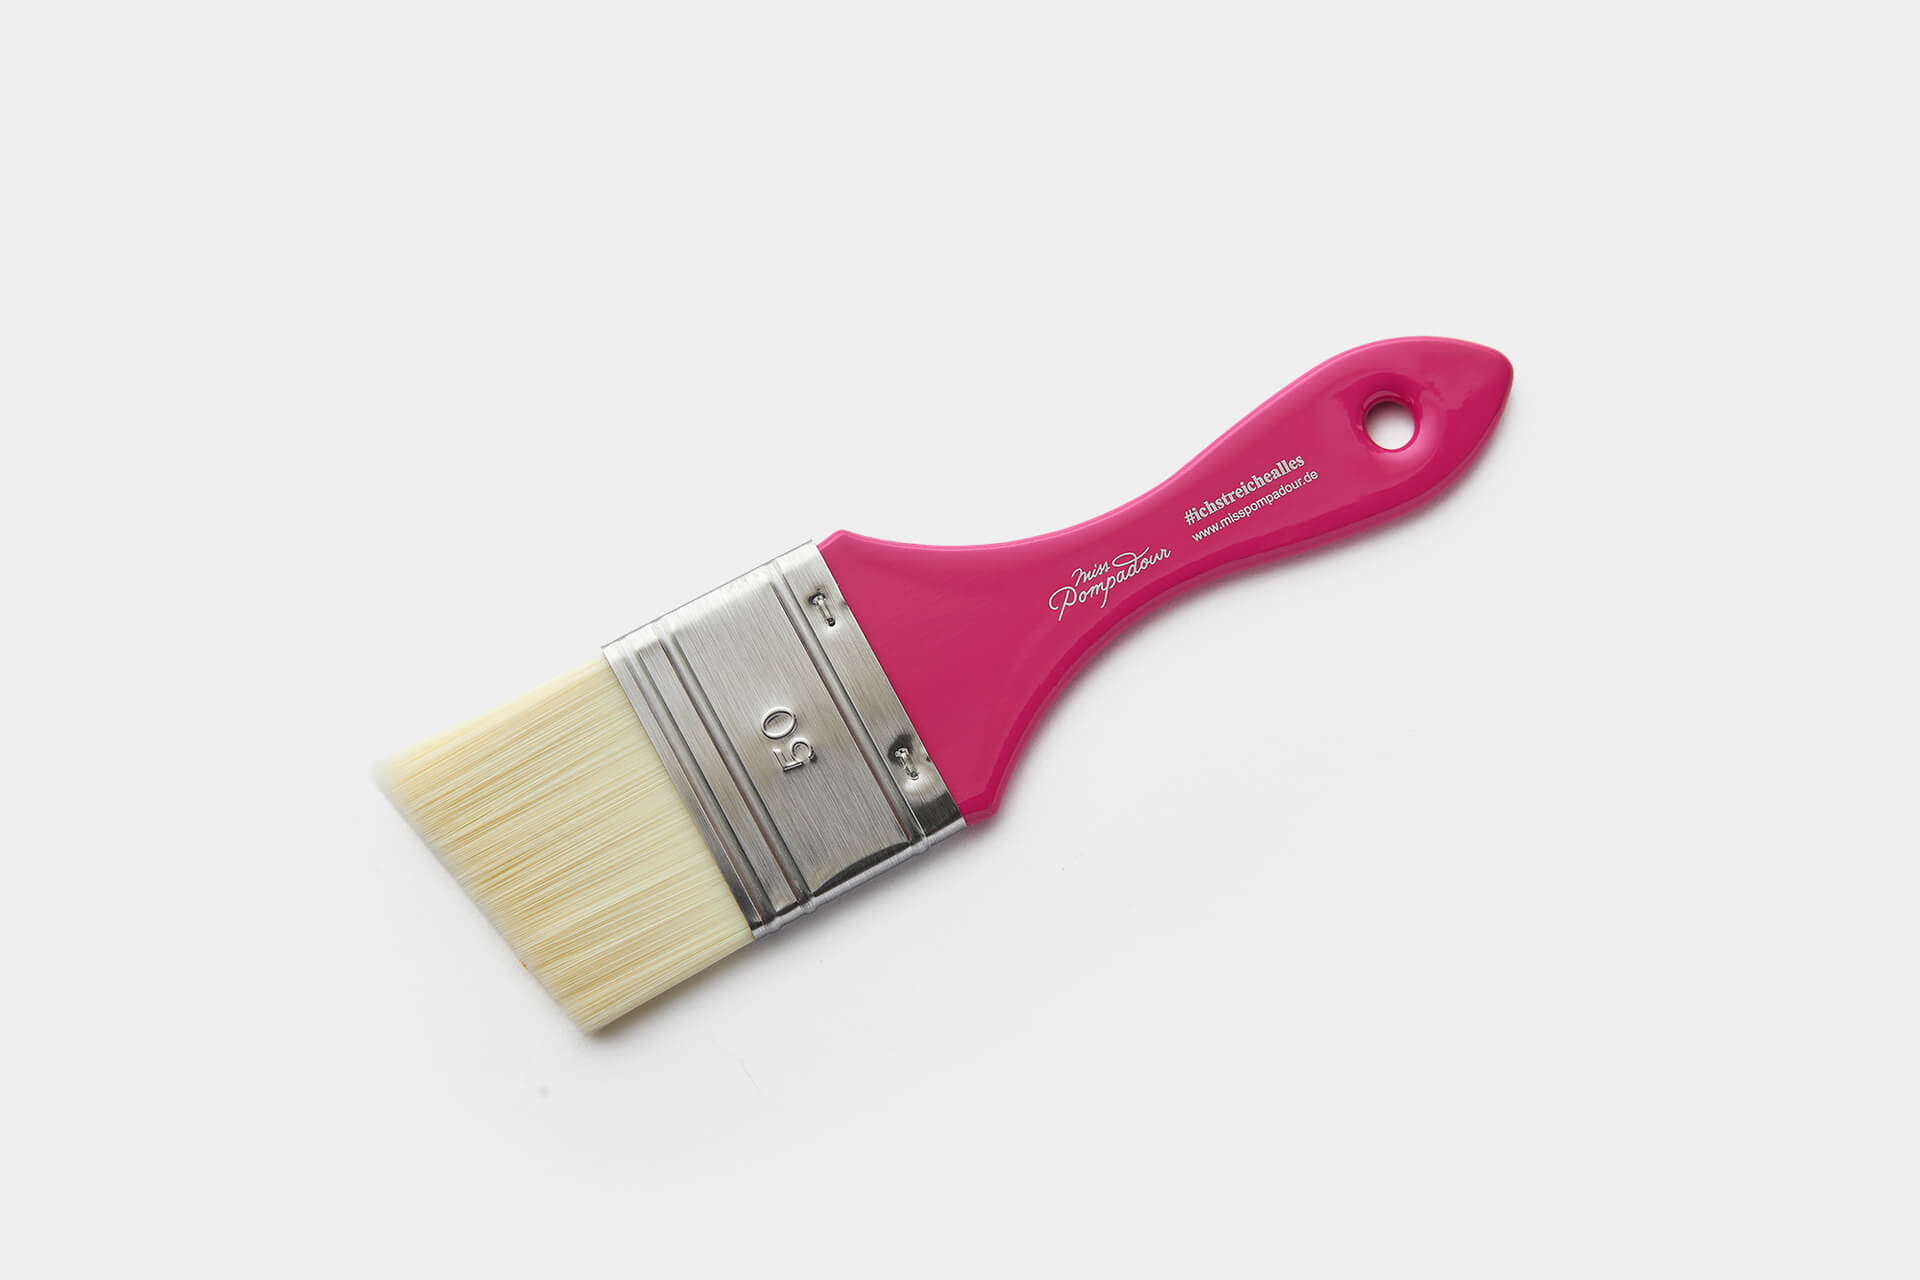
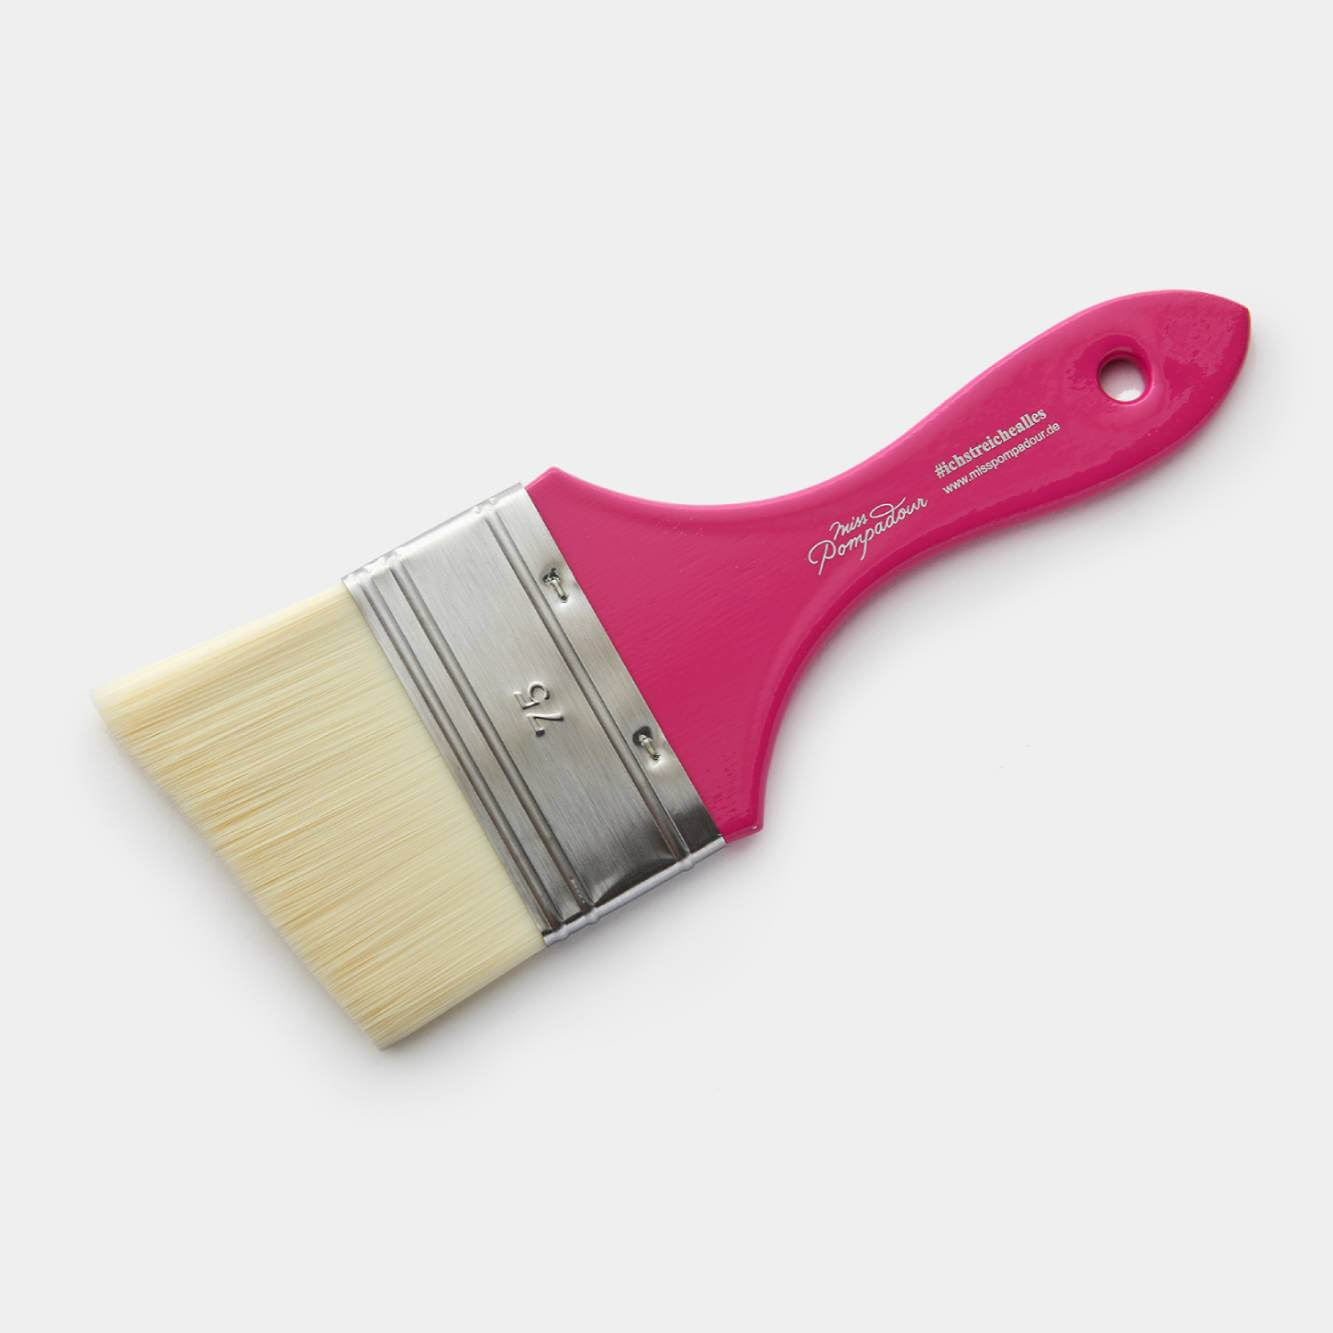
You will first need painting tools: a paint roller for applying the paint to the large surfaces of your furniture and a MissPompadour Paints brush. Its bristles are bevelled so that you can reach even the most remote areas of the furniture. It is also so fine that the brush leaves no brush marks.
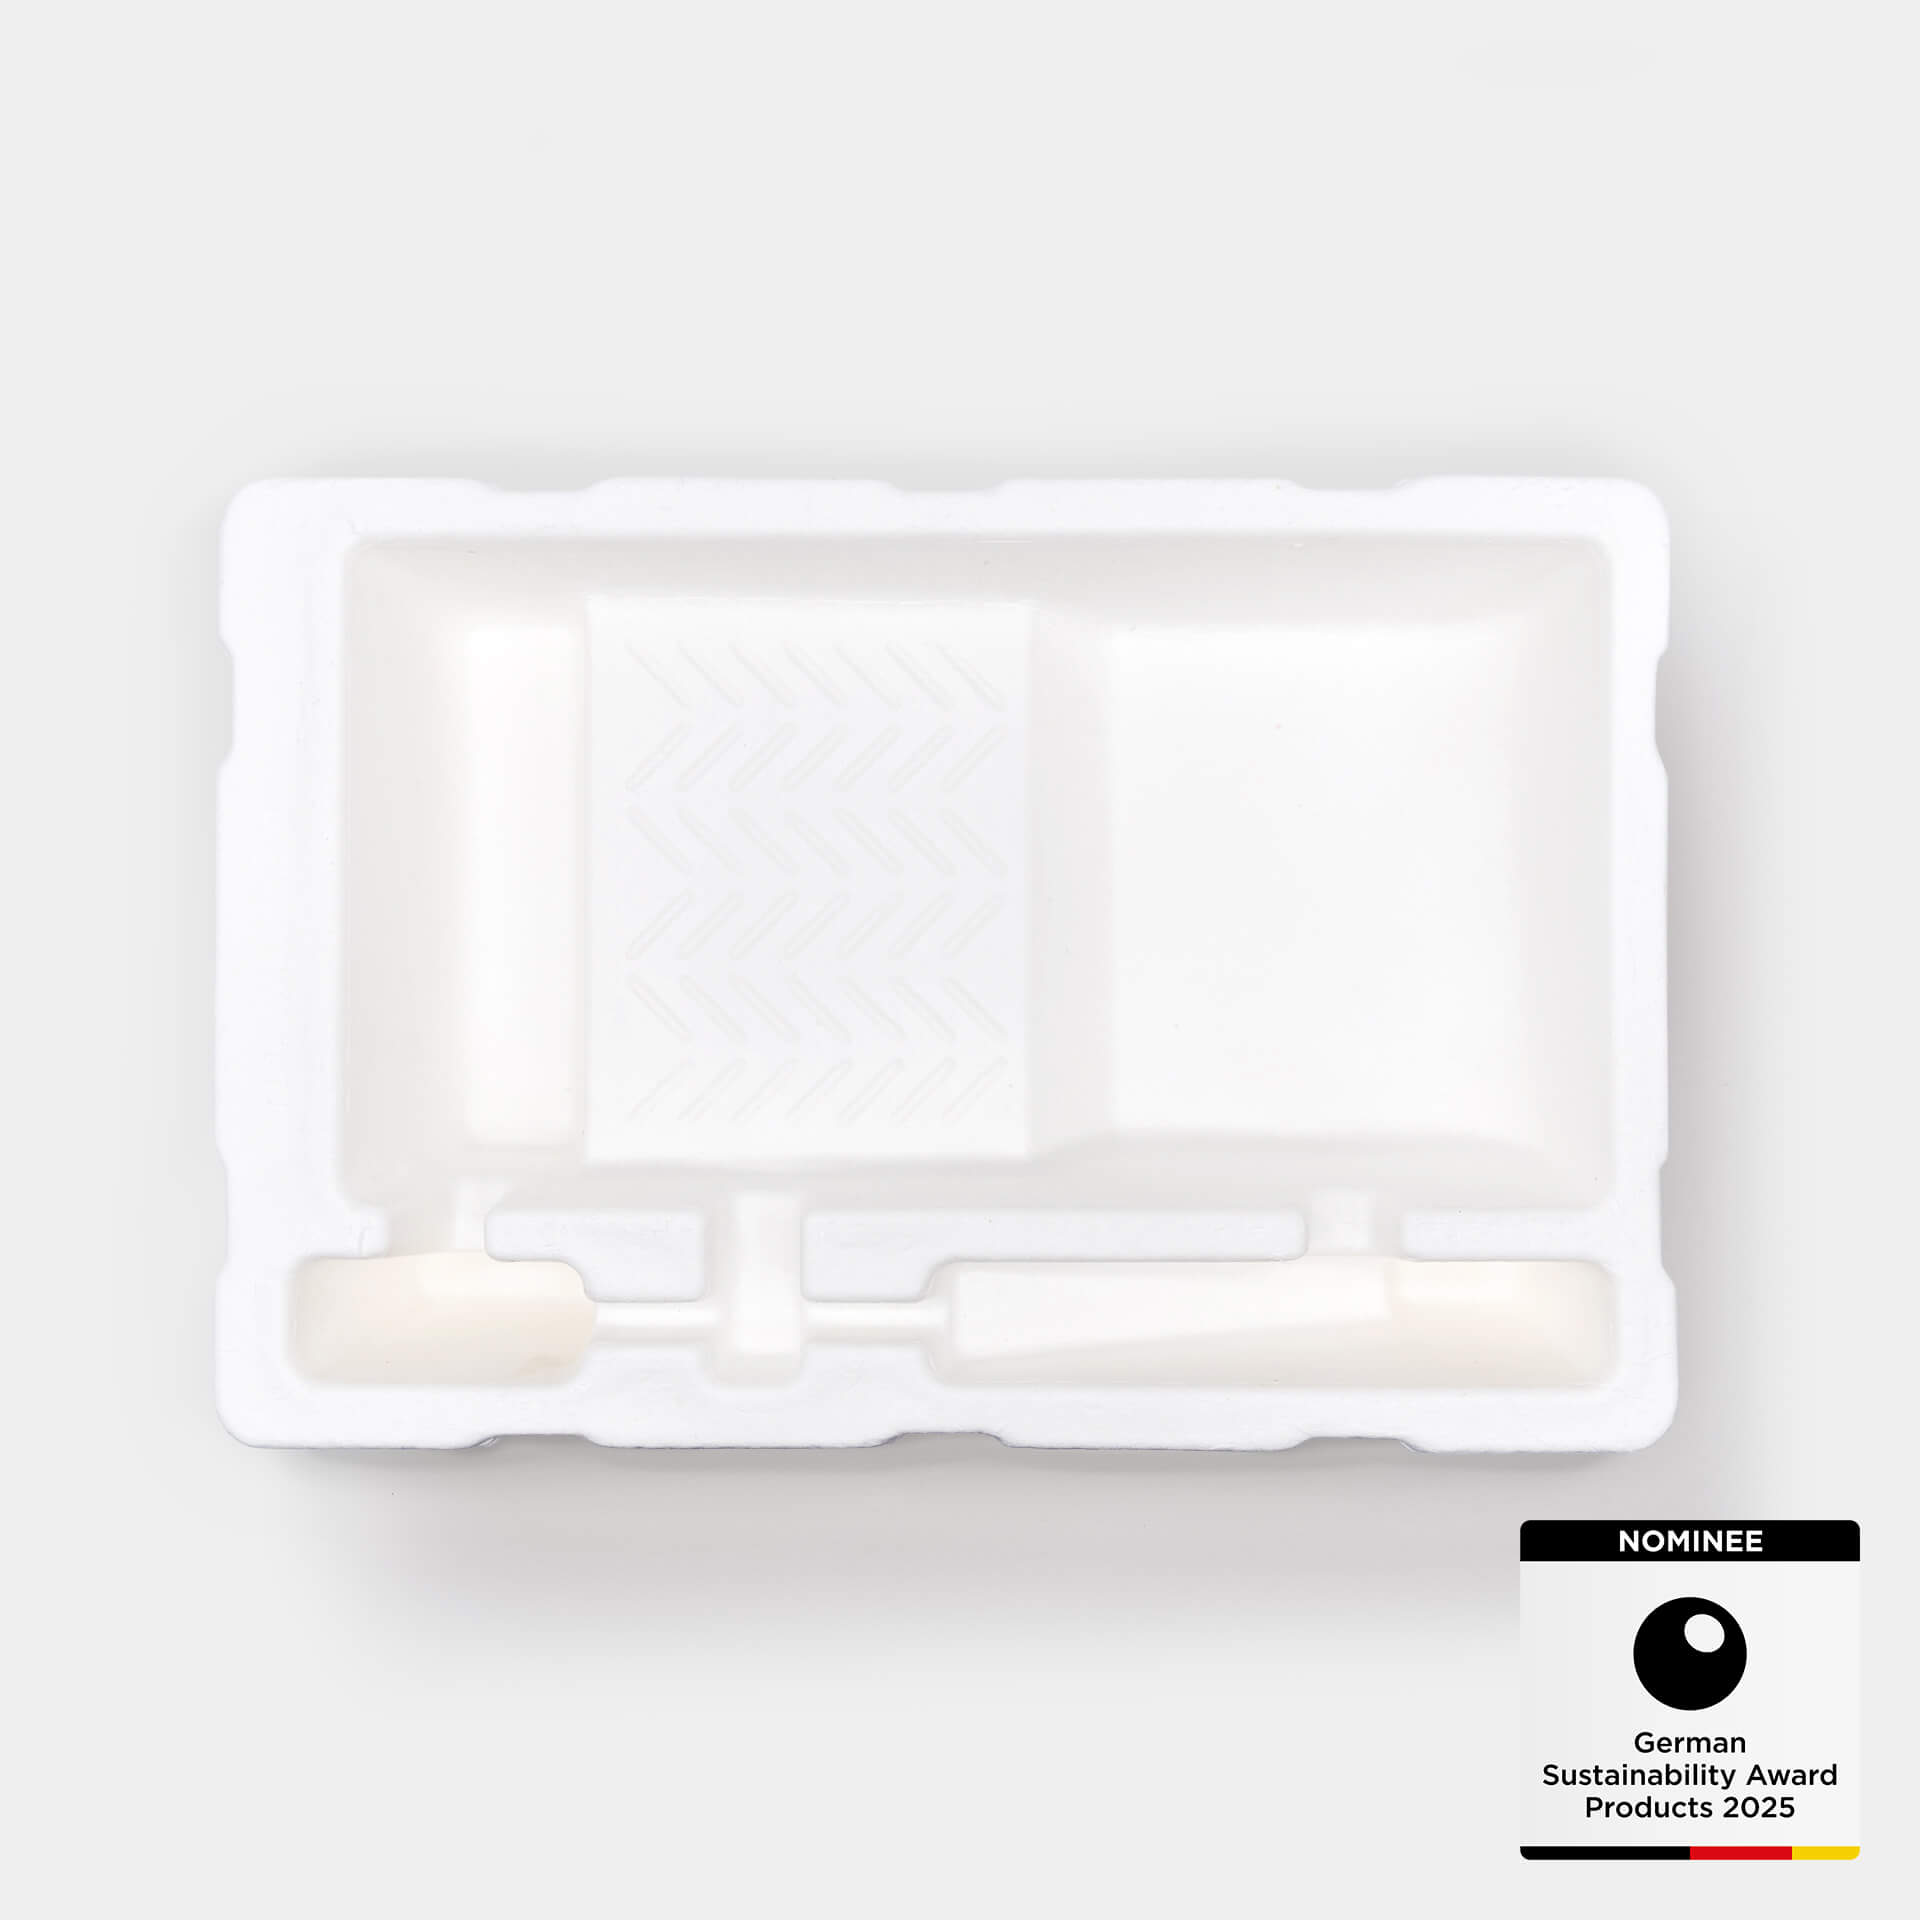
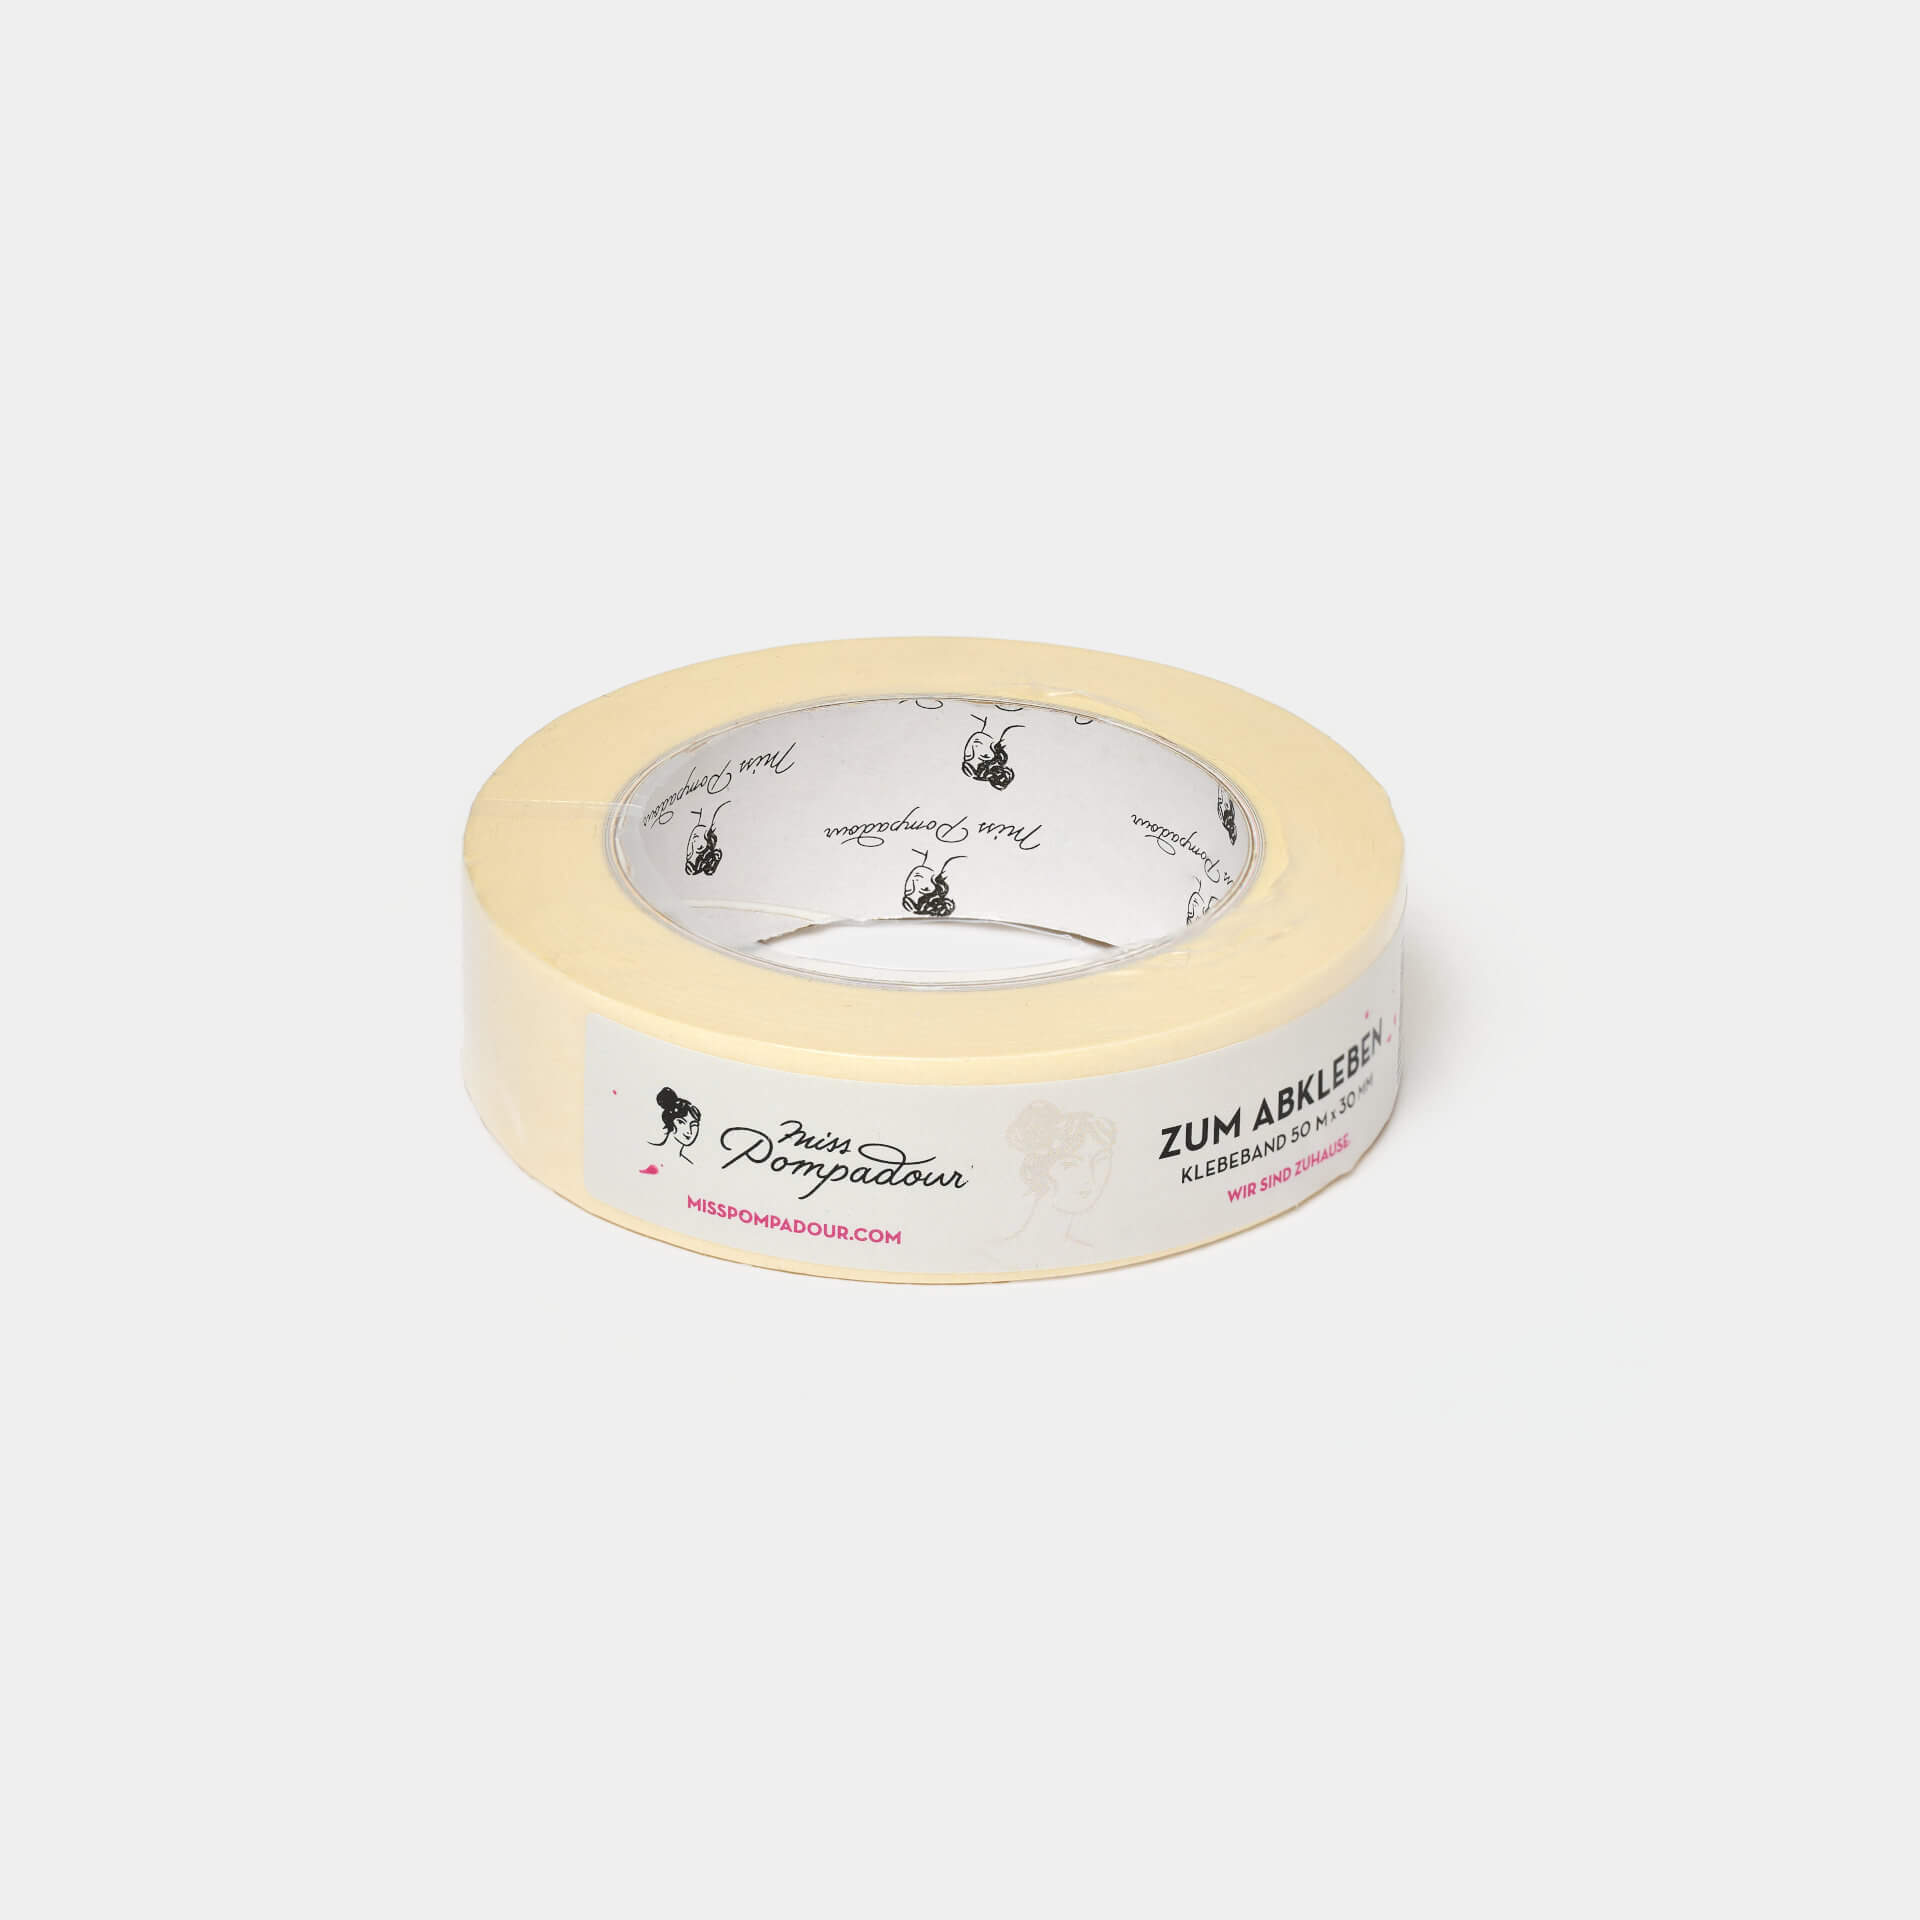
For primer and varnish, you will need the MissPompadour Primer Paint Tray! The feather-light but sturdy, reusable The paint tray! made of natural material has several compartments for storing brushes and rollers. Foil would be useful to cover the floor, and for straight edges, order a Roller MissPompadour To Mask at the same time
FAQ: Frequently asked questions about repainting high-gloss furniture
High gloss: which varnish to use for the kitchen?
In kitchens, the easiest way to finish the kitchen fronts is with MissPompadour varnish Eggshell Varnish. This is because the smooth, impact- and scratch-resistant, silky matt surface that you create with it is easy to maintain and has a pleasant feel.
Can a high-gloss kitchen be painted matt?
You can also finish the fronts in your kitchen with a matt colour. The Matt Varnish varnish is a good choice, and you can even embellish high-gloss furniture with the chalk paints from the CosyColours Collection. With a matt surface, your kitchen can also fit into a classic country house style. However, you should always protect the matt lacquered surfaces with MissPompadour To Seal at the end.
Can I paint the worktop of my high-gloss kitchen?
Yes, it is possible to paint the worktop with the Eggshell Varnishes from MissPompadour. Matt varnishes or chalk paints are not suitable for this. However, a painted worktop is generally less stable than before. So handle it with care and always use chopping boards, for example.
How can I paint other high-gloss surfaces in shabby chic style?
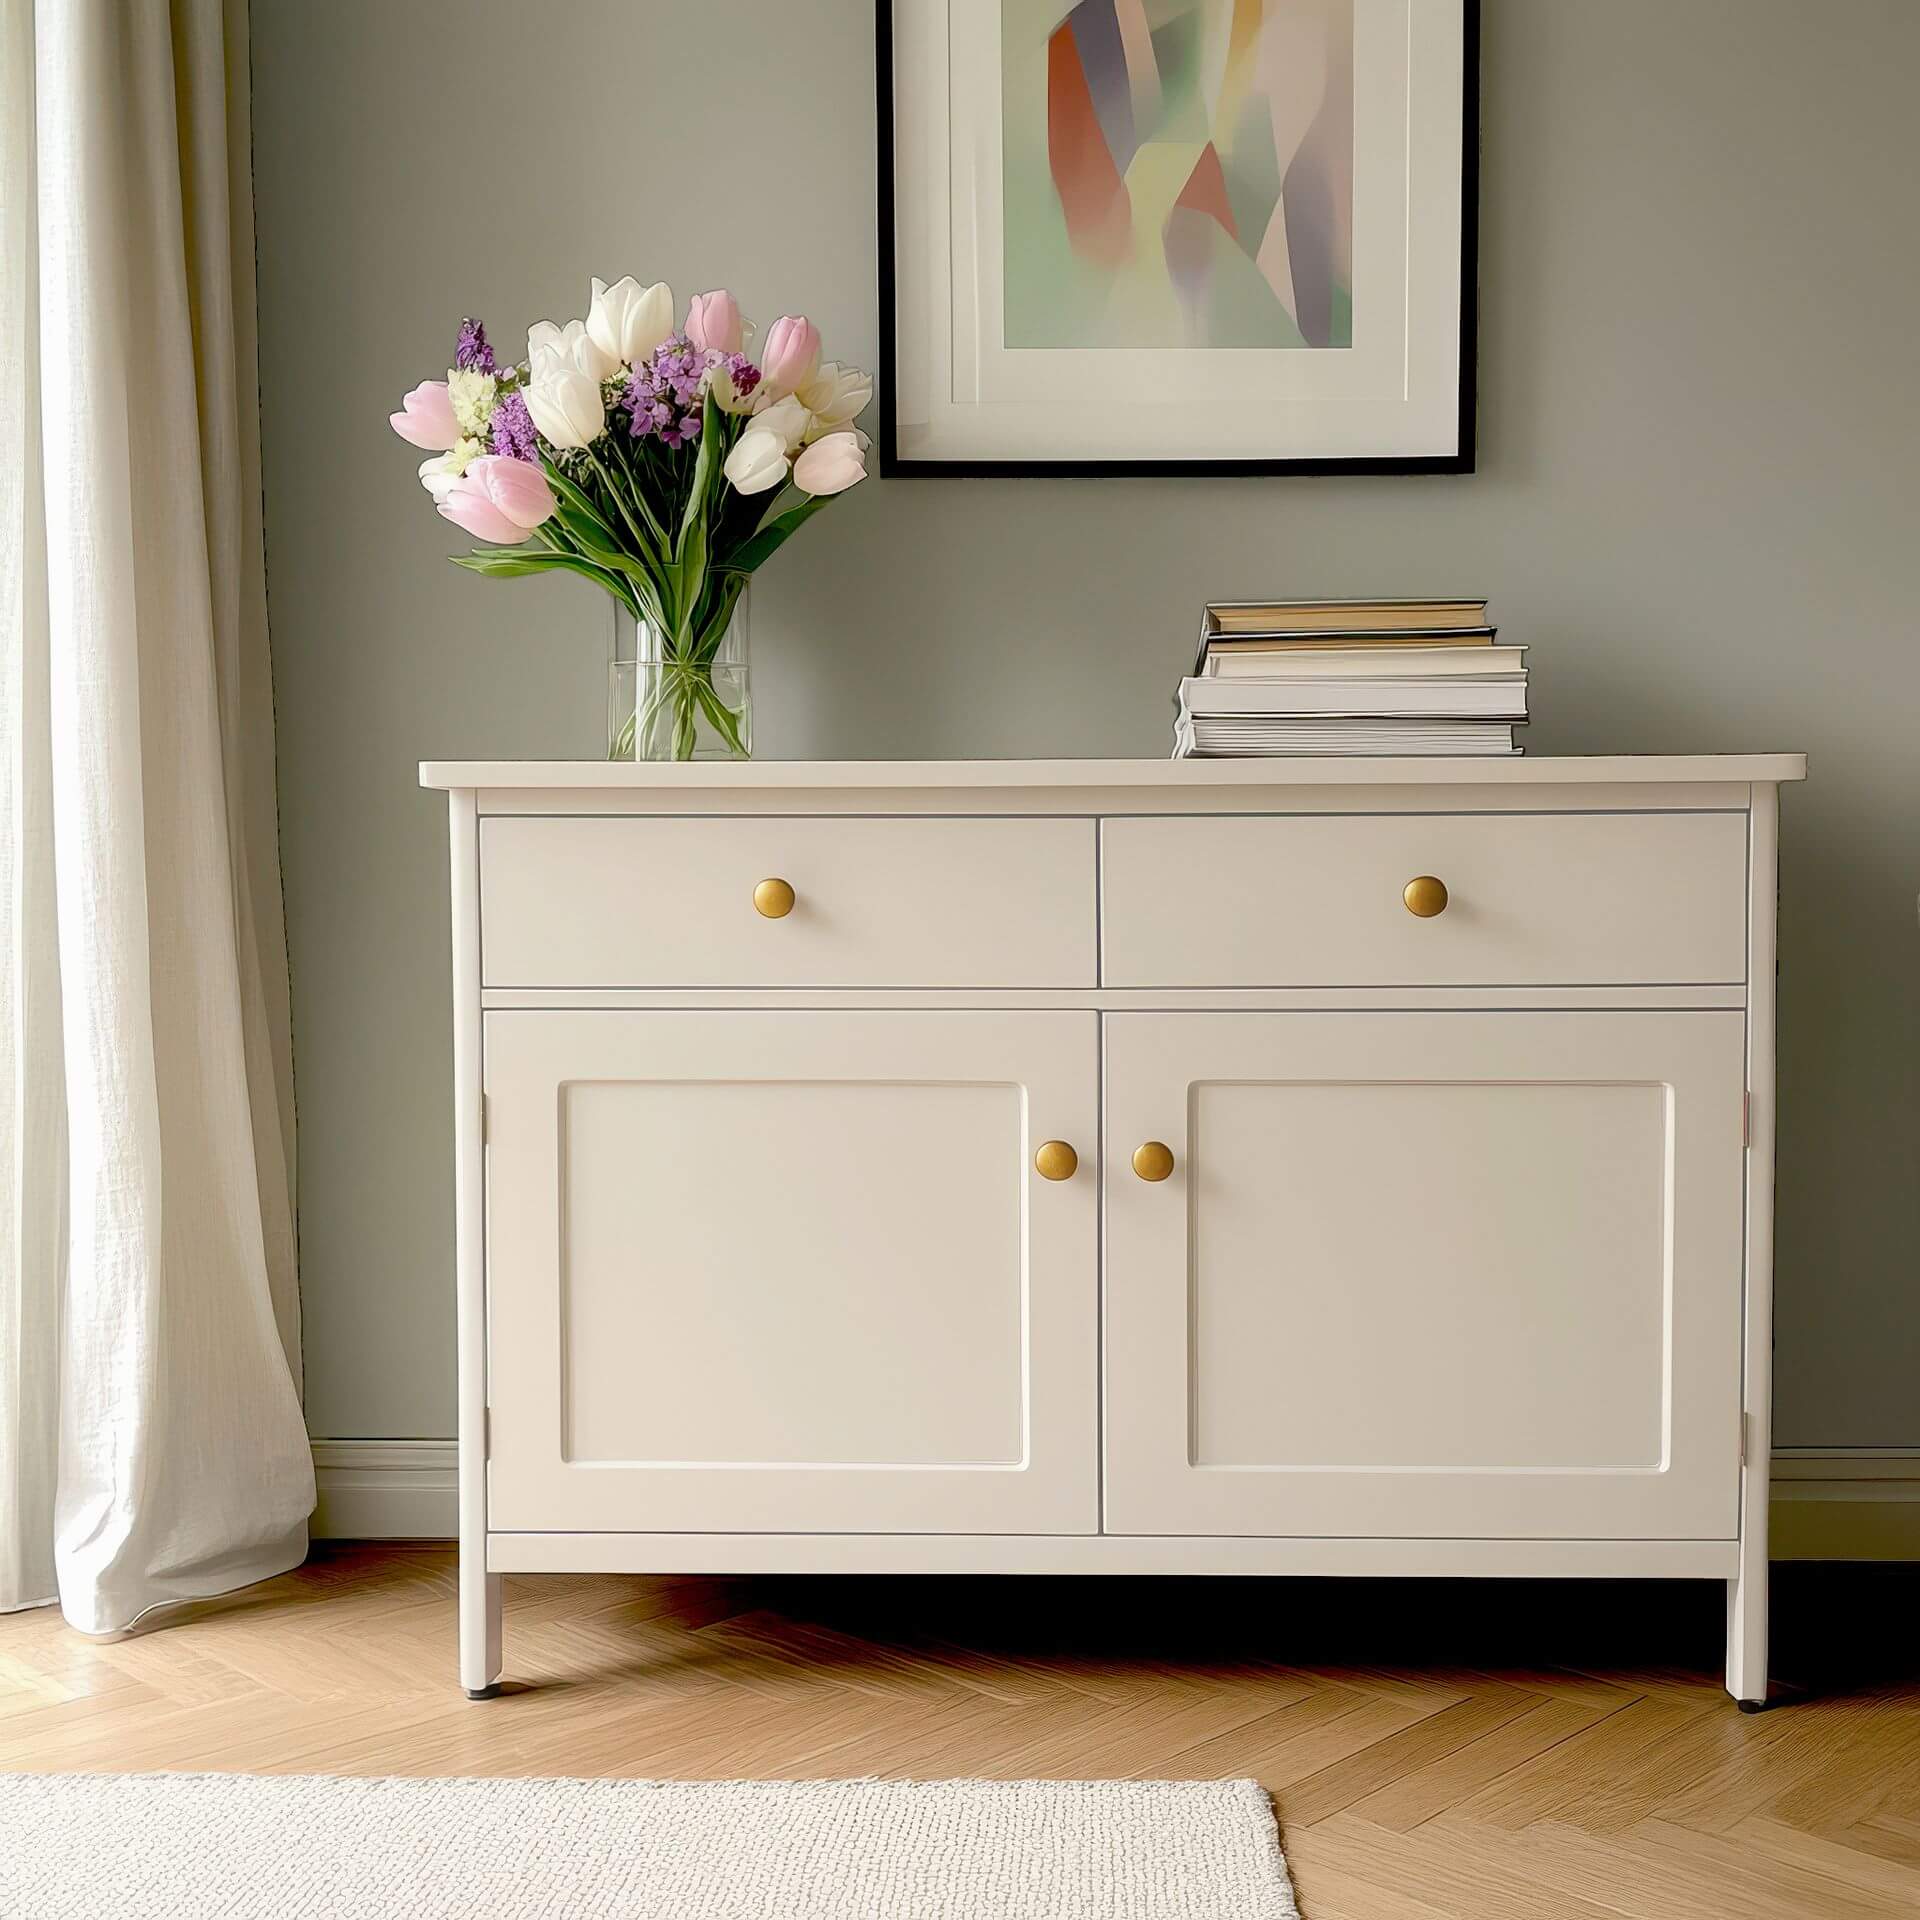
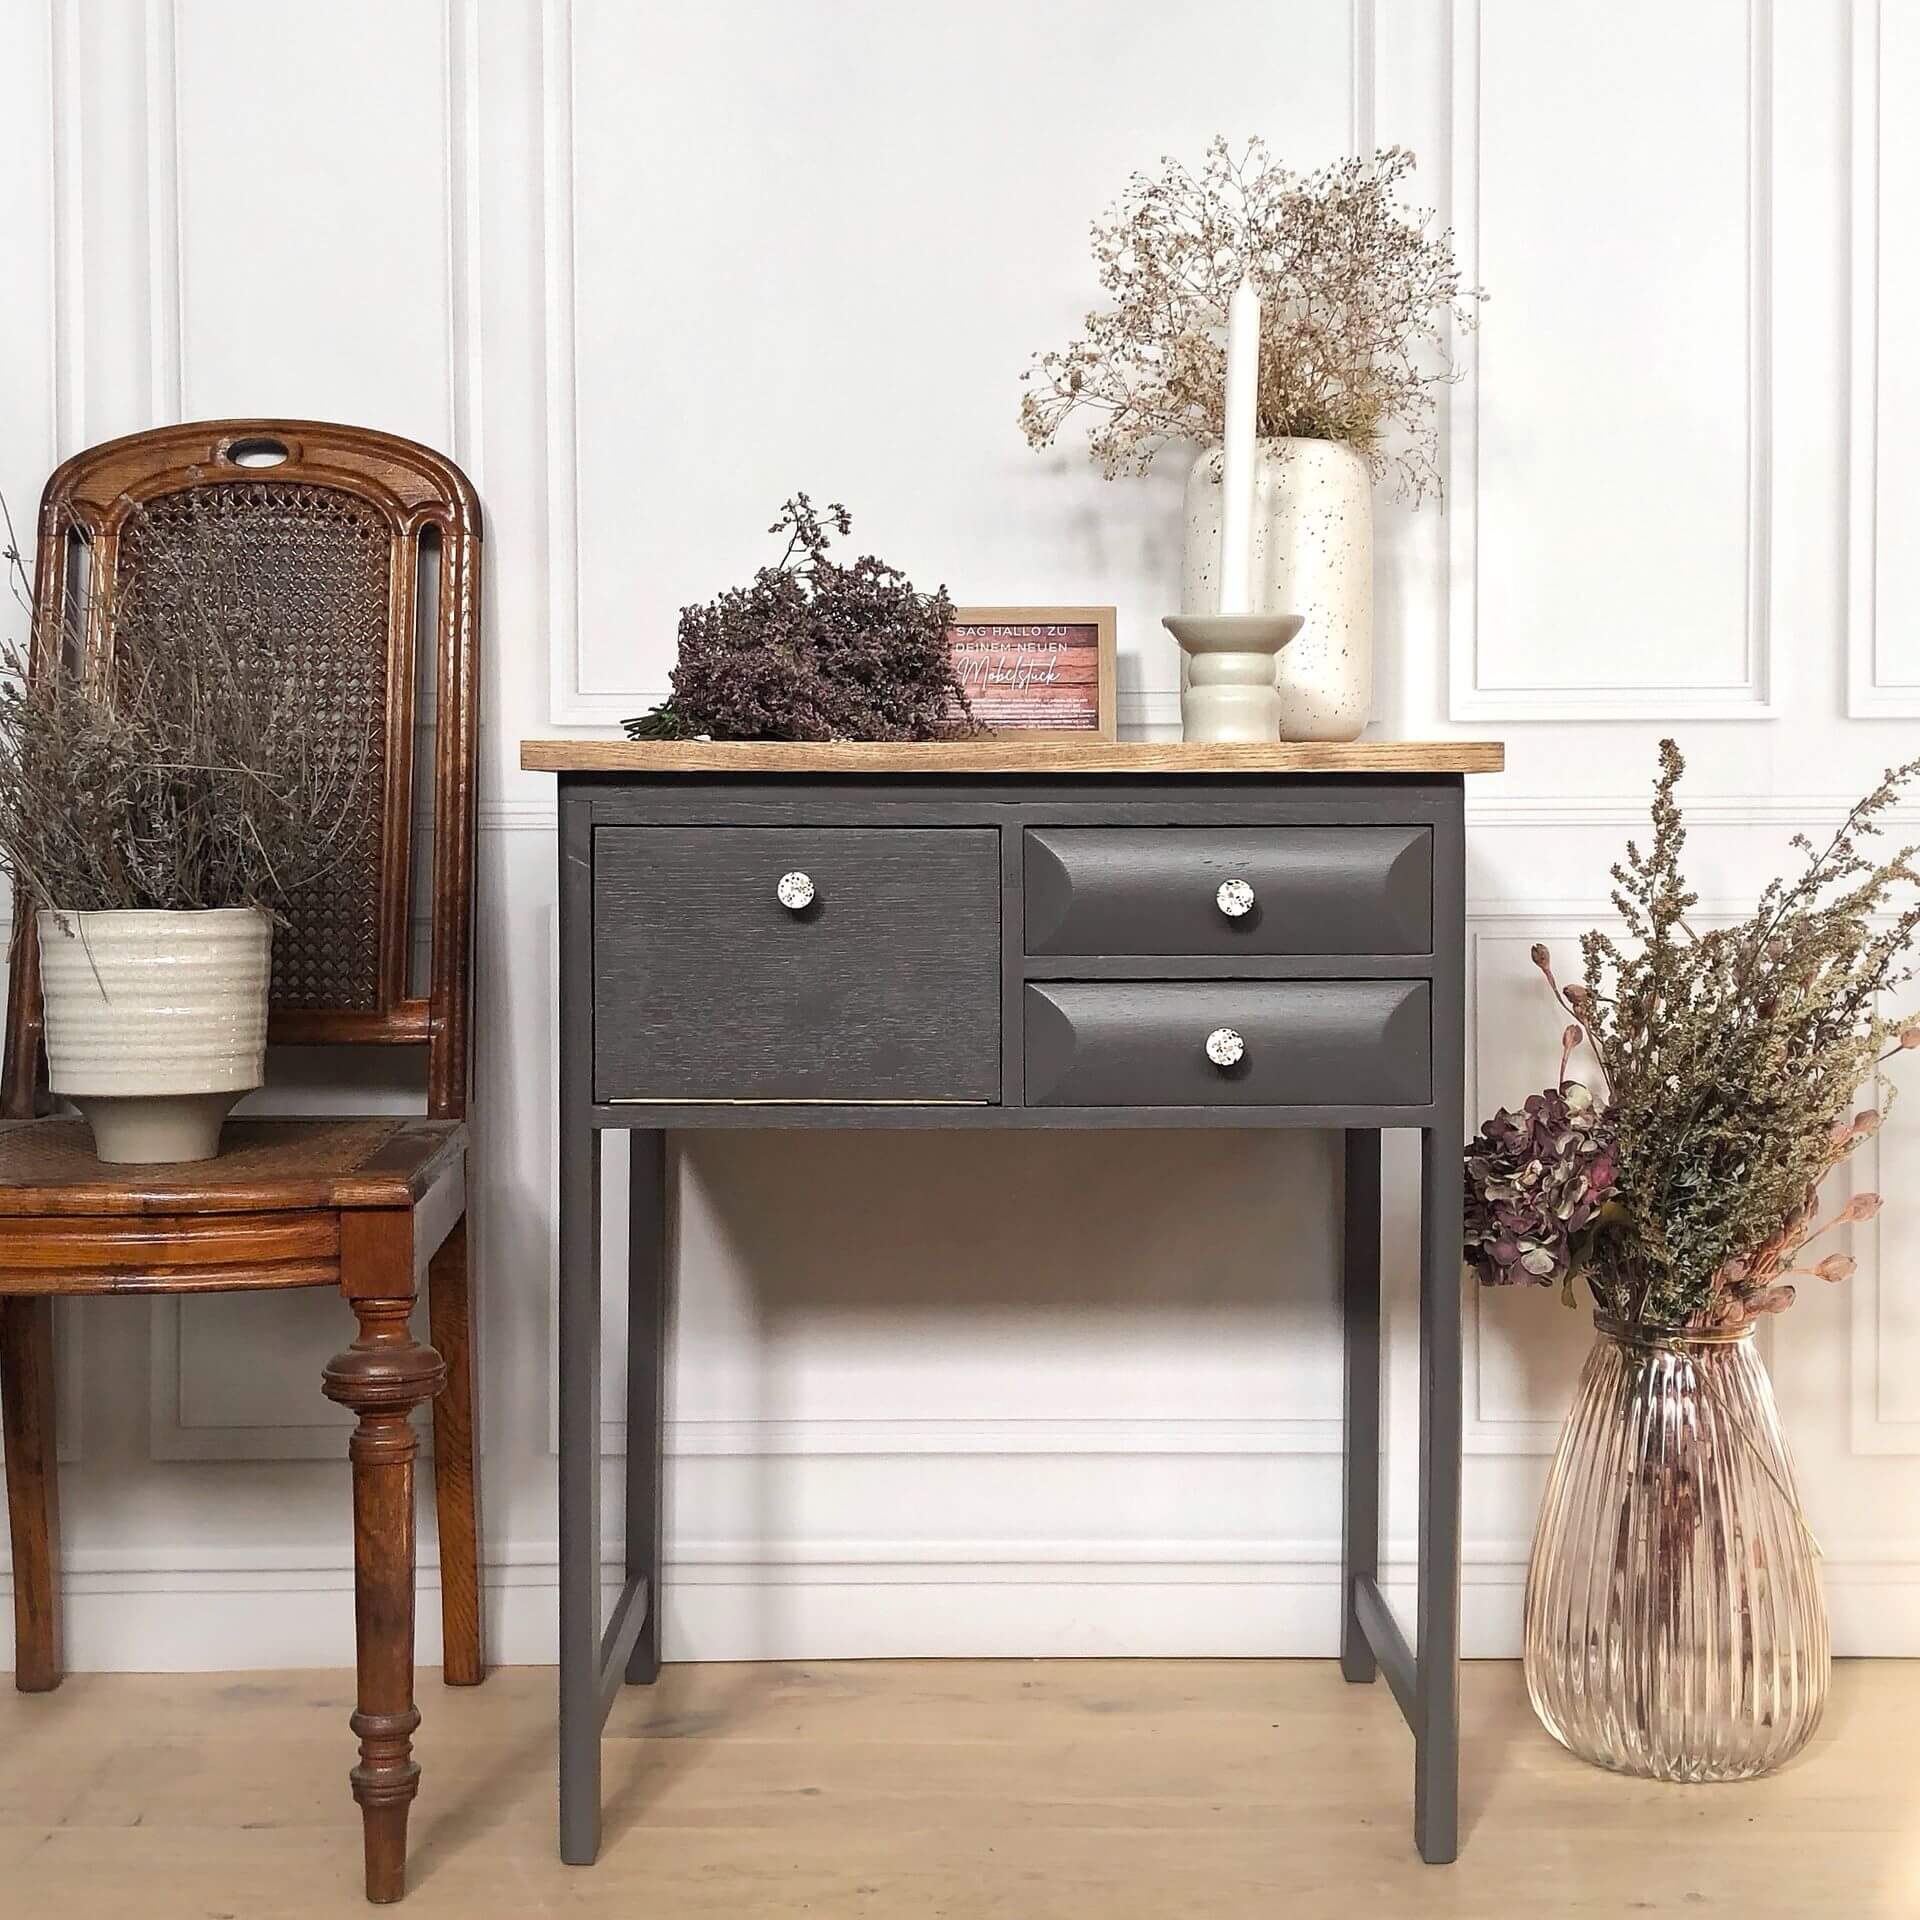
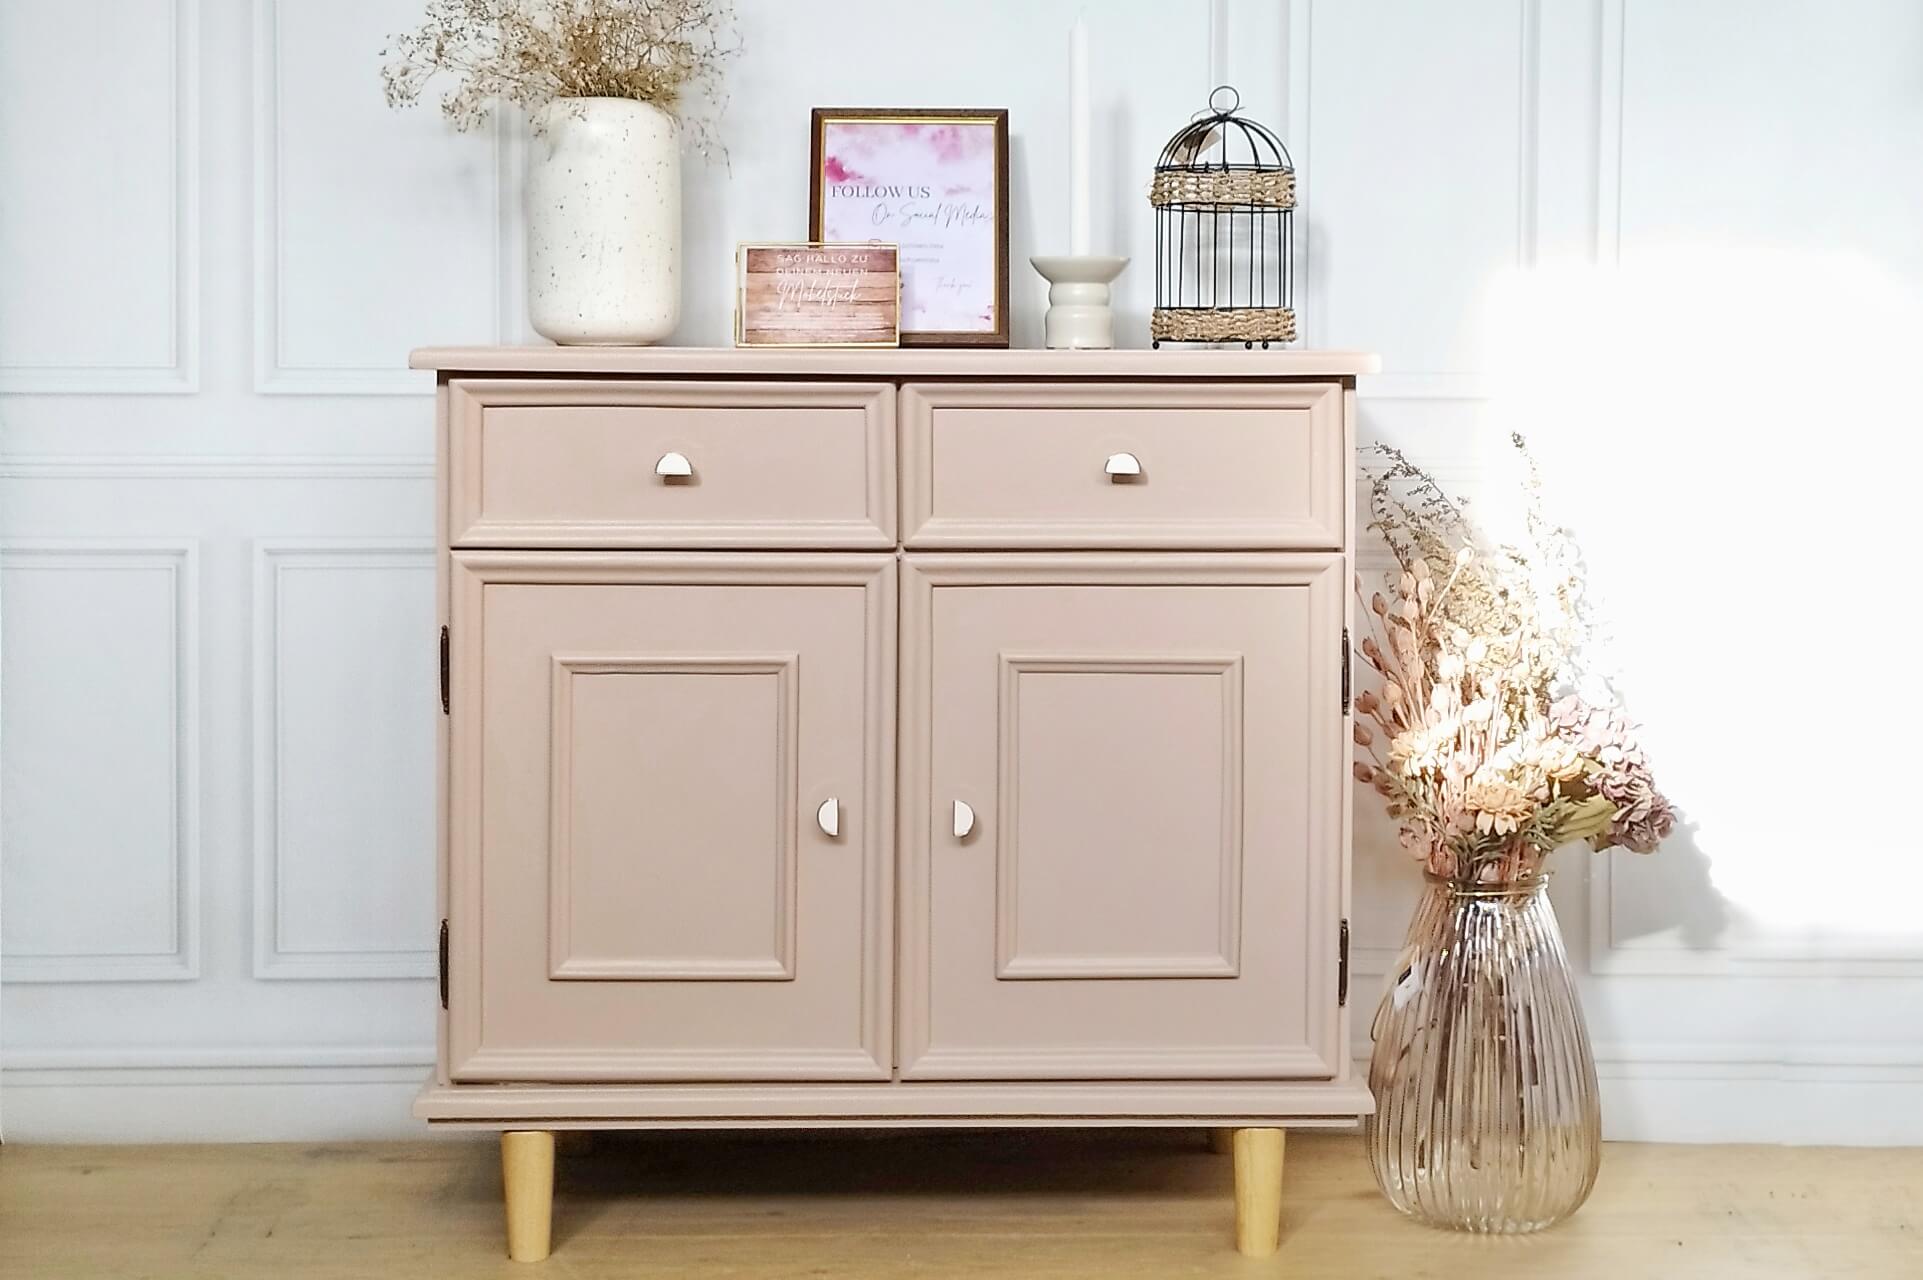
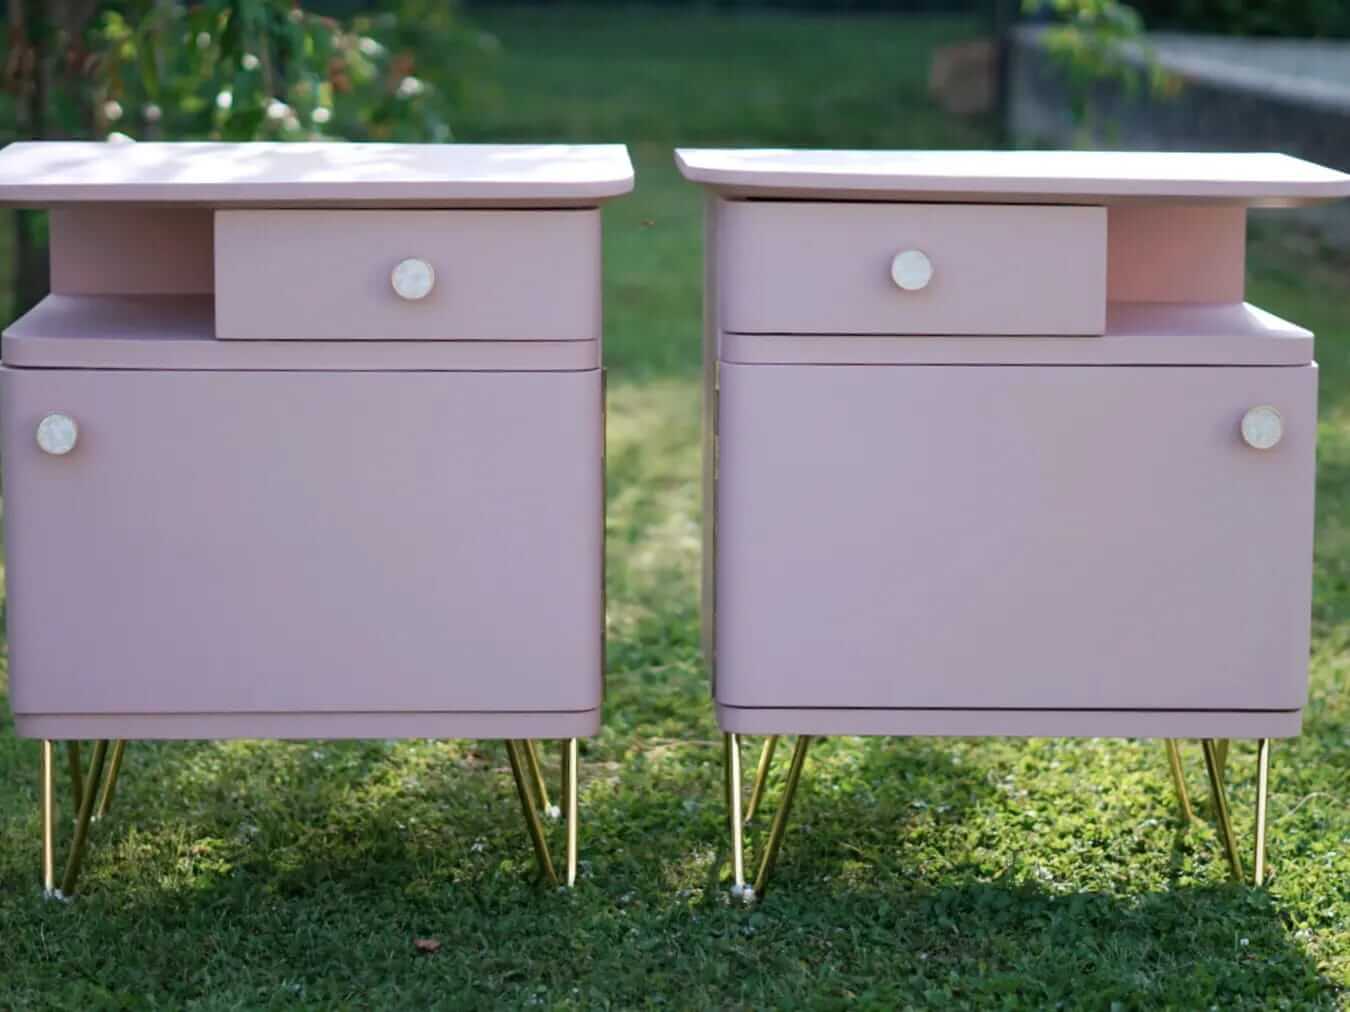
Are you a real DIY fan and have a different project in mind than treating a glossy kitchen with a new colour? Would you like to paint a high-gloss chest of drawers or a high-gloss cabinet in a matt finish? Basically, furniture with high-gloss fronts is finished in exactly the same way as a high-gloss kitchen.
To achieve an authentic vintage look, it is advisable to work with matt varnish. MissPompadour Matt Varnish is just as suitable here as the chalk varnishes from CosyColours or the LittlePomp Collection. Firstly, it is very important to apply To Bond & Block so that the colour takes hold. In this way, you can turn a technical-looking high-gloss surface into furniture with a nostalgic look using chalk paint. If your furniture is subject to heavy use, you should finish the coat with a layer of MissPompadour To Seal to give the surfaces extra protection
Have you finished reading?
You can find more interesting topics here

