


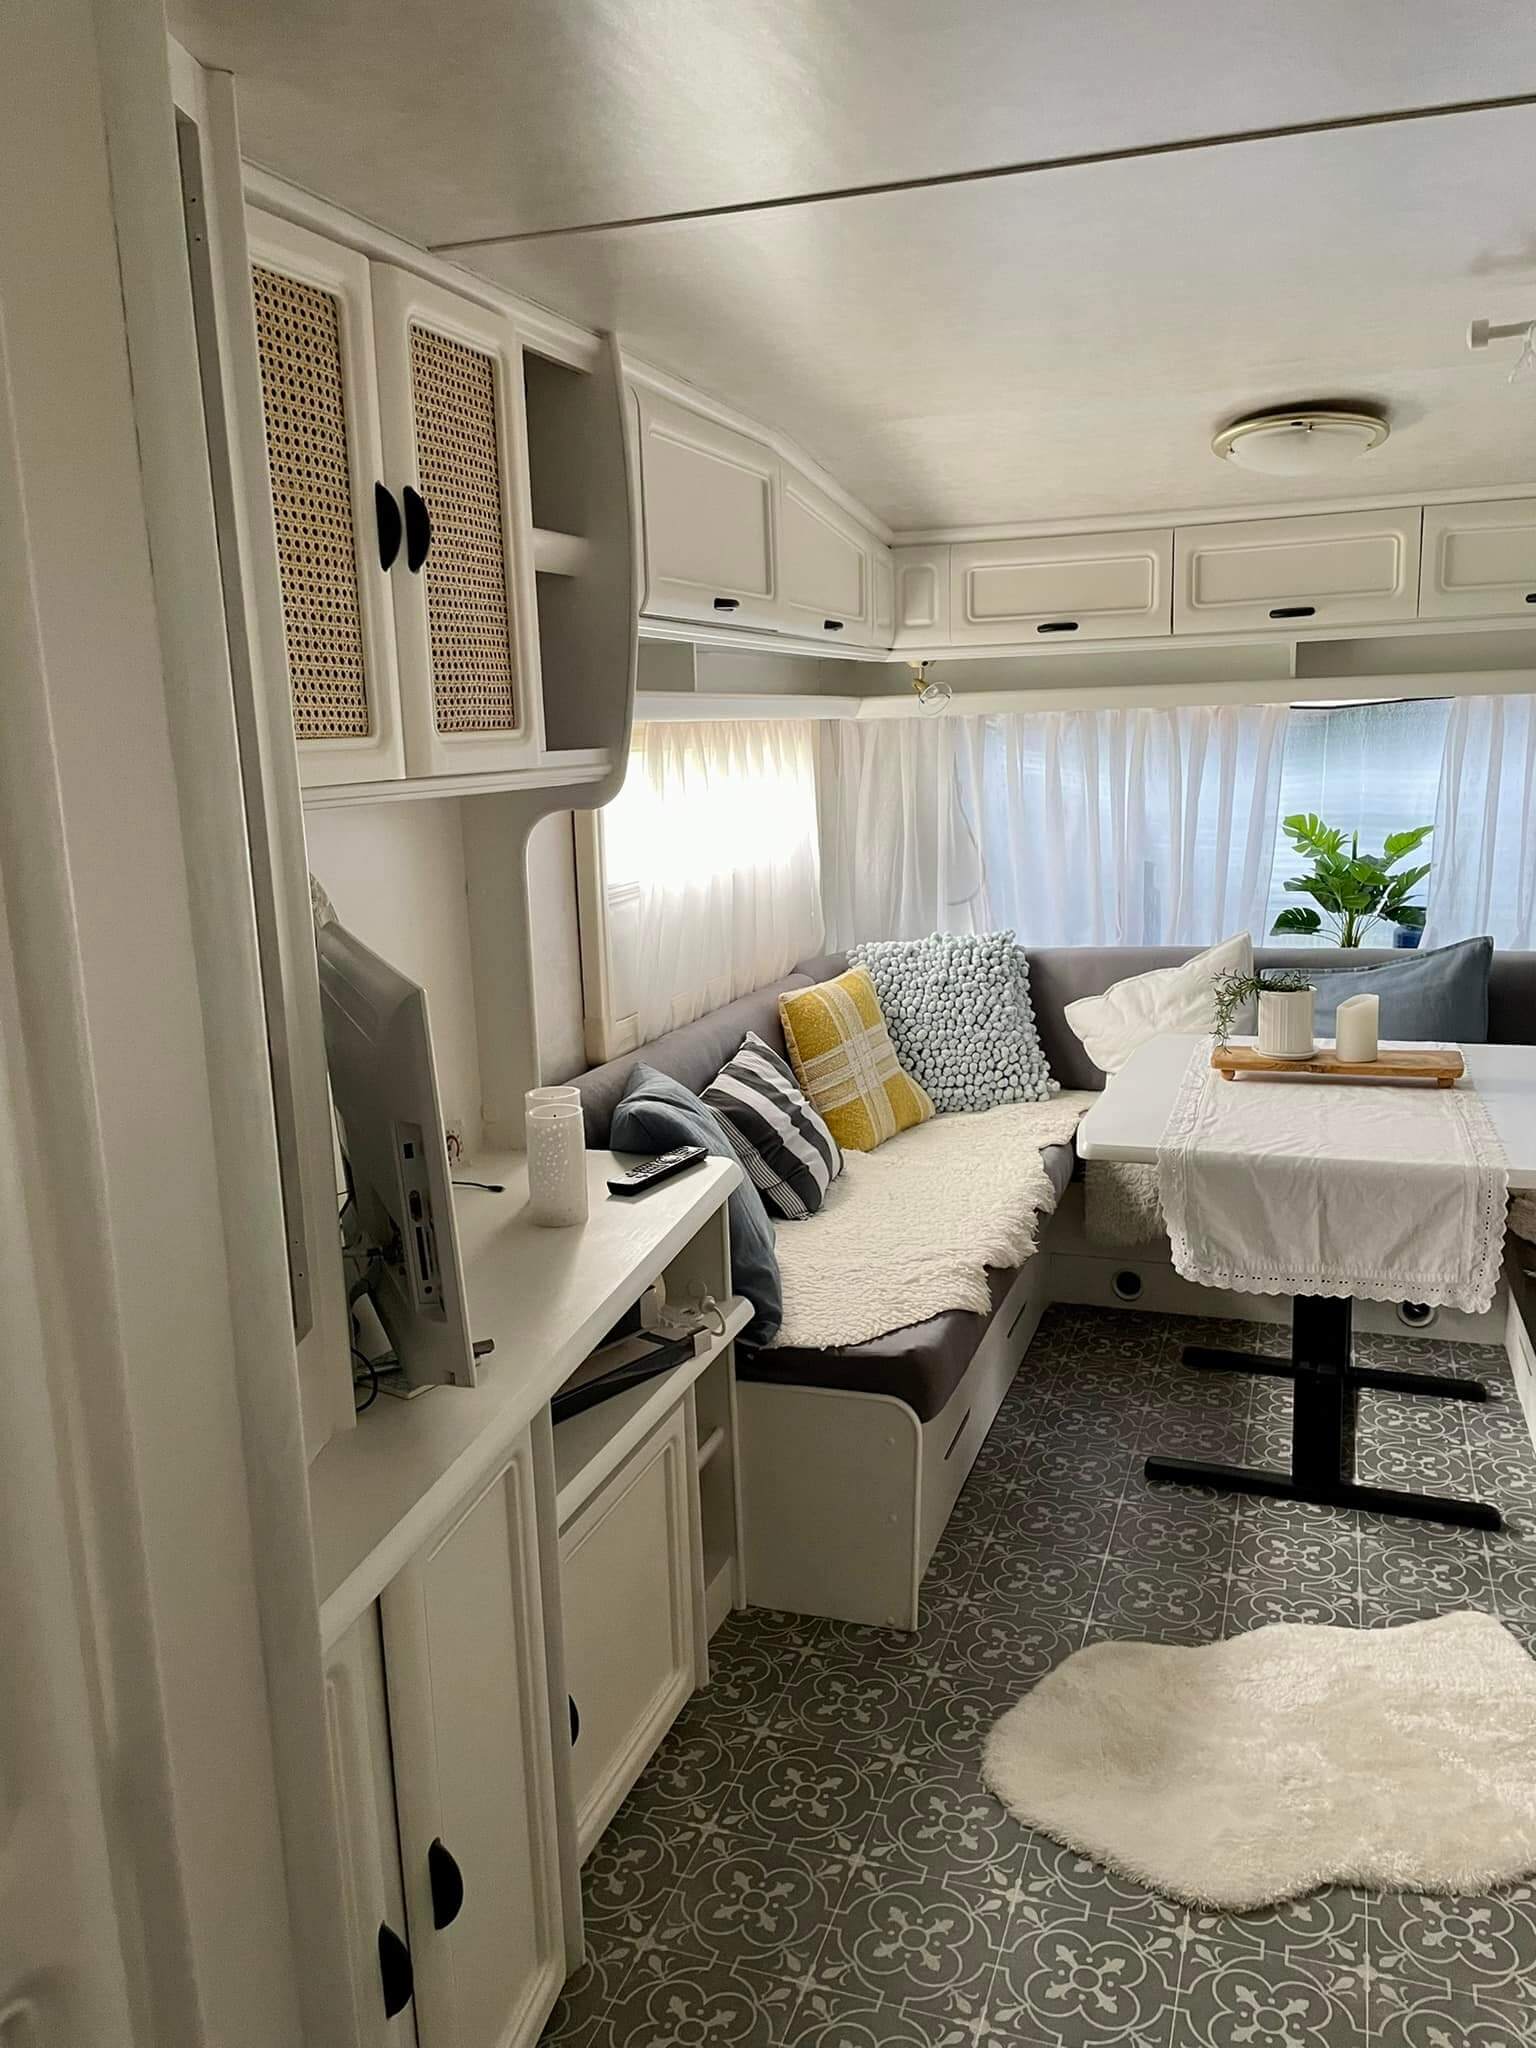
Painting the Inside of a Caravan: How to Pimp Your Old Motorhome
6 min reading time
We explain to you how you can paint the inside of your caravan, easily and without having to sand.
Table of contents
2. Paint the inside of your caravan or use chalk paint?
3. Instructions: How to paint the interior of your camper (incl. video)
4. FAQ: Frequently asked questions about camper van renovation
5. An overview of all tips for making over the interior of your caravan
6. Conclusion: The work is worth it
New paint for your old caravan and inspiration
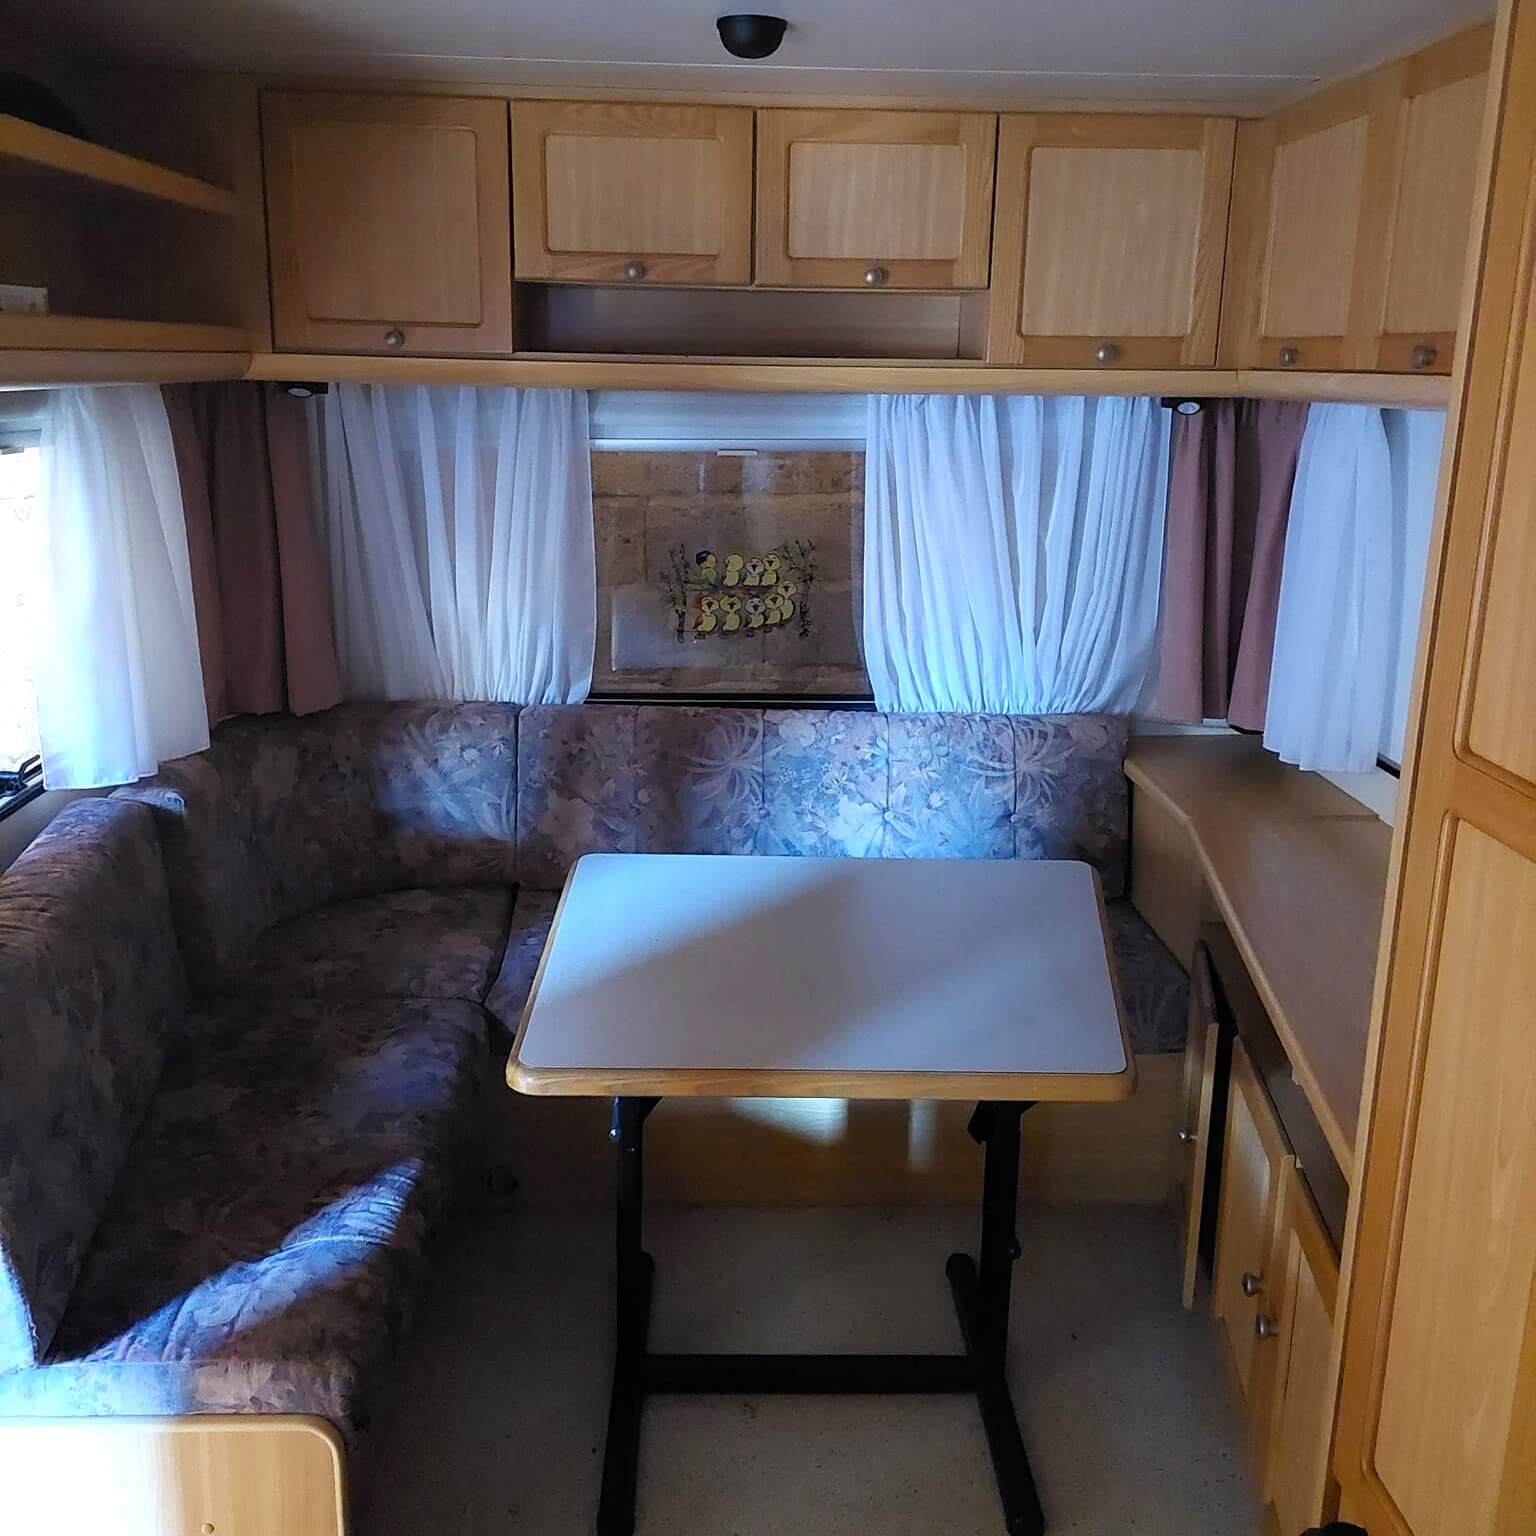
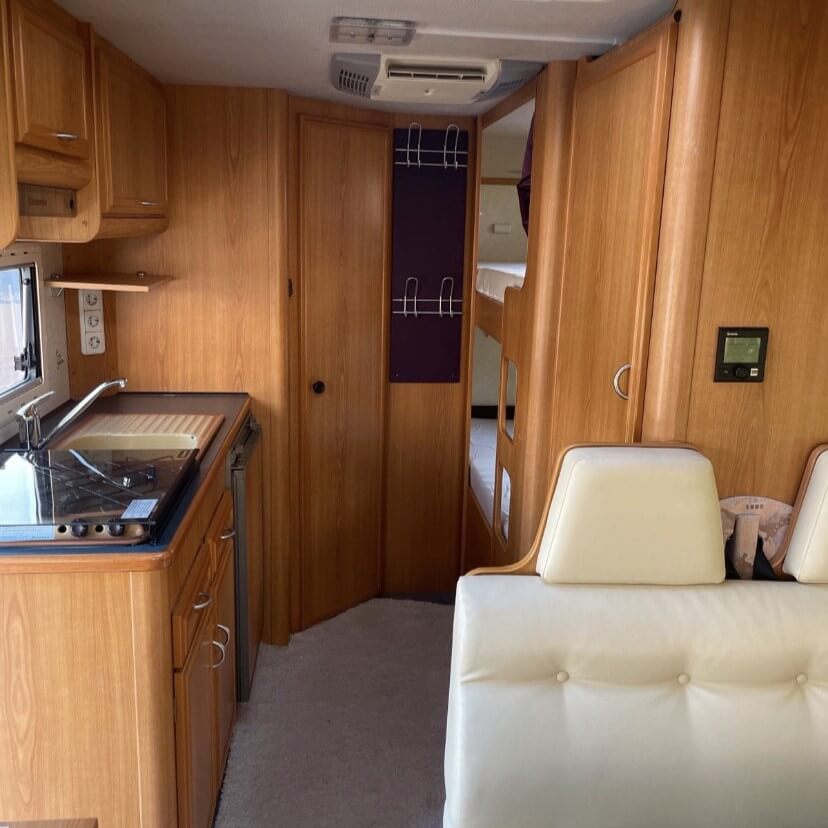
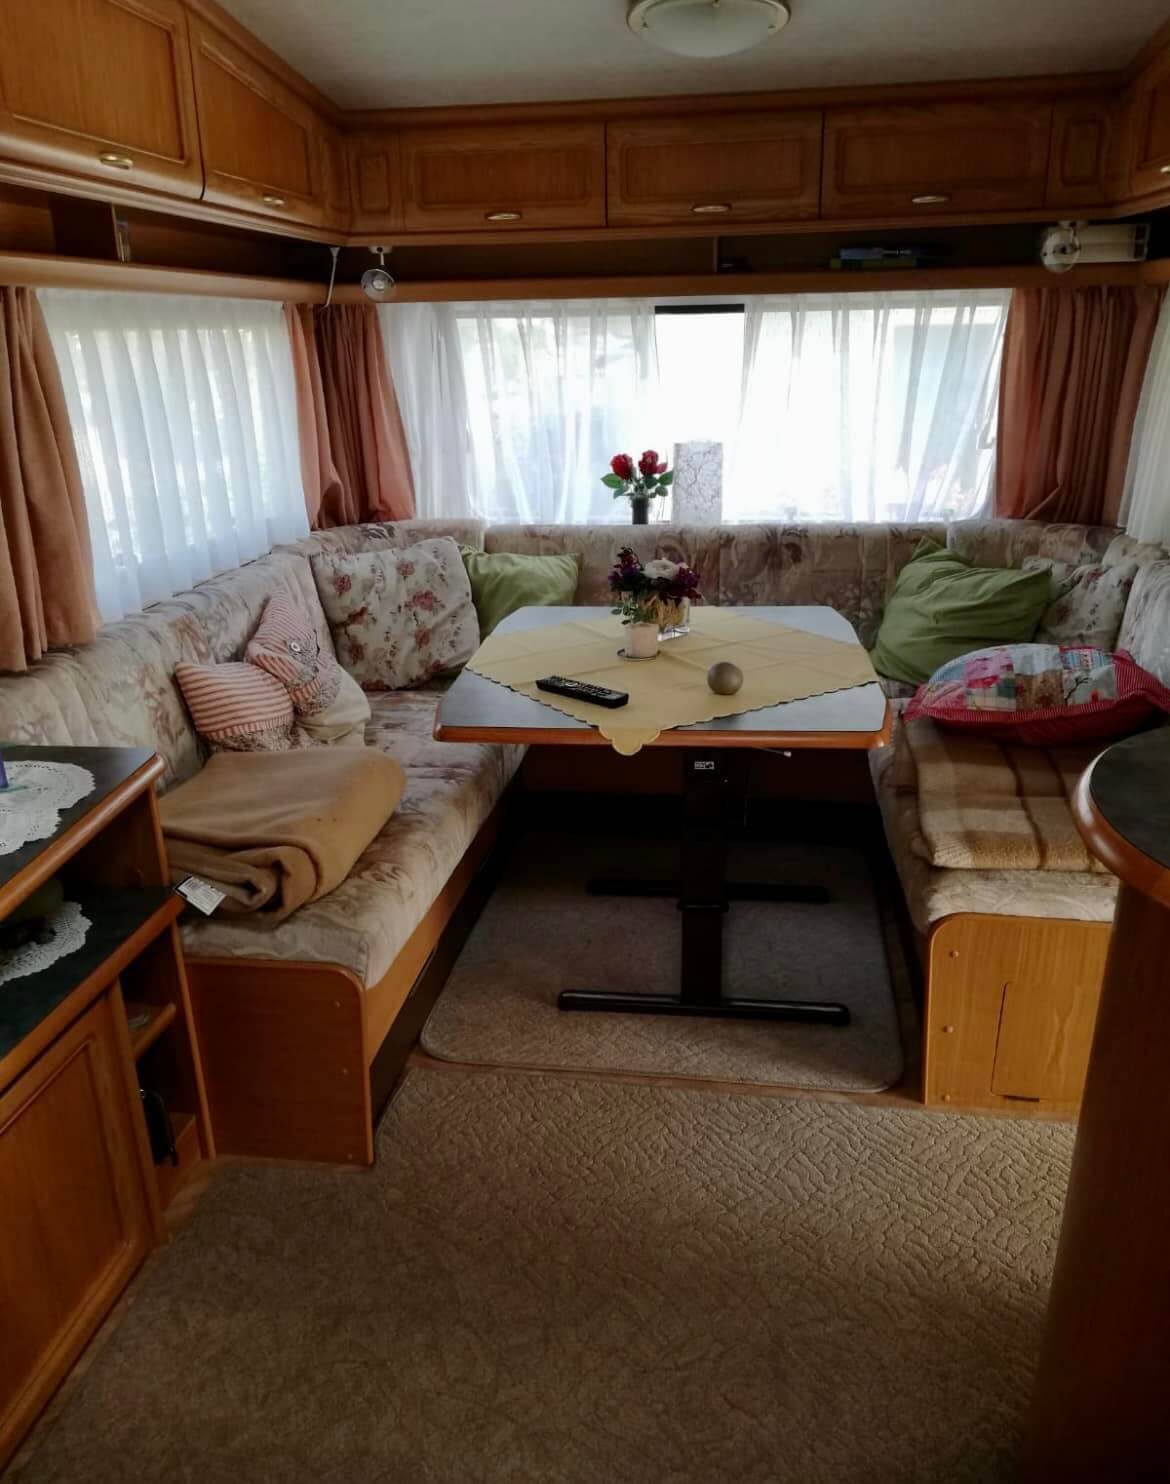
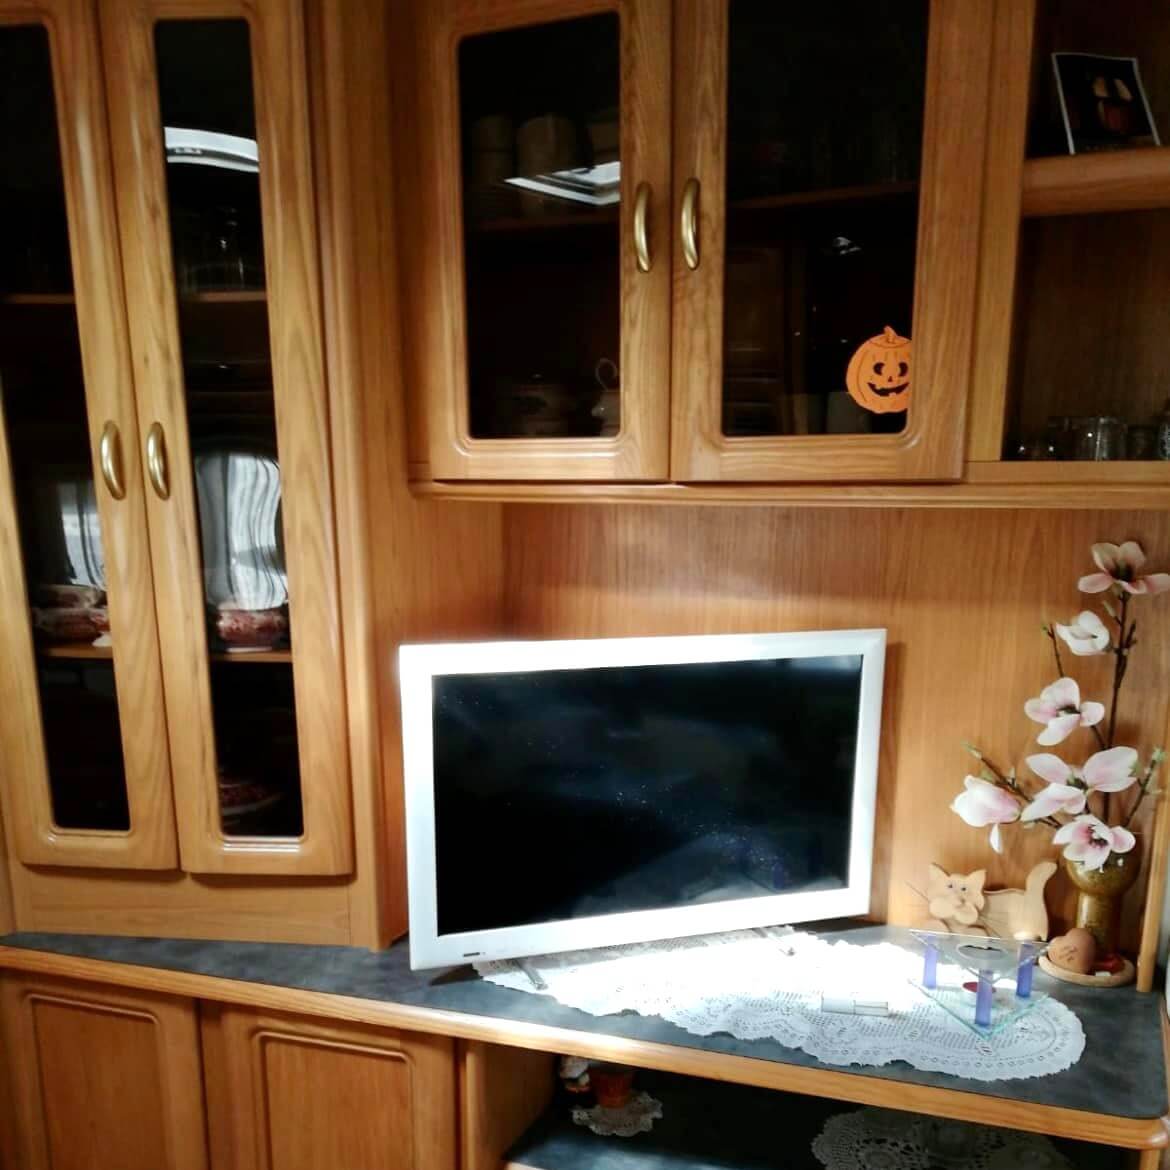
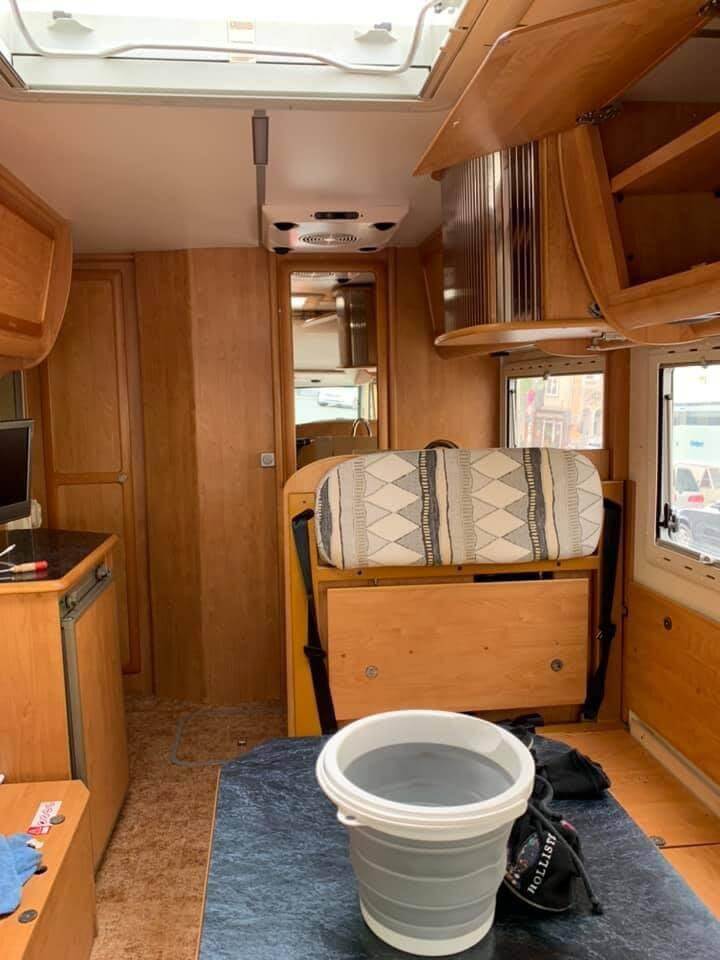
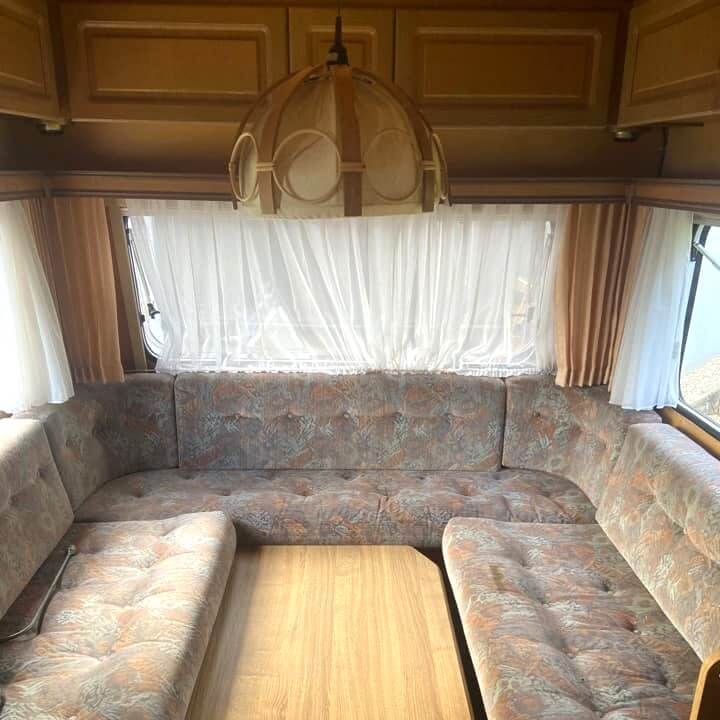
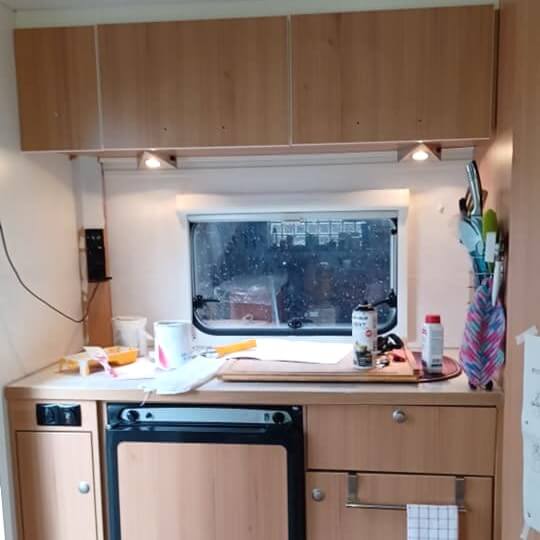

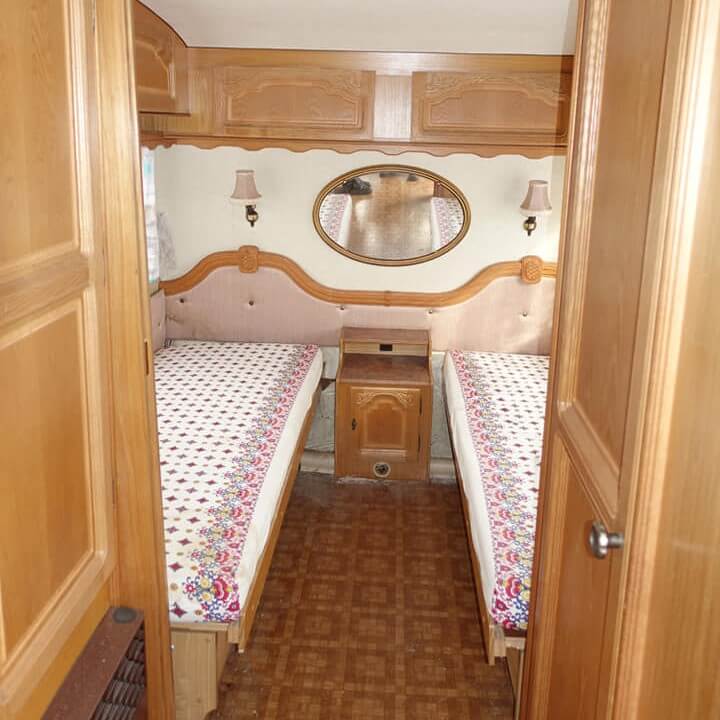
Perhaps you have already used film to change the surfaces. You've probably noticed how difficult it can be to cut neatly in rounded areas and achieve a beautiful result. The idea of carrying out this process on all surfaces doesn't seem particularly appealing.
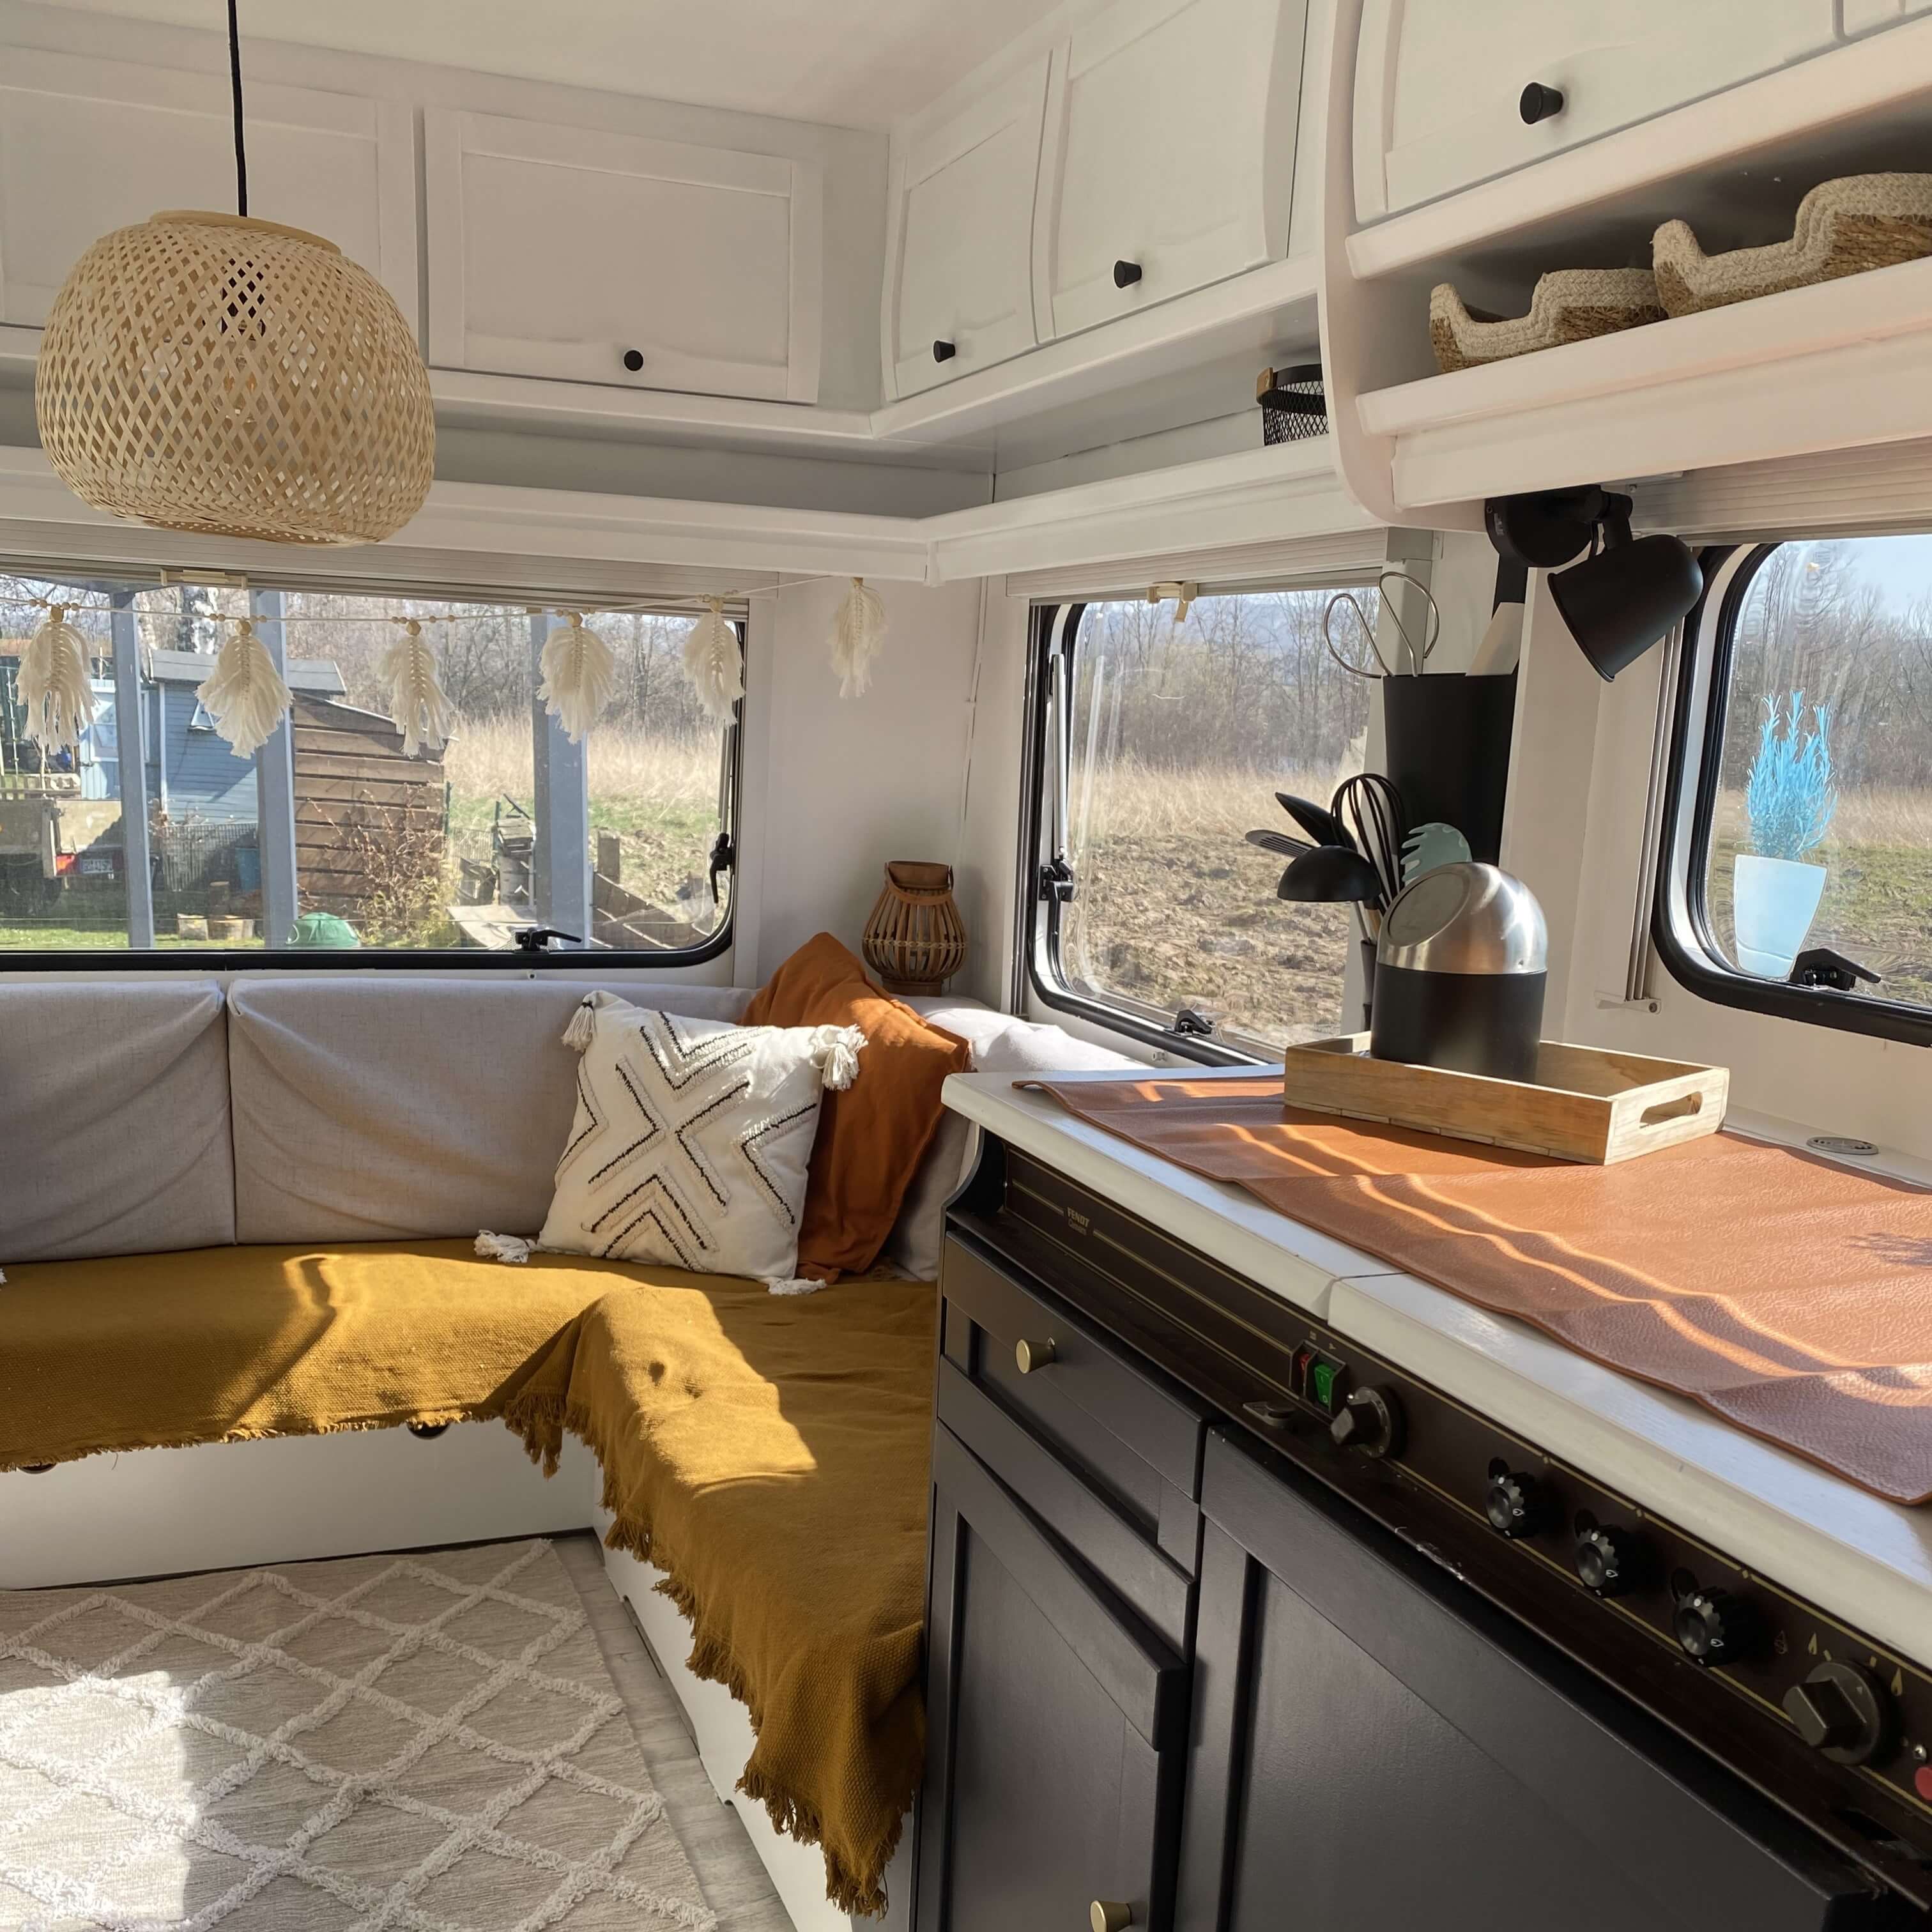
However, this doesn't mean that you have to give up on redesigning your motorhome. Just paint it with water-based paint, which also saves you the hassle of sanding. You don't have to worry about an unpleasant odour either, because our varnishes and paints are virtually odourless.
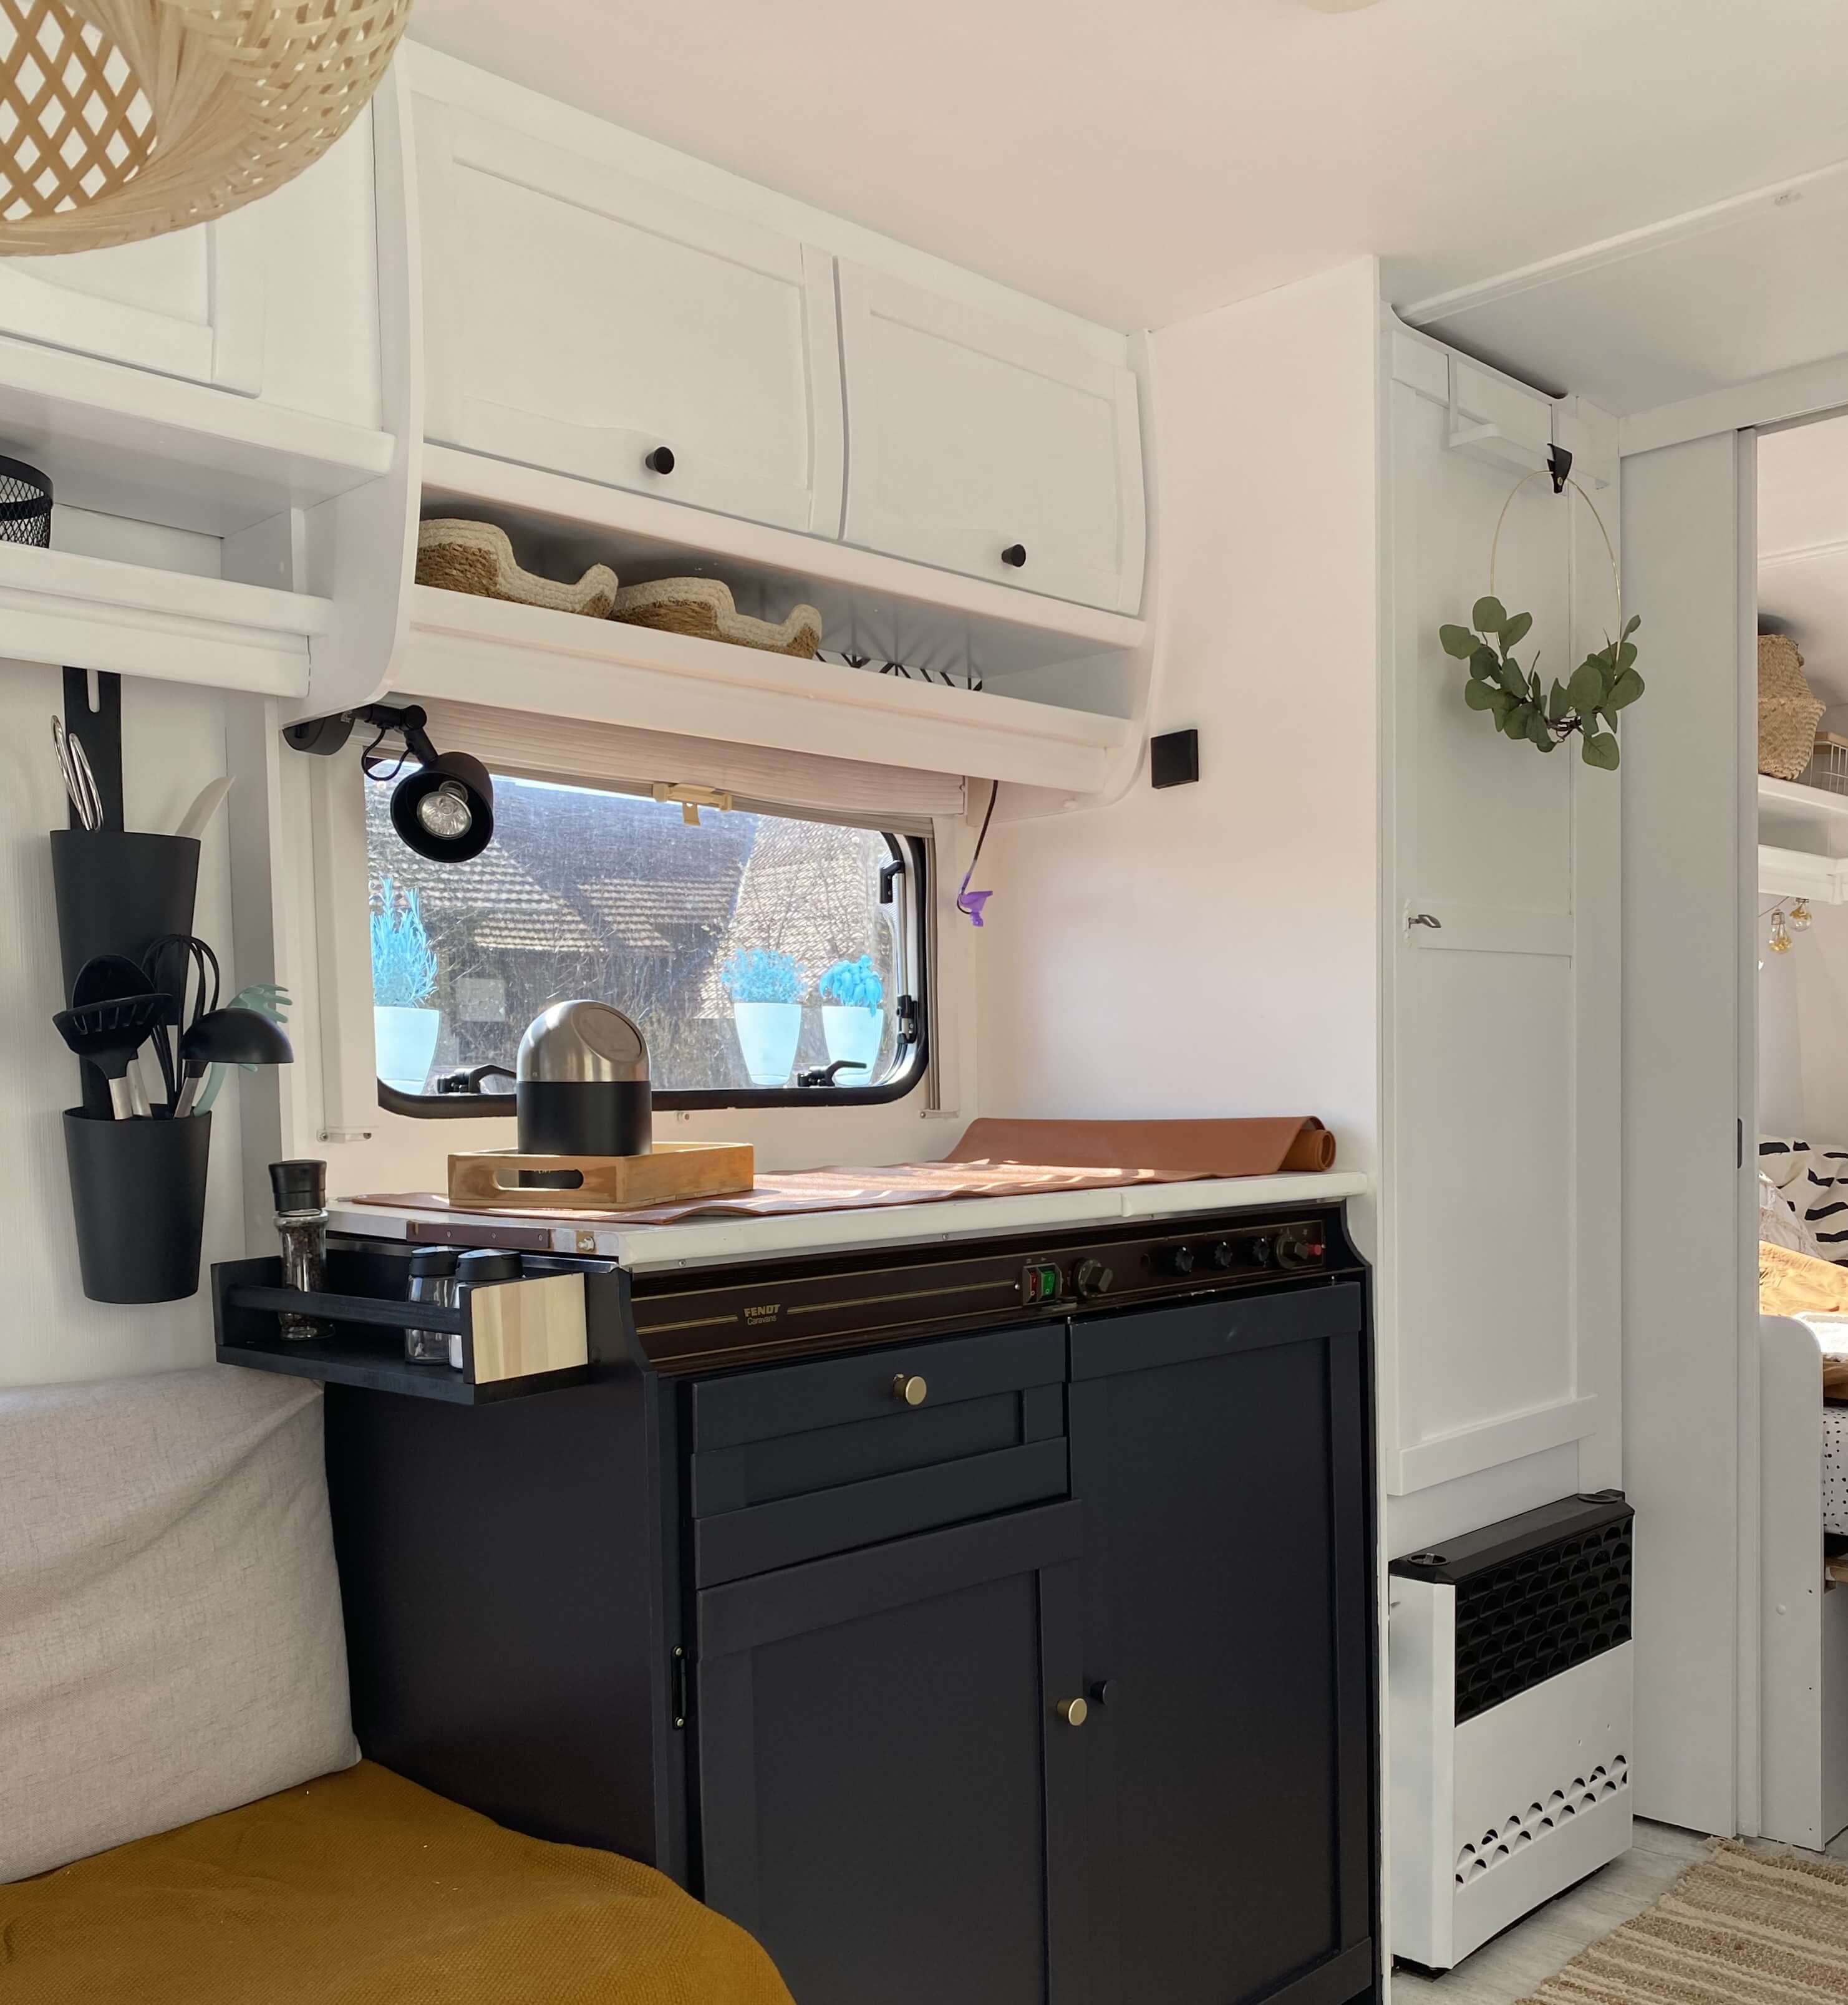
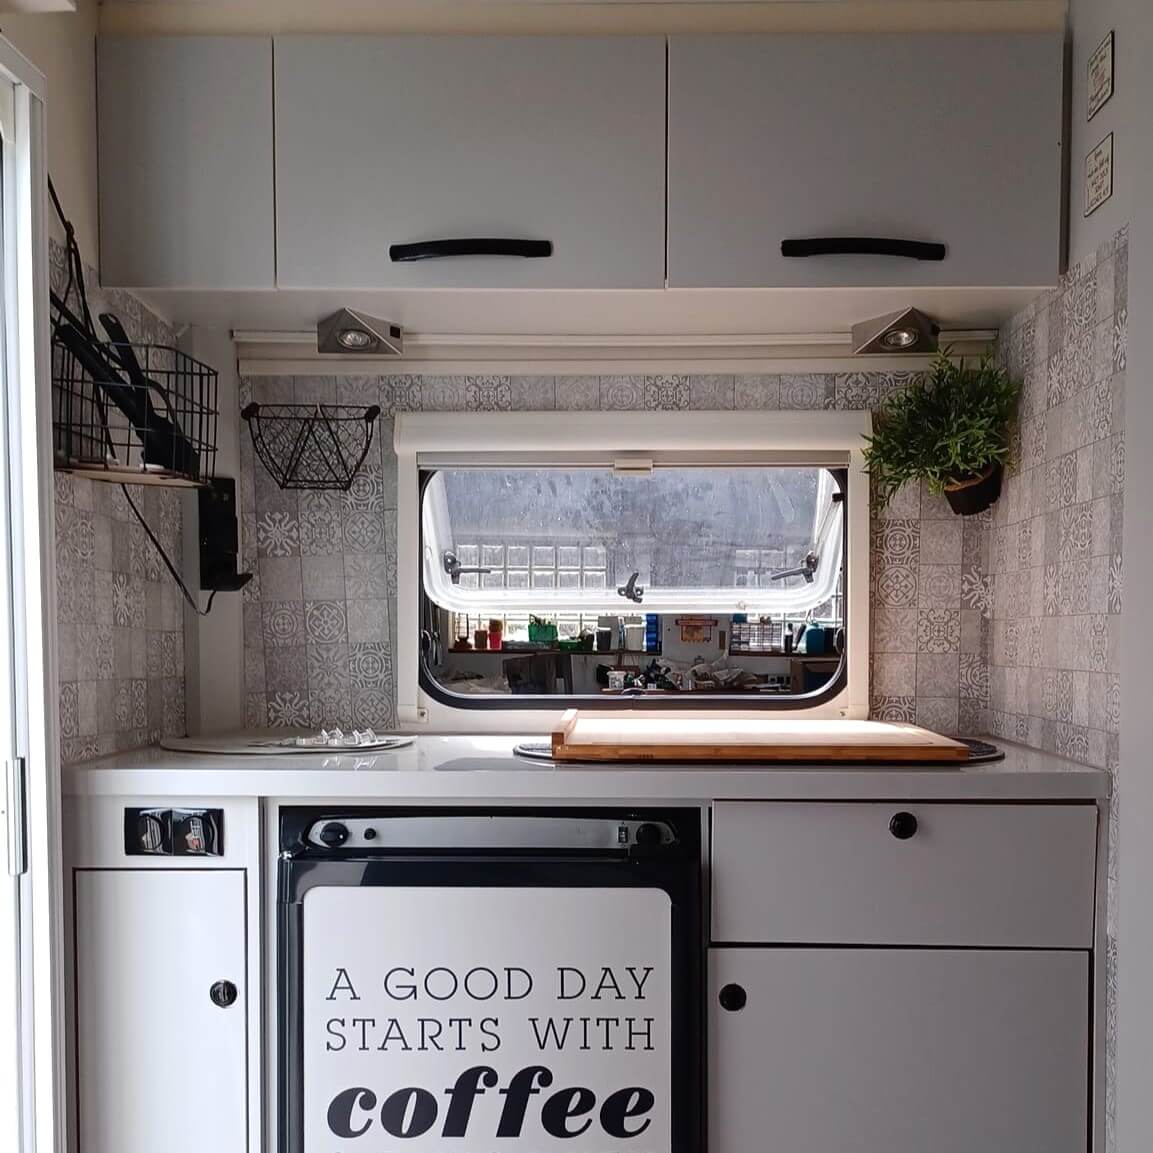
If you want to renovate your caravan and give it a new look, you'll find the best and easiest tips and tricks here.
Paint the inside of the caravan or paint it with chalk paint?
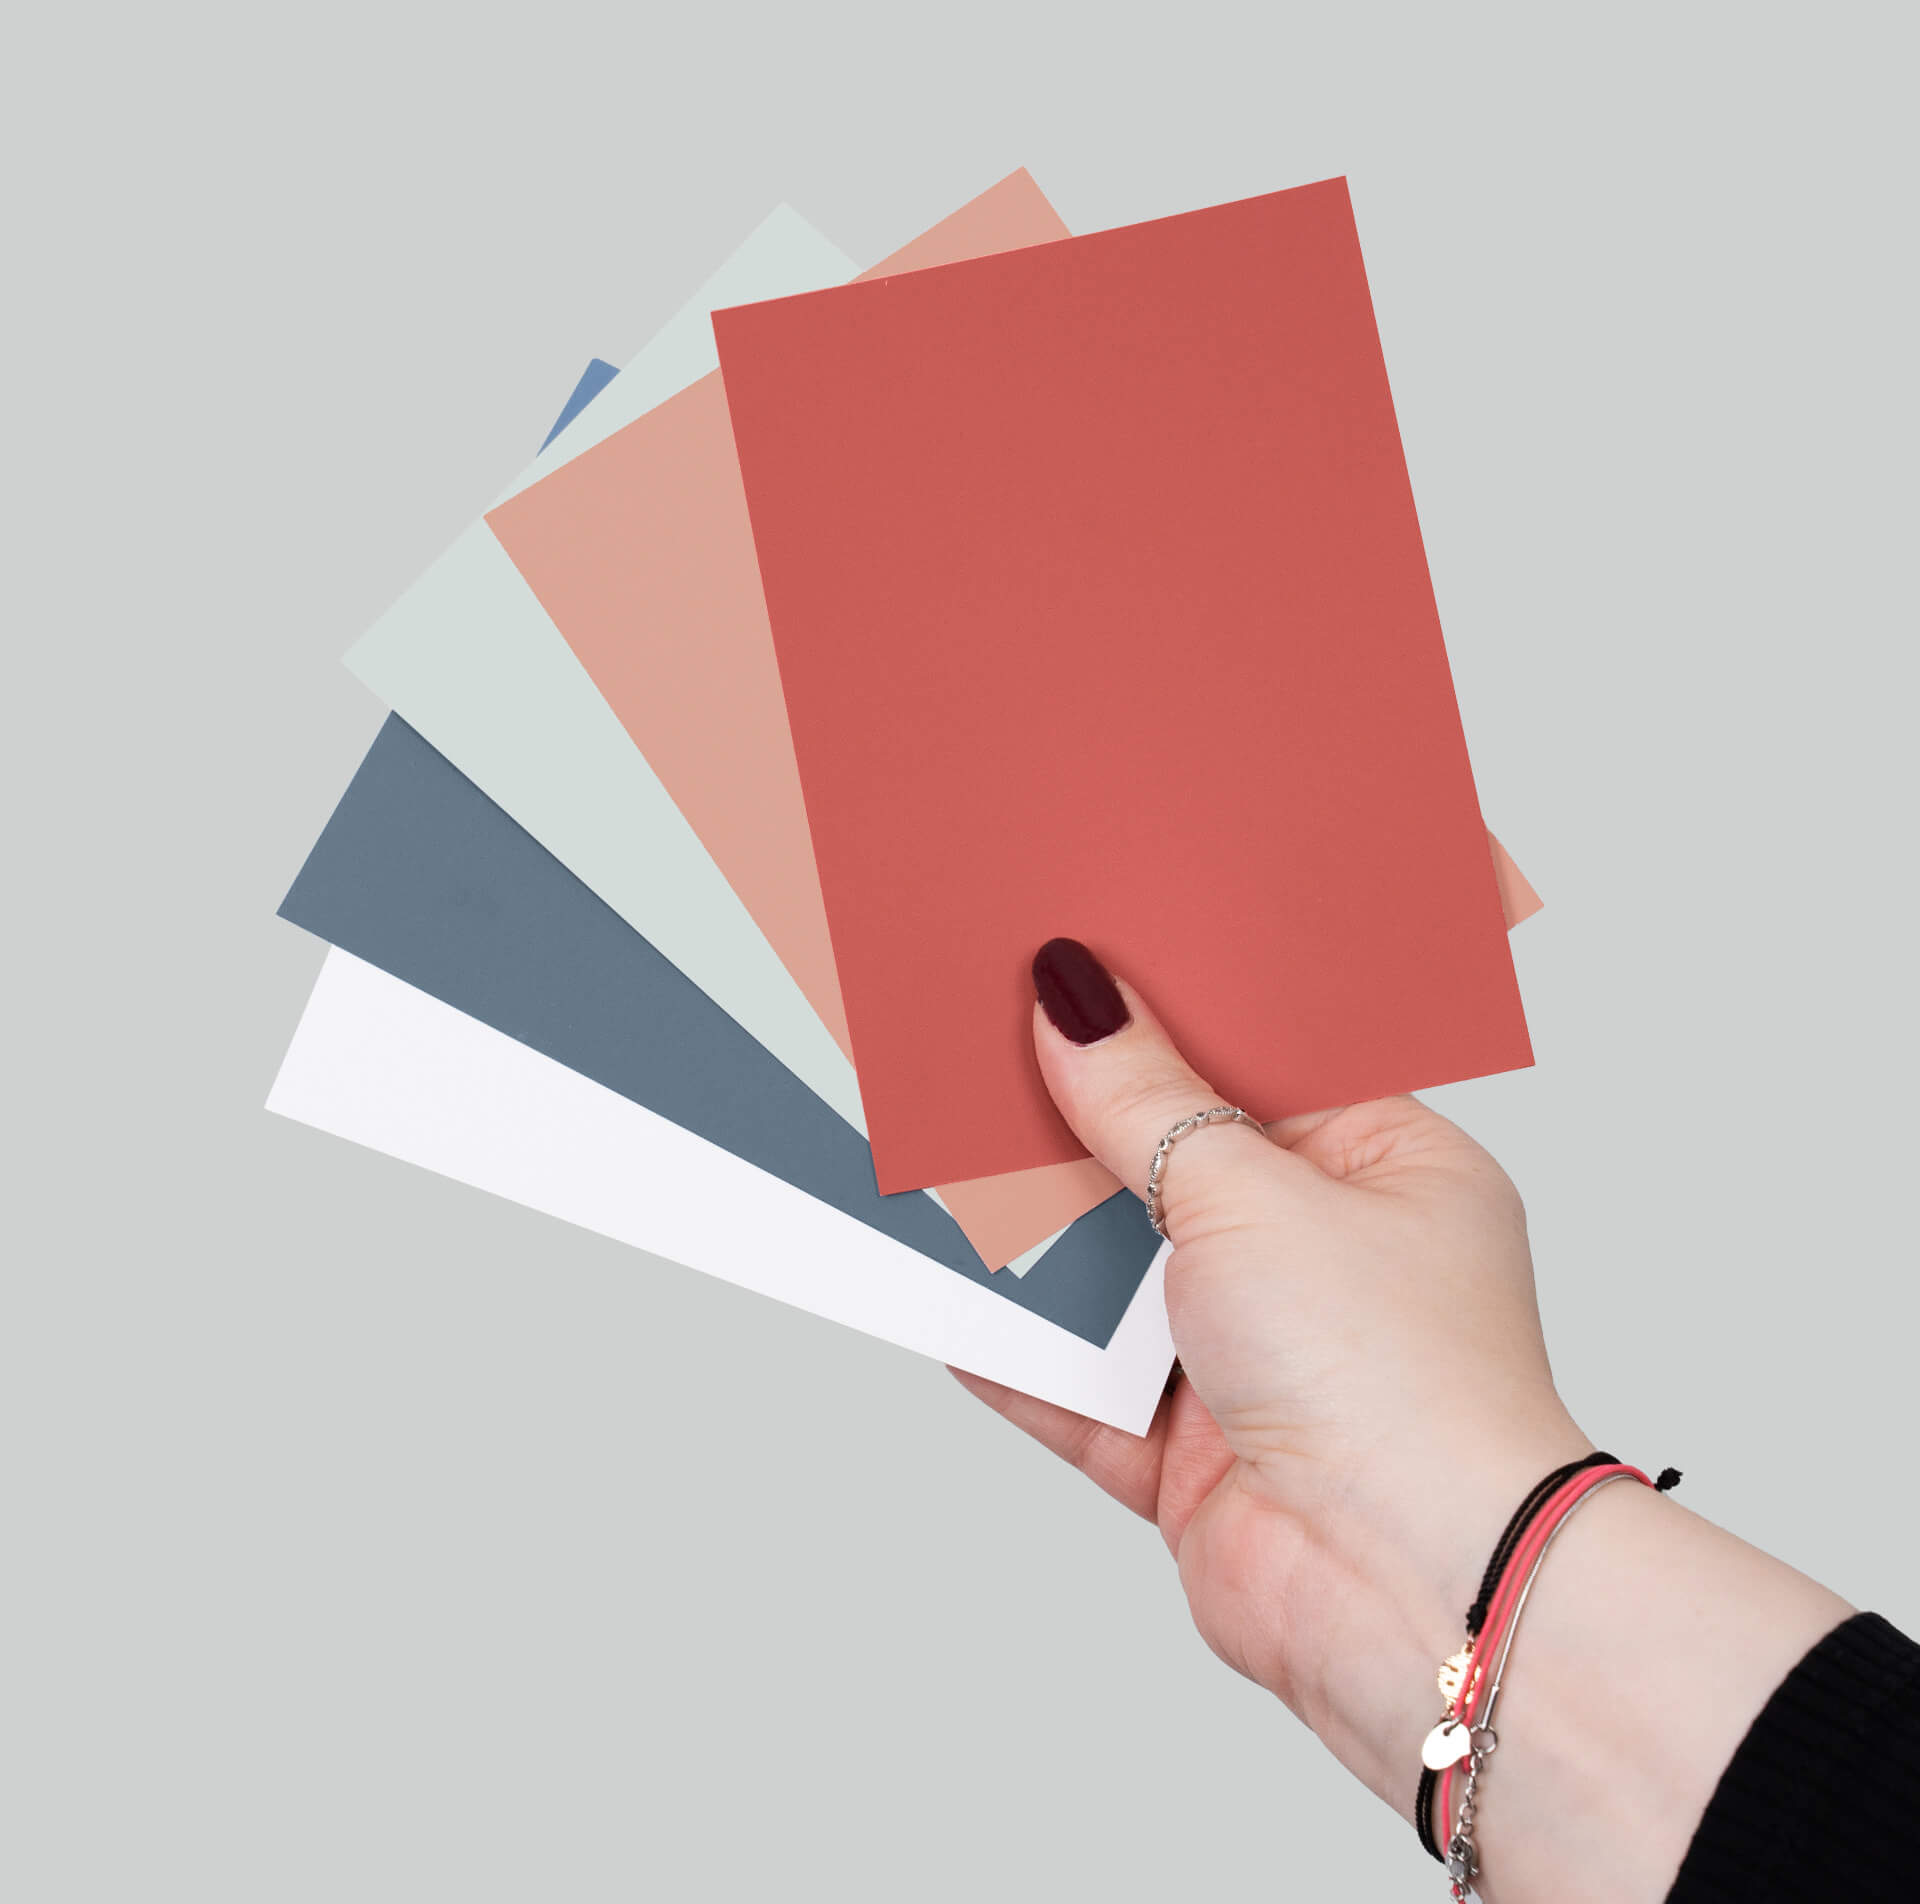
You want to renovate your camper, but the choice of colours is causing you agony? Find out about the advantages of our varnishes and chalk paints here. Just choose the colour that best suits you and your needs!
These are the advantages of varnish
But if you paint the surfaces with varnish, you can be sure of a beautiful result with just a few tools. Our narrow brushes, especially the narrow angled brush, can easily get into every corner. In some cases, you can even do withoutmasking.

Instructions: How to paint the interior of your camper van
DIY: Painting the inside of a caravan with varnishesn and chalk paints
Our step-by-step guide will answer all your questions! Find out how to paint your caravan effectively and durably.
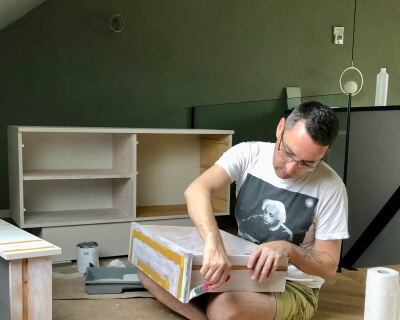
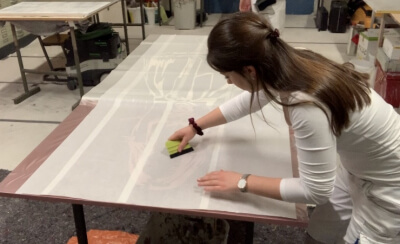
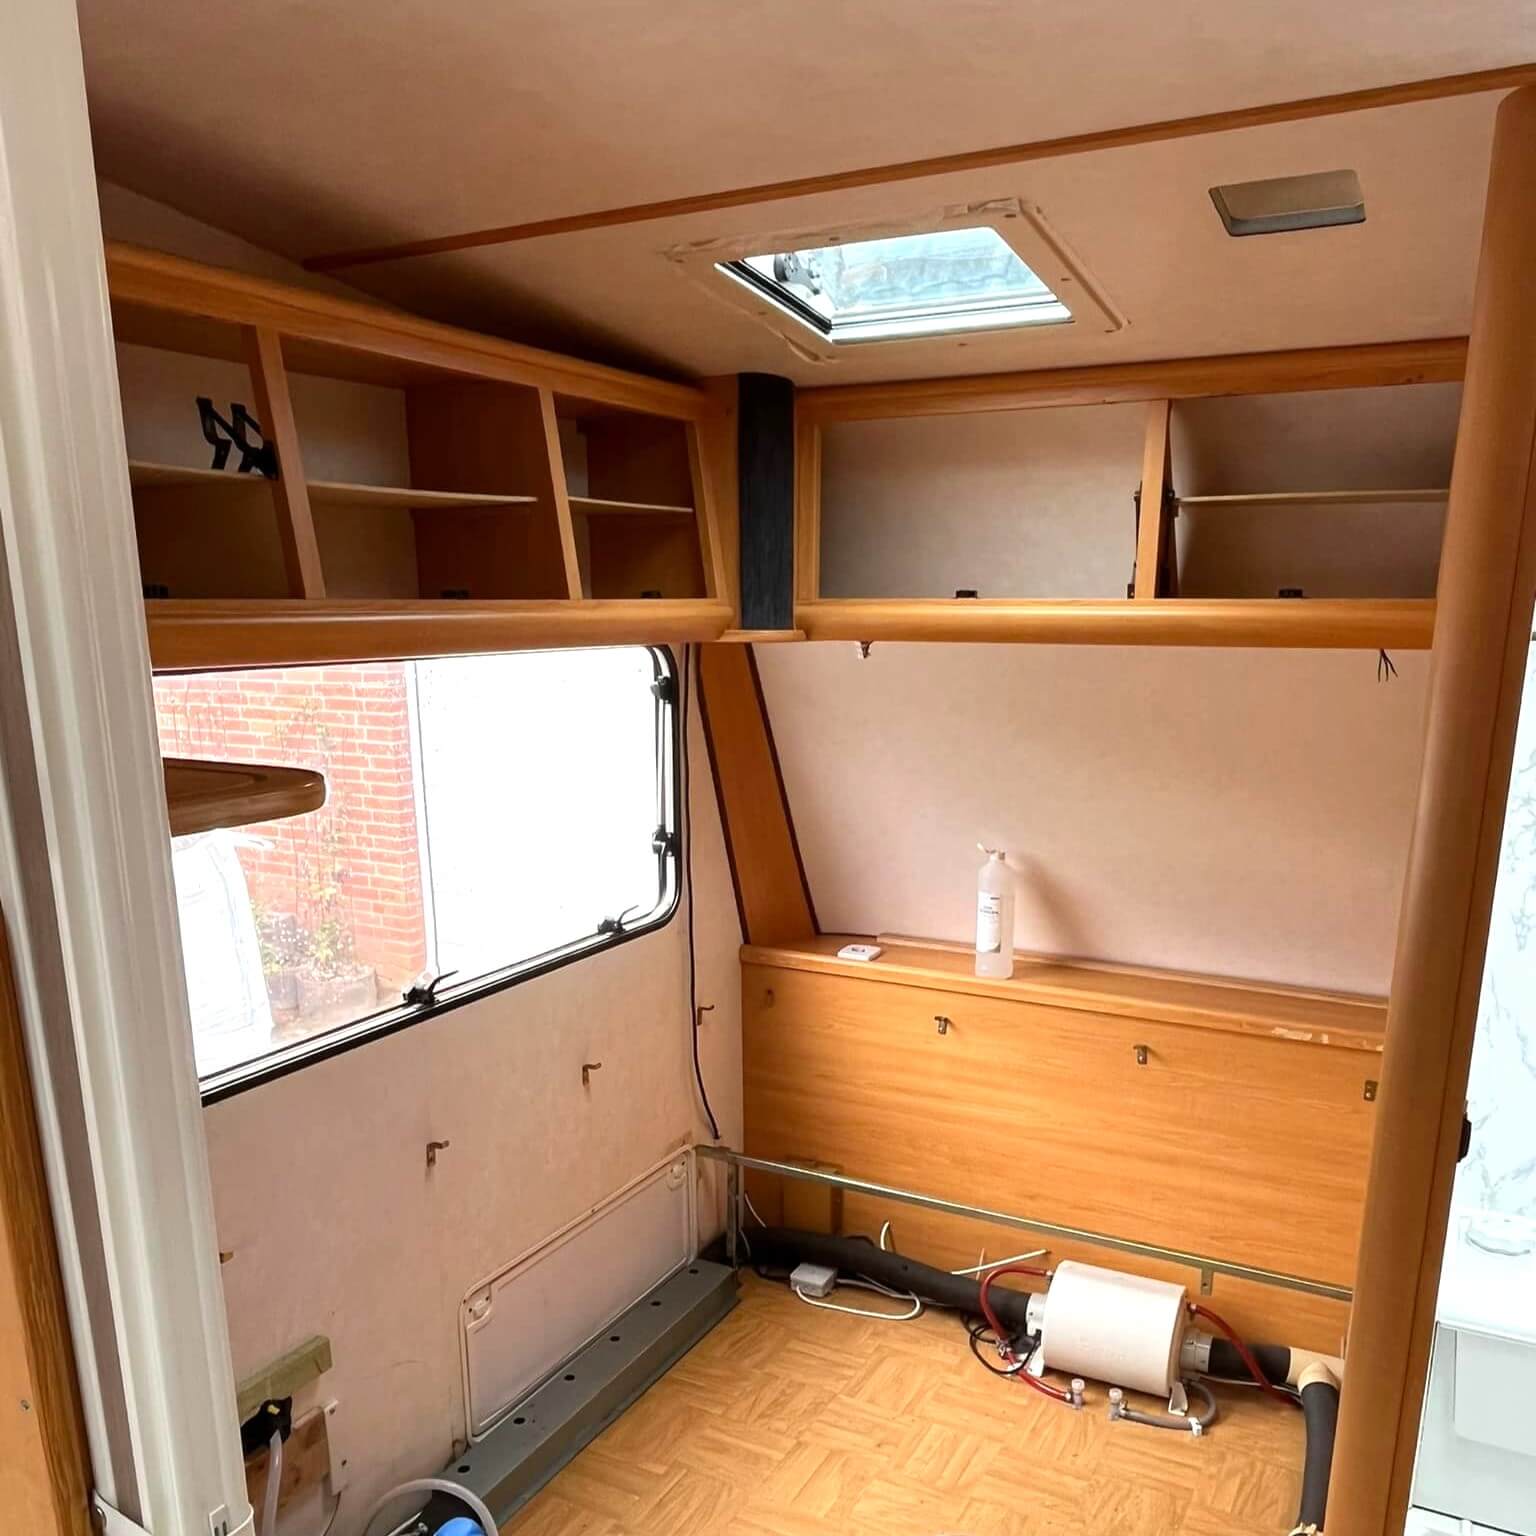
Step 1: Dismantling and masking
Preparing your project is just as important as the renovation itself. Firstly, remove all the doors from your furniture that you want to paint. The same applies to all small parts that you can dismantle. Simply tape and cover any areas that you don't want to paint and can't remove.Step 2: Cleaning
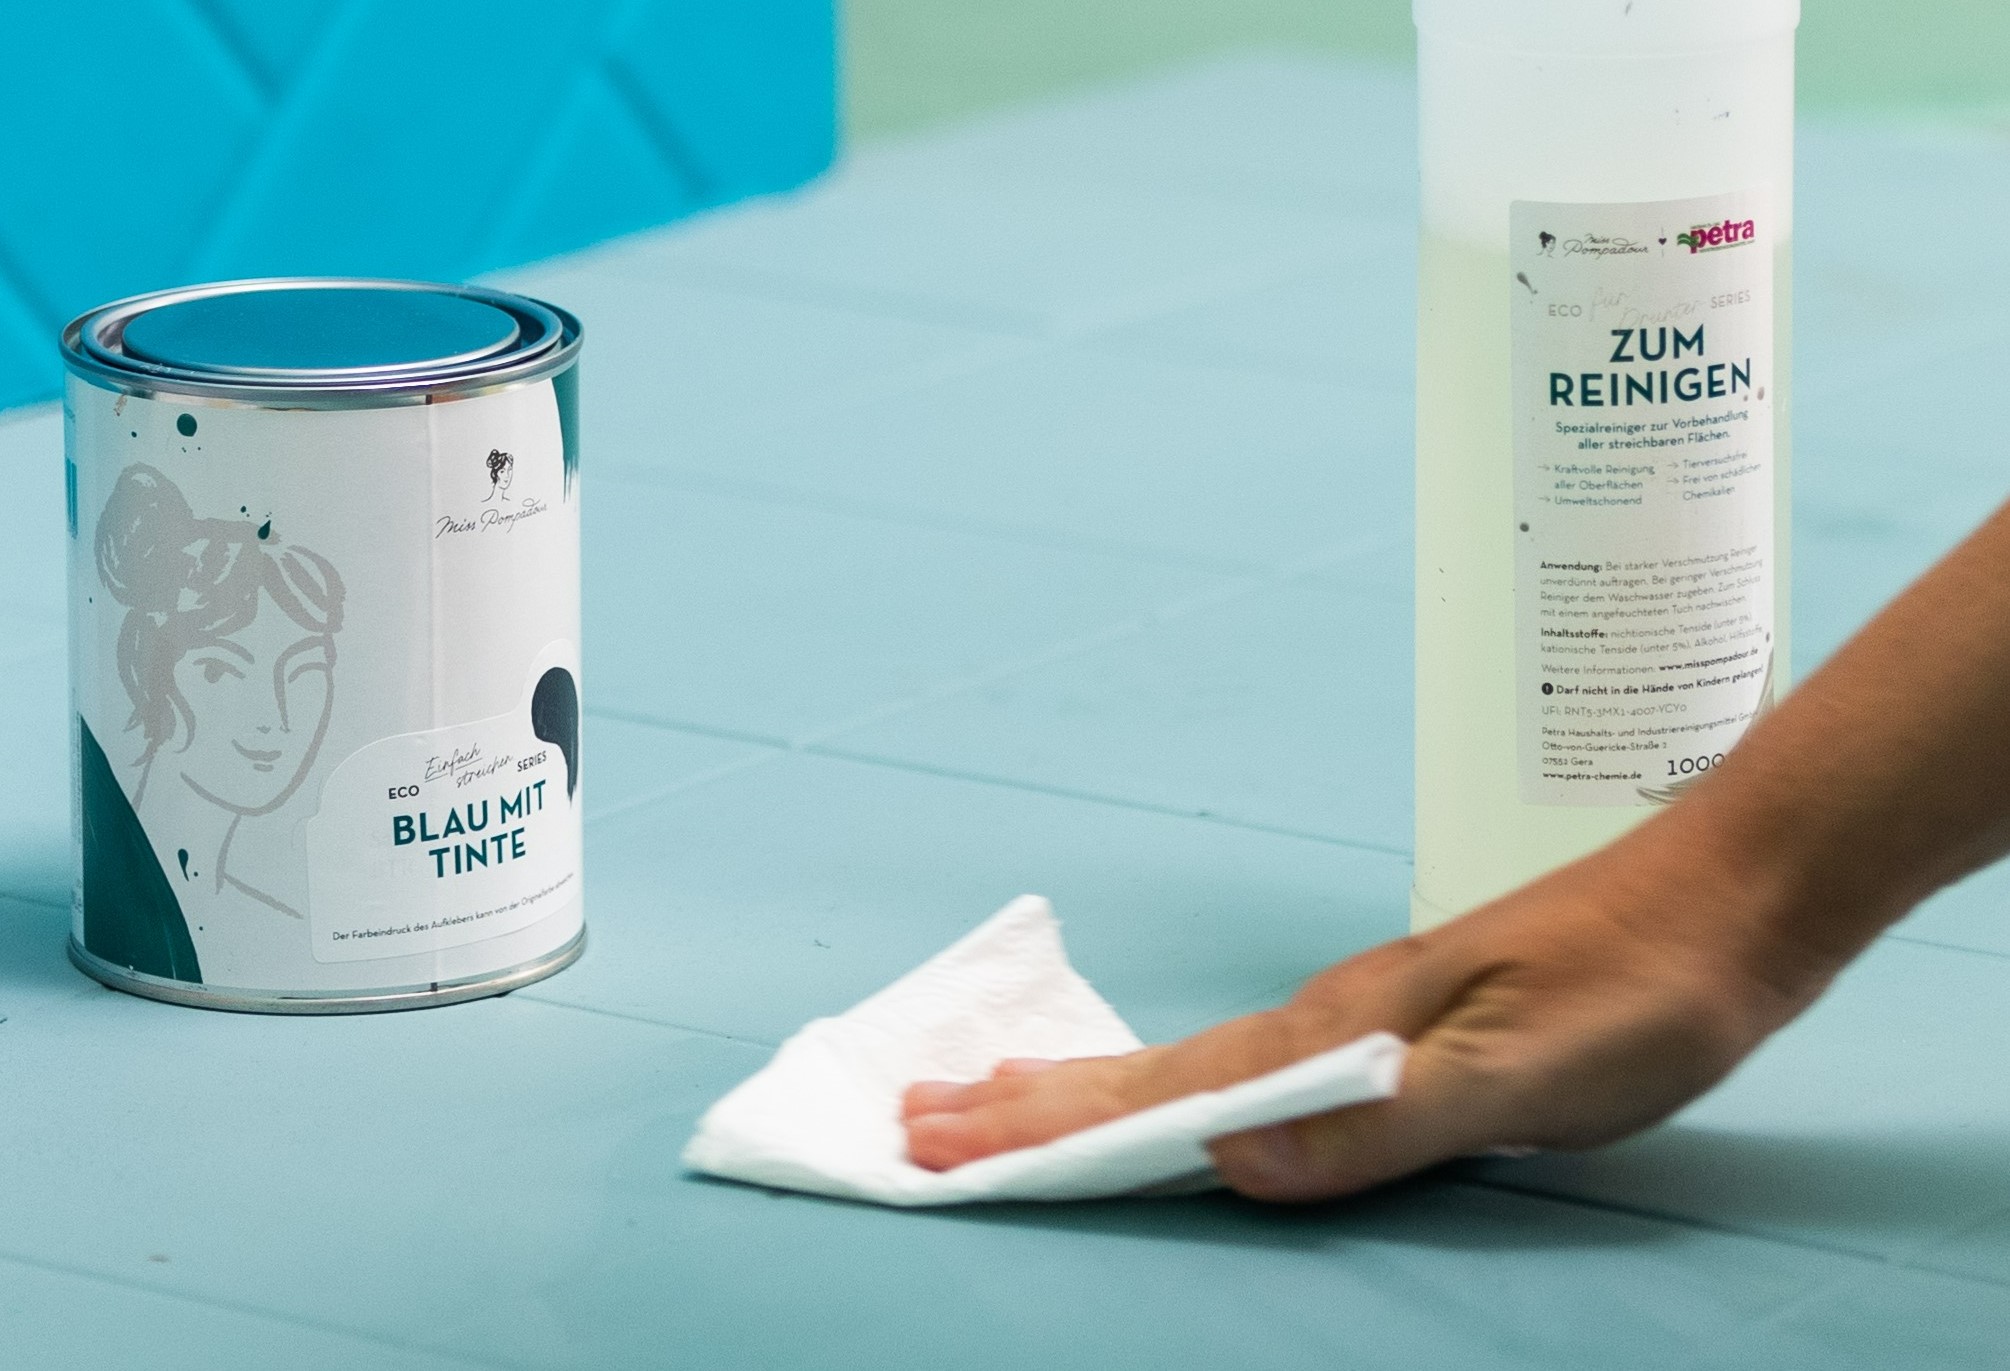
Now clean all surfaces to be painted, as they must be free of dust and grease before painting. Use our To Clean for this, as you can also use it for the painted furniture and other areas in your caravan.Step 3: Priming surfaces
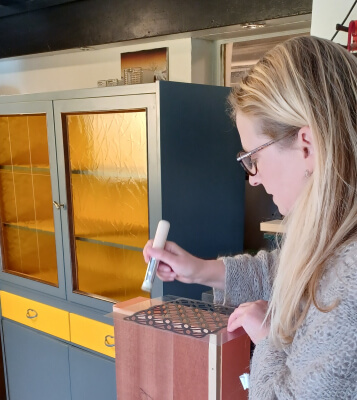
If your surfaces are laminated or veneered, it is worth priming them for better adhesion. MissPompadour To Bond & Block is the perfect product forboth your plastic surfaces and veneer . This insulating primer prevents substances from bleeding out of the wood into the colour and at the same time ensures optimum adhesion. Allow this coat to dry for around 3 - 8 hours, depending on the surface.Step 4: Paint the colour
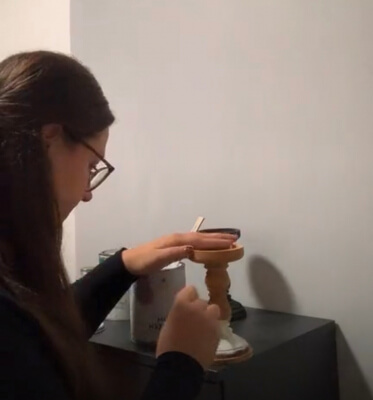
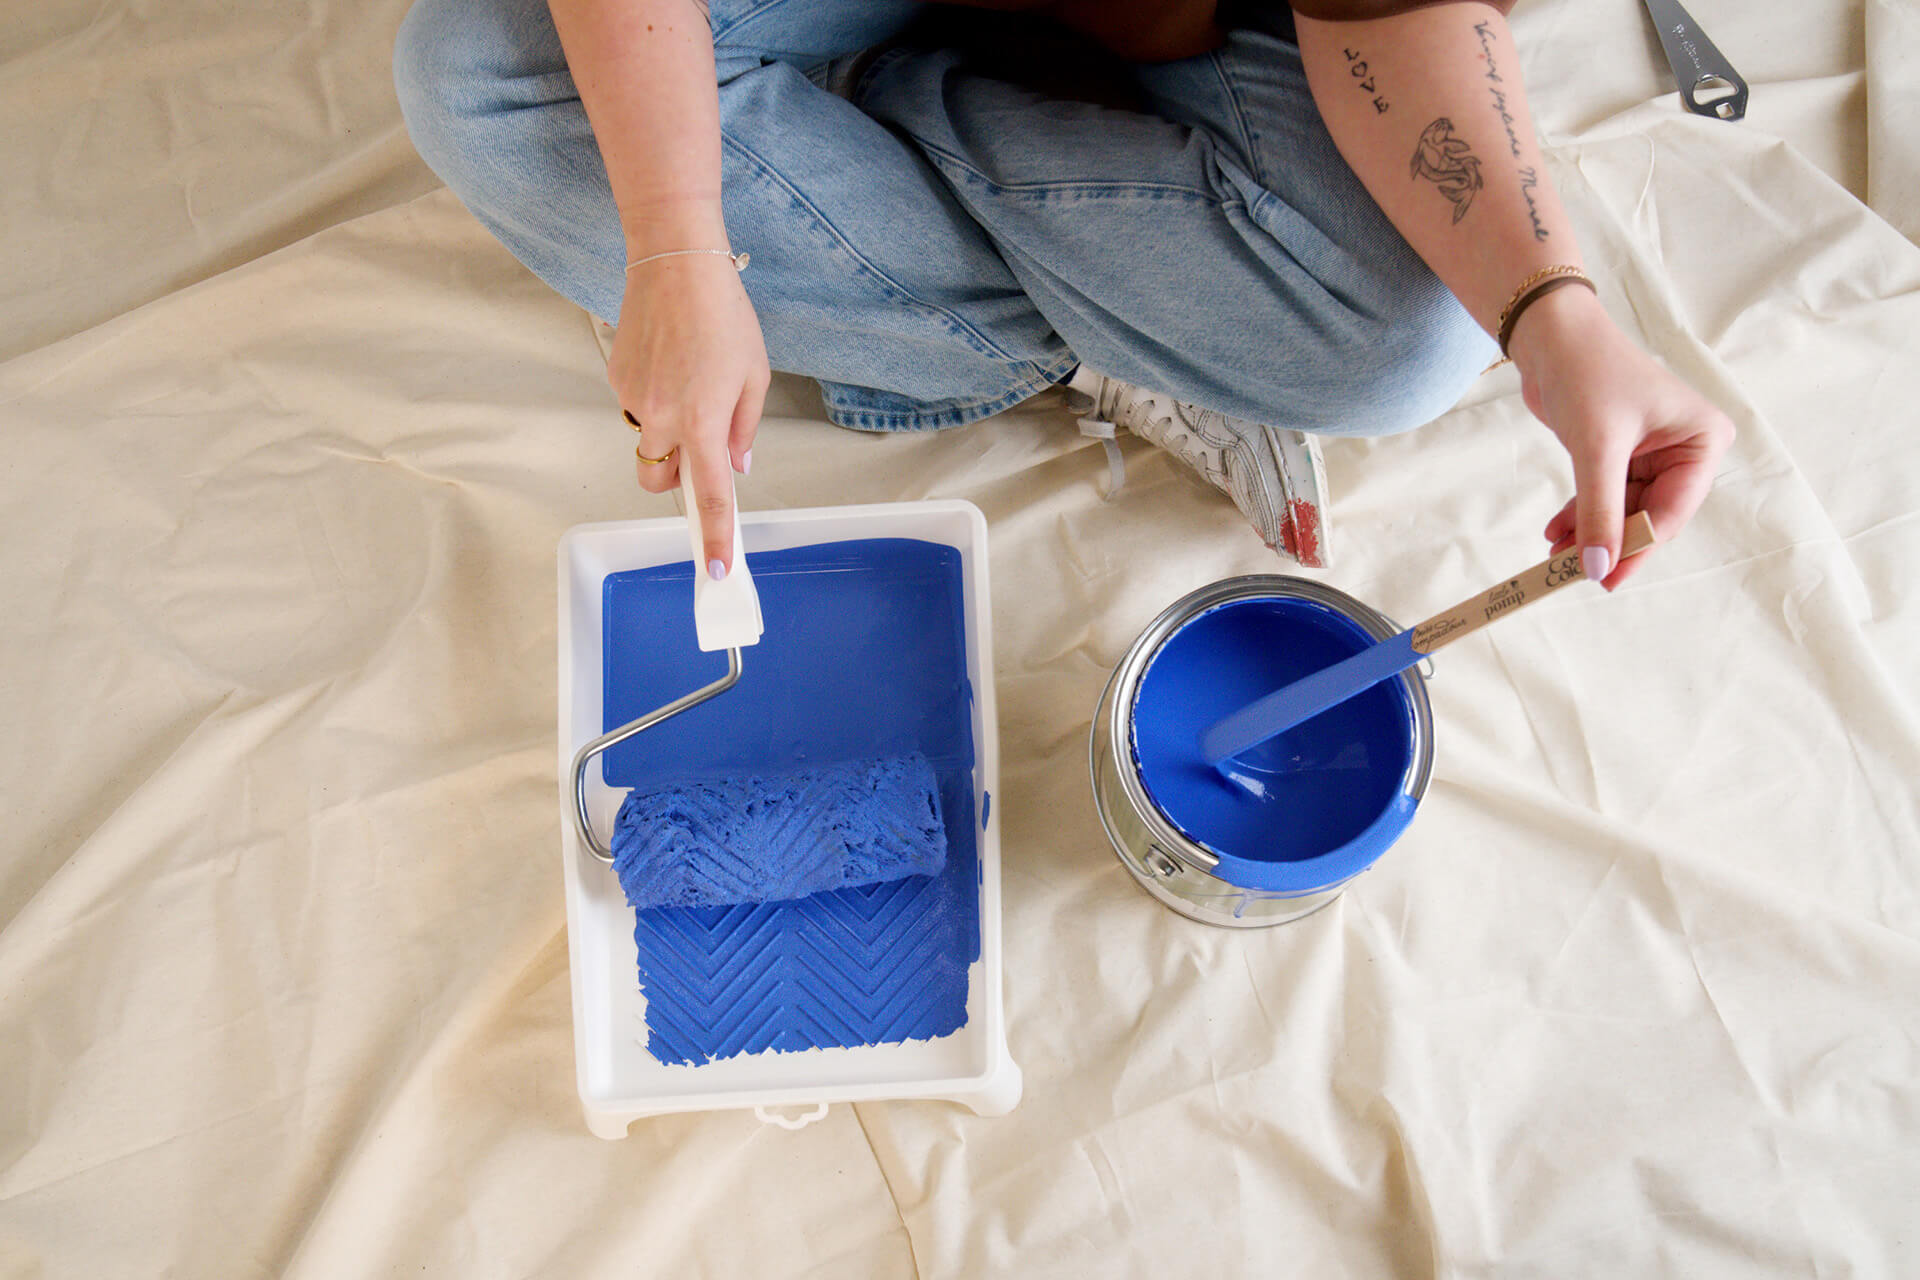
Now the big moment has arrived: it's time for your coat of paint. Varnish best with a varnish roller or brush. Our MissPompadour To Paint brushes are perfect for corners and small areas in particular. They allow you to paint corners without having to mask them.Give the varnish 4 - 6 hours to dry after each coat. You can then apply another coat of paint.
Don't be fooled by the first coat - after 2-3 more coats and curing, you will get a perfect result that is guaranteed to delight you.
Step 5: Sealing
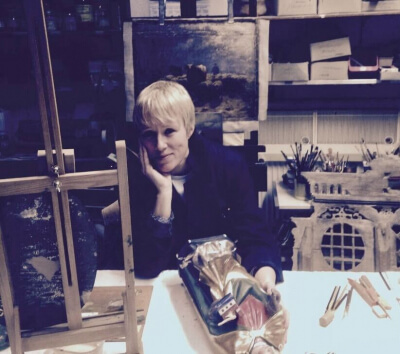
An additional topcoat is particularly useful in motorhomes. In confined spaces, it can happen that you hit the painted surface with a pan or an edge. Protect your new coat of paint with MissPompadour To Seal.Video: Project camper van paint: MissPompadour Suitcase Camera - Susan paints her new motorhome!
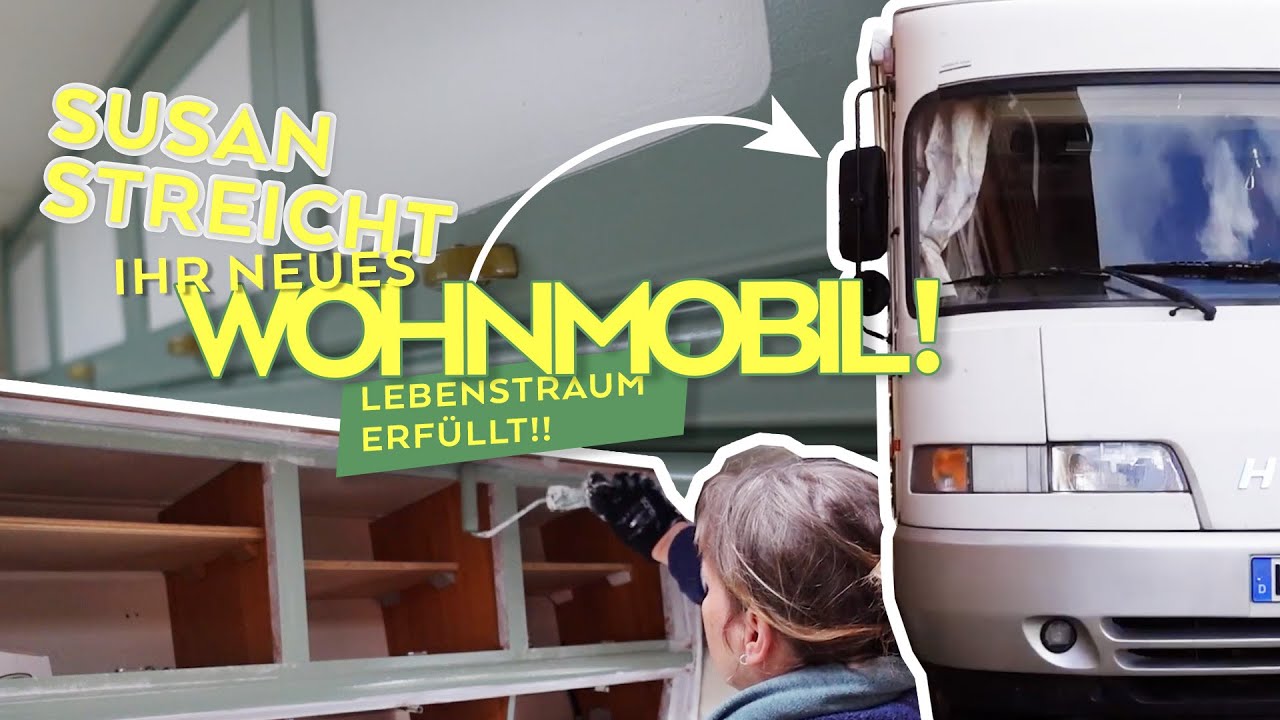
Project Paint Motorhome: MissPompadour Suitcase Camera - Susan paints her new motorhome!
FAQ: Frequently asked questions about motorhome renovation
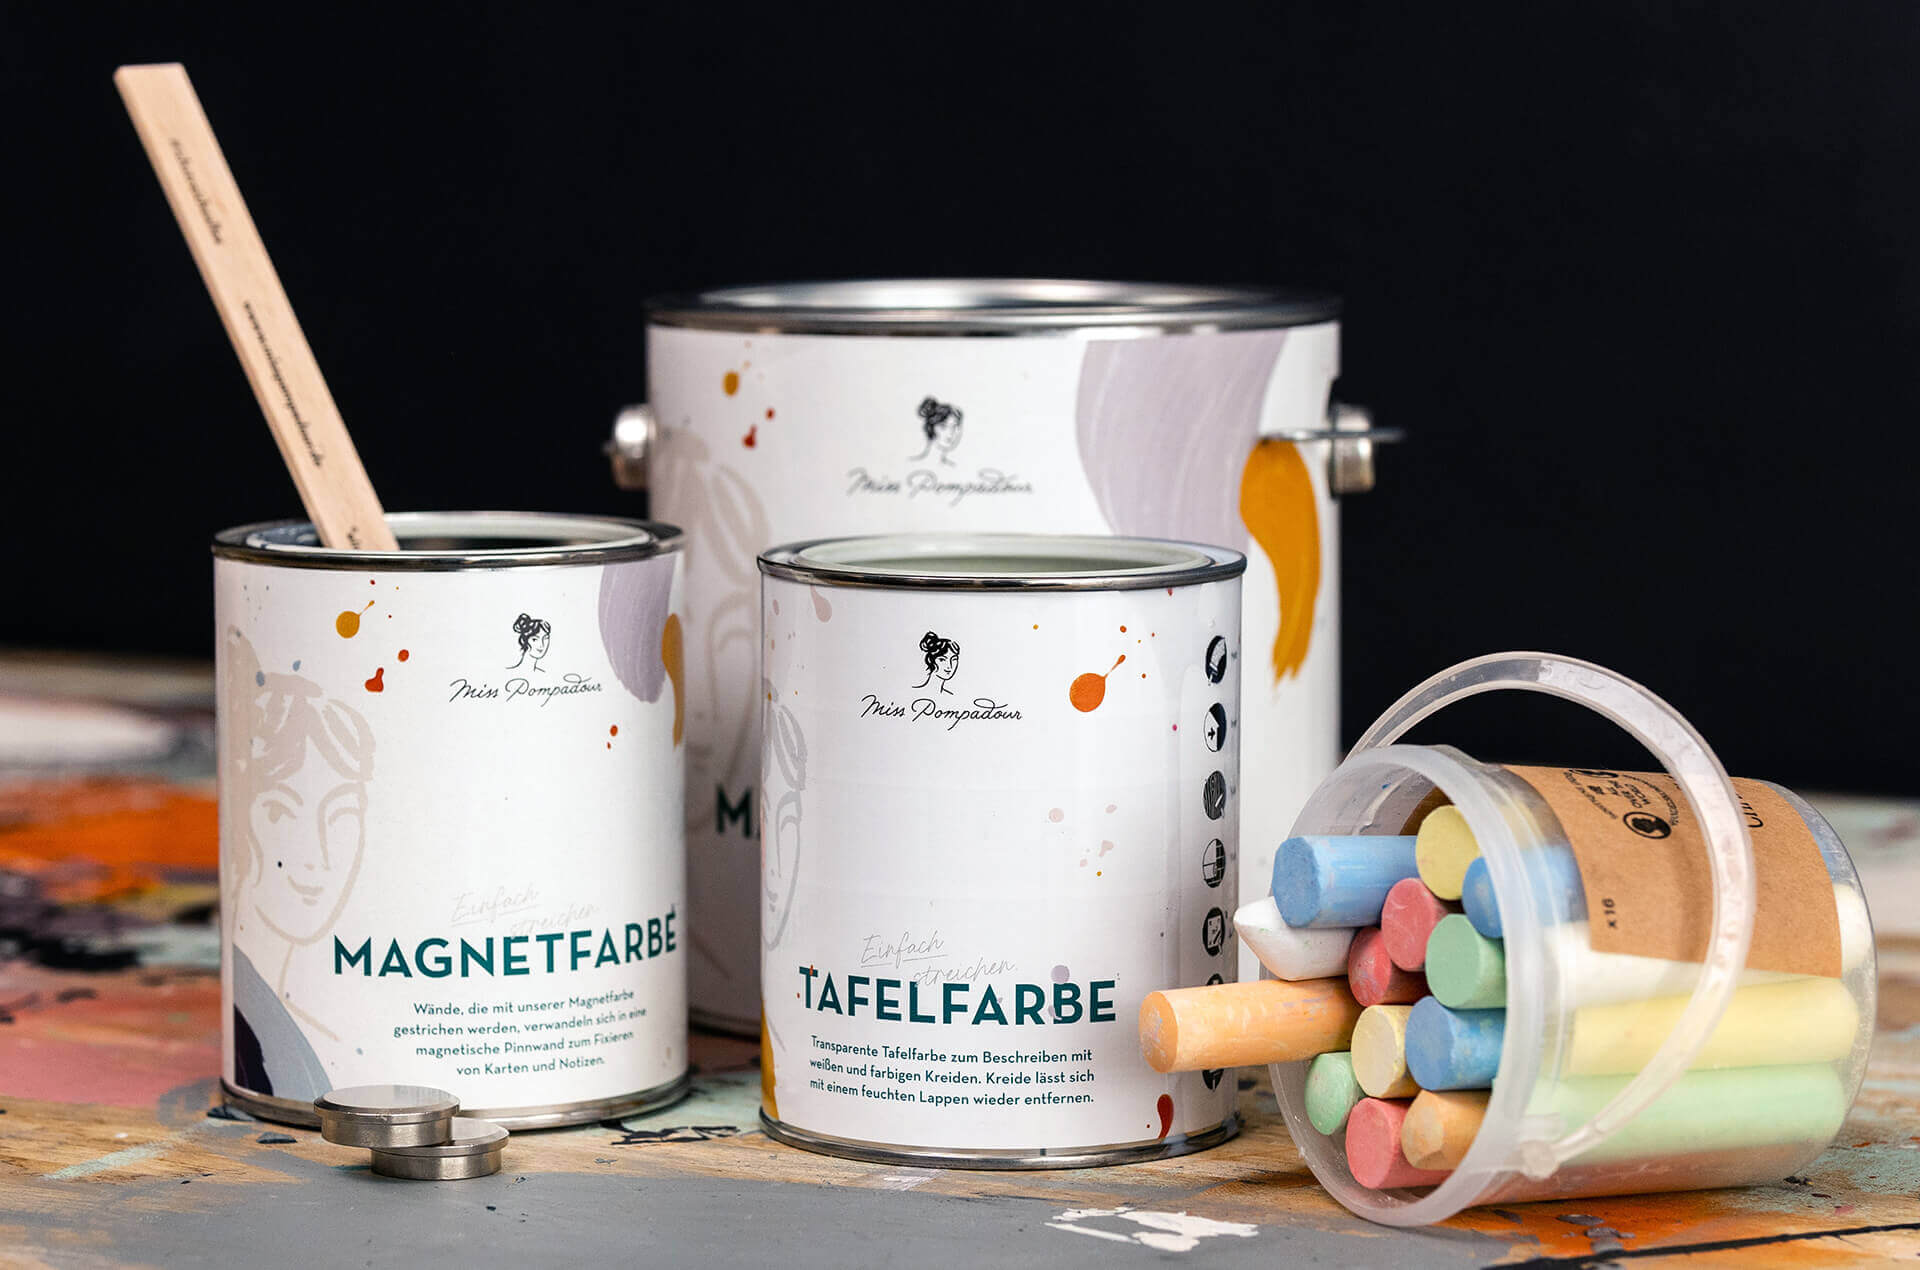
What other colours are suitable for painting the inside of motorhomes?
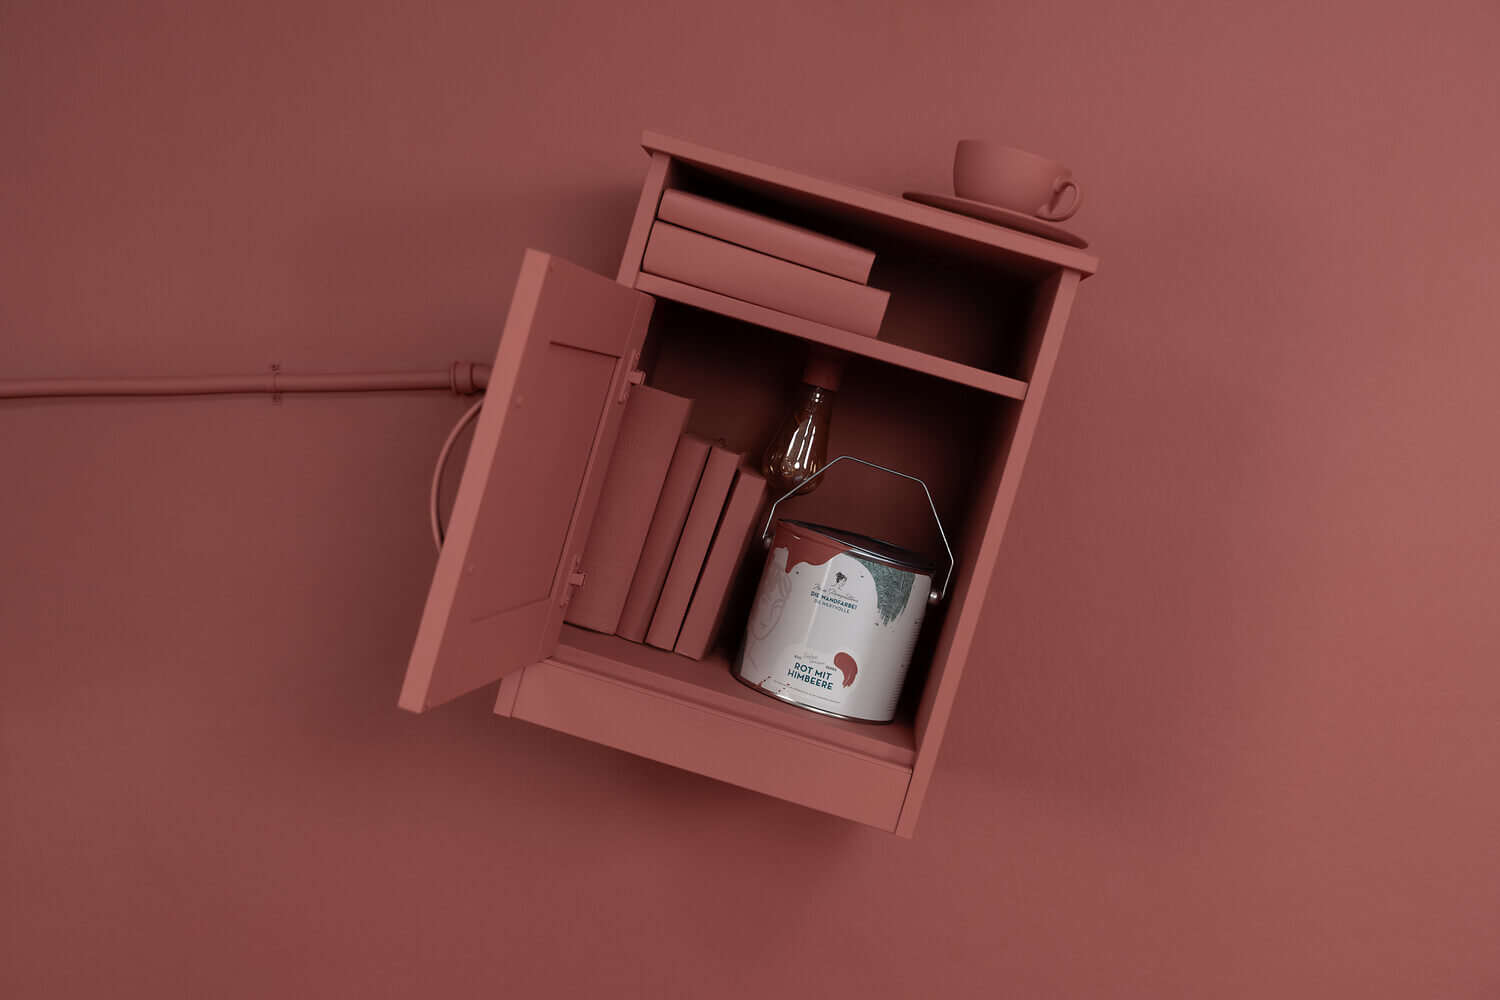
We recommend our chalk varnishes, as well as our sustainable varnishes and colours. You can start using them right after cleaning.
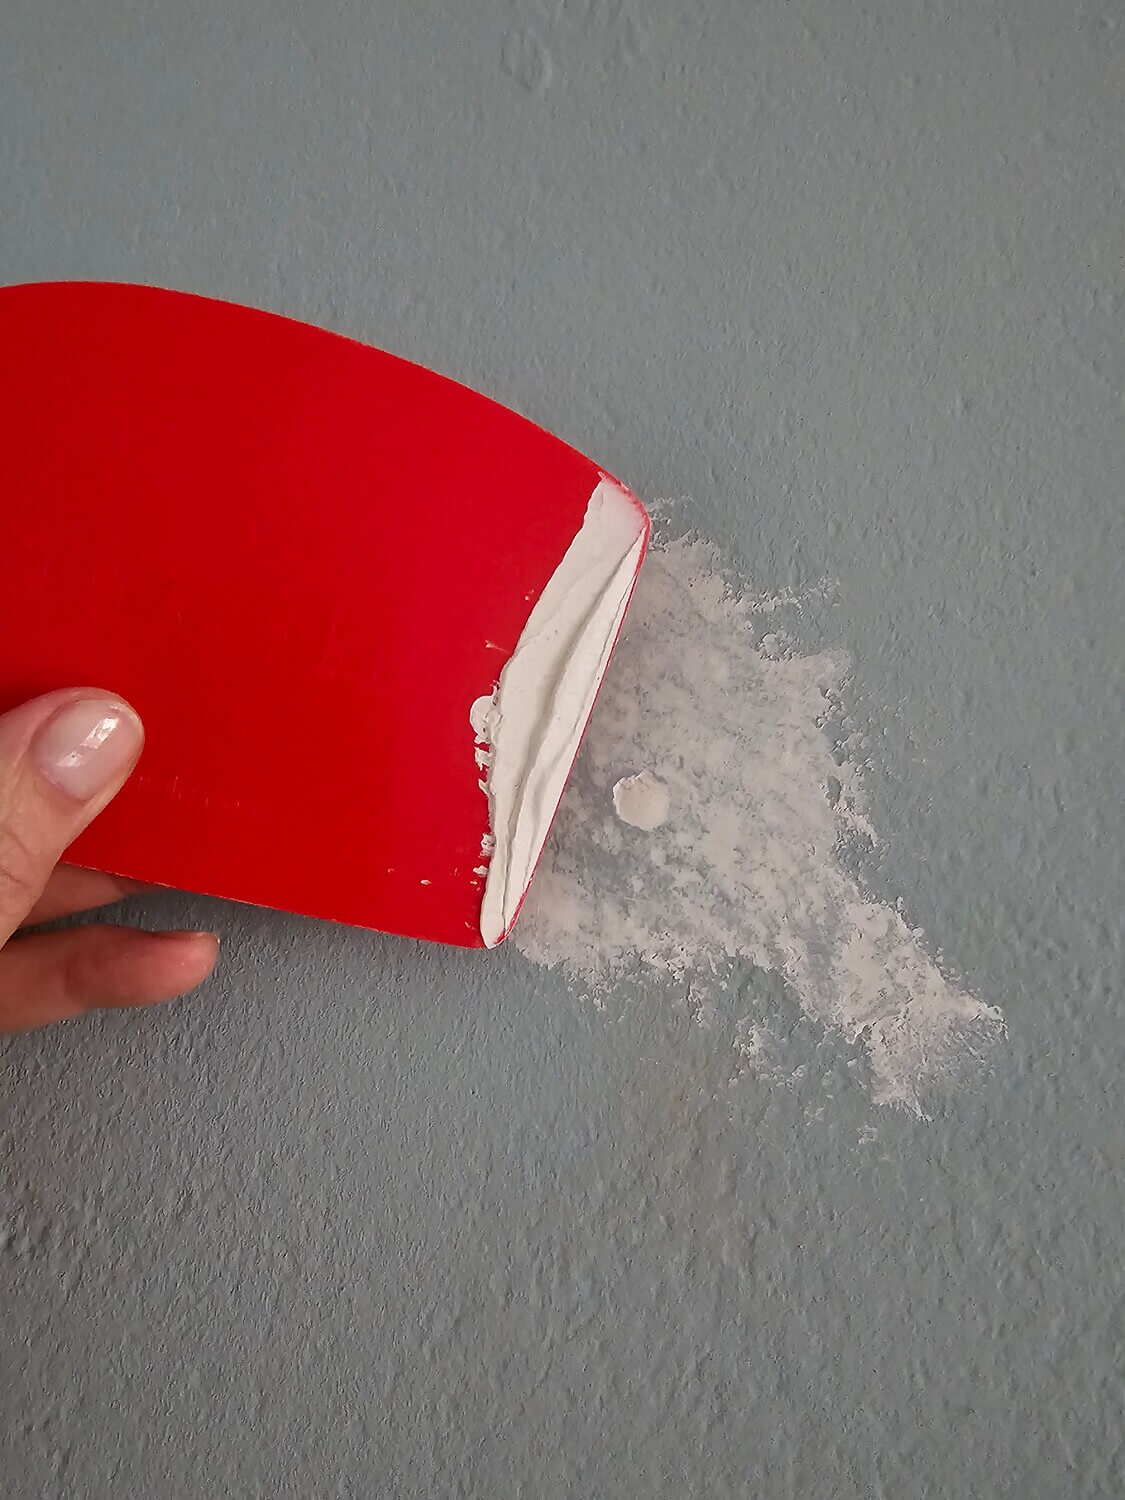
Can I paint the inside of my caravan without sanding beforehand?
With our paints, you do not have to sand smooth surfaces first. You only need to correct and remove any marks and stubborn dirt beforehand.
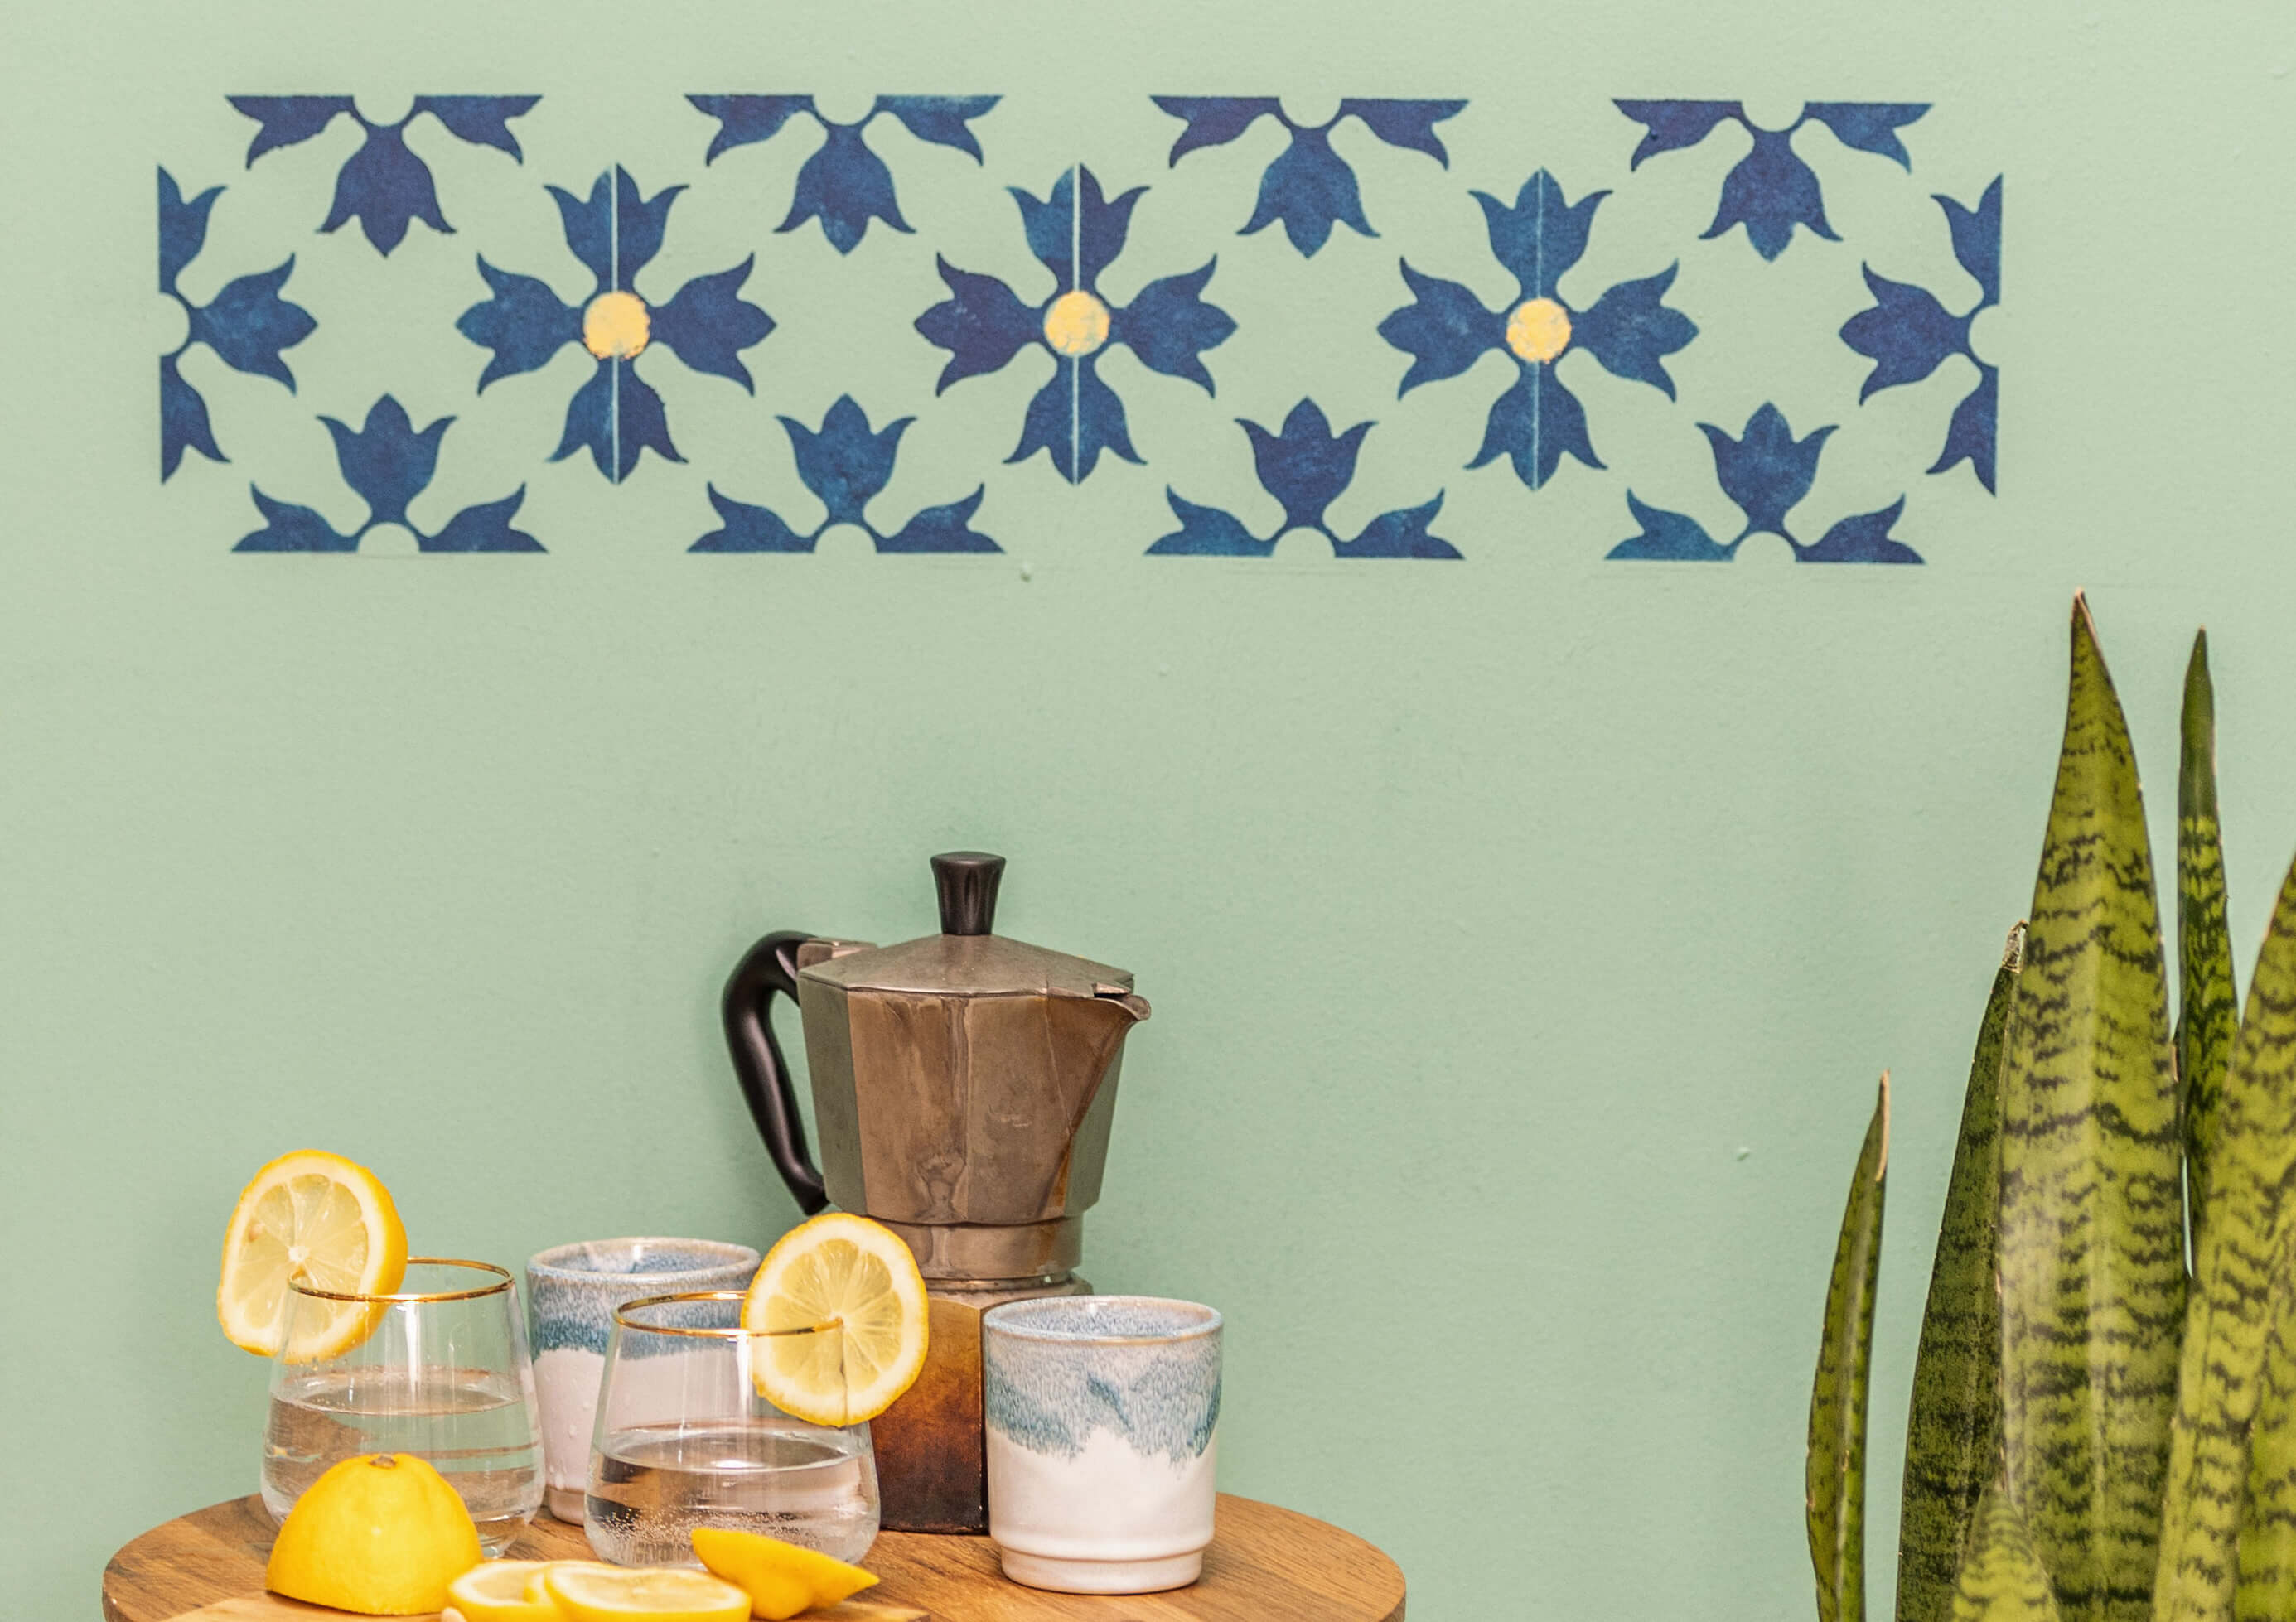
Can I also wallpaper and paint the inside of my caravan?
You can wallpaper the walls inside your motorhome before painting the furniture. Vinyl and non-woven wallpapersare best suited for this. Make sure that you use a stable adhesive for the wallpaper, because compared to a plastered wall, the wall in the caravan is very smooth.
All tips for making over the interior of your caravan at a glance
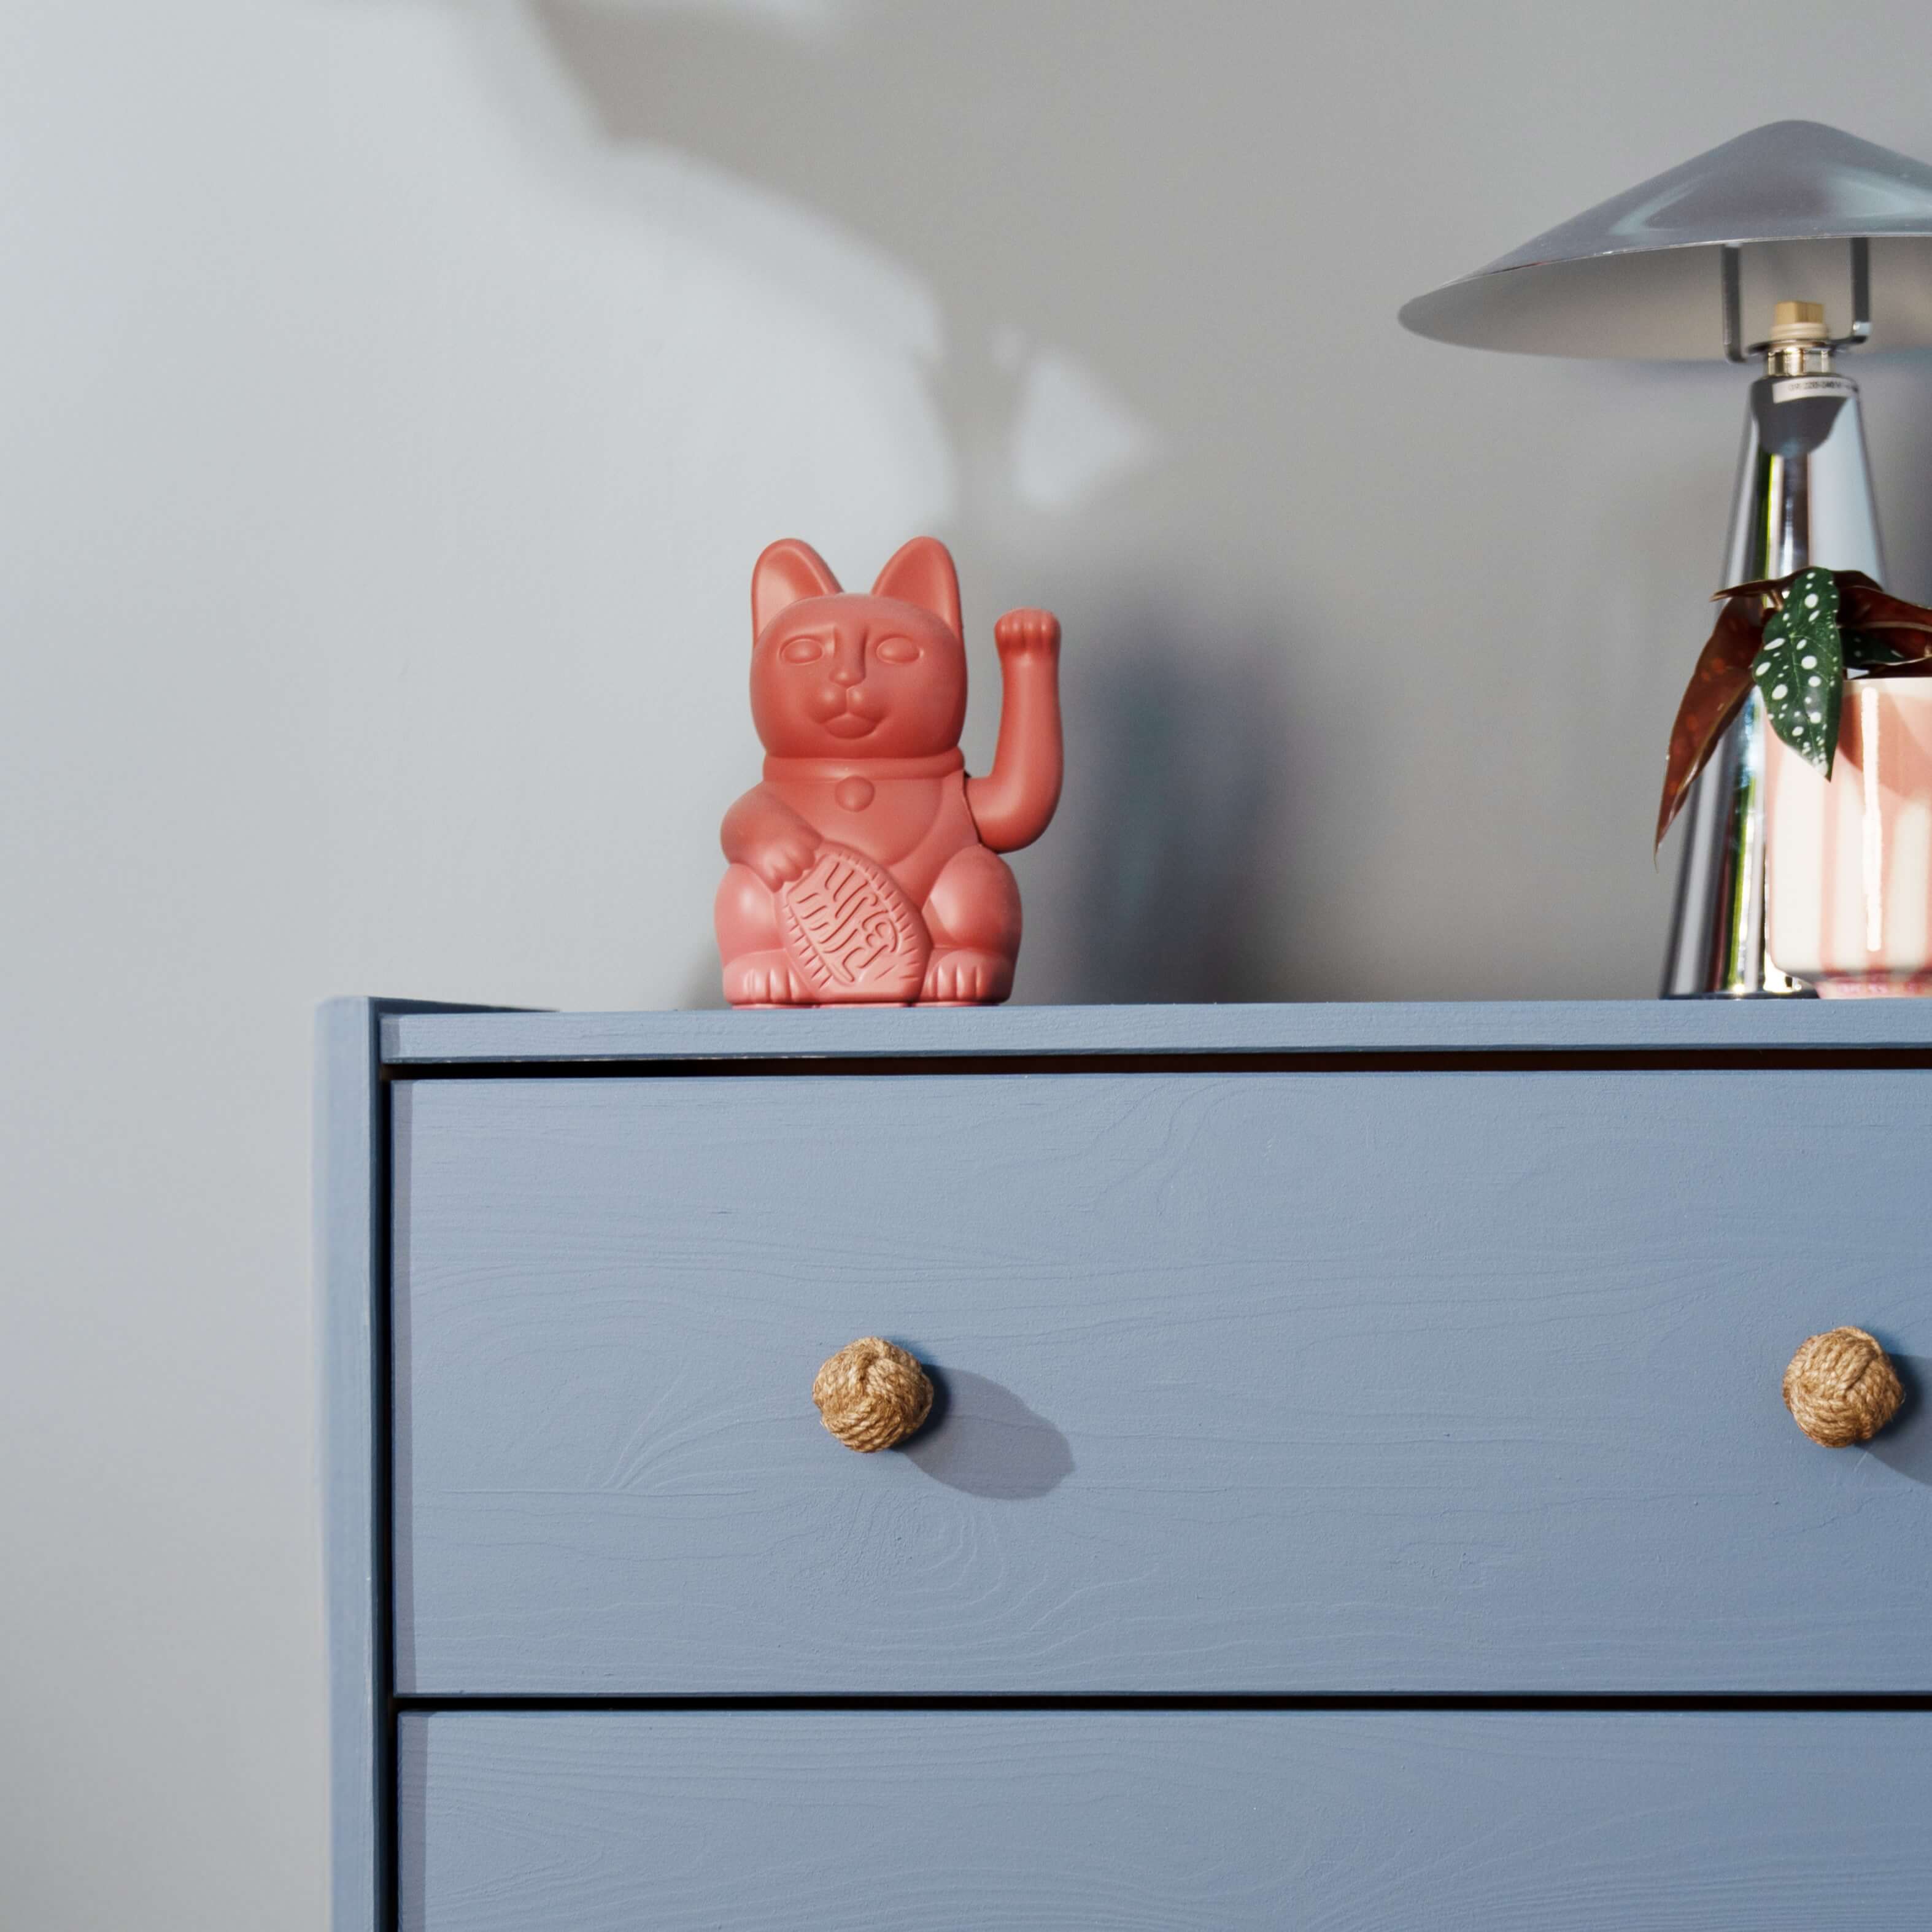
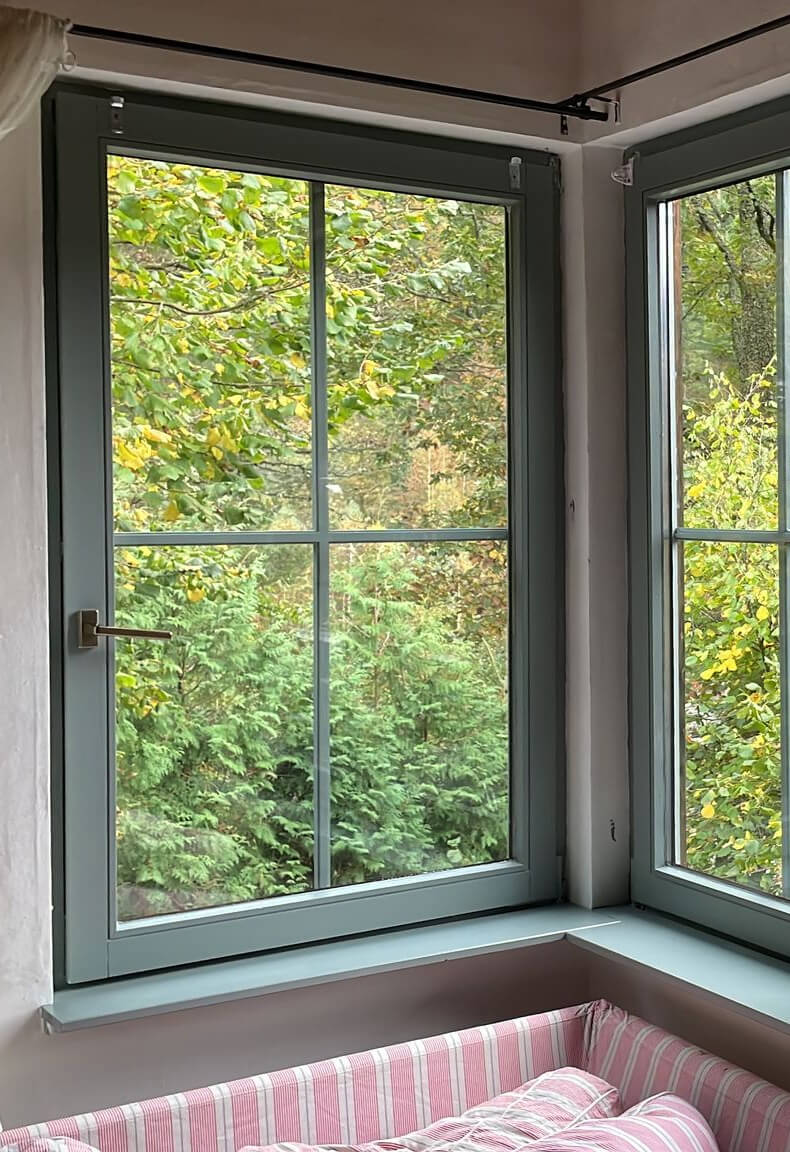
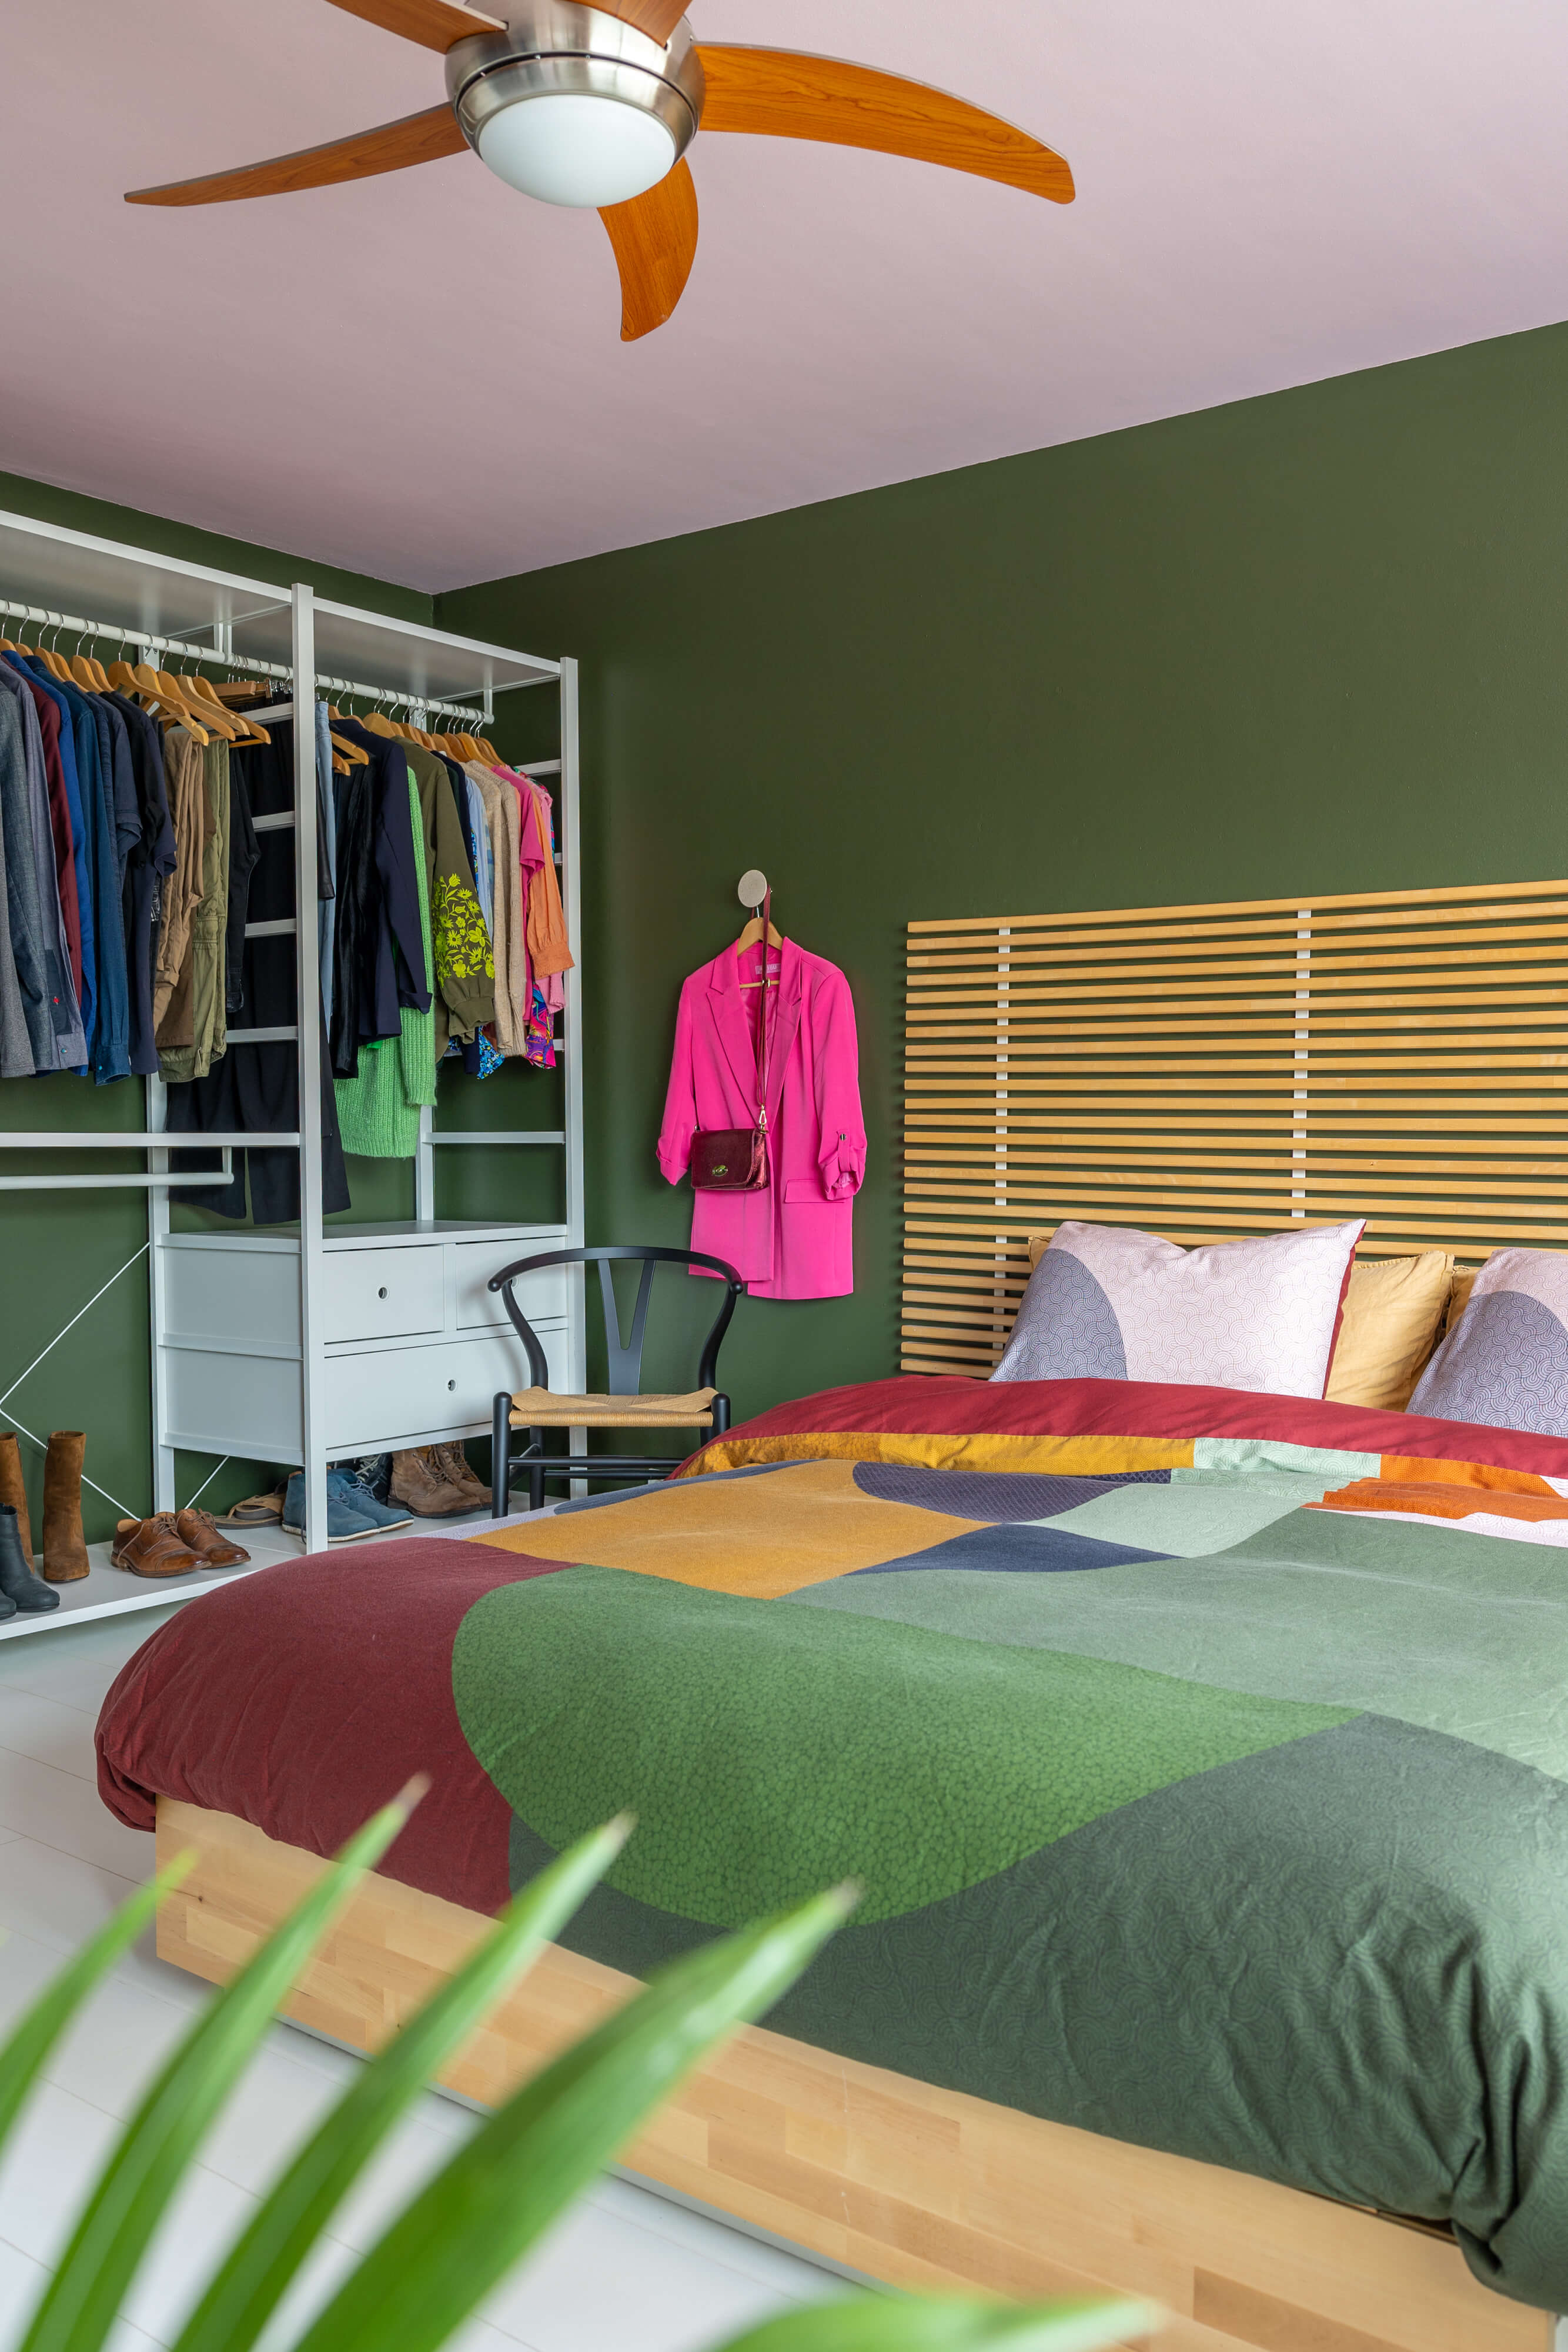
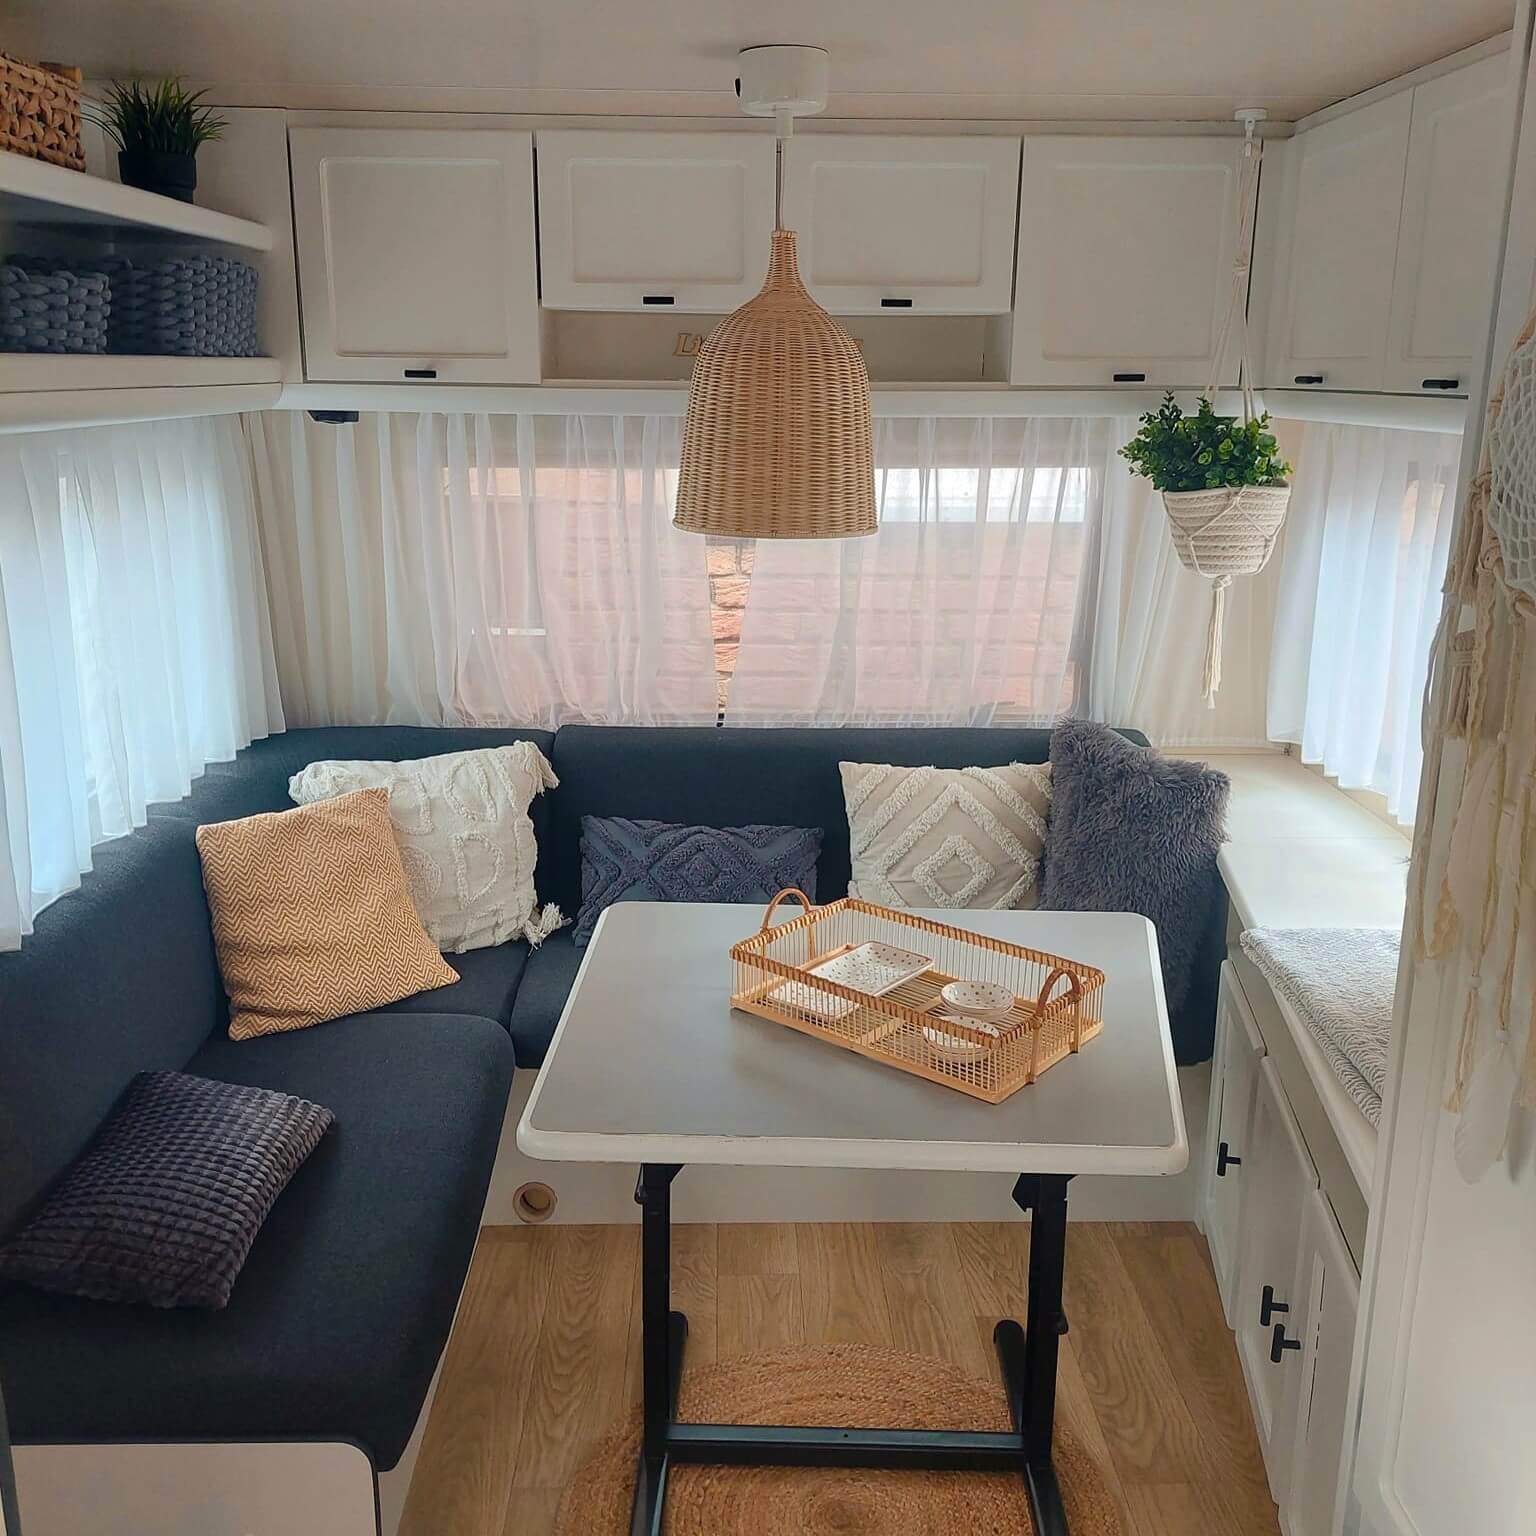
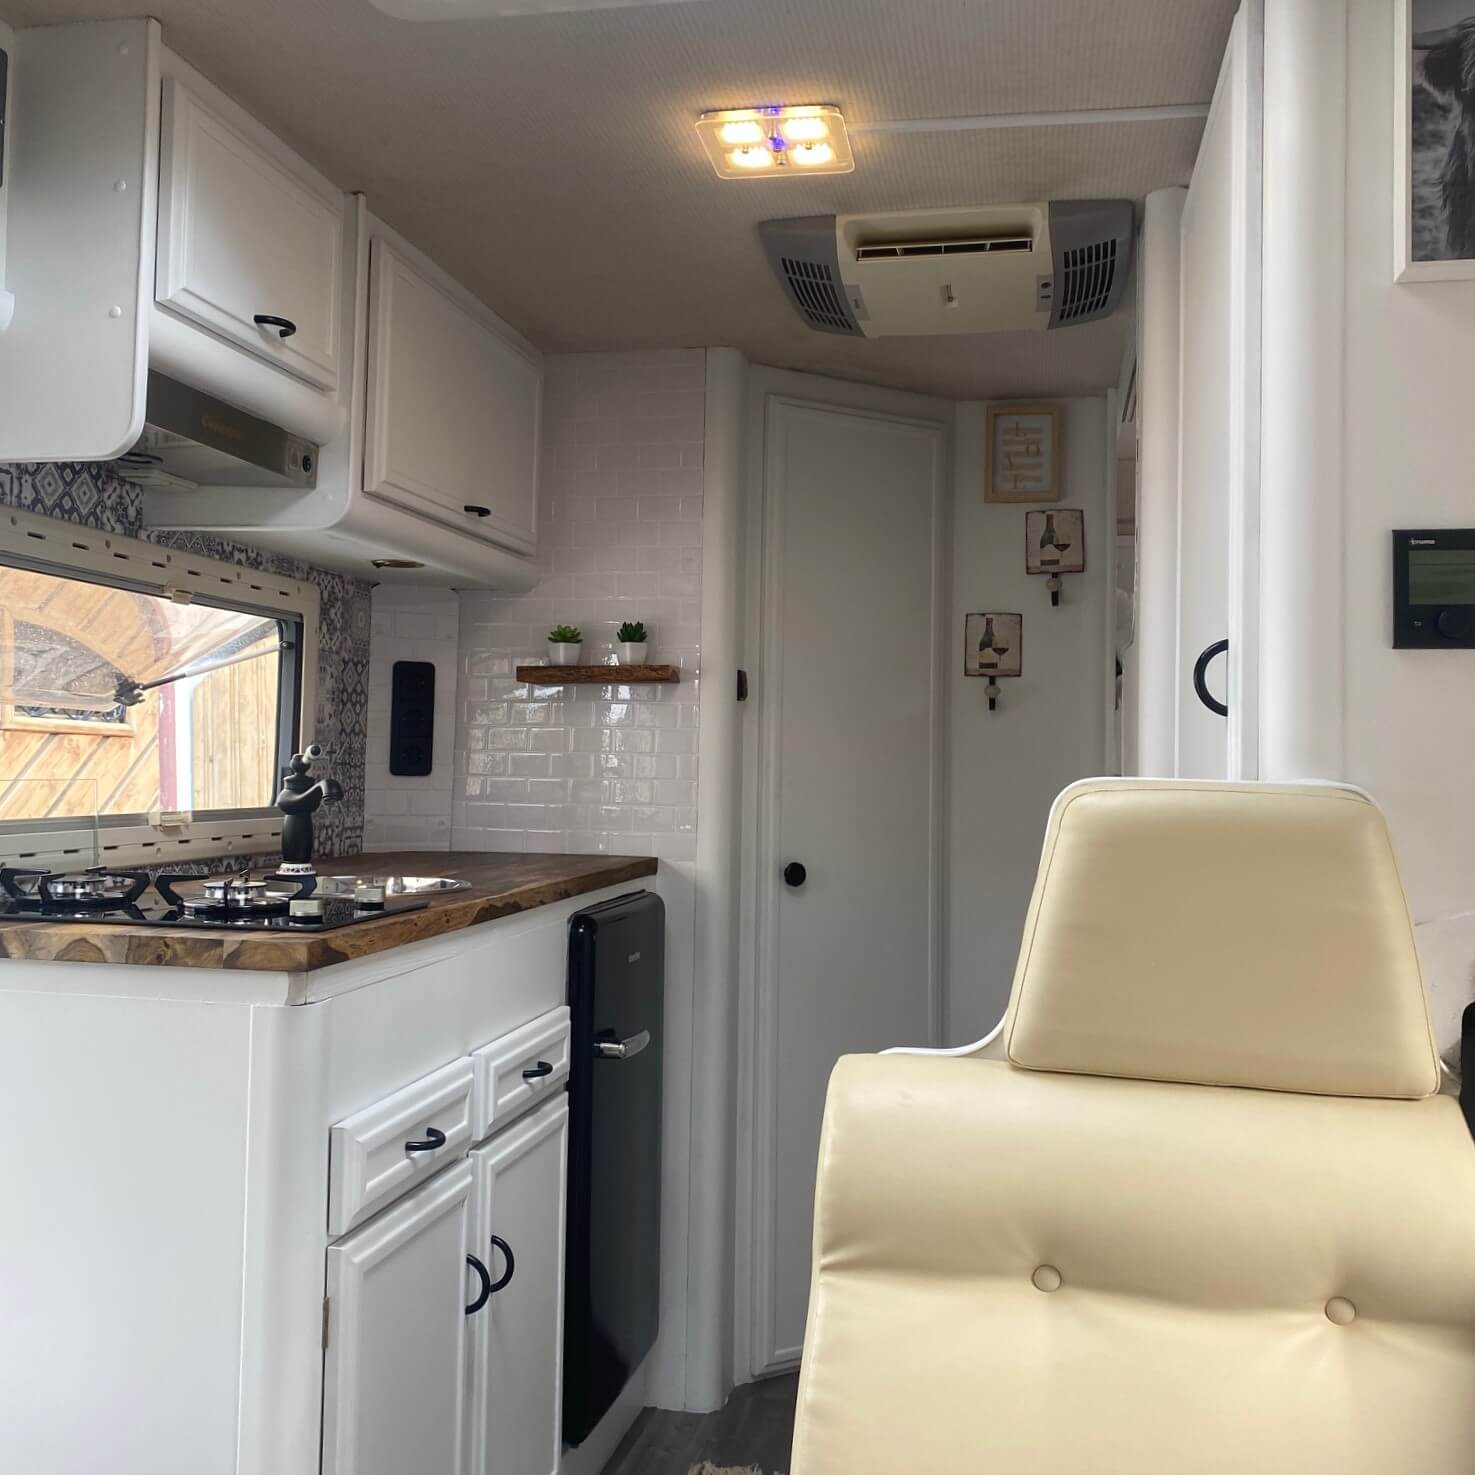
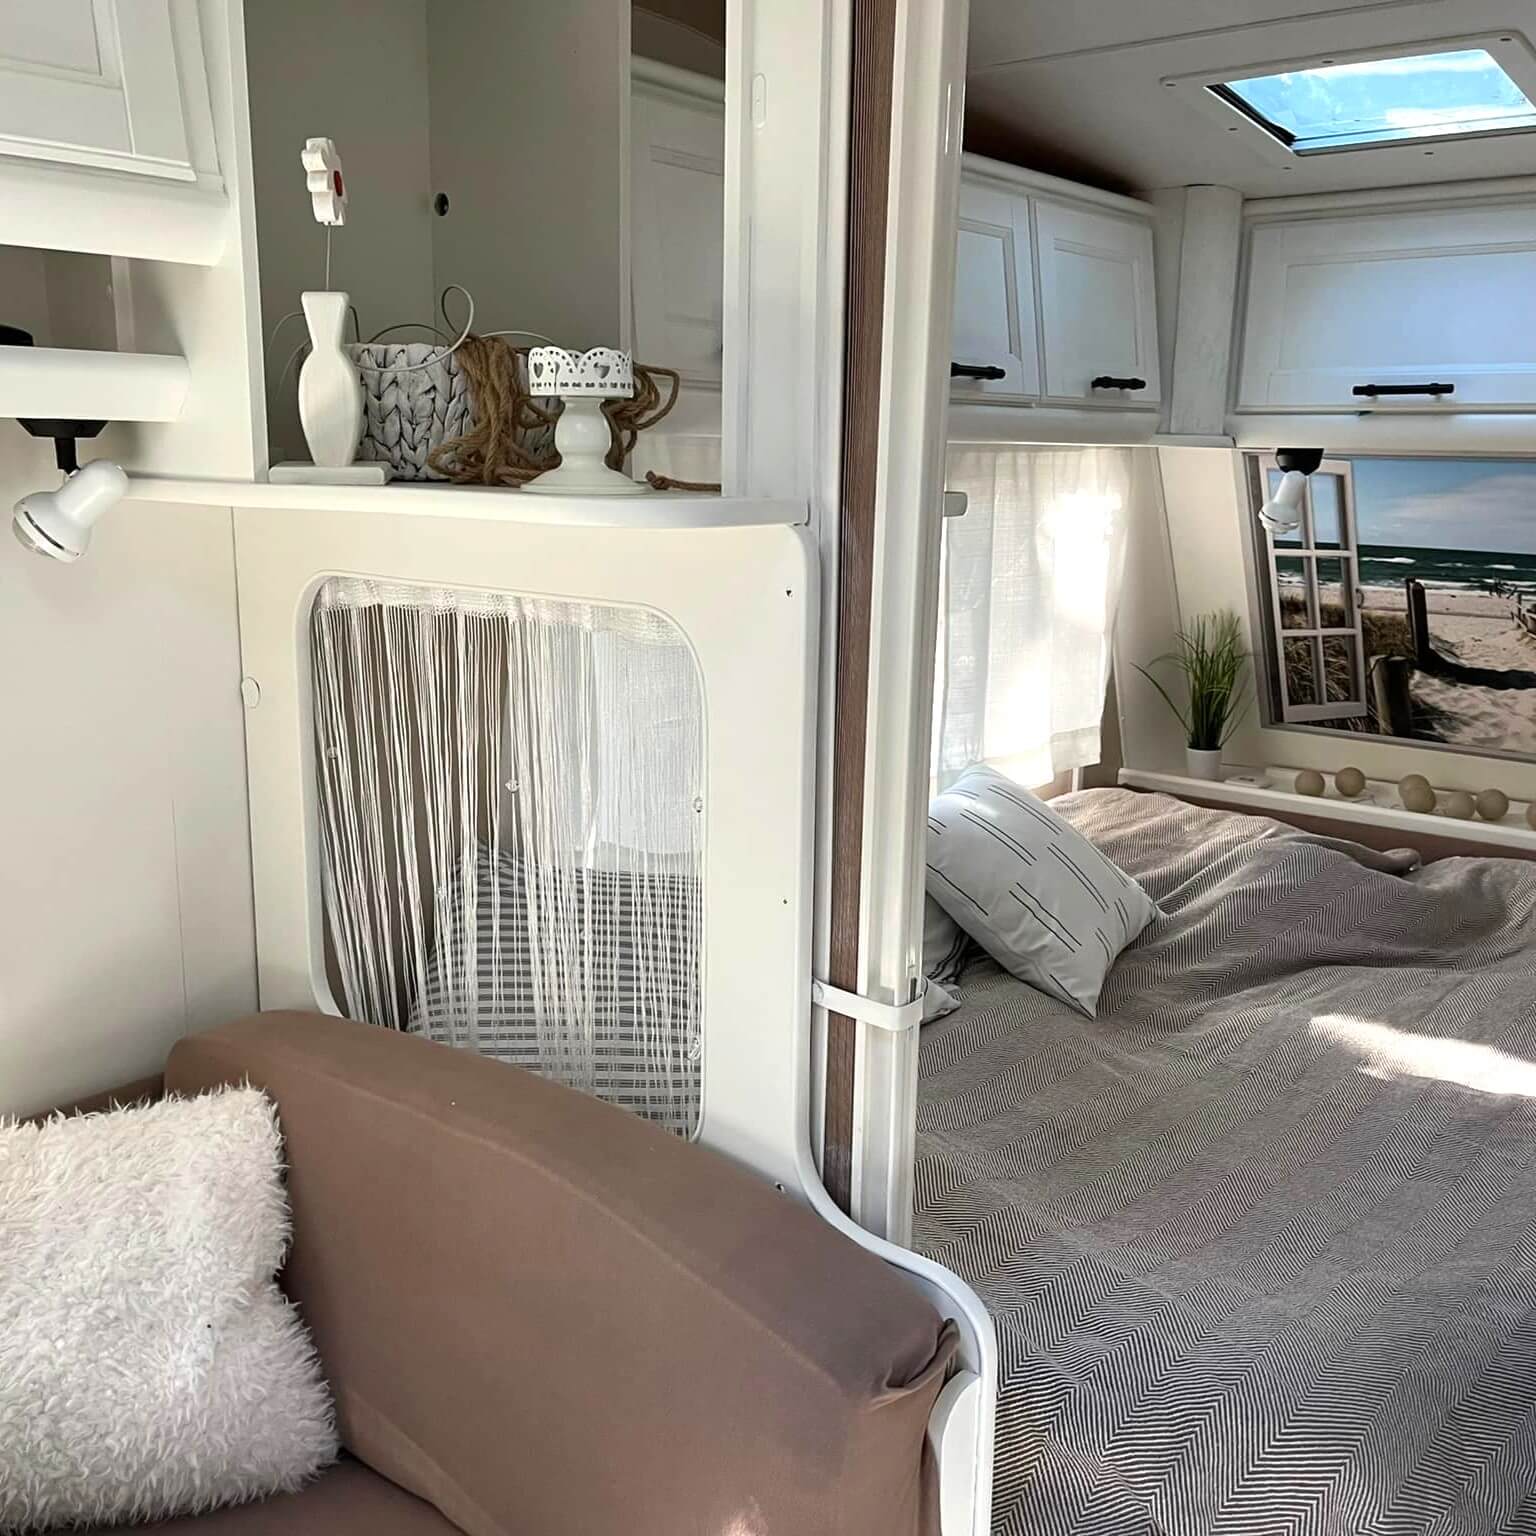
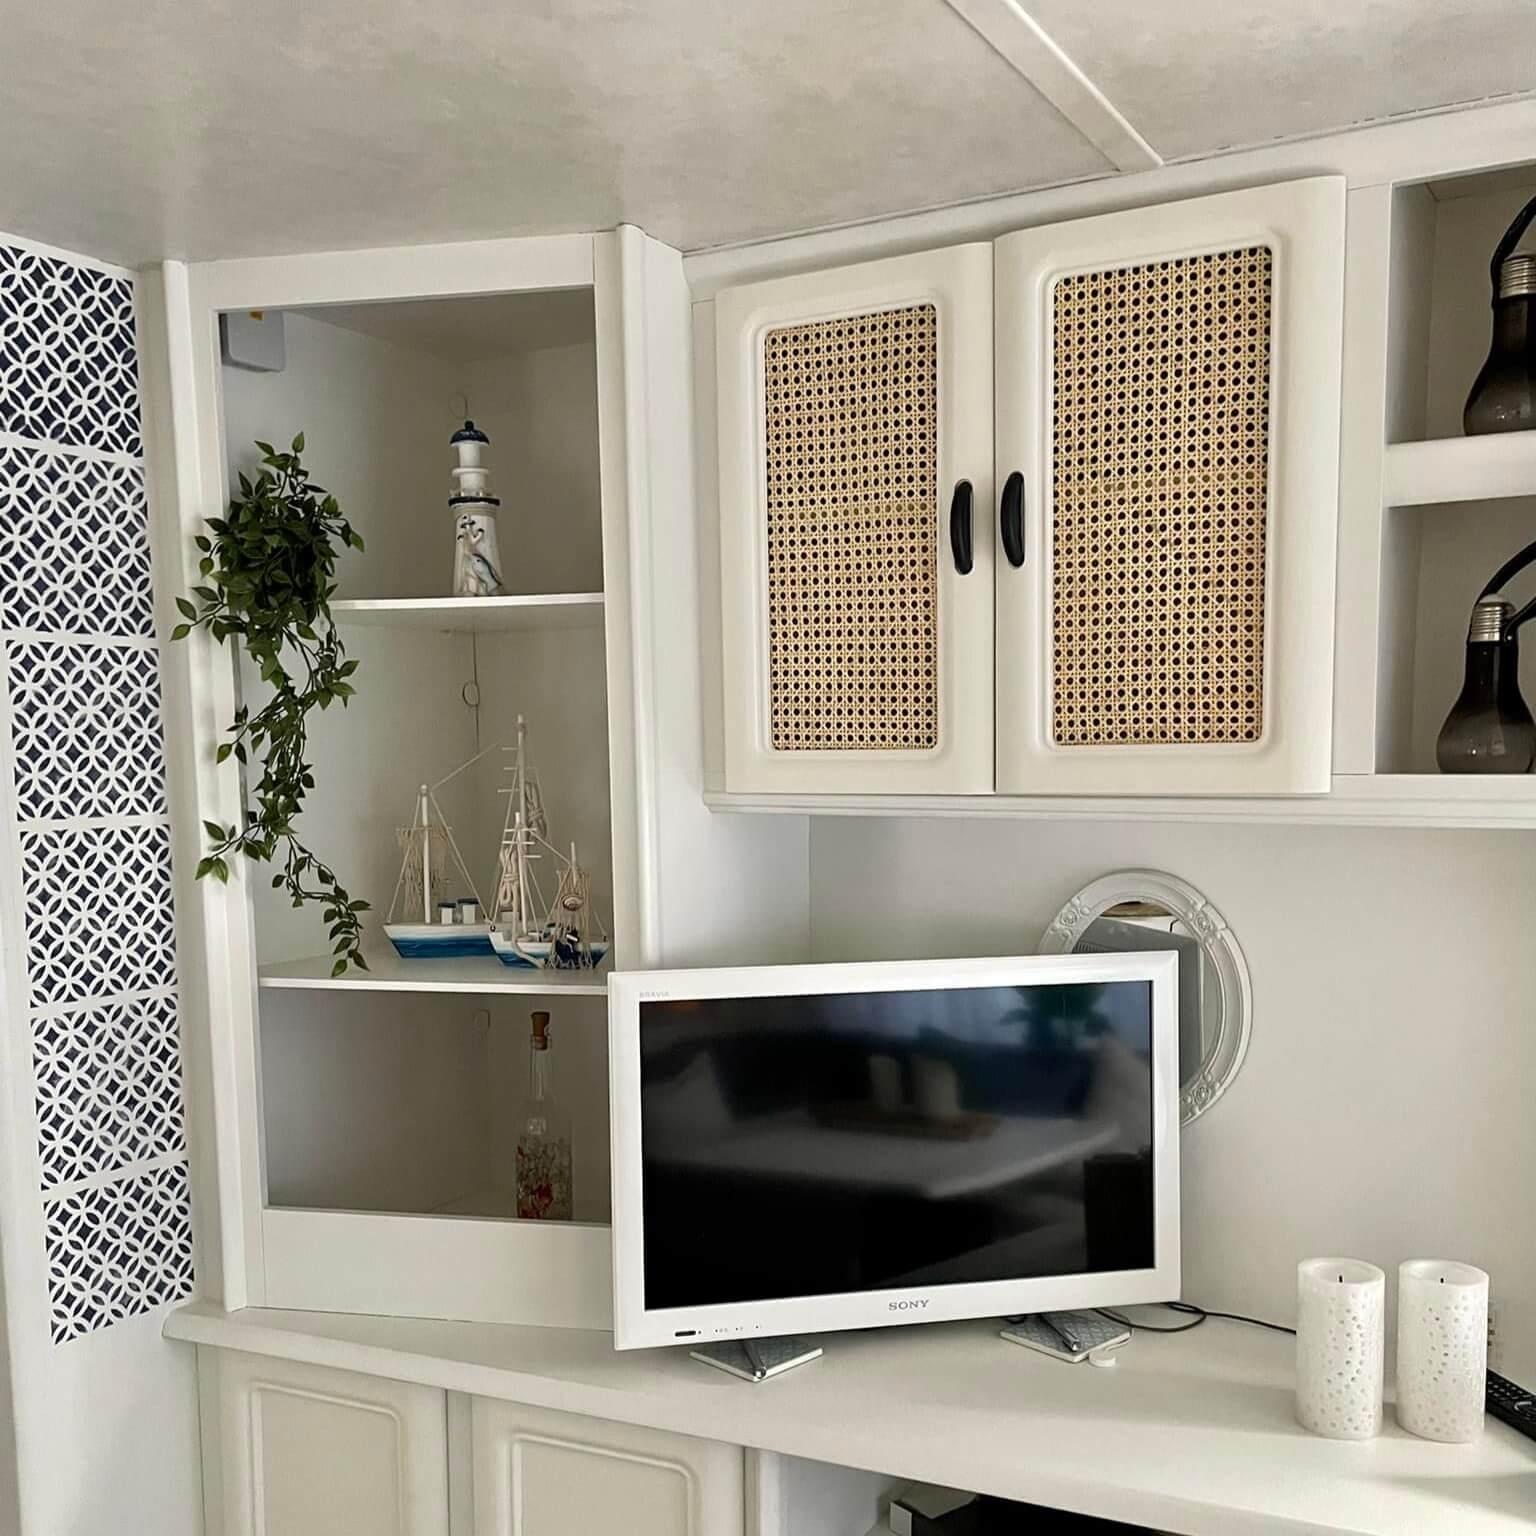
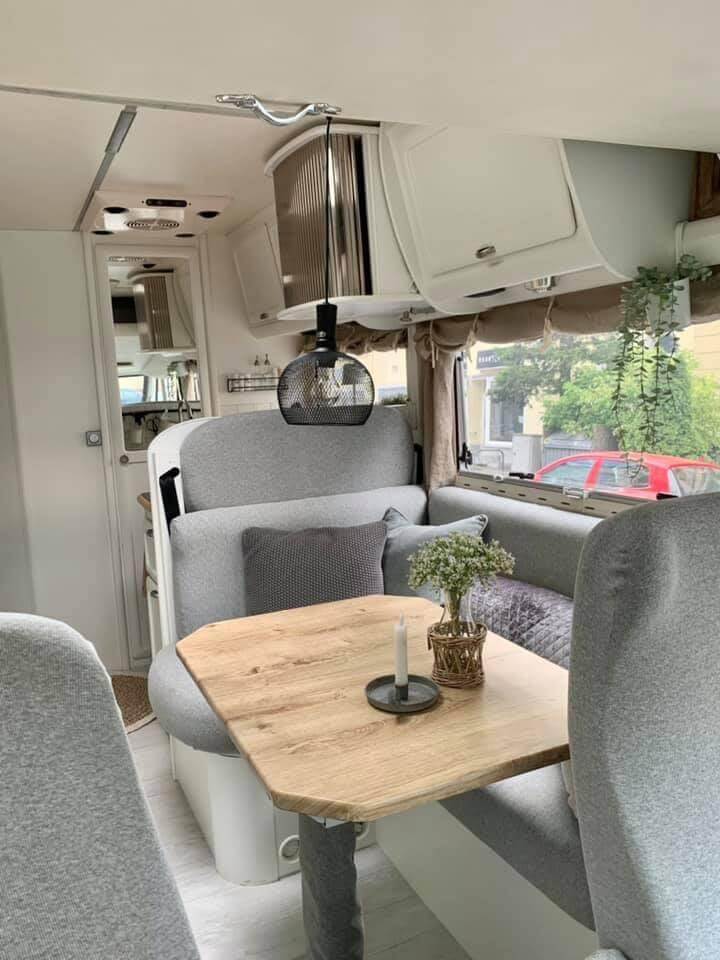
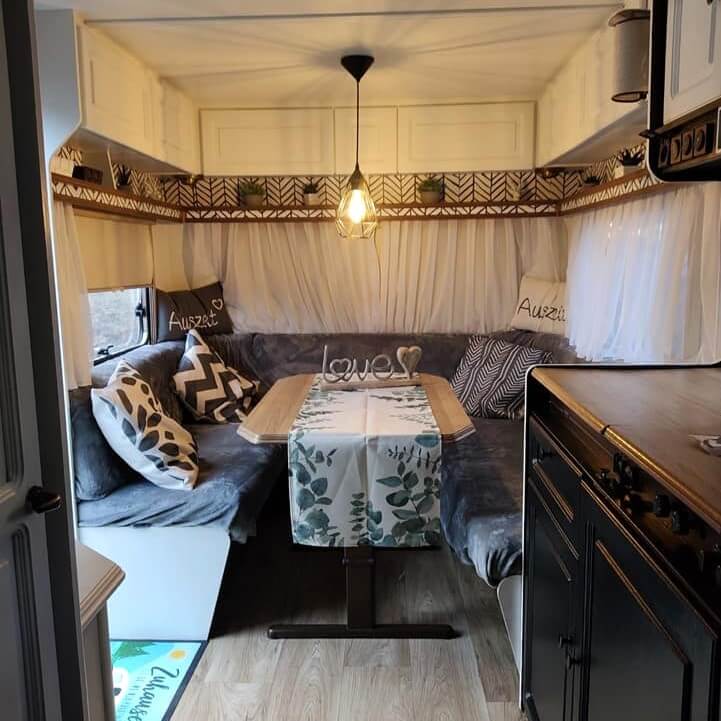
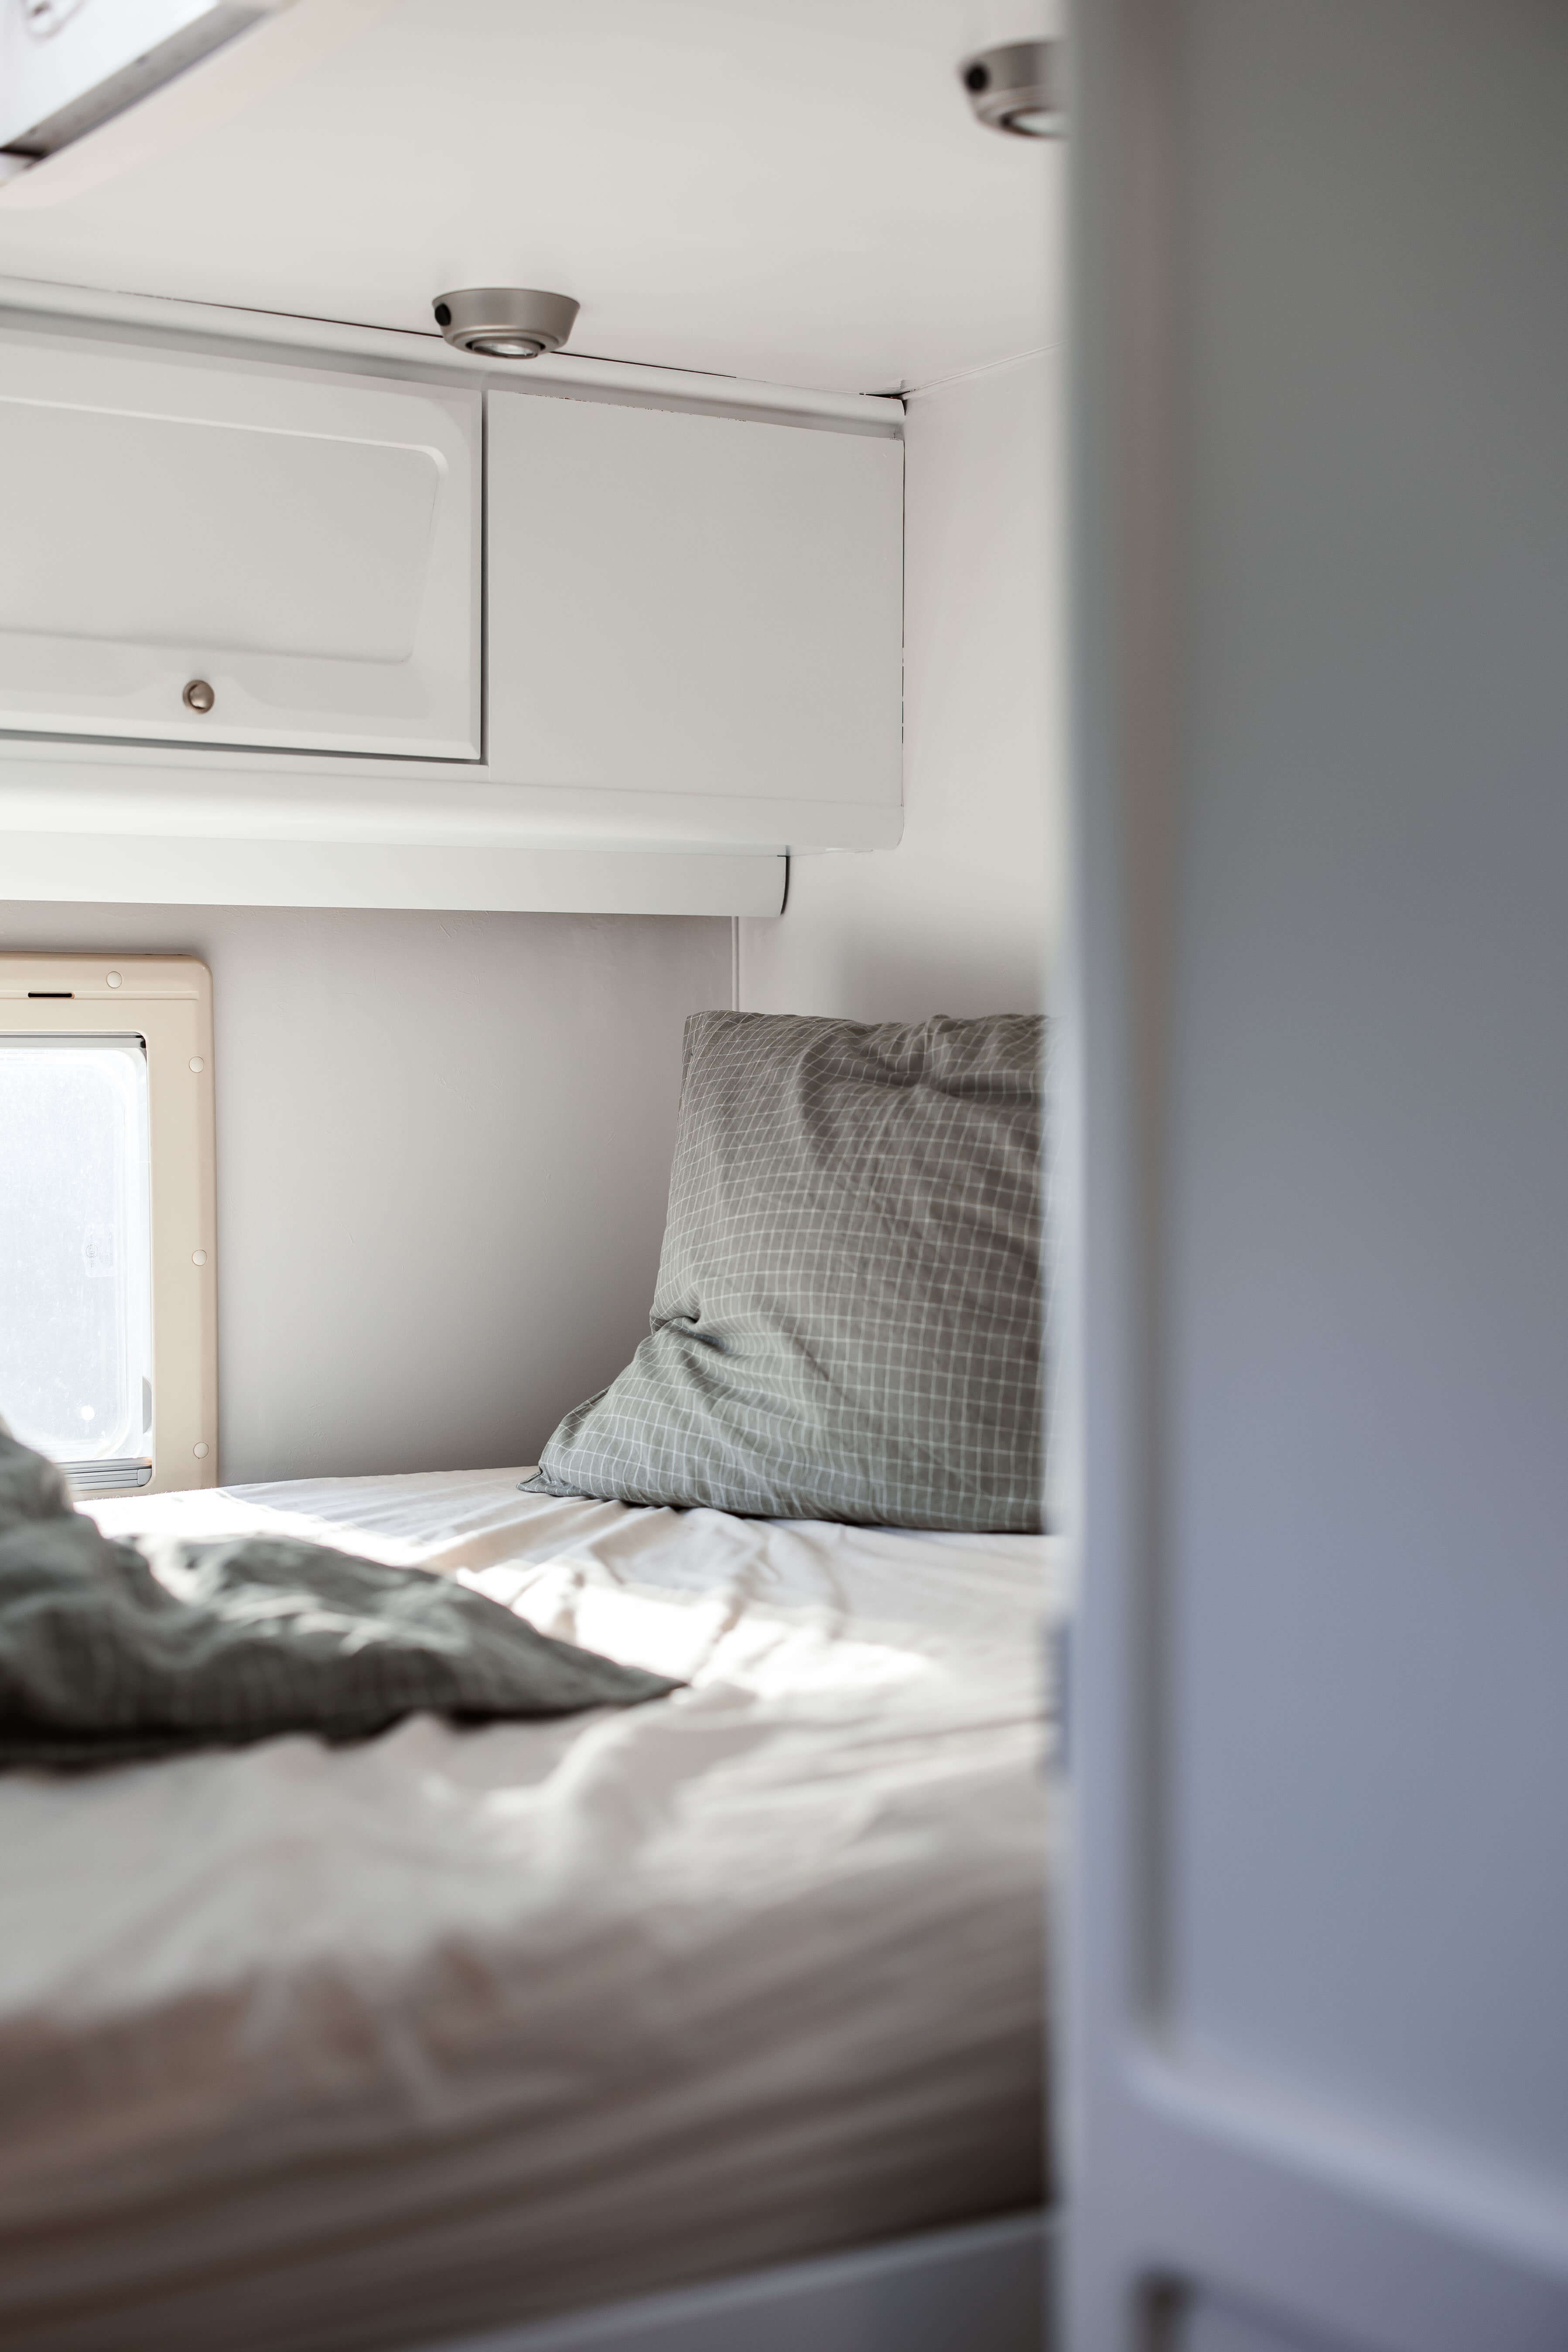
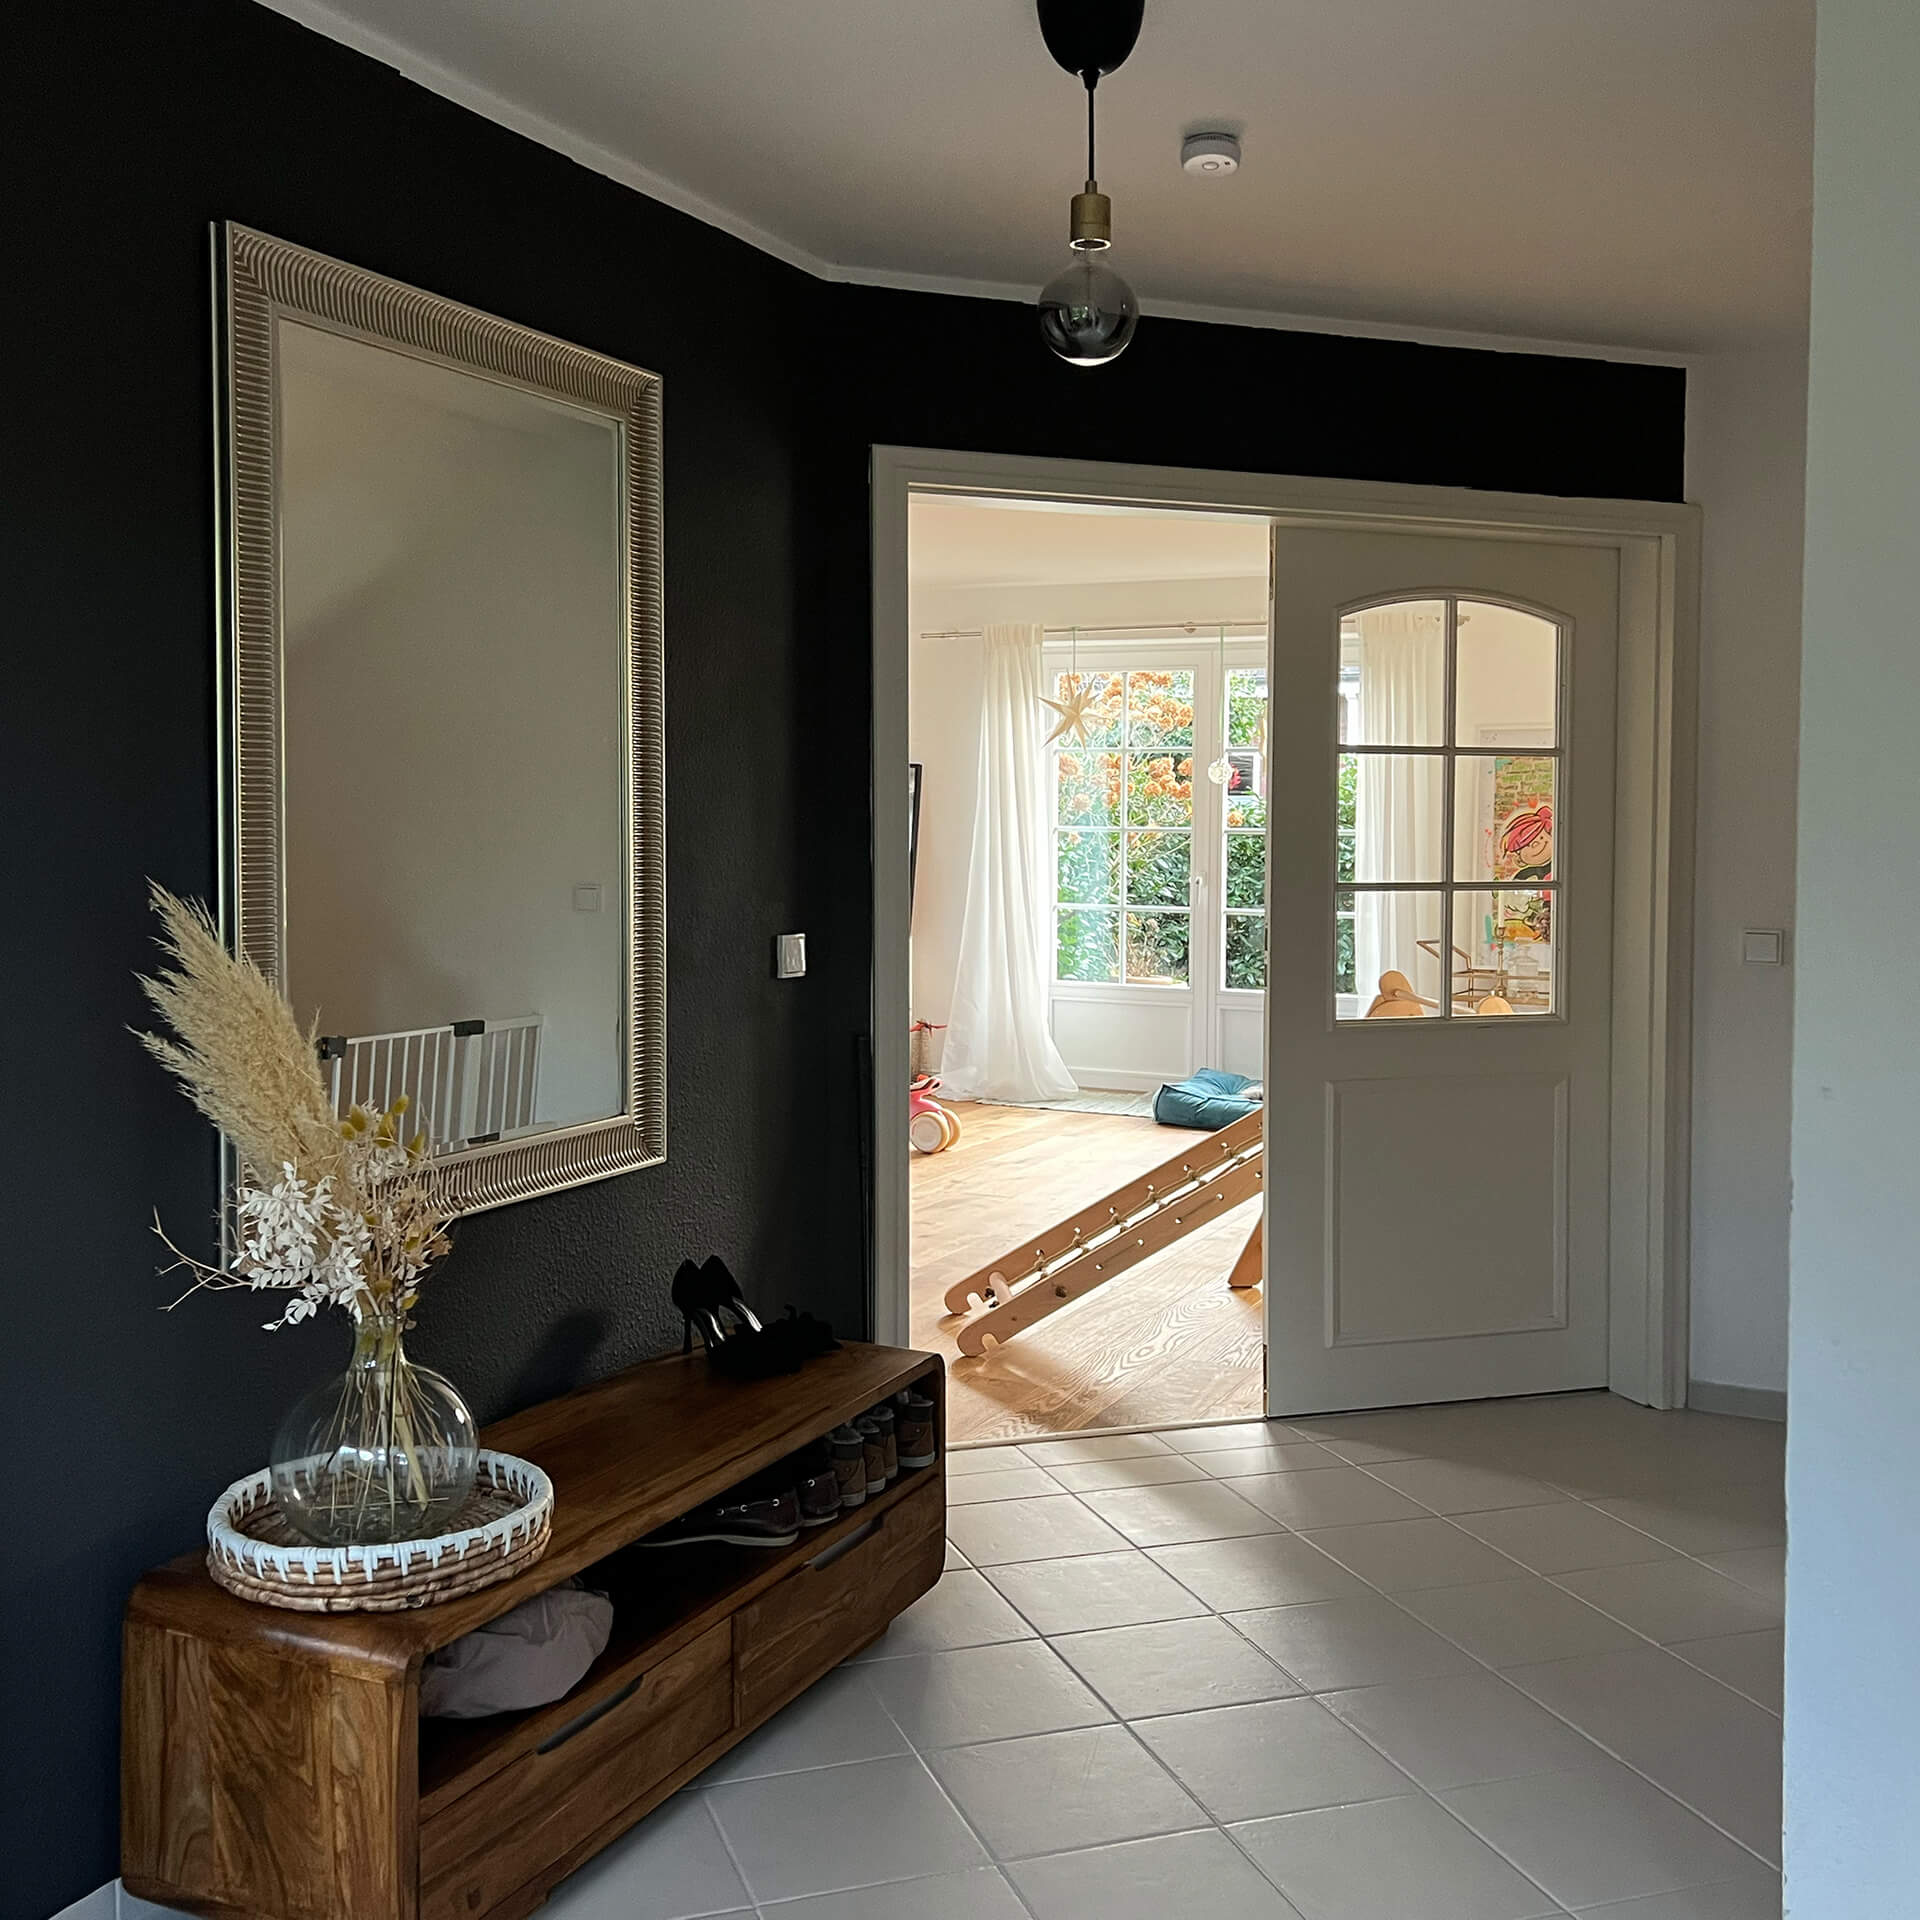
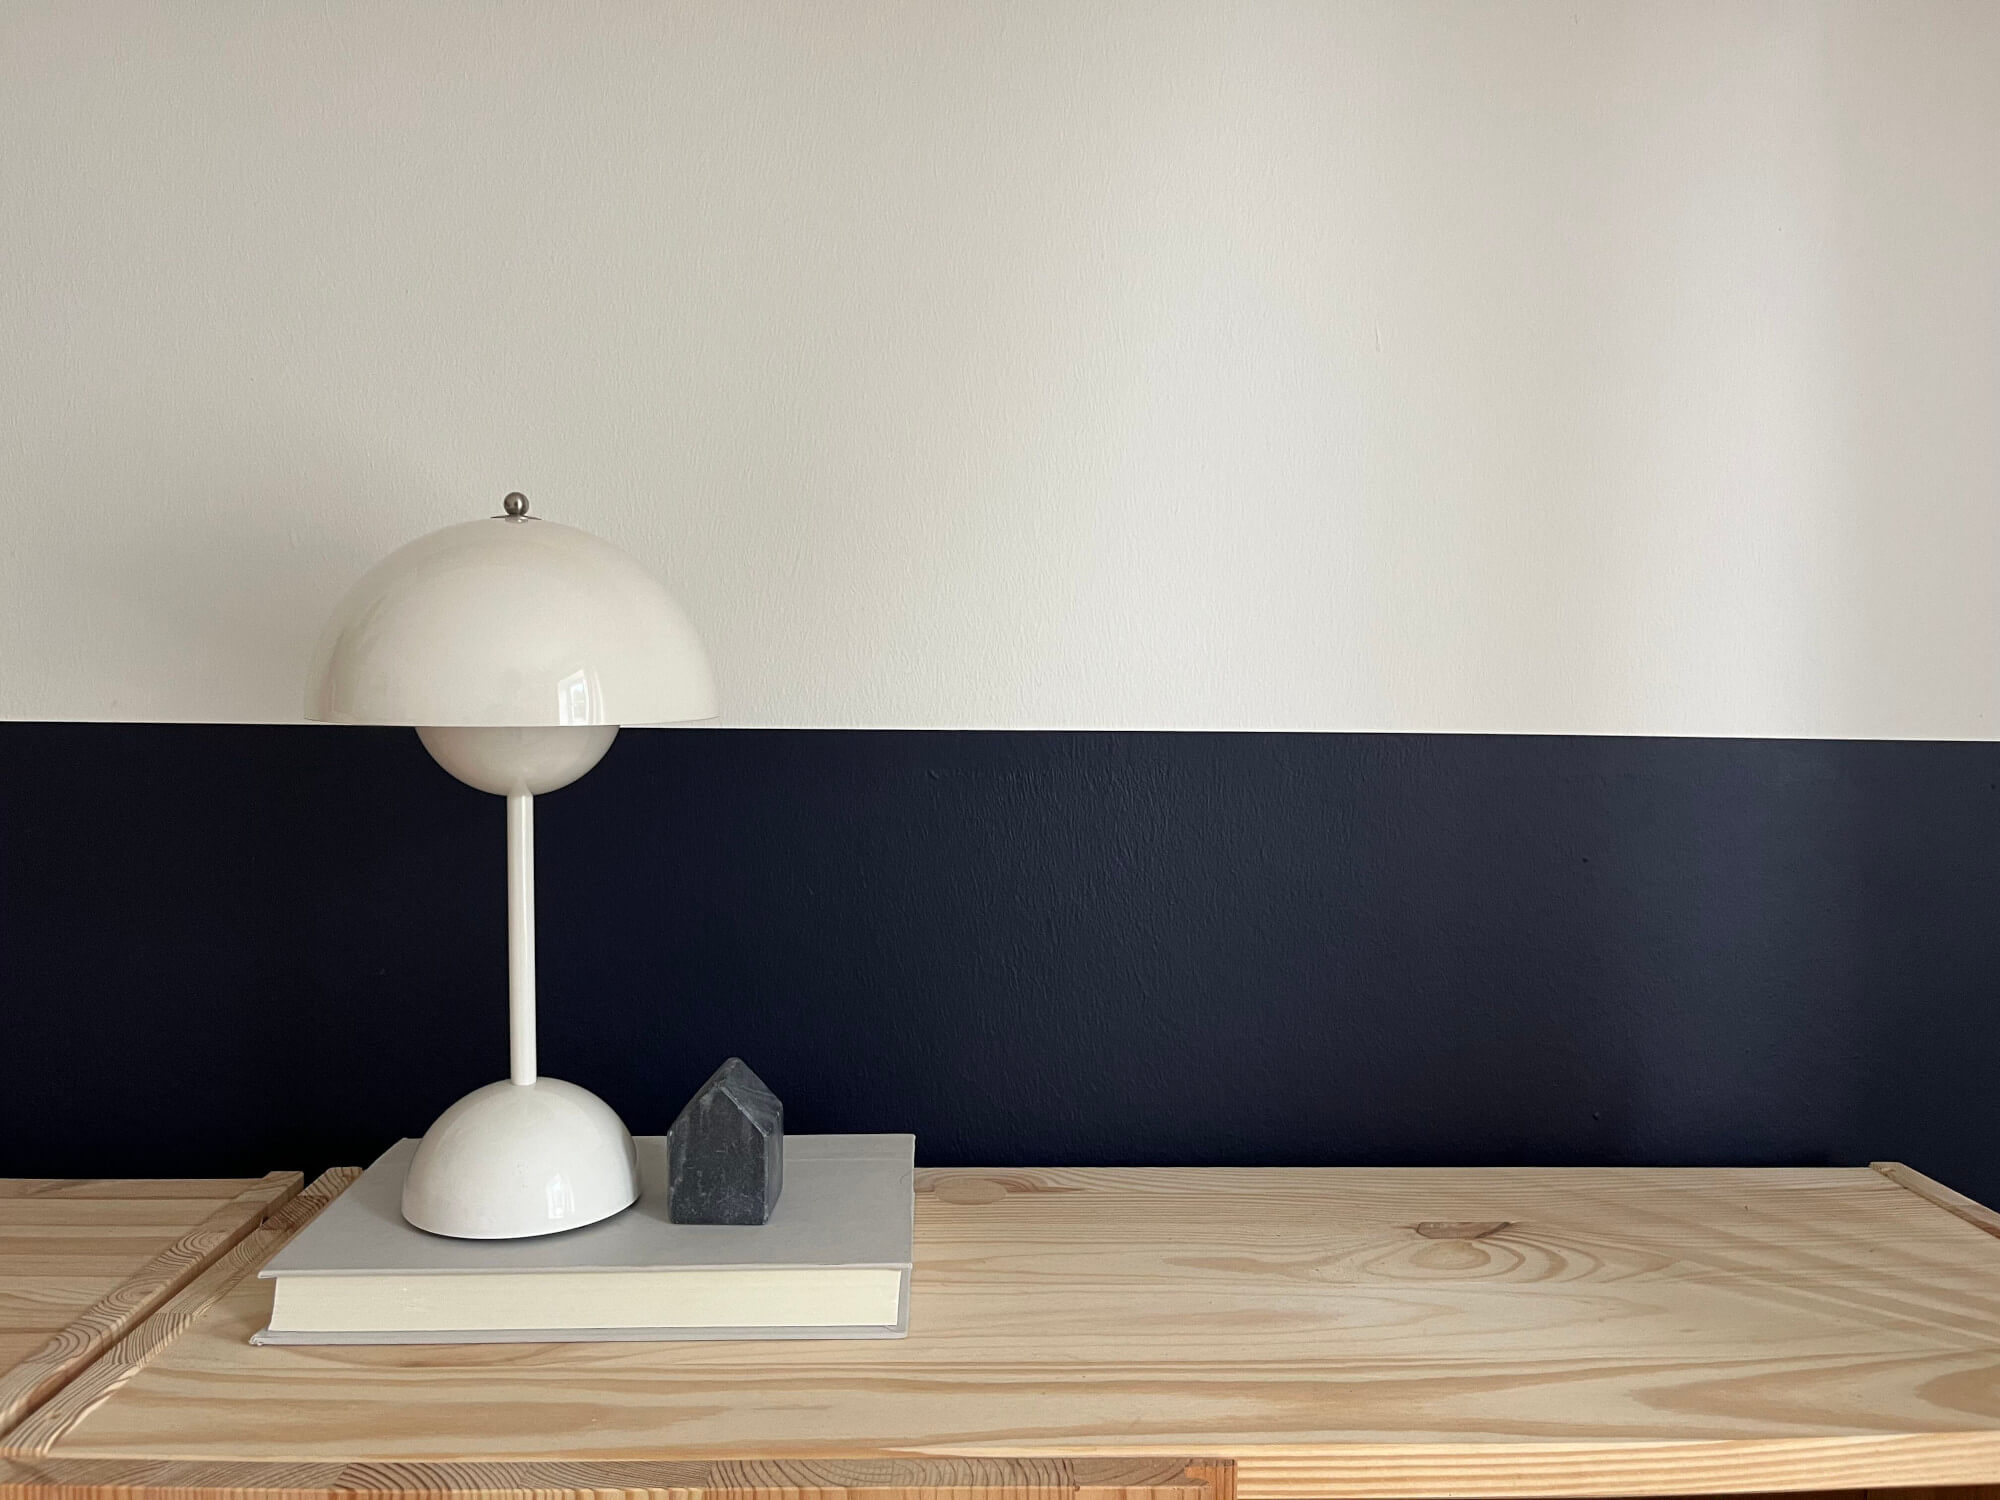
Choose a soft colour that is not too dominant. This will create an open and cosy atmosphere when you paint the inside of your caravan.
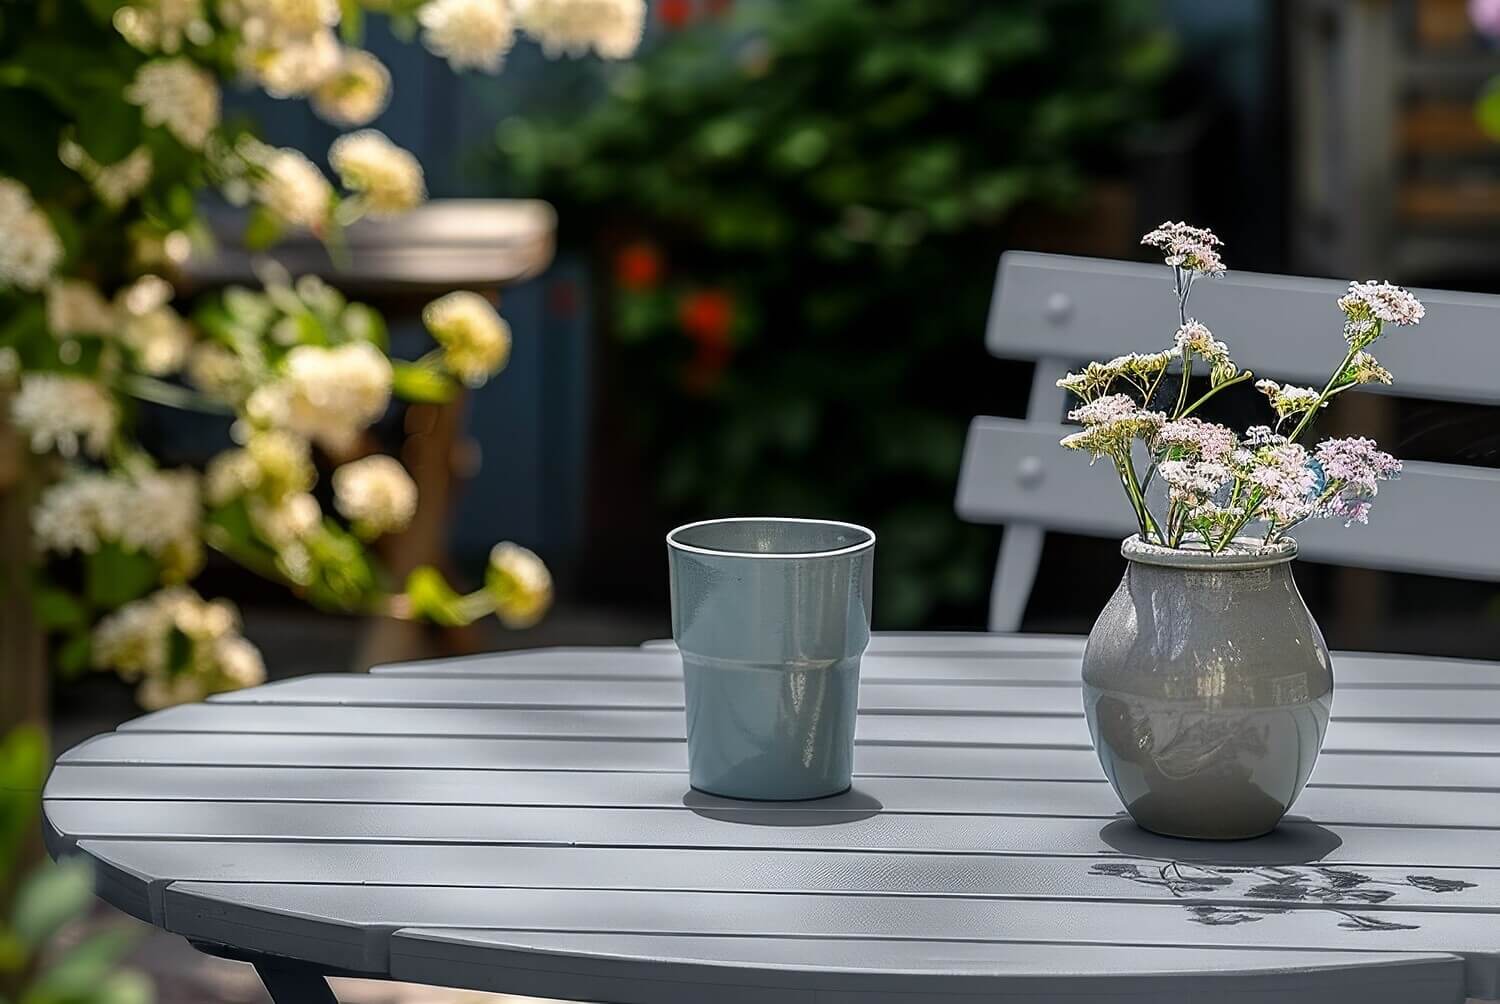
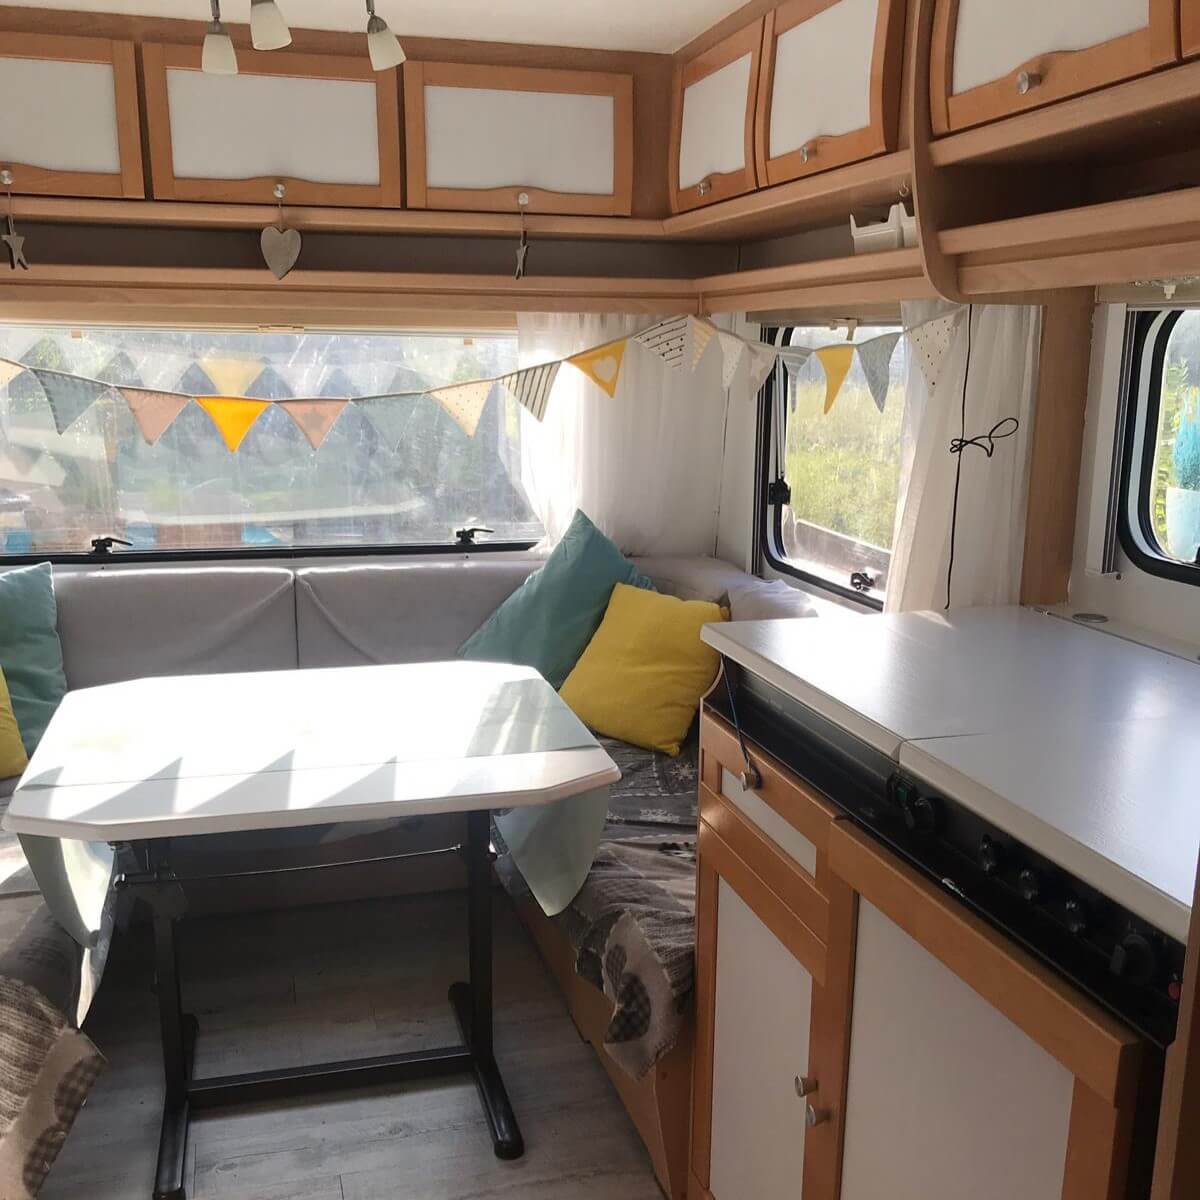
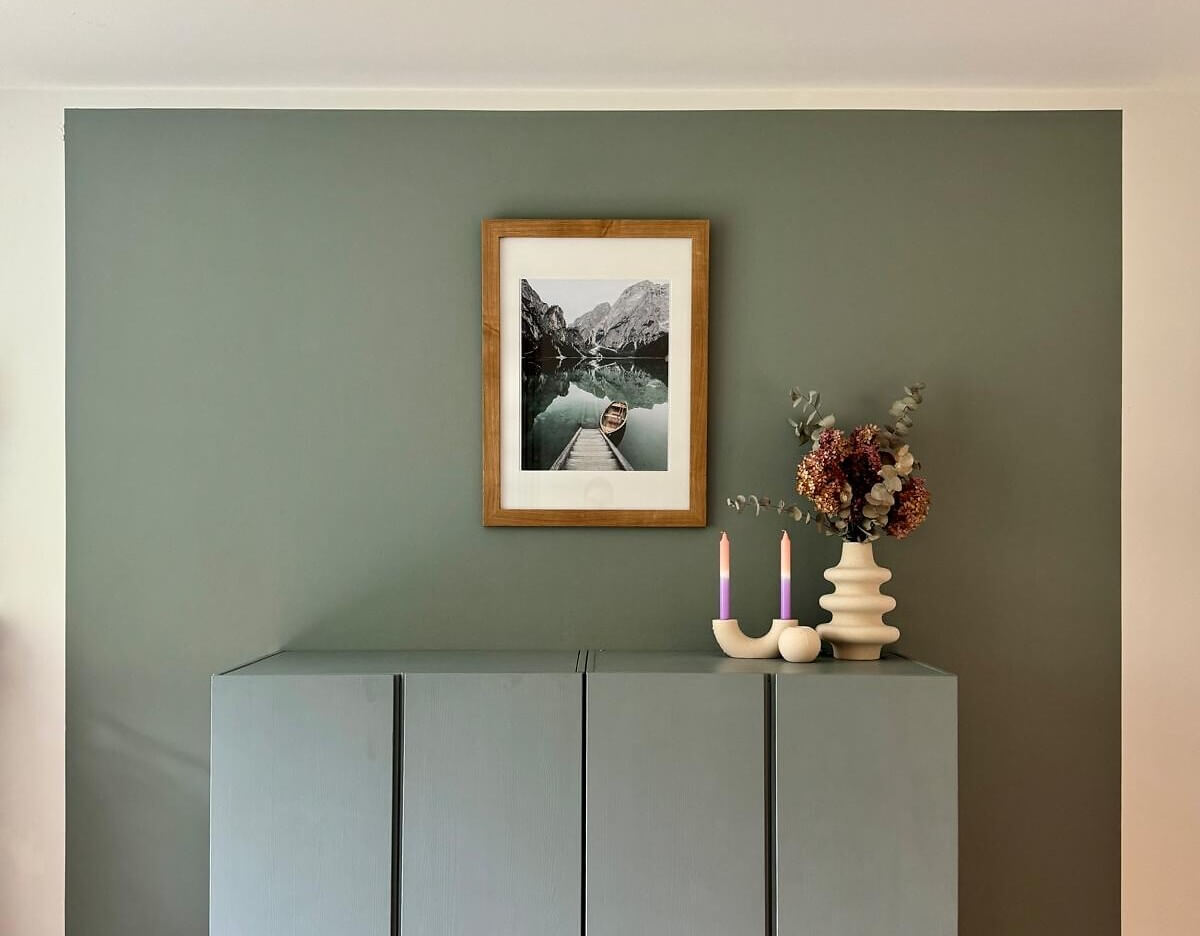
Finish off your caravan with matching decorations. If you're still looking for the perfect tools to start your trip, take a look at Wildnest - in their shop you will find many sustainable and useful products that should not be missing on your next trip.
Conclusion: The work is worth it
And if the colour shade eventually goes out of fashion, choose a new colour.
Because with our colours, you can just paint!
Finished reading yet?
Here you will find more exciting topics

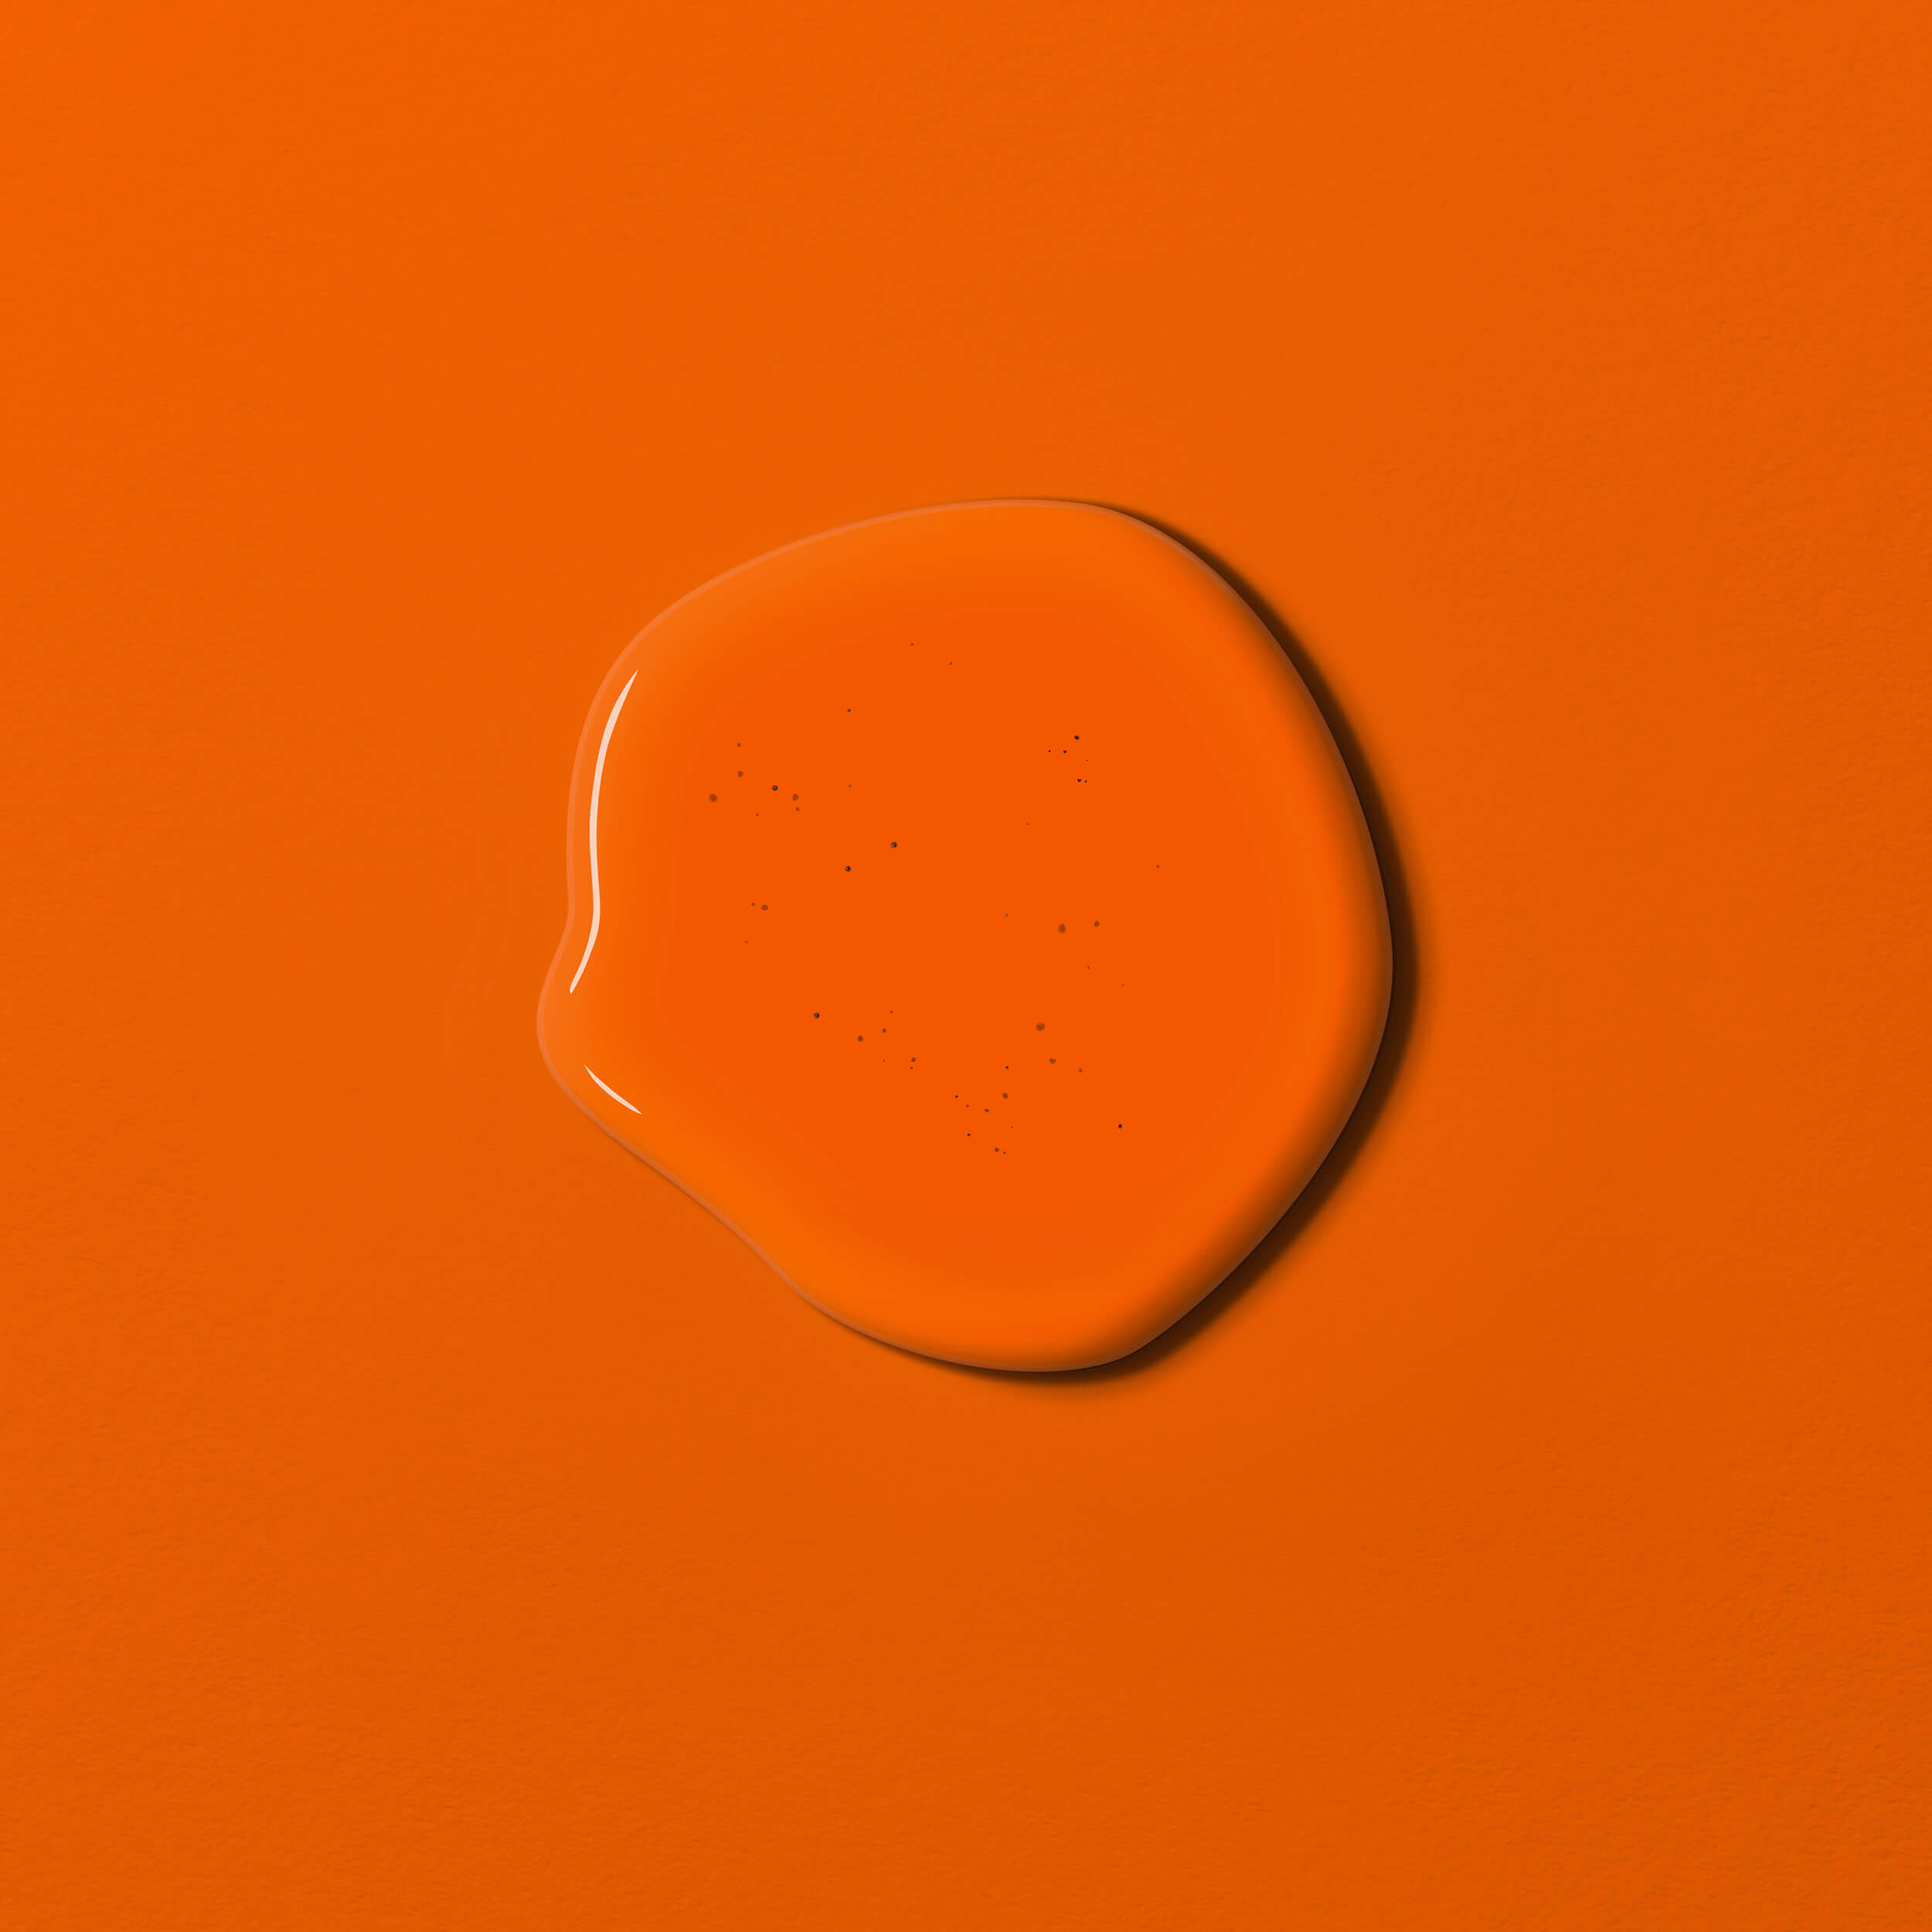
Your new favourite colour


How to make your project perfect


")


Questions?
We're here to help
We'll help you anytime, via Phone or Live-Chat (Mo-Fr 09-18, Sa until 16 Uhr), via WhatsApp or directly via our Contact Form.