Painting a Baby Bed
5 min reading time
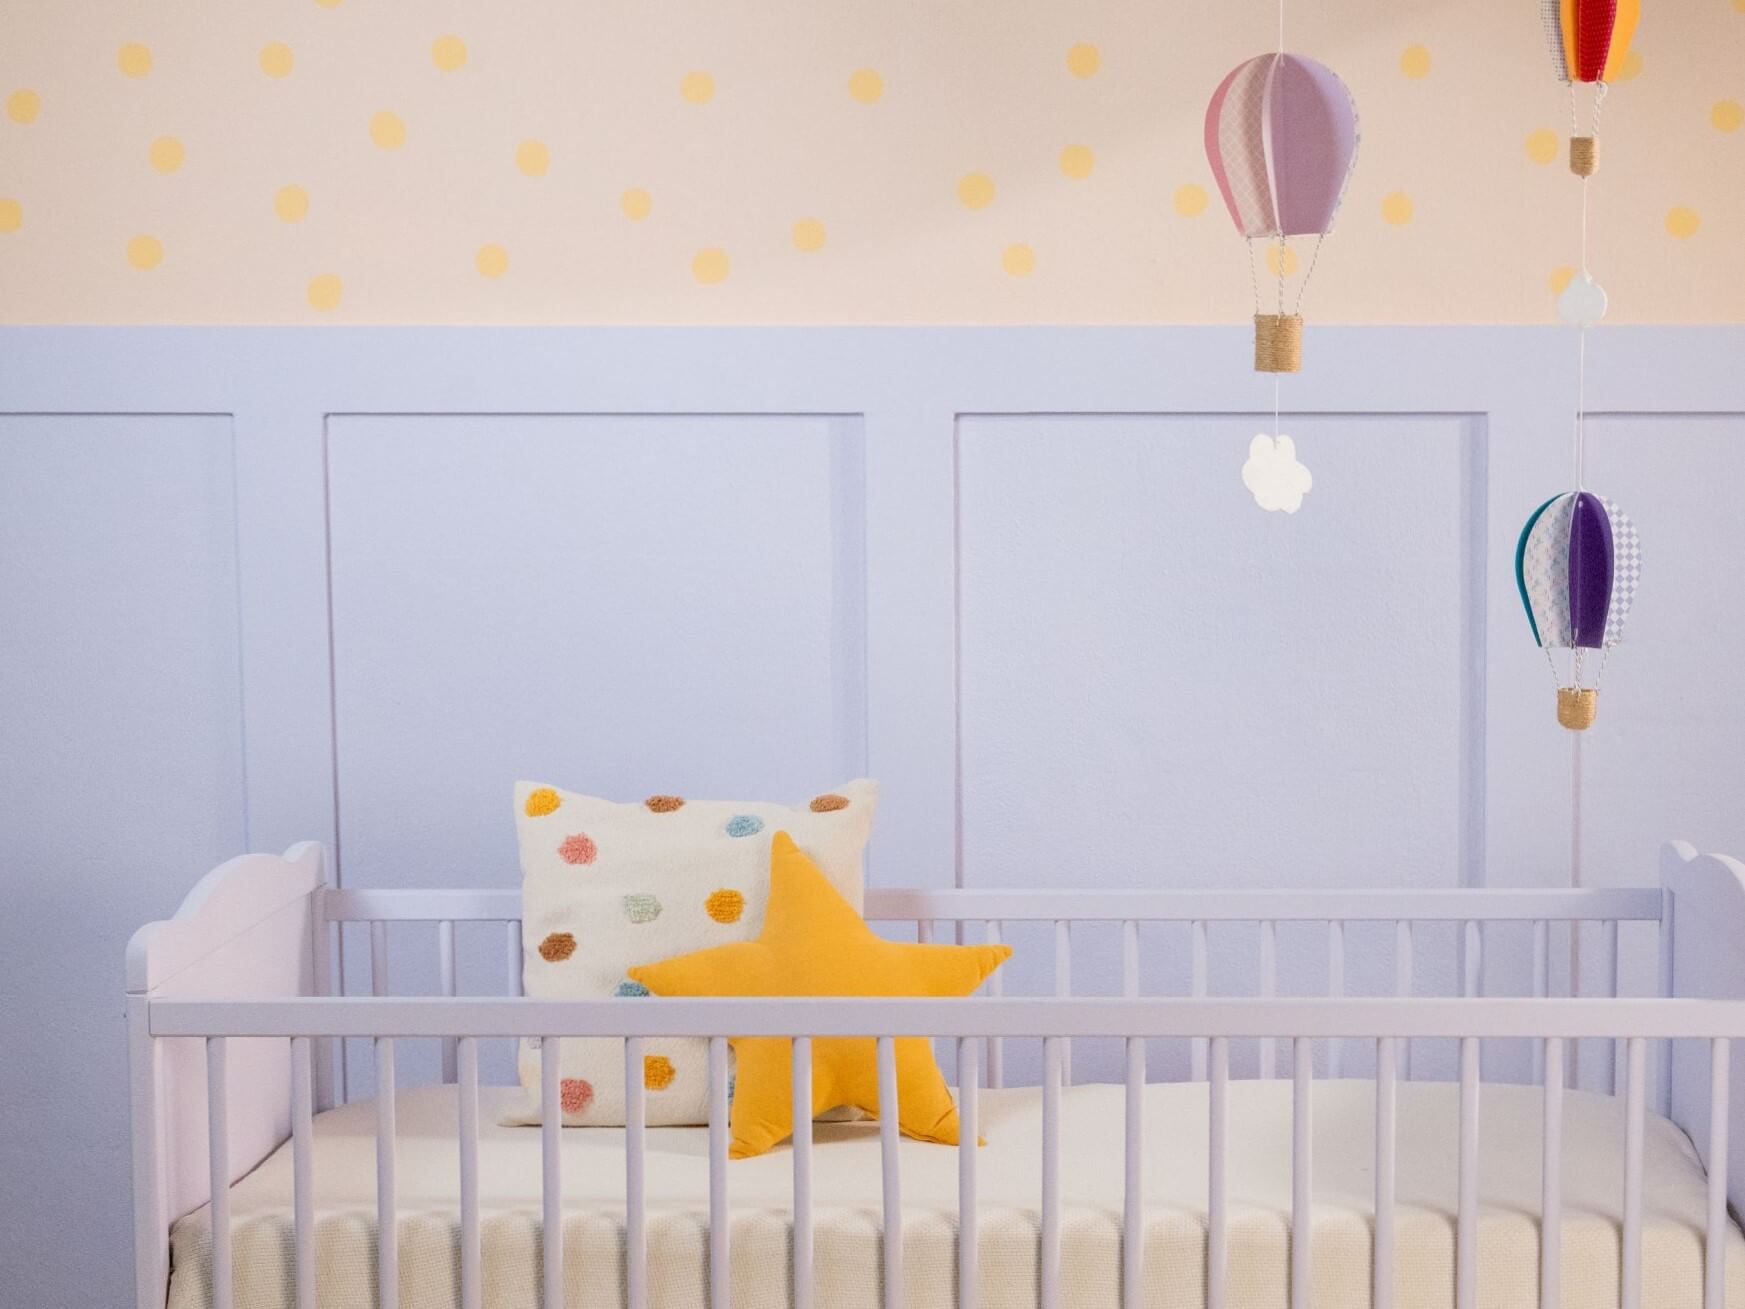
In some families, there is the nice tradition that a cot is sometimes passed down through generations. In other families, the cot is passed down from one sibling to the next. In all these cases, it can make sense to give a cot a new look with a fresh coat of paint. Because a paint coat not only turns a cot that shows signs of wear into a real eye-catcher, it also provides a clean, hygienic surface again.
About paints and their compatibility with children
As chemical products, paints are not known to be particularly healthy. Babies and toddlers are sensitive little creatures who are already confronted with enough environmental toxins outside their nurseries. So we want to be sure that at least a child's direct surroundings, including children's furniture and toys, are completely unharmful to health.
Which paints are suitable for painting baby beds?
It is very important that the paints and varnishes used in the nursery are completely VOC and solvent free. VOCs are volatile organic compounds that are released by most paints as they dry. These volatiles are often released into the environment long after the paint has dried. But paints that can be used to paint a child's bed with a clear conscience have to meet completely different requirements. For example, the paints or varnishes used should be saliva-proof. Babies tend to explore their environment with their mouths. It would also be useful if the paint you want to repaint your baby 's bed with is antibacterial.
What colours for children's furniture are available from MissPompadour?
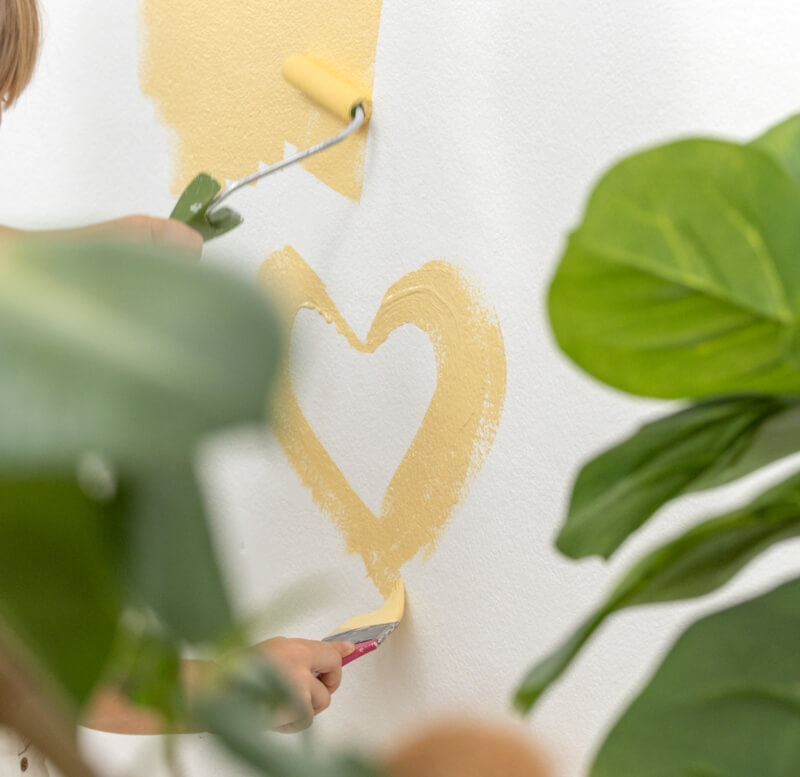
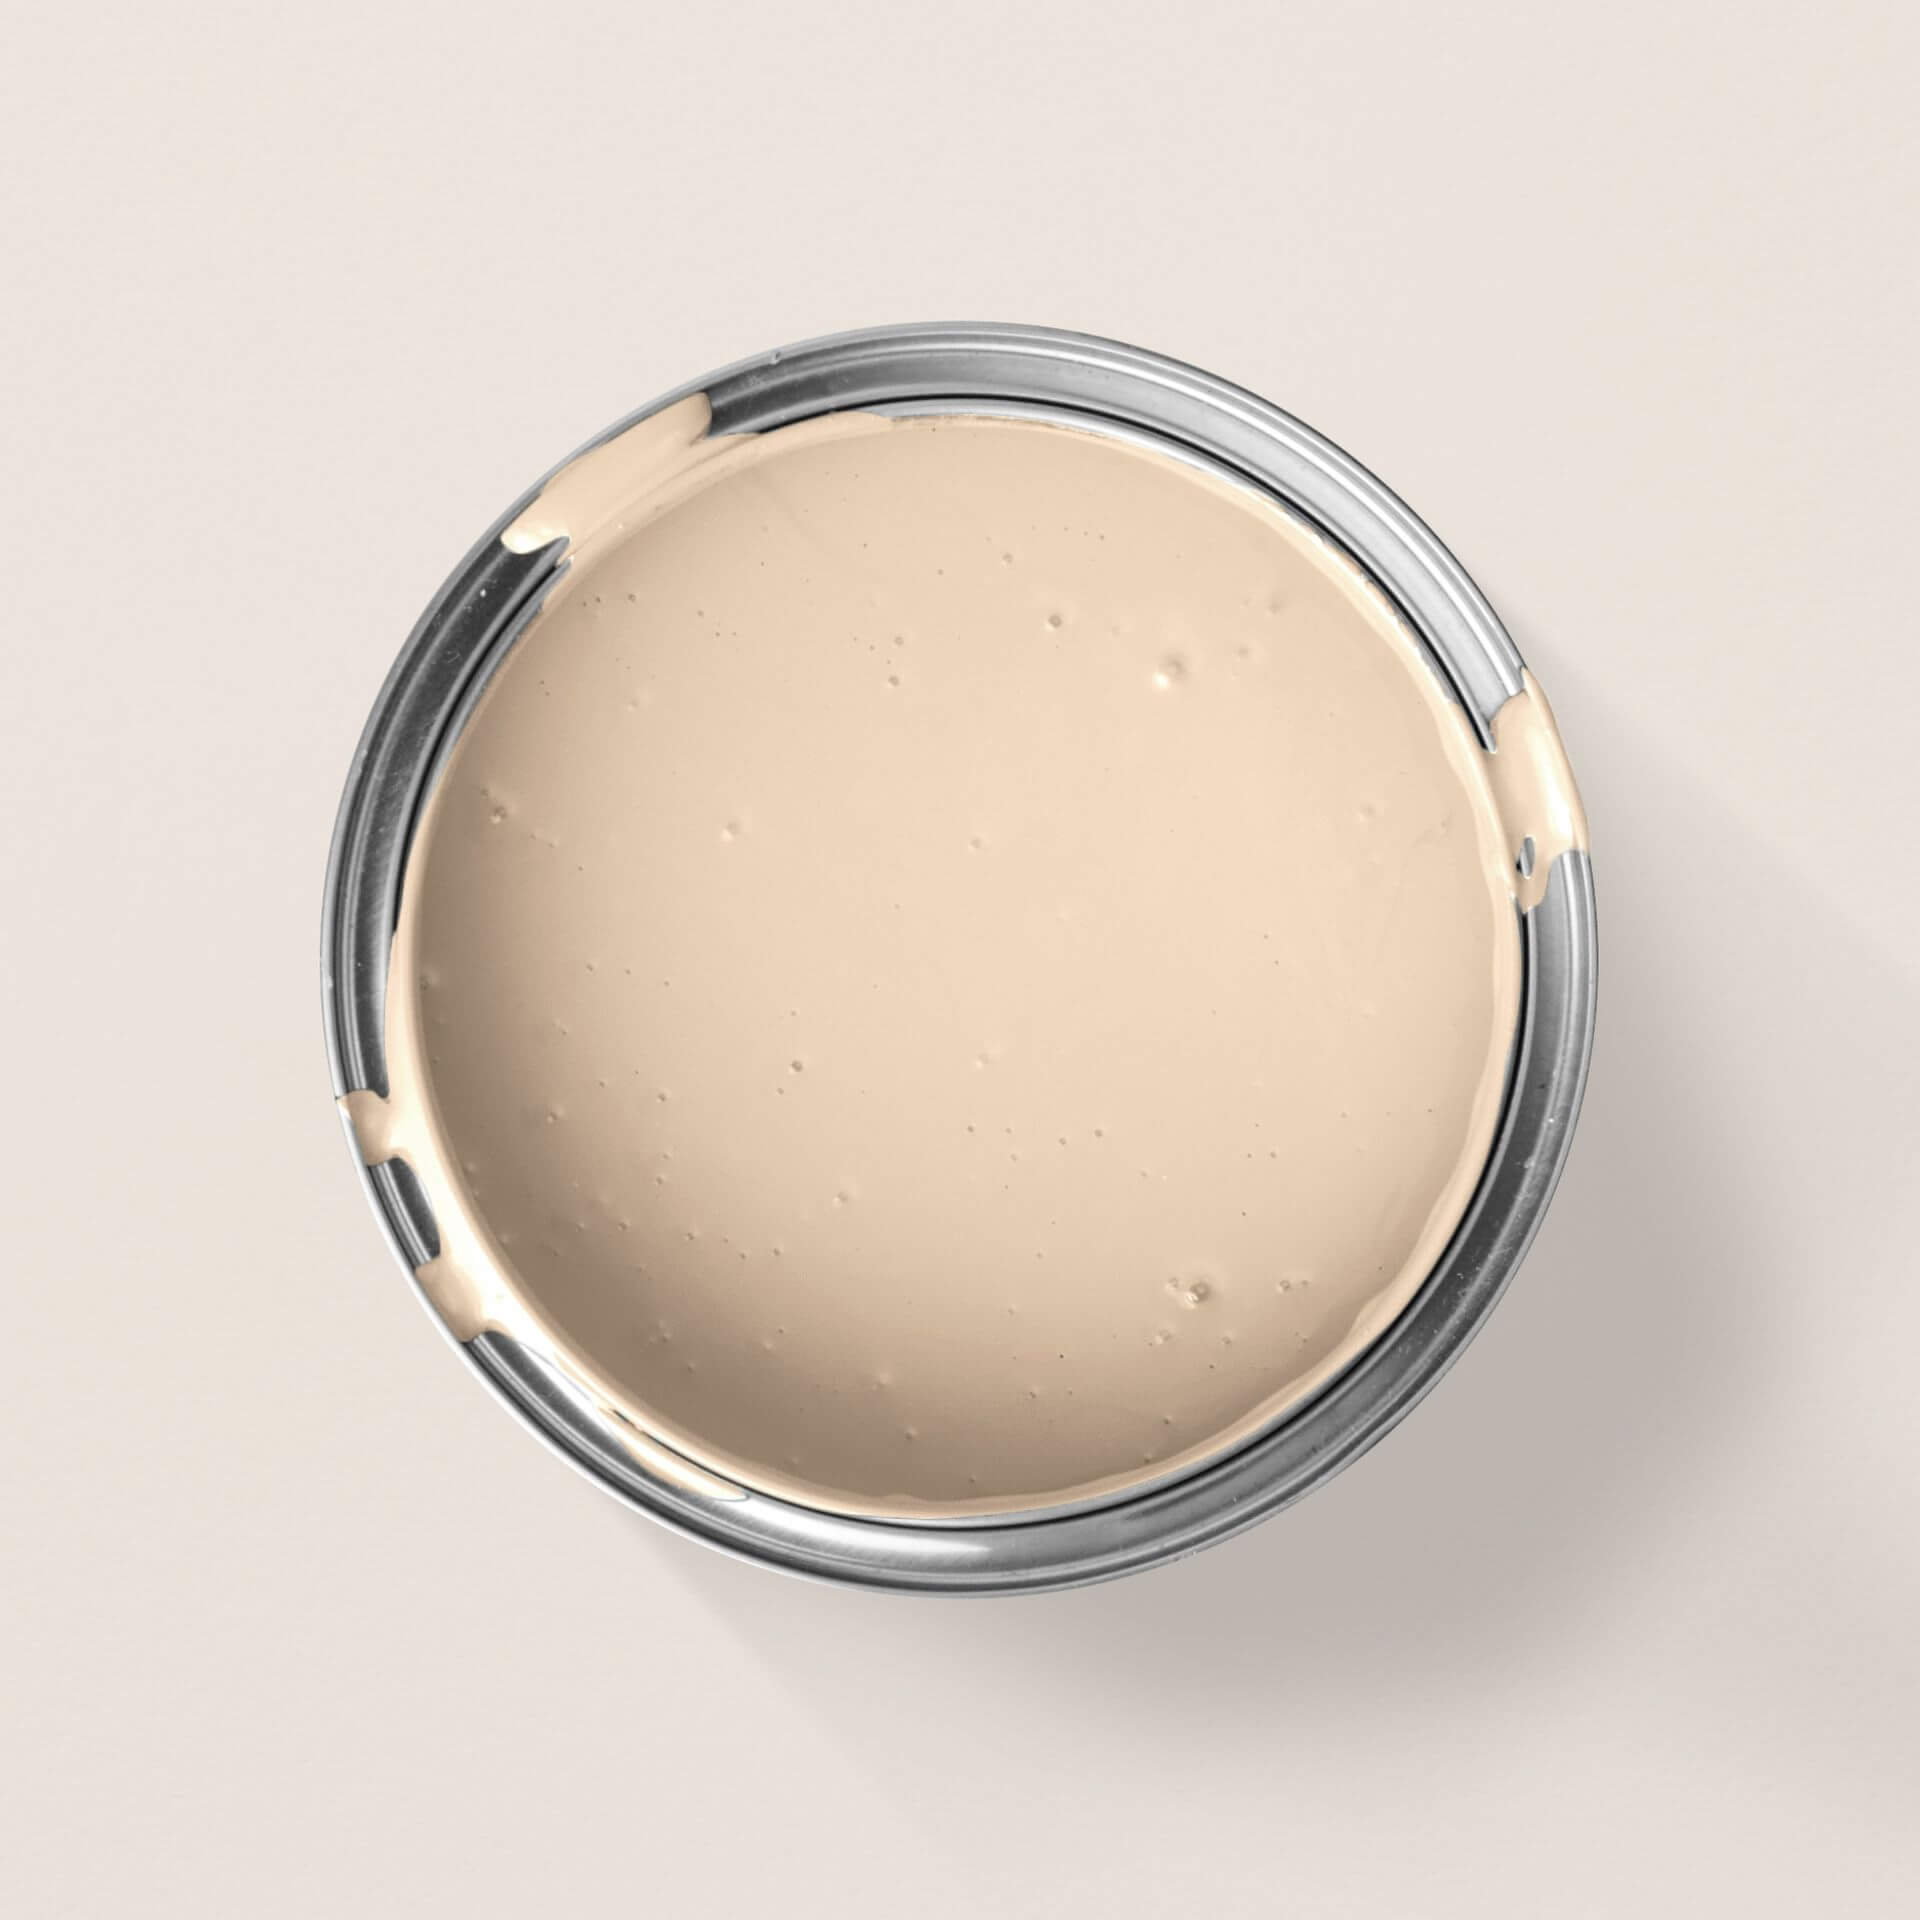
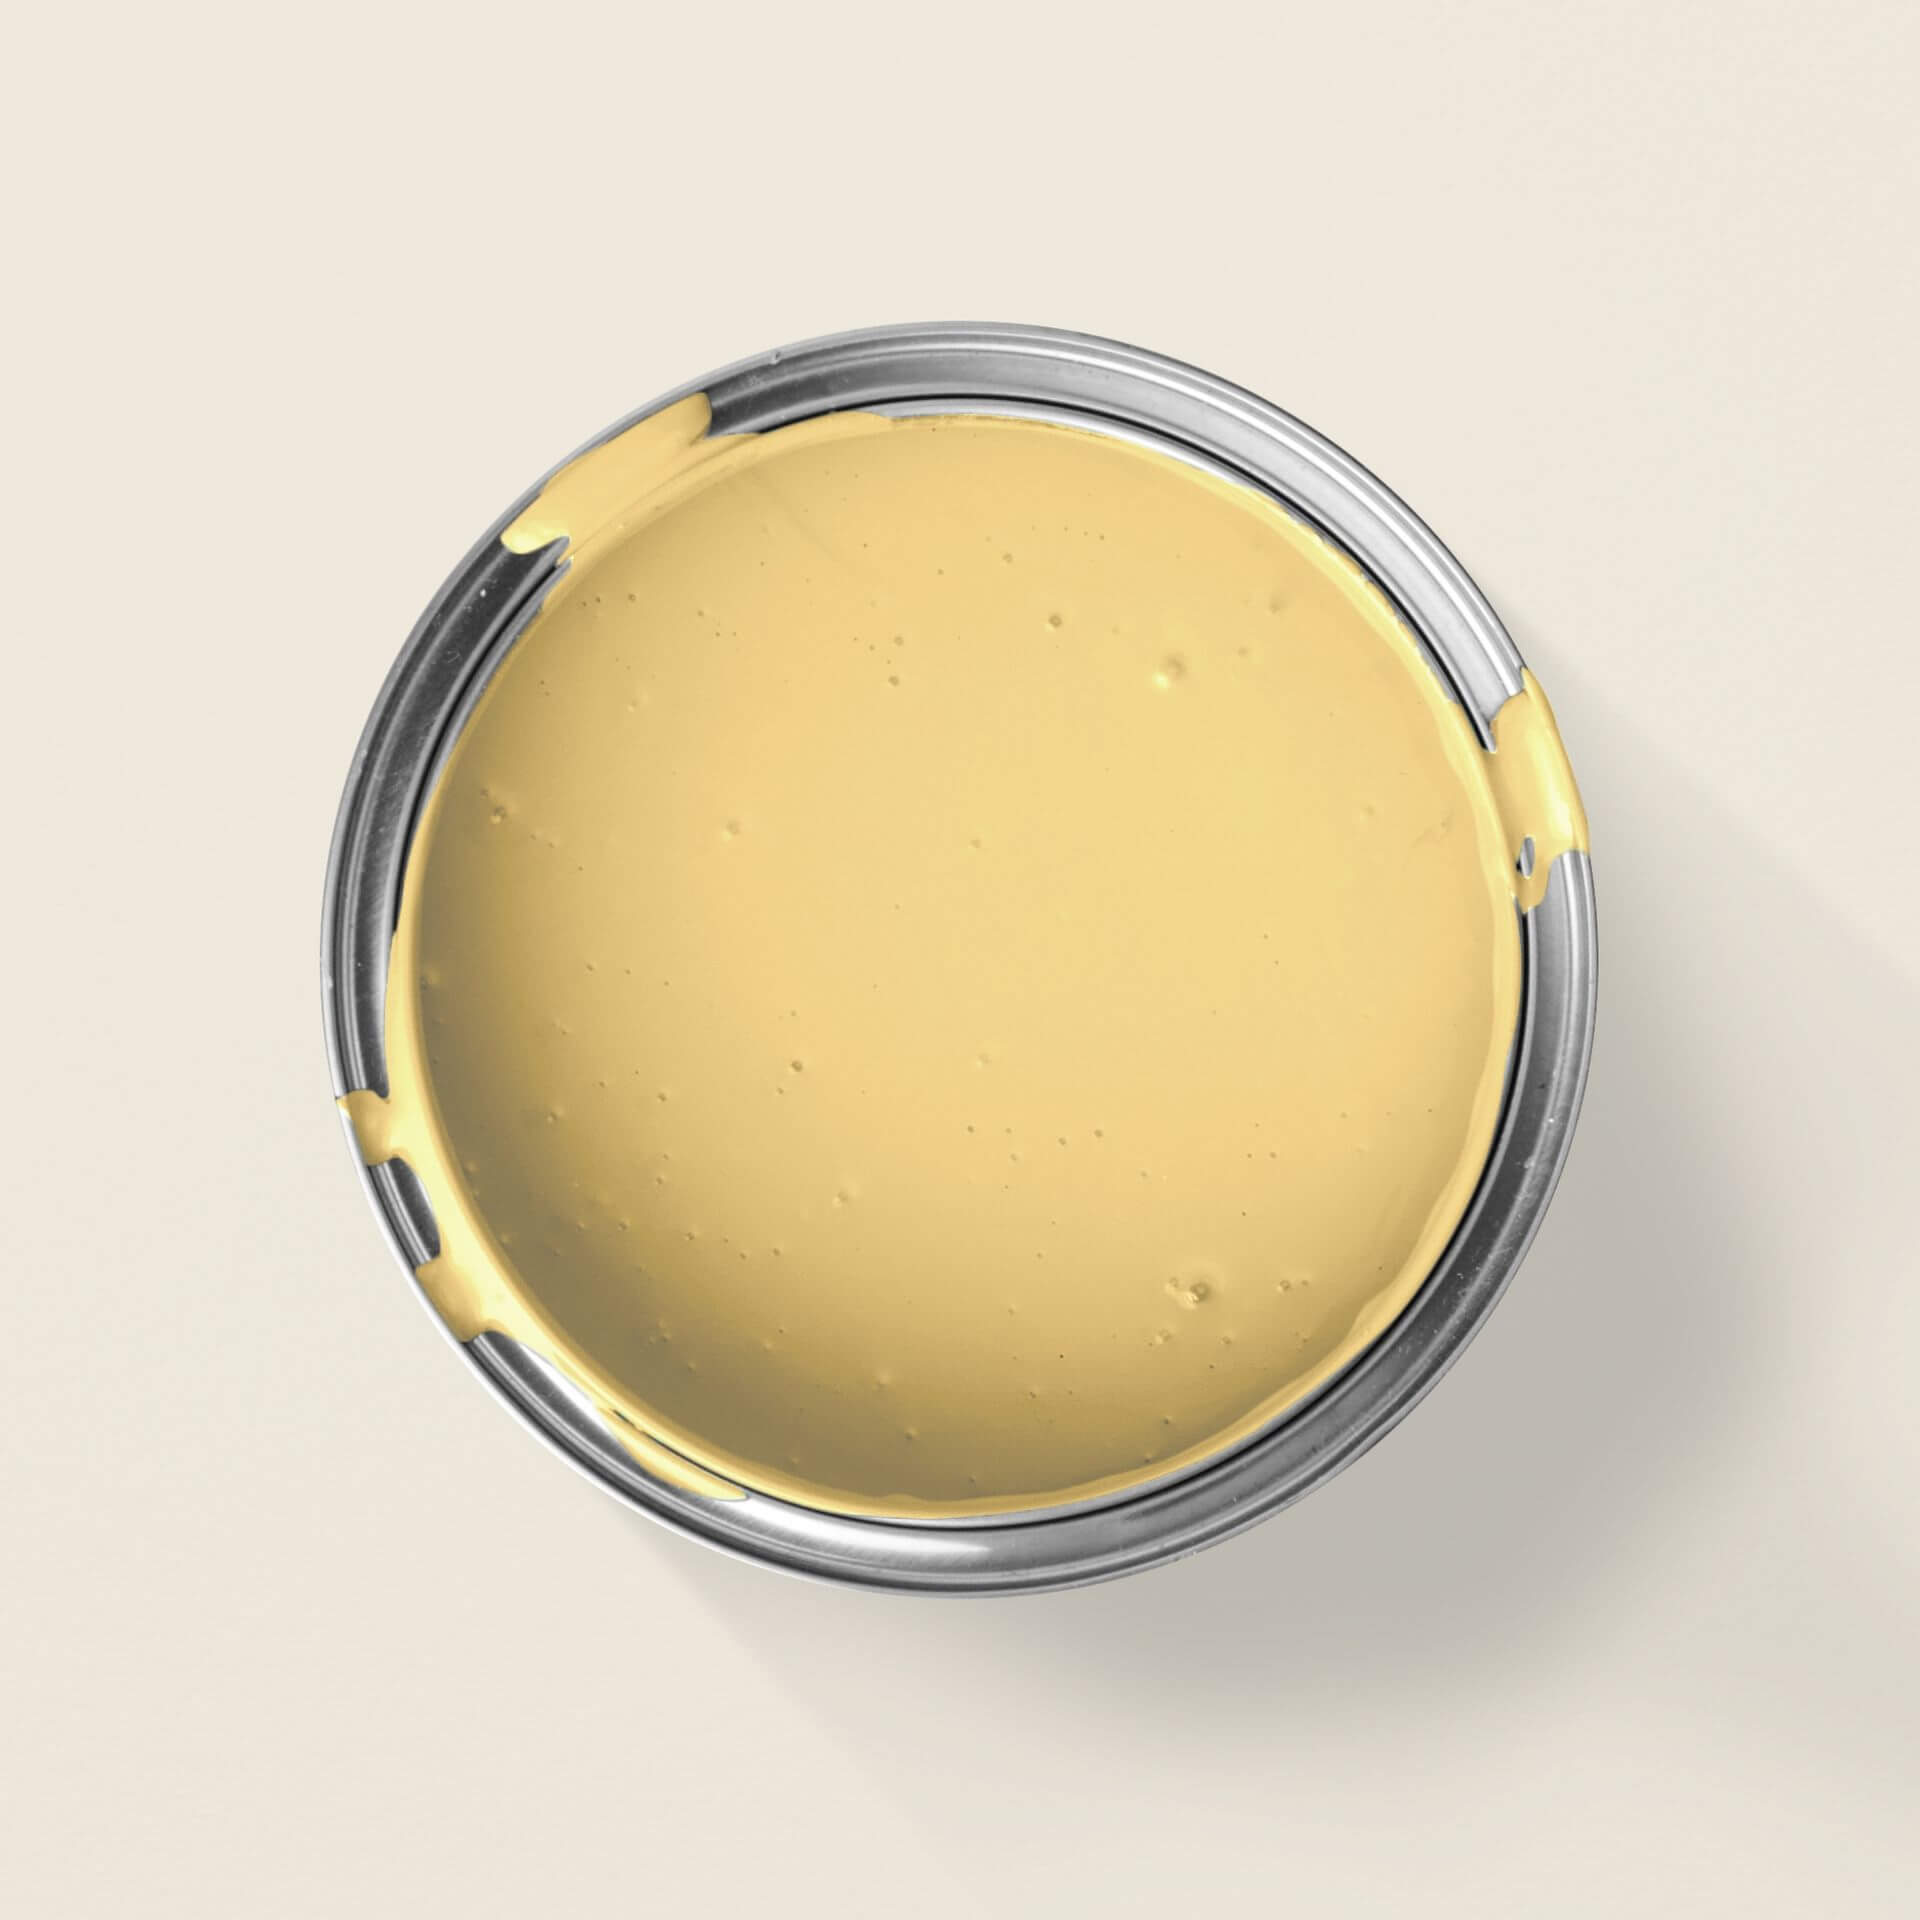
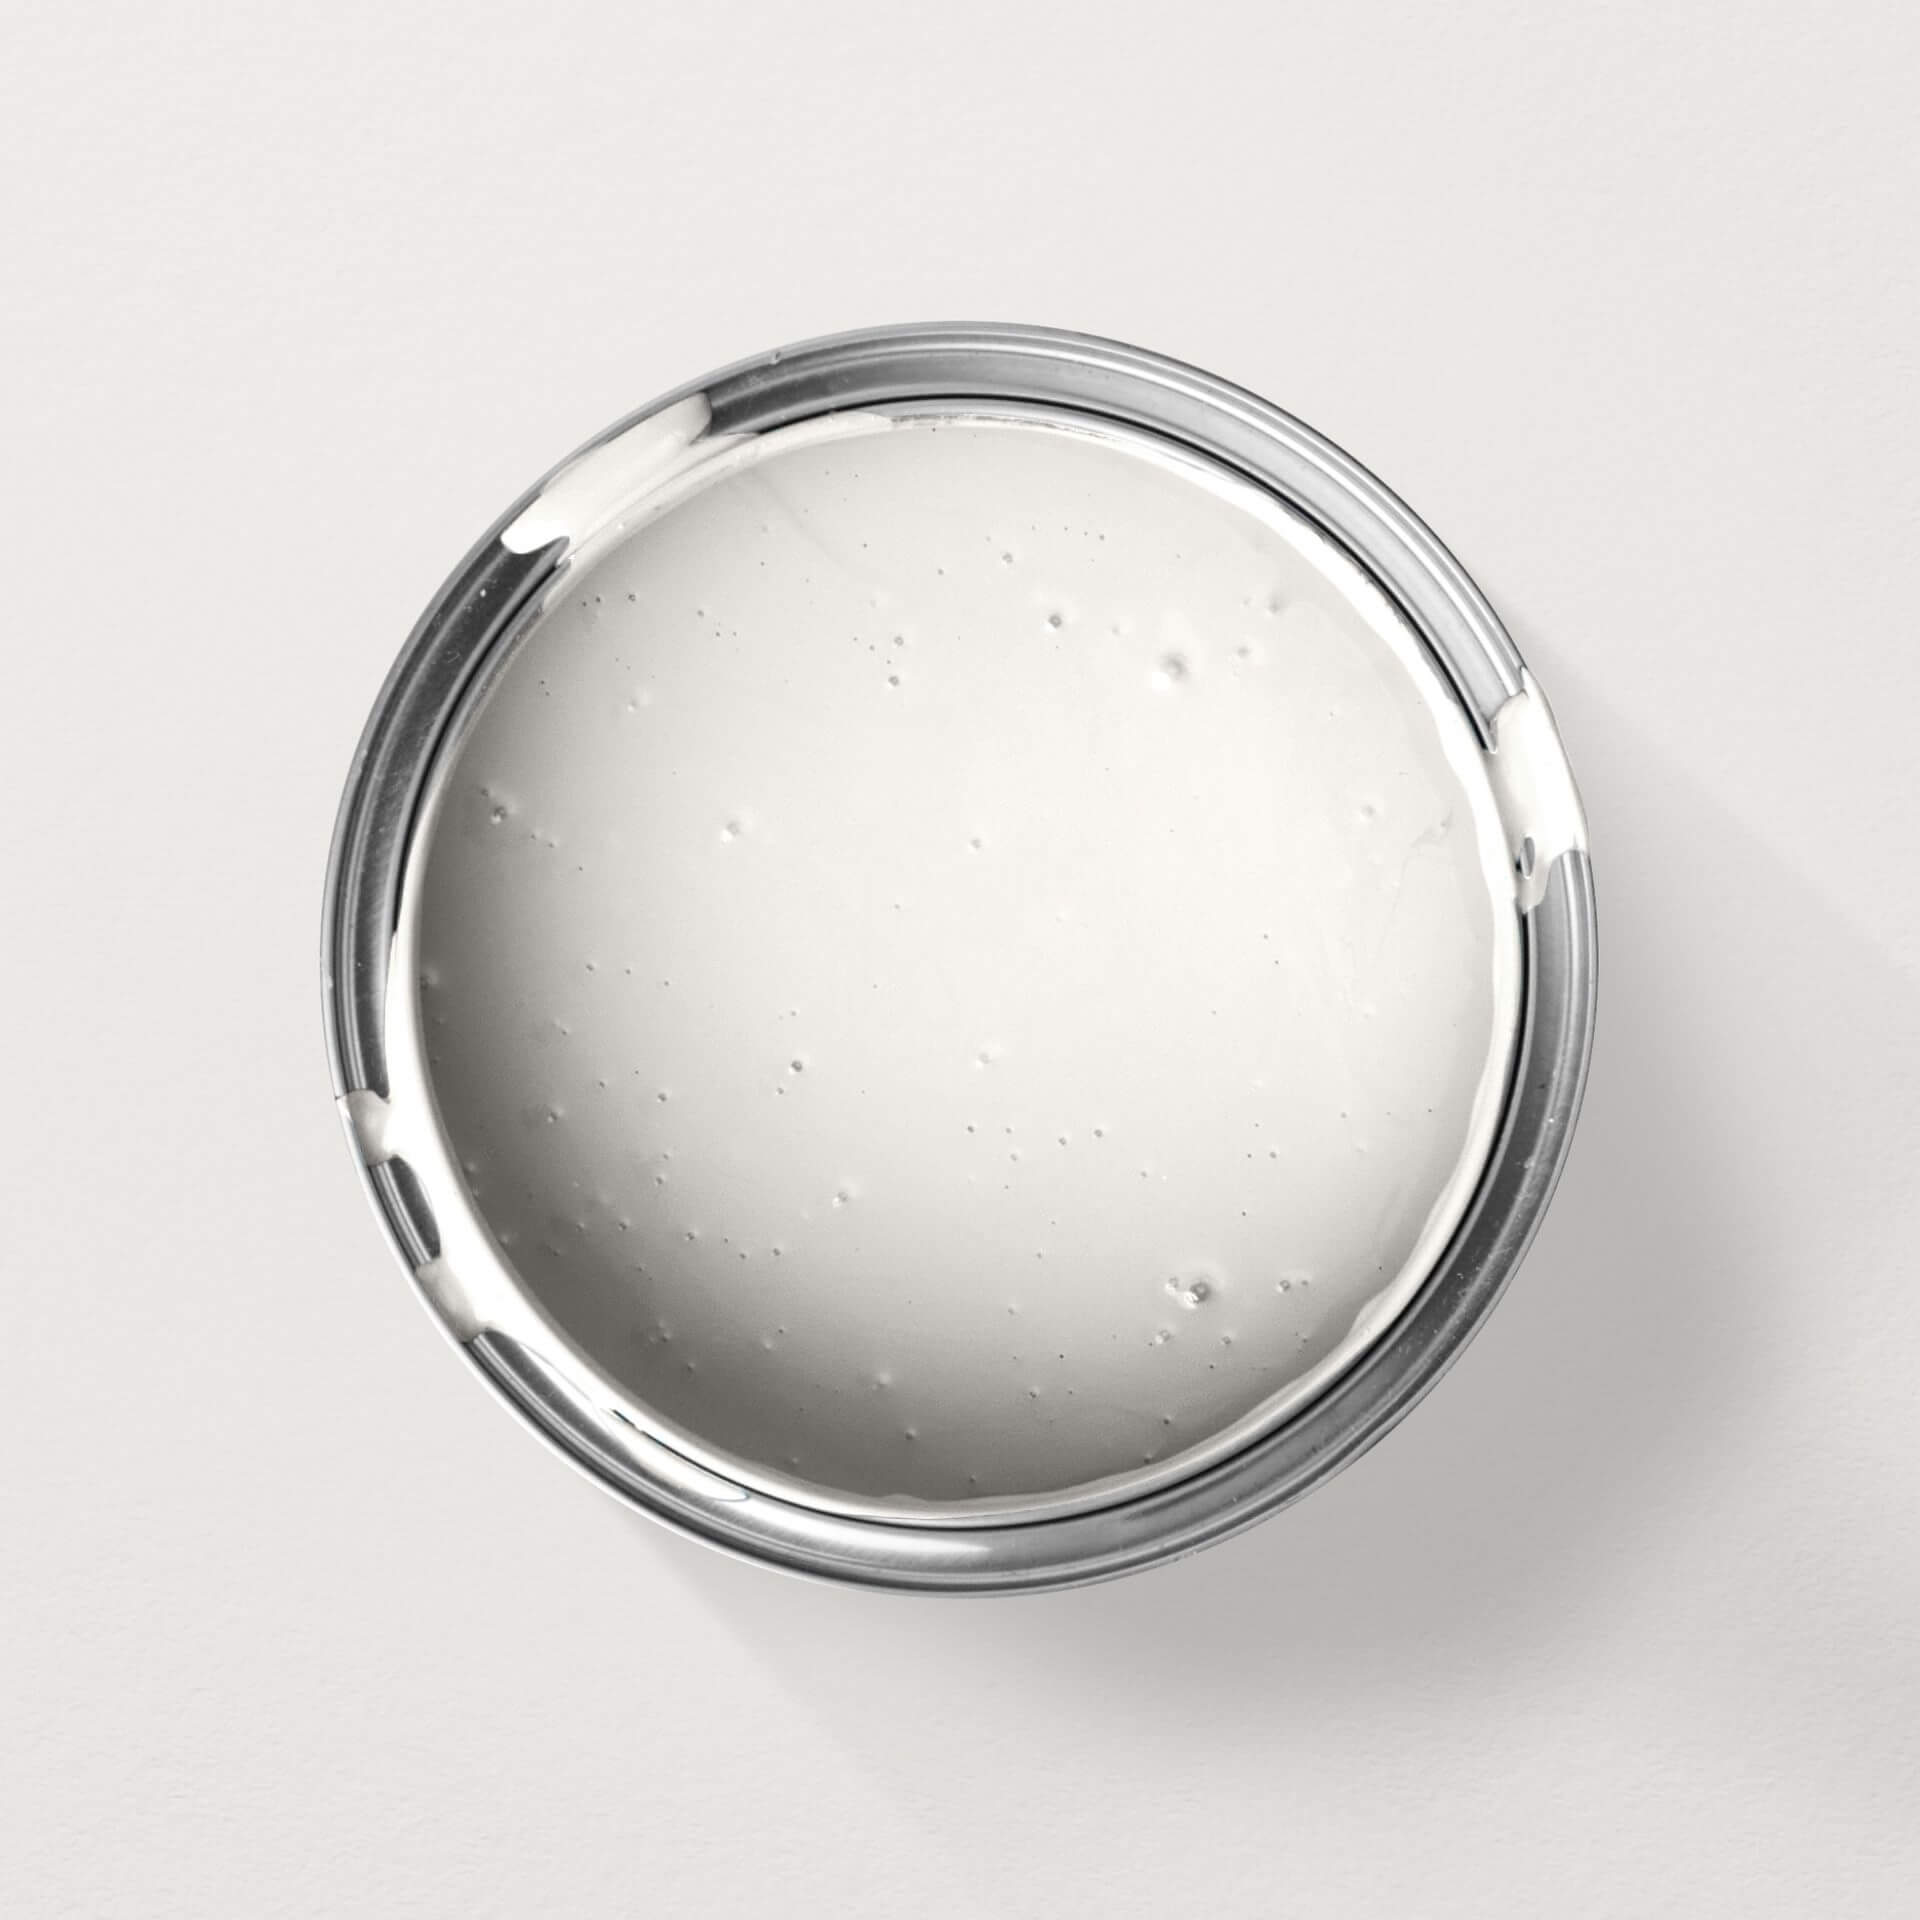
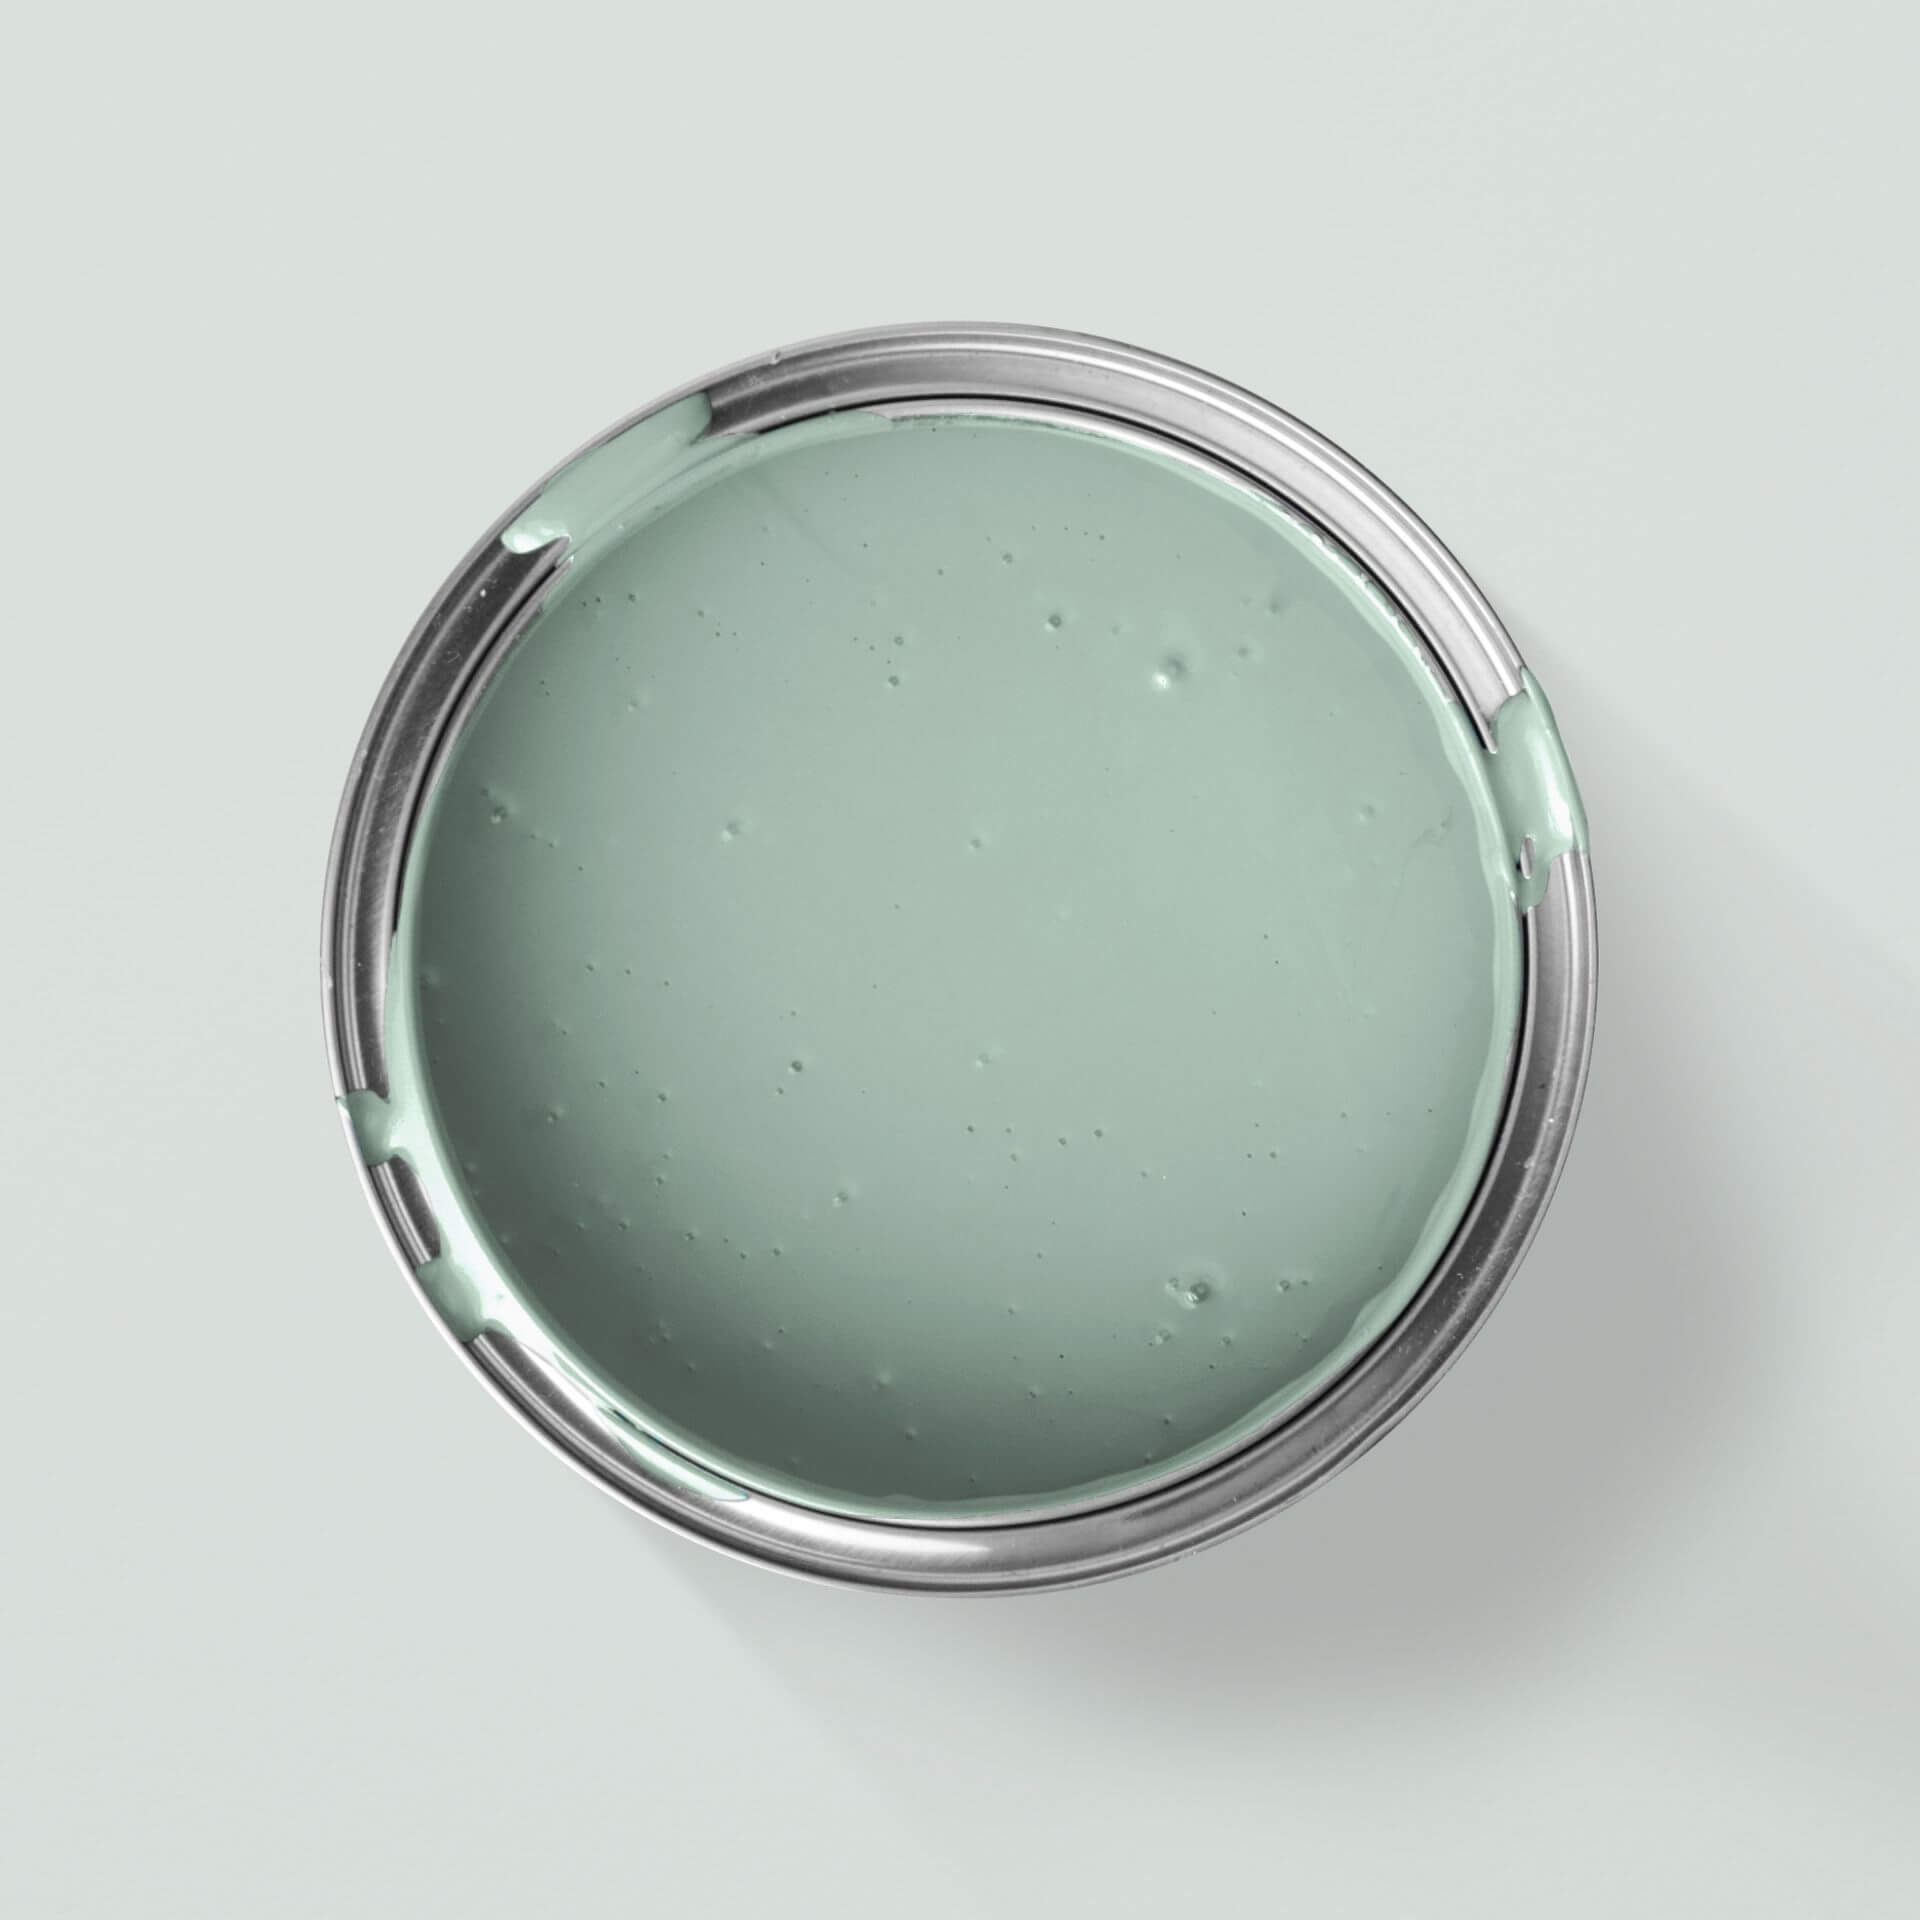
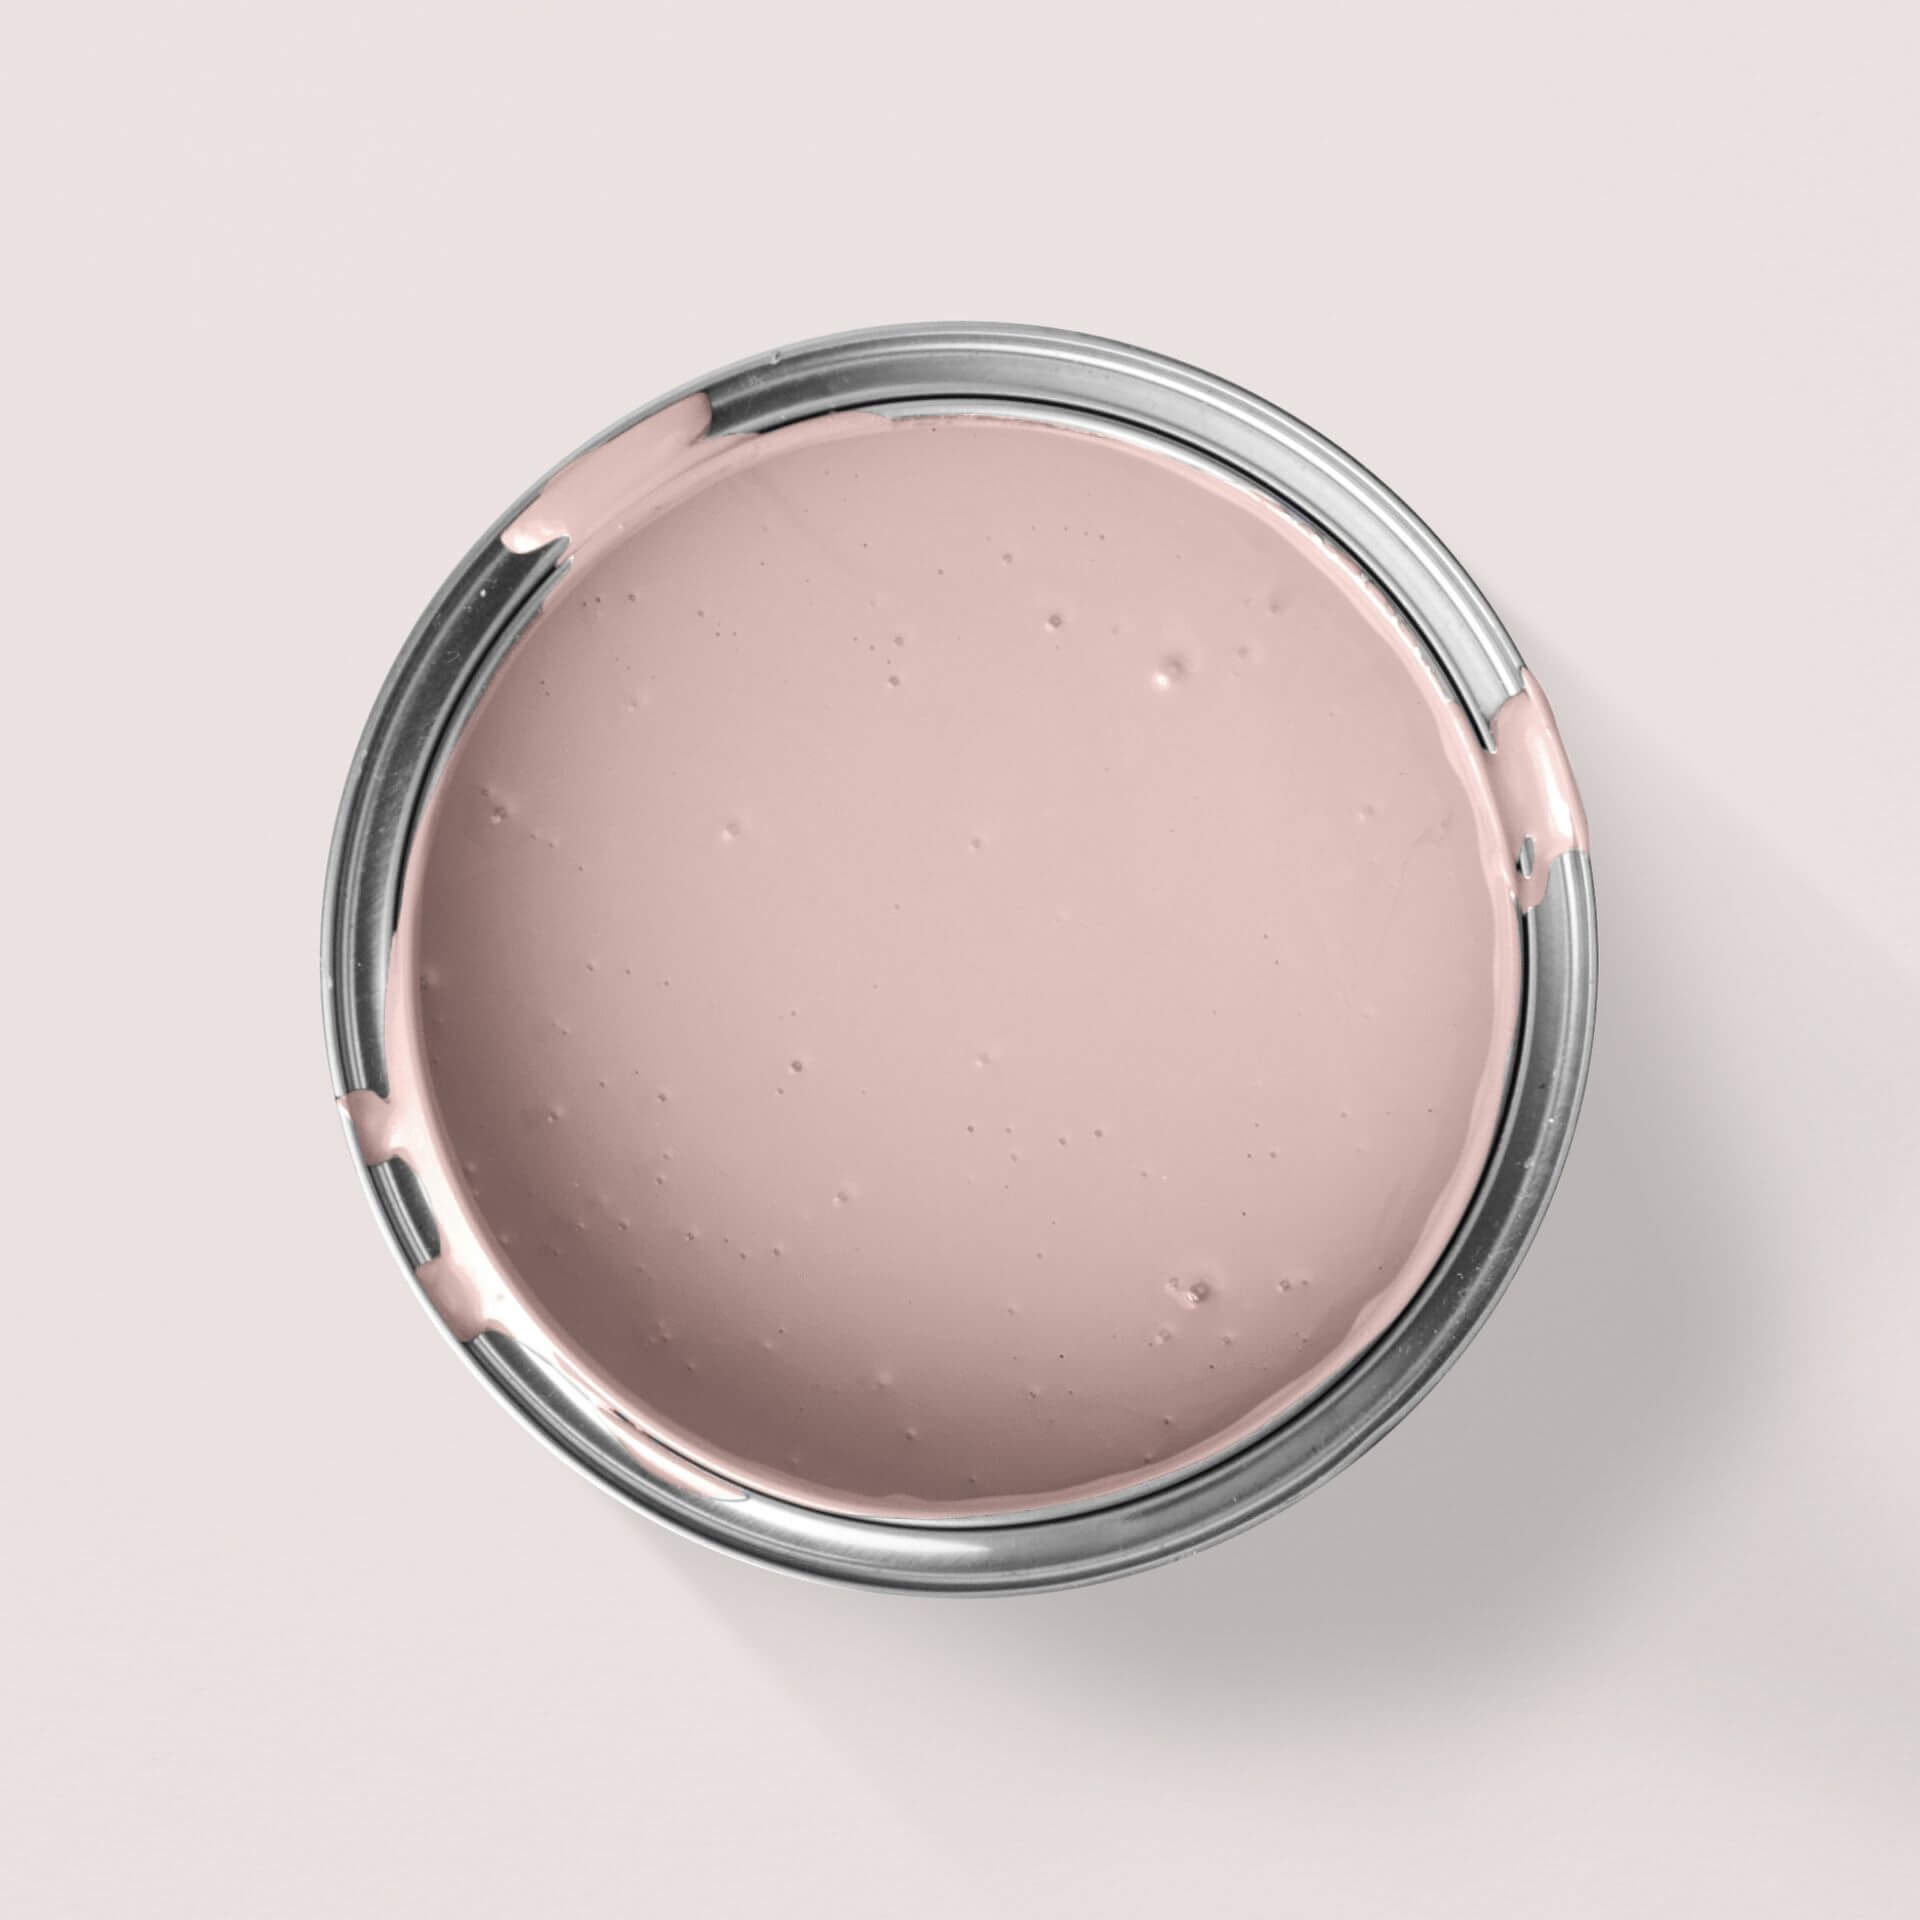
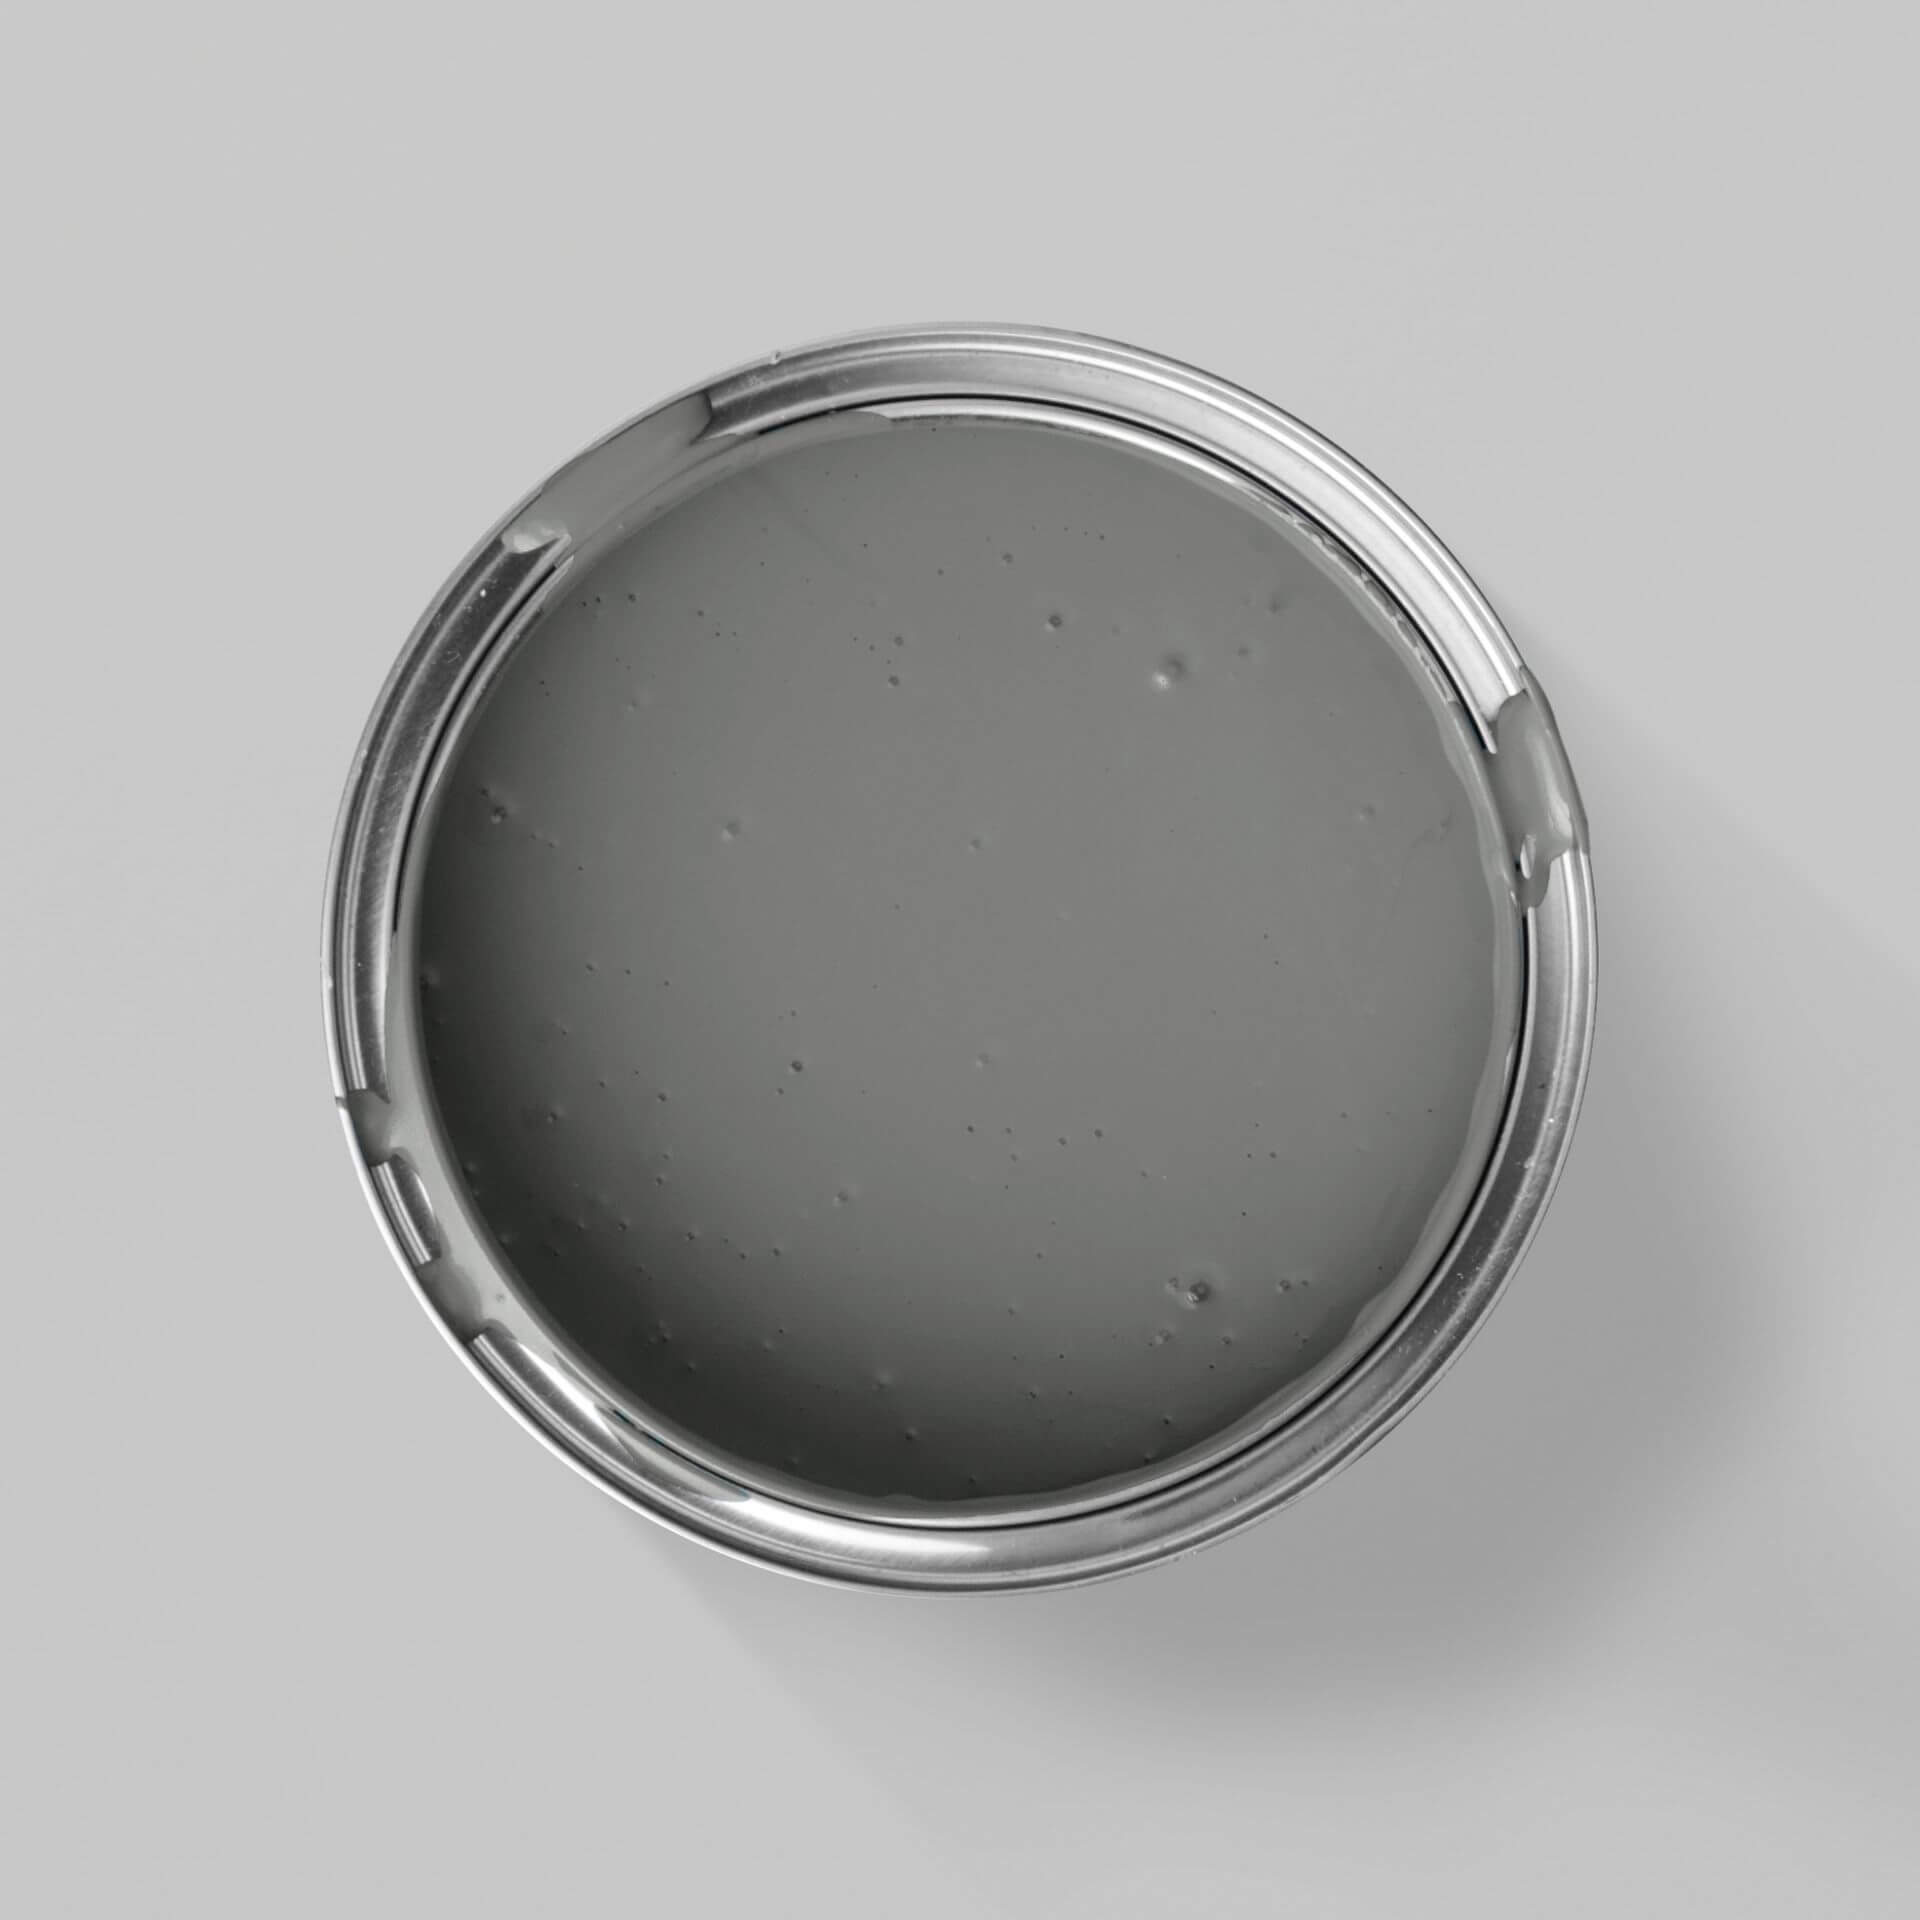
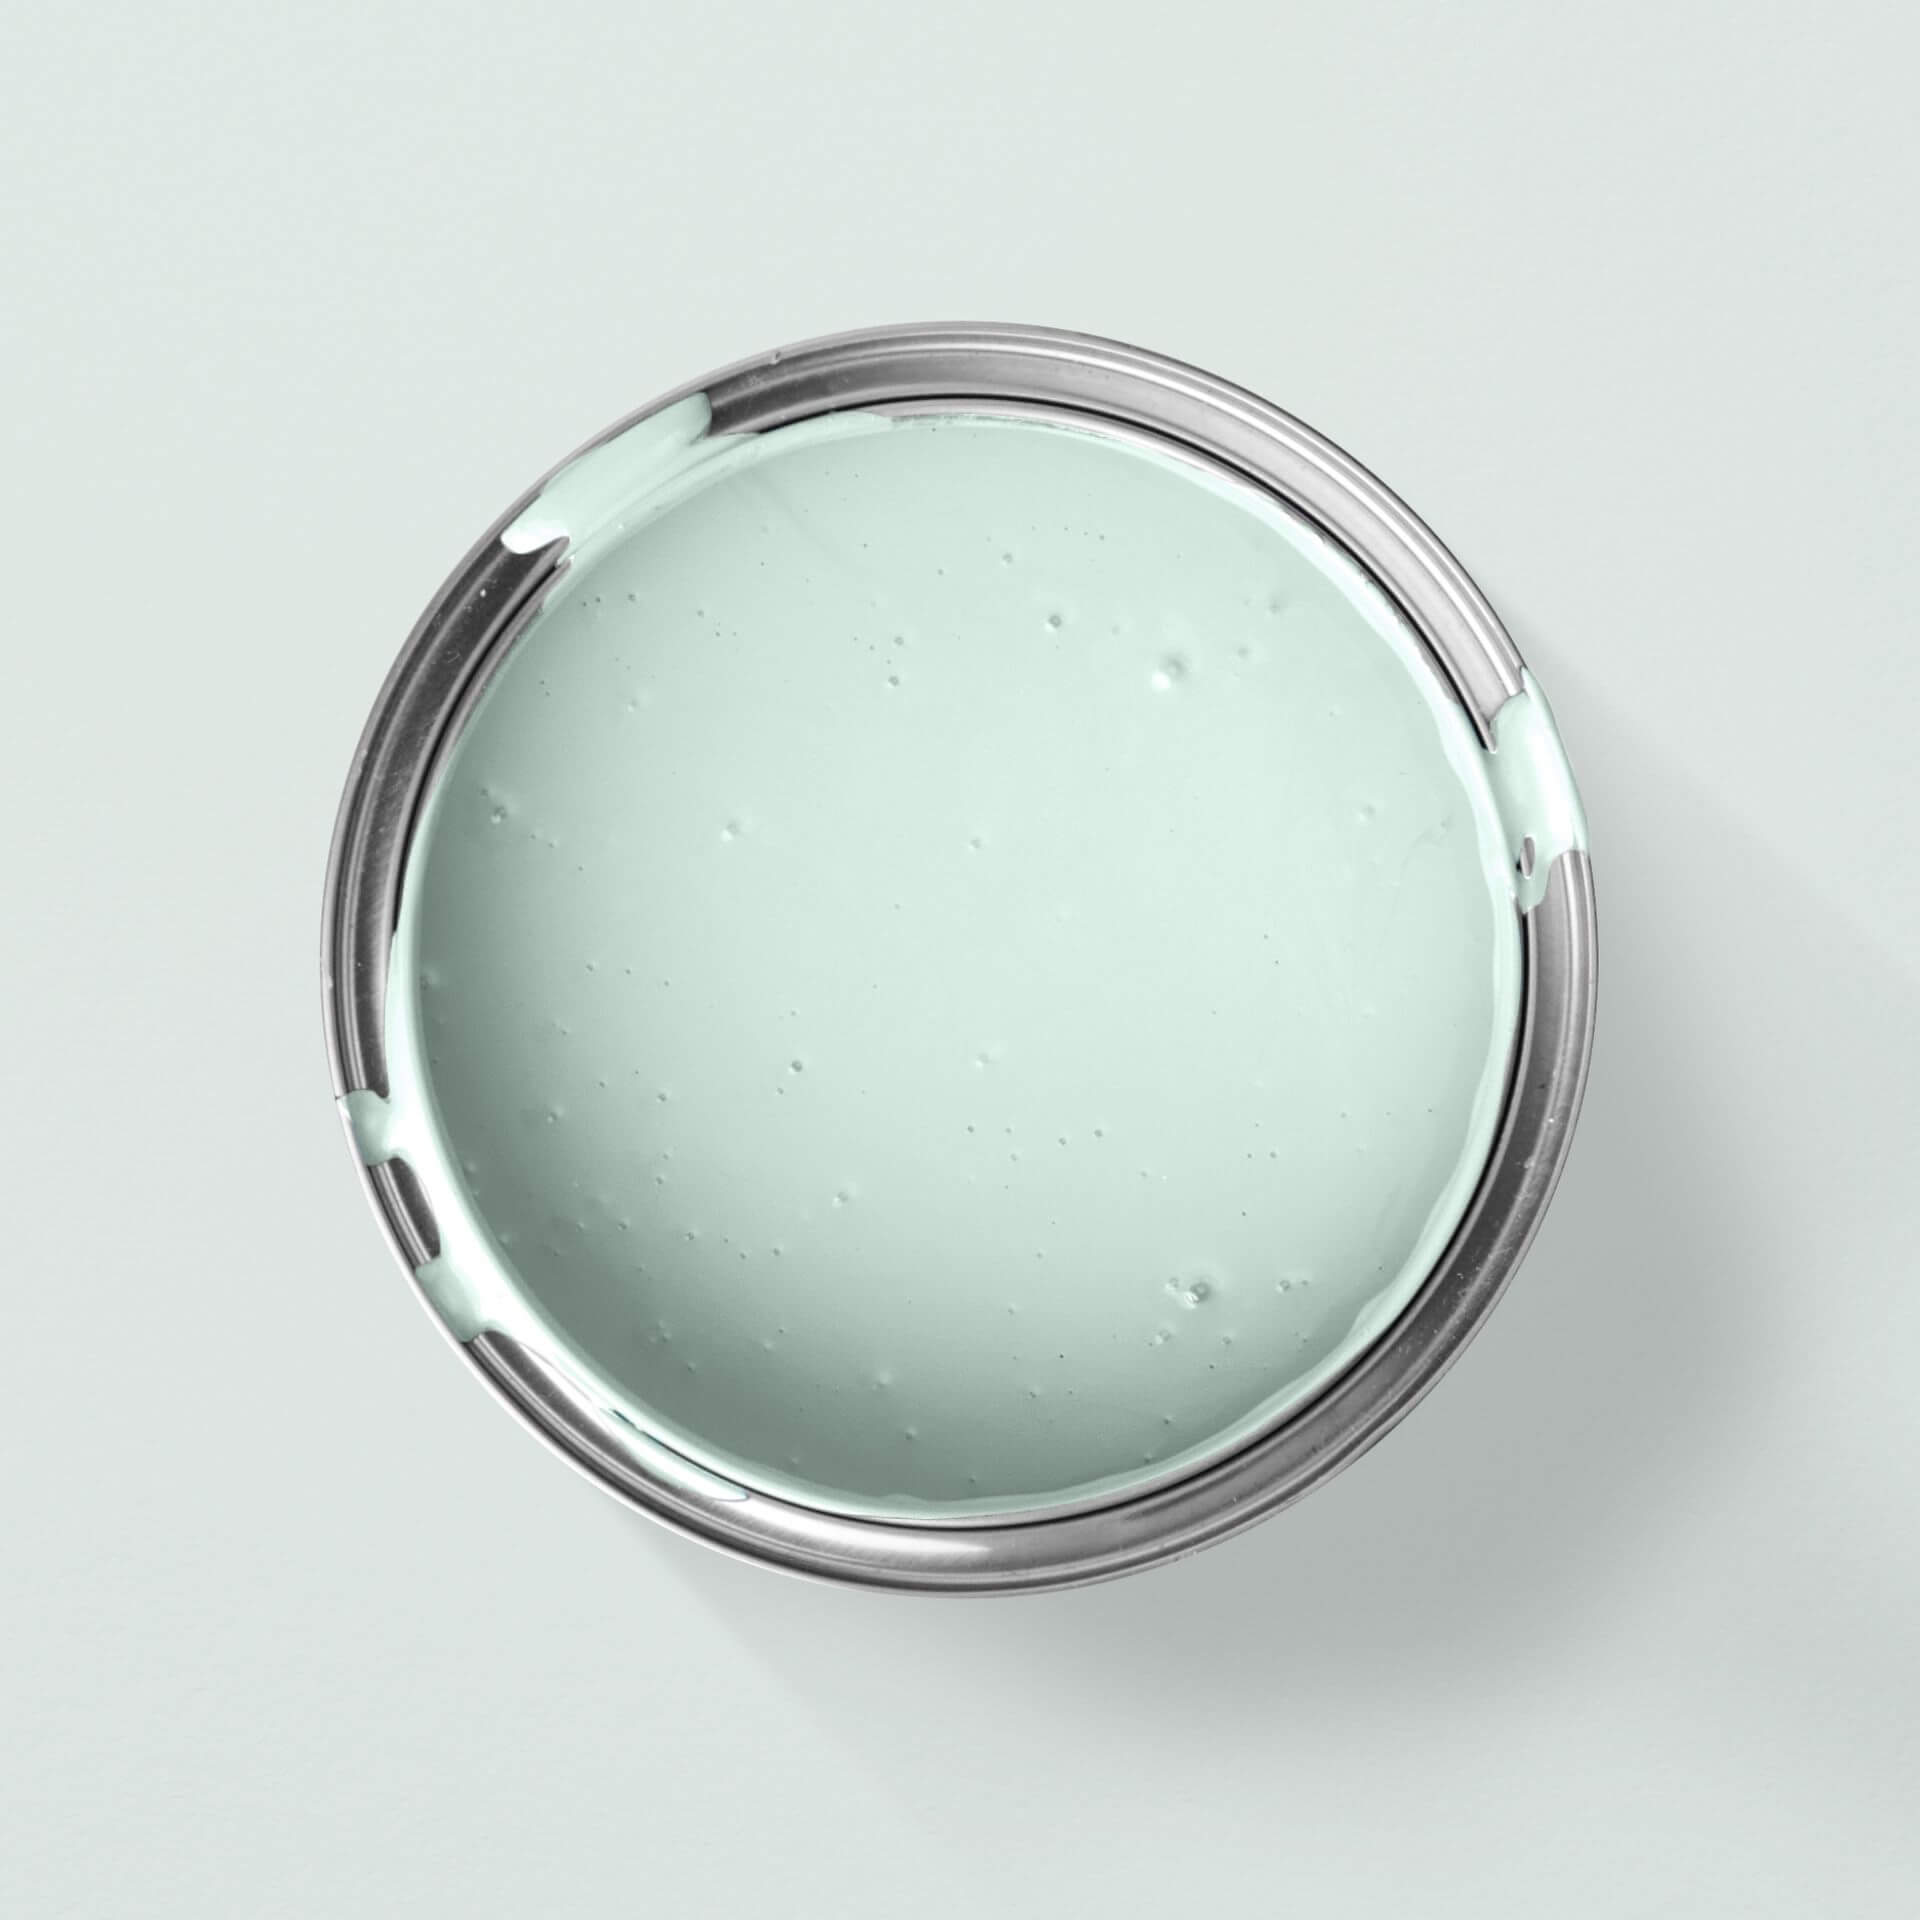
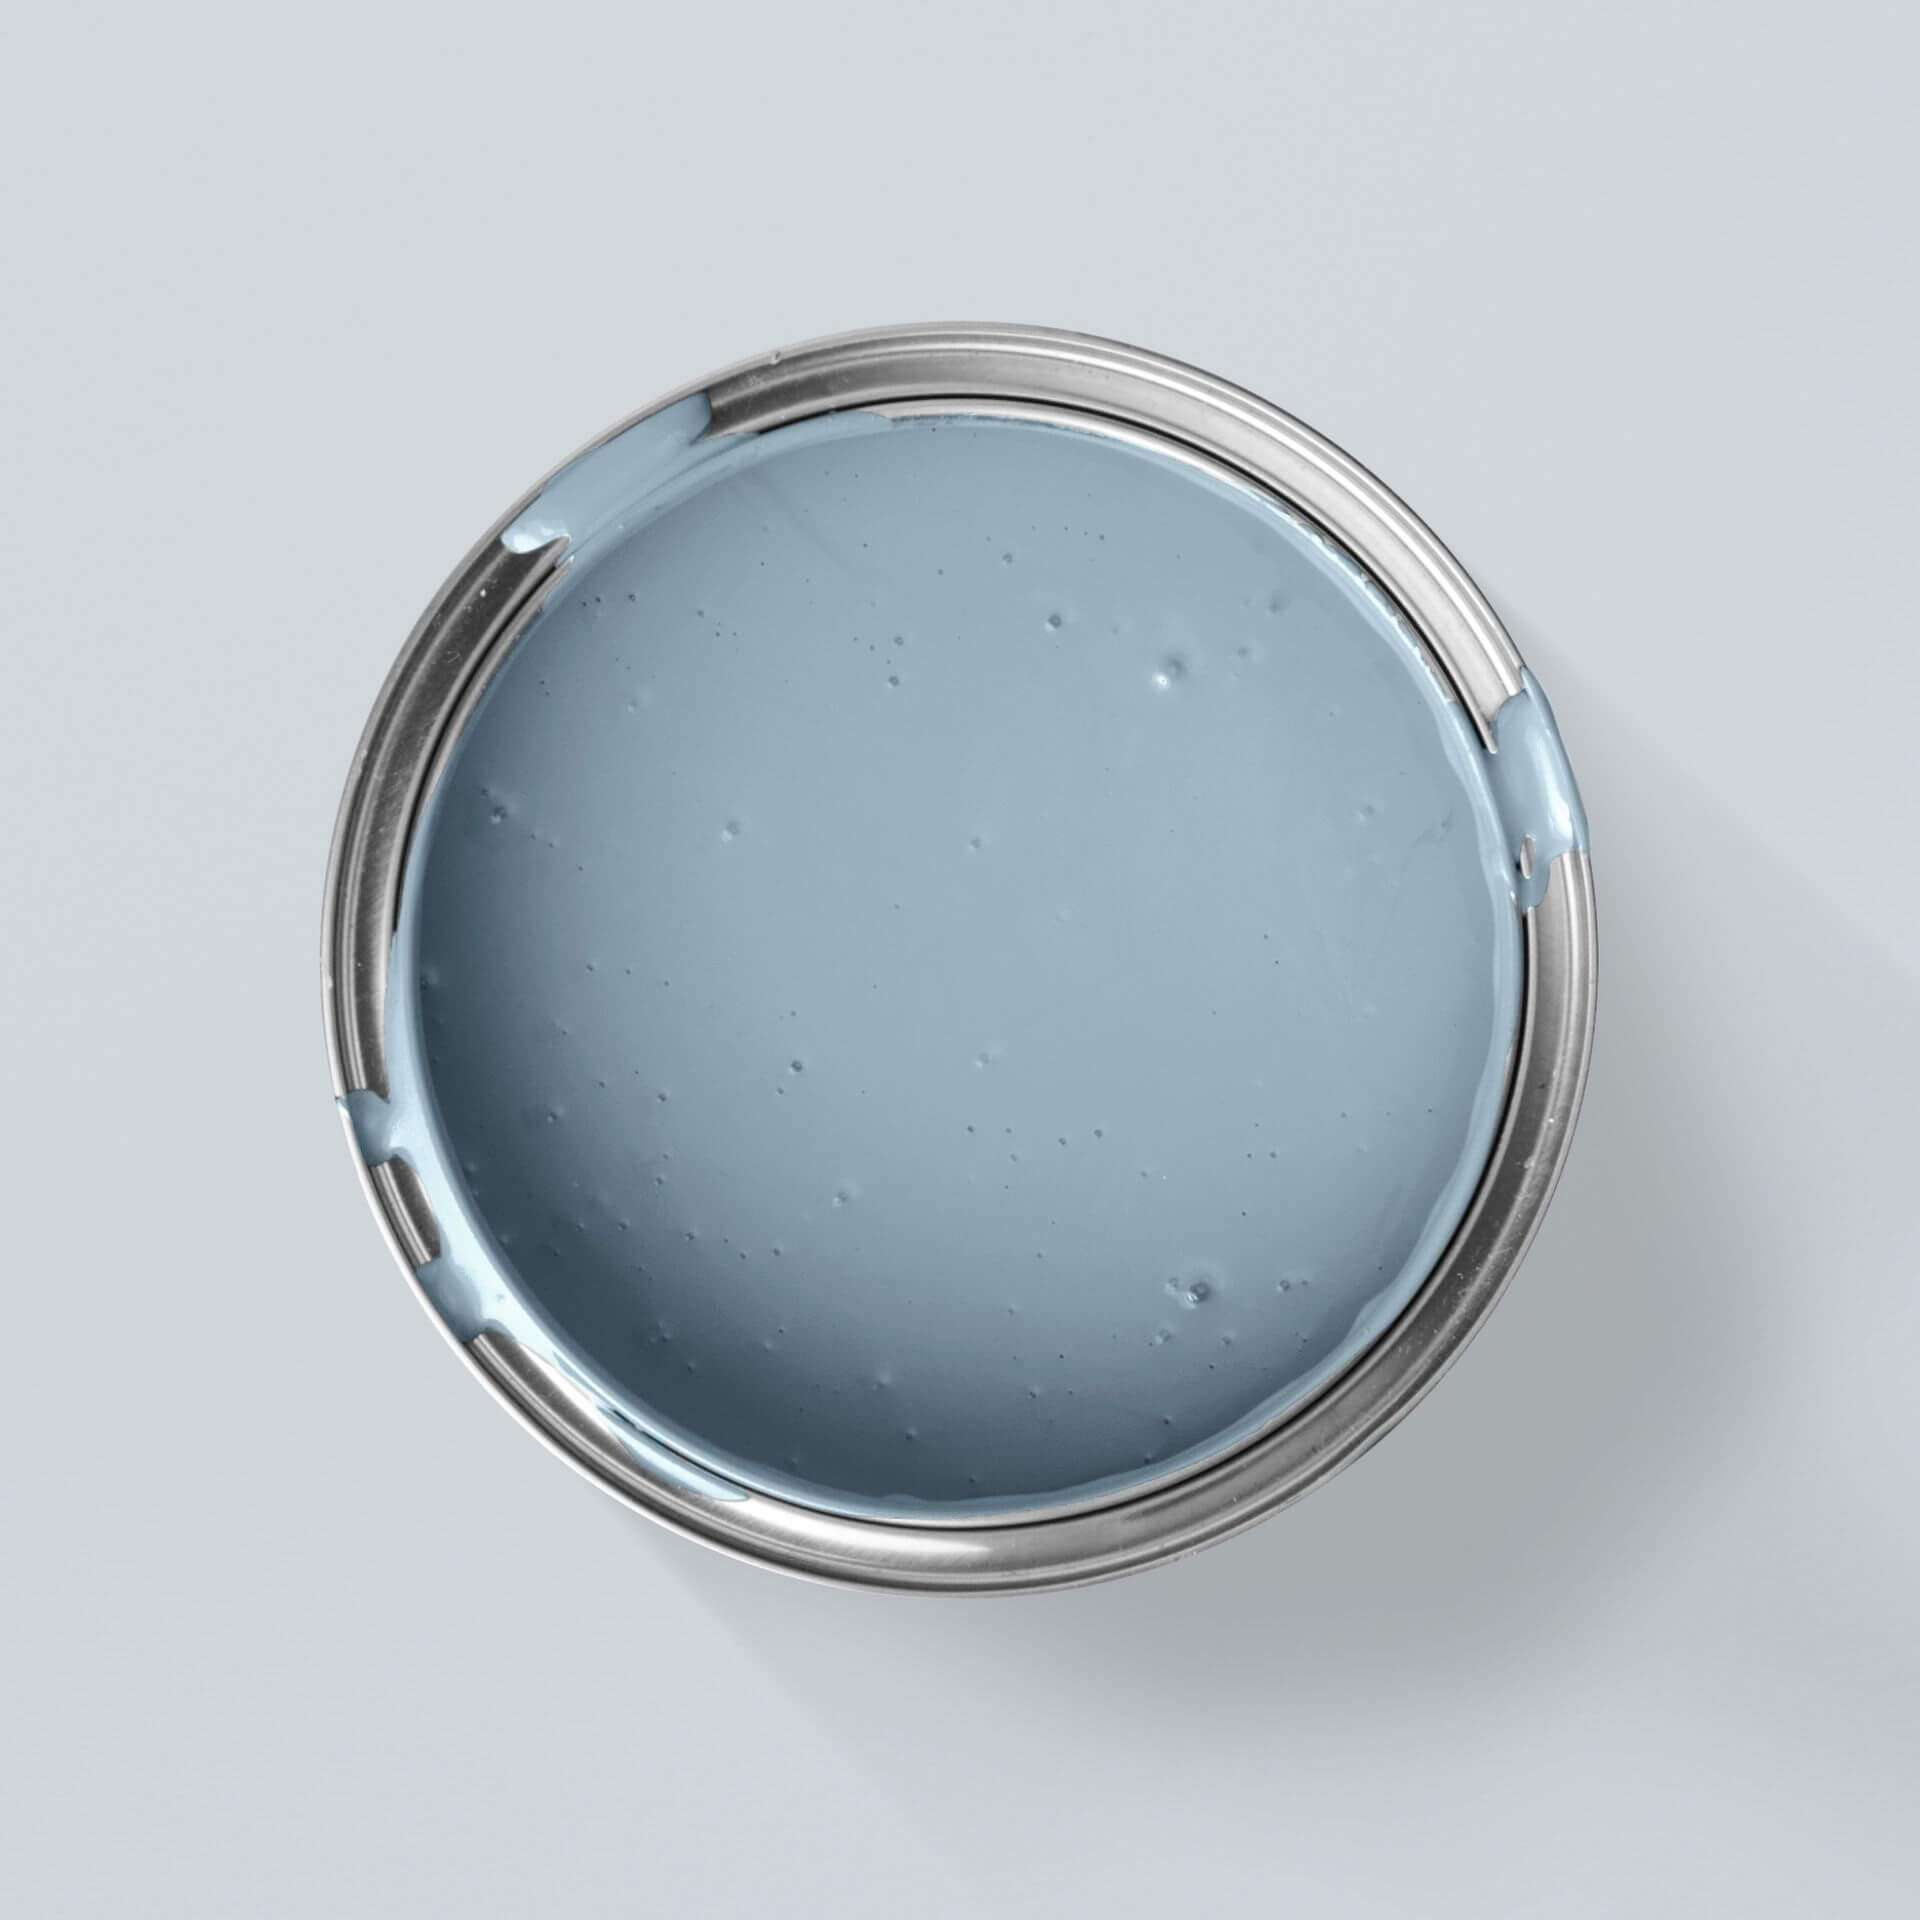
MissPompadour has created a whole new standard for children's room paints with the LittlePomp chalk paints and chalk varnishes collection. Because they are VOC- and solvent-free and saliva-proof. With the 15 beautiful, soft colour shadesn you can easily give walls in the children's room, children's furniture and even children's toys a new coat of paint. Let your ideas run wild!
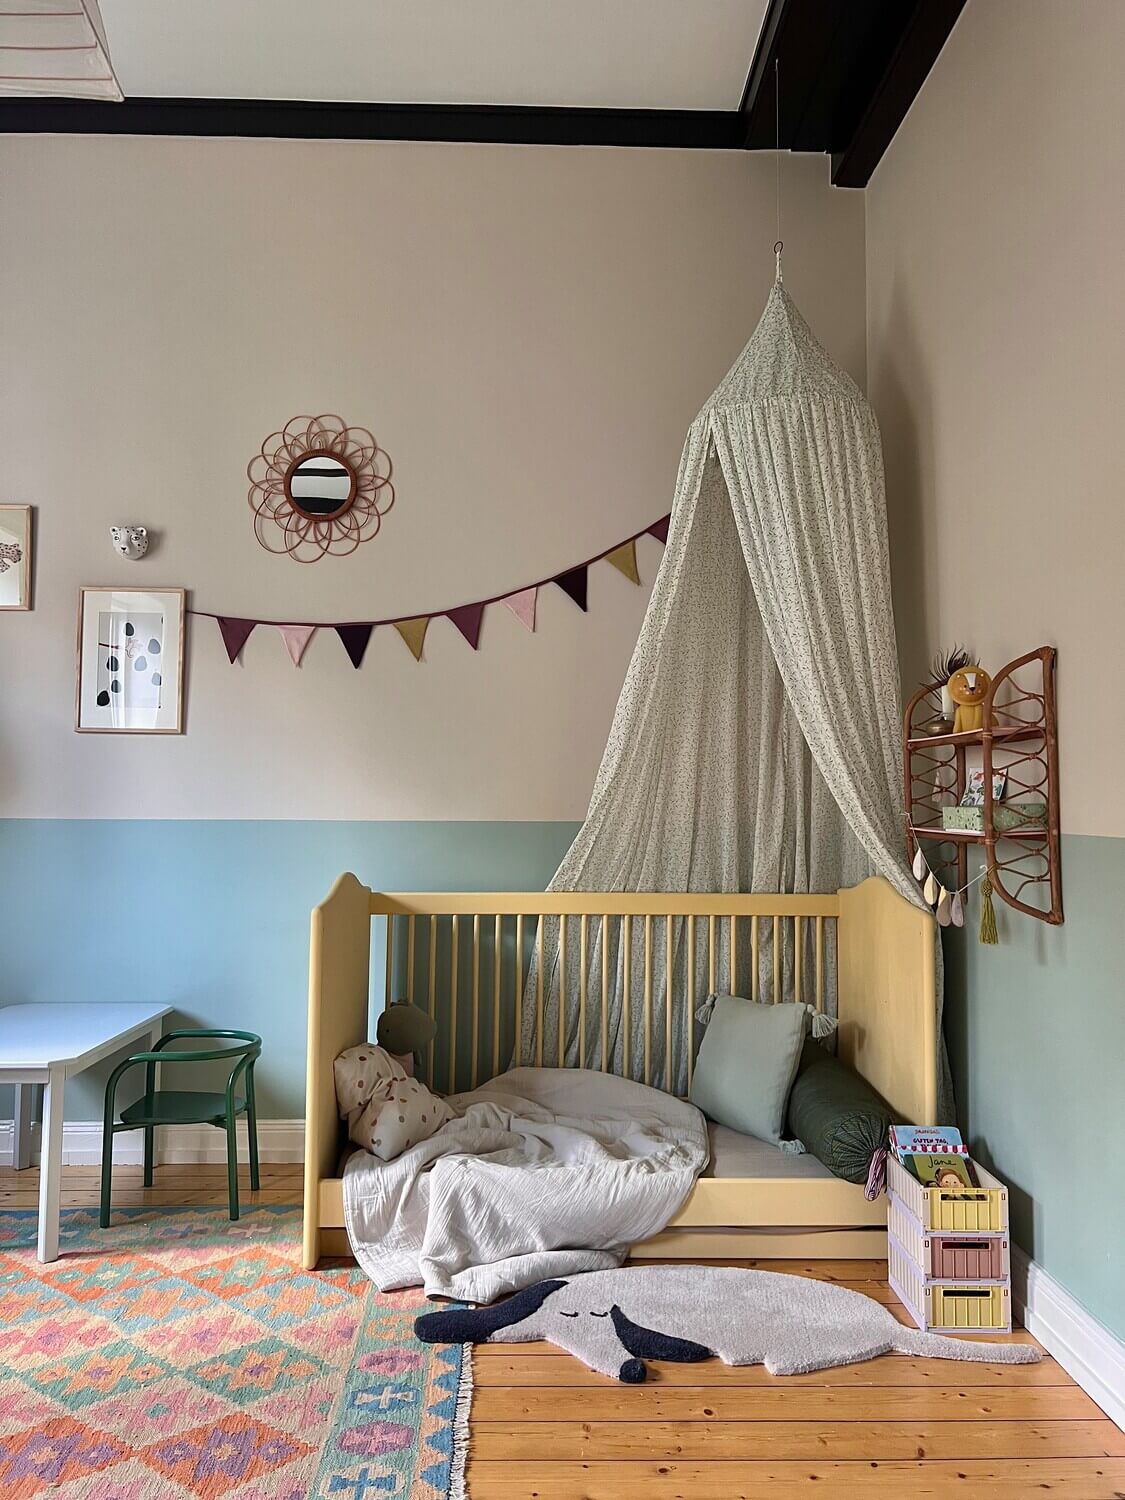
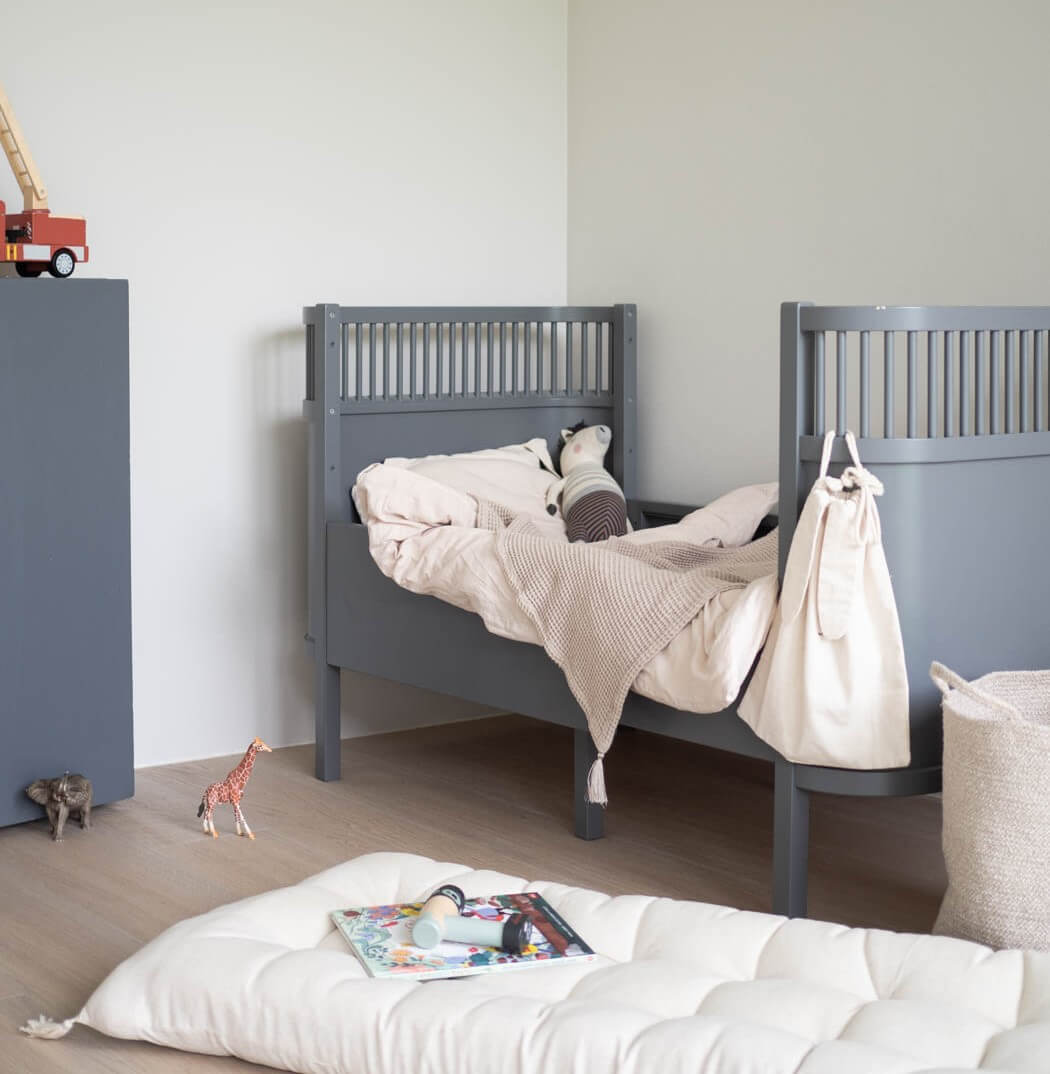
How-to: Paint a baby cot
No matter what material the cot you want to repaint is made of, the most important thing to do first is to clean it thoroughly. If possible, take the bed apart. You can then - and this is also important for pregnant women - easily work on the individual parts while standing upright. This is also an advantage when painting, as you can easily reach all the places, e.g. between the bars.
Colours or varnishes, wood or metal? Identify the substrate.
First of all, take a good look at the condition of the bed. Is it made of raw, untreated wood or is the wood varnished? Or even metal? Or is it a wooden bed that has already been varnished? Is this old varnish still intact, or is it already flaking off in some places? In the following steps we will explain what you have to look out for.
Step 1: Turn old into new - prepare the cot.
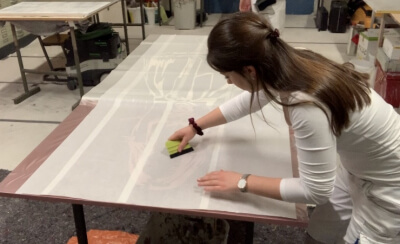
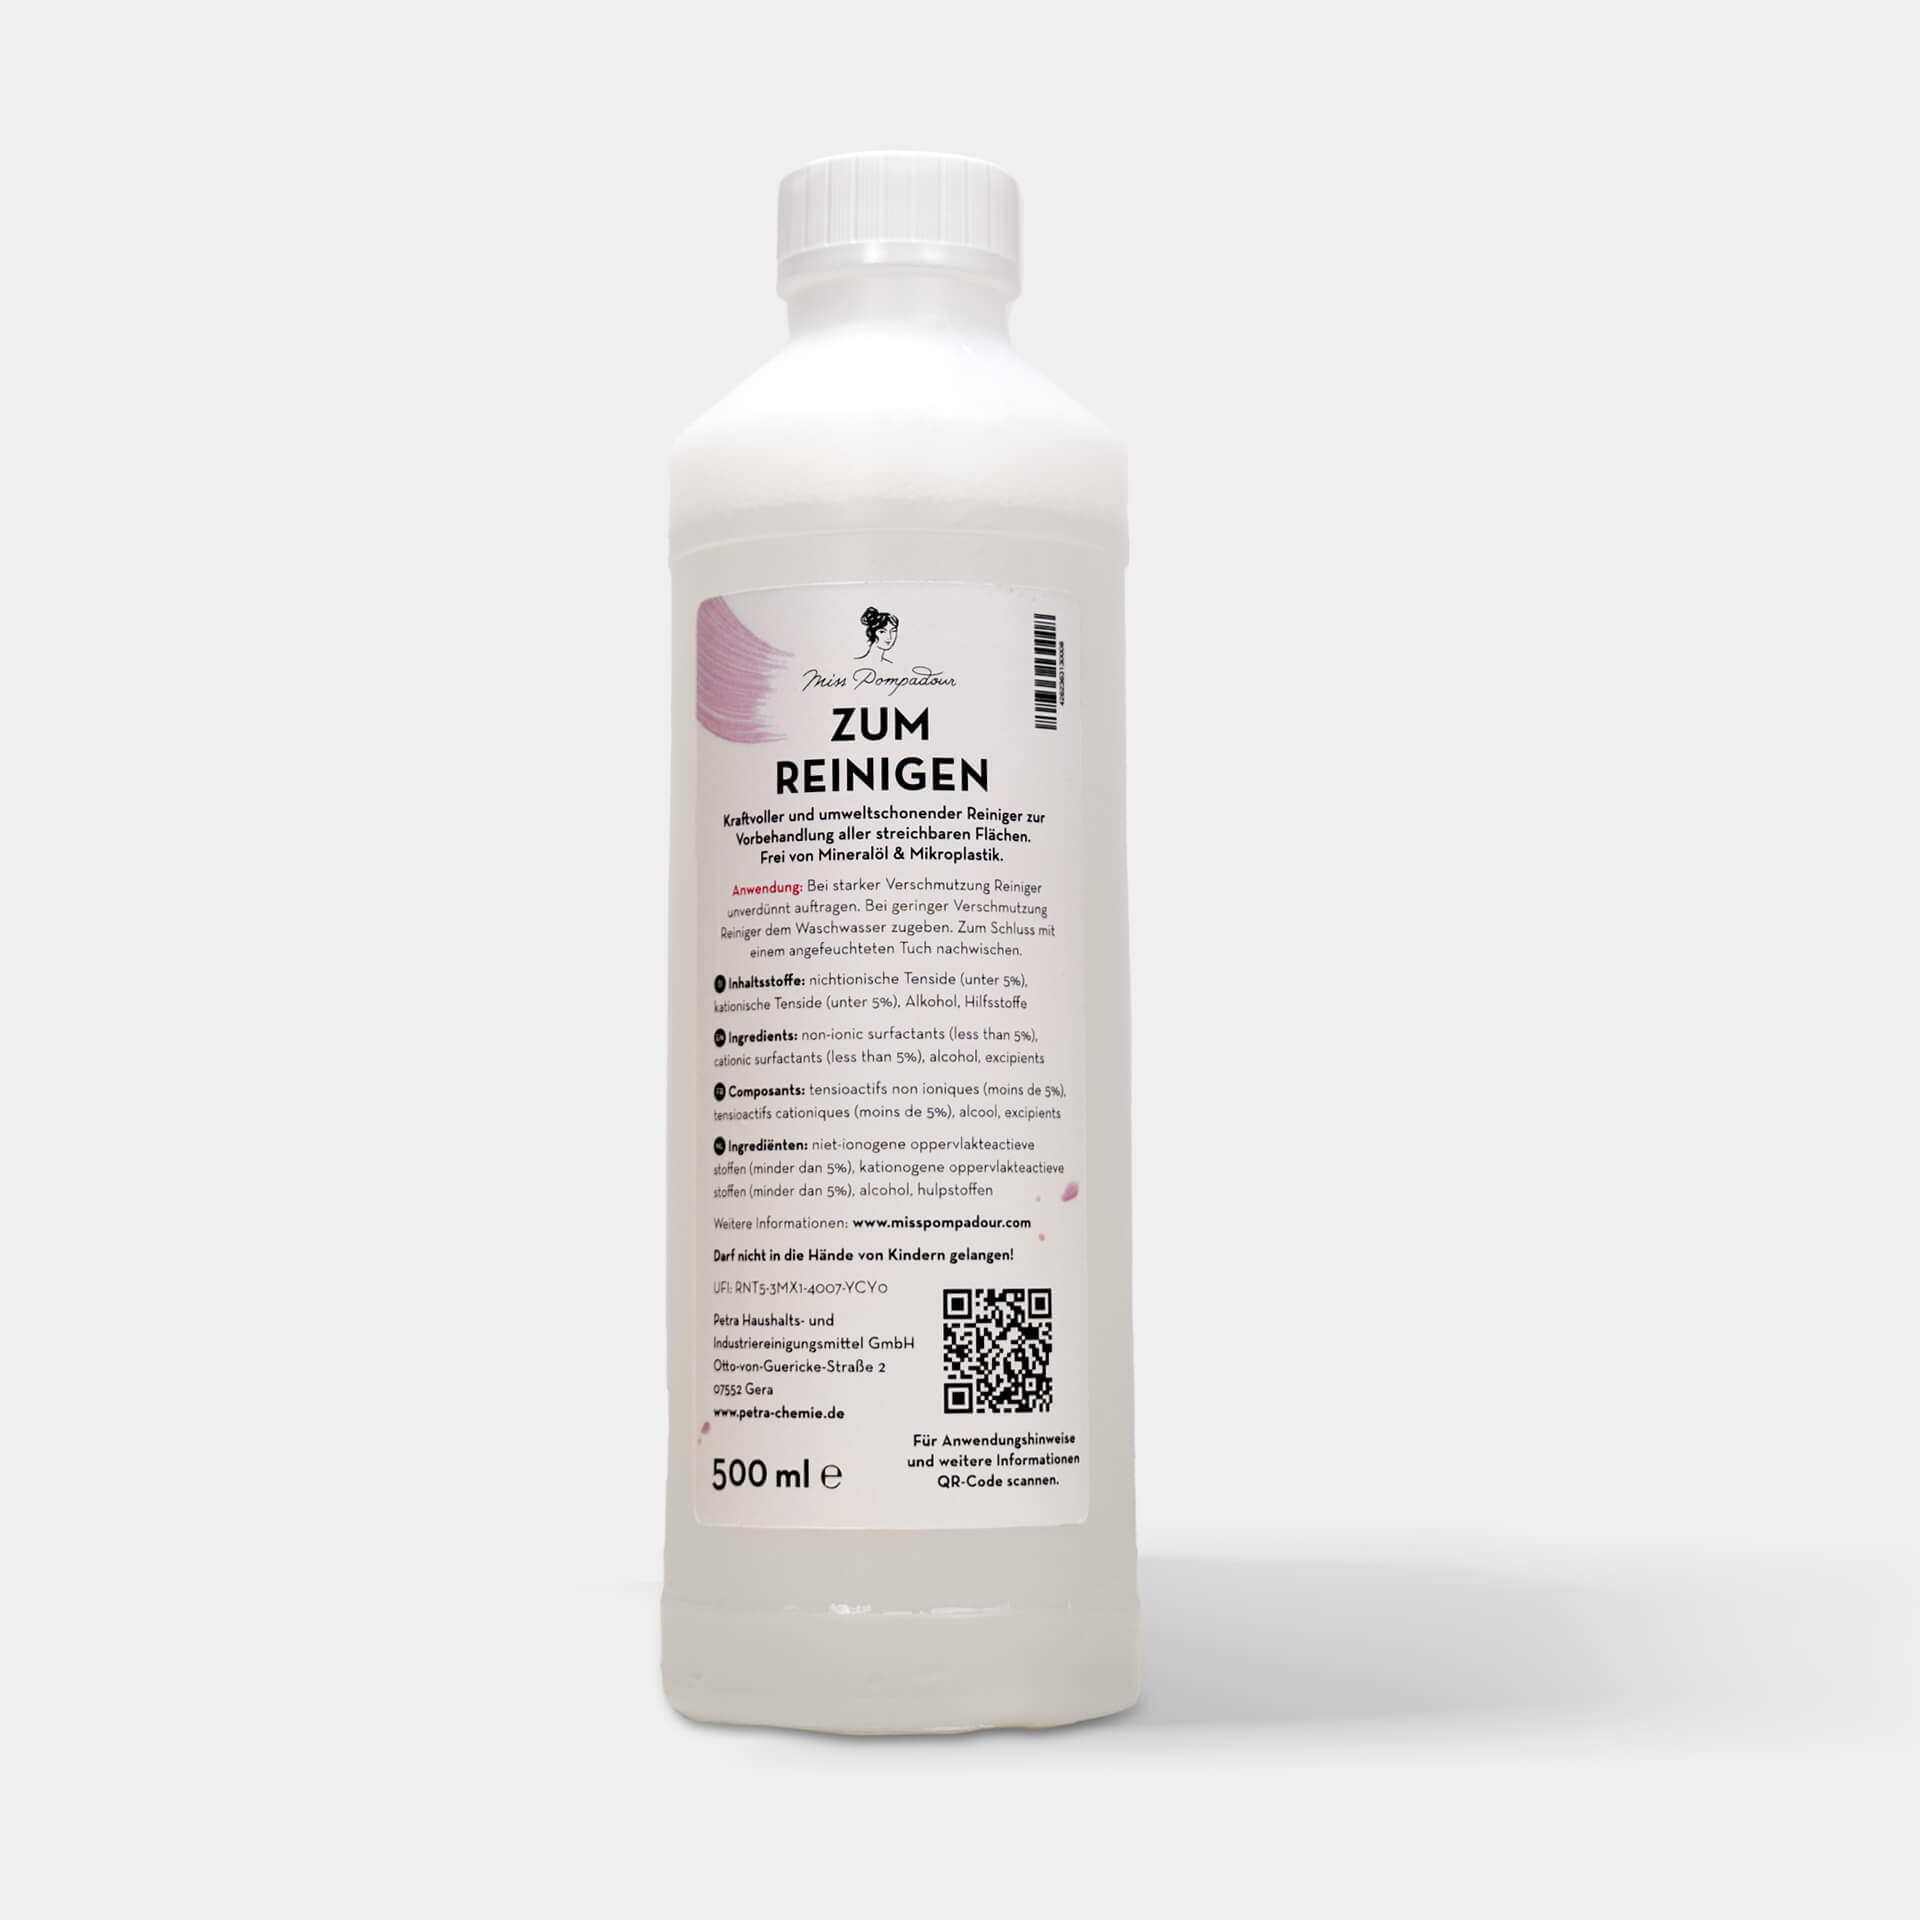
If you want to paint an old cot, first clean all parts thoroughly to remove dust and other impurities. Use our environmentally friendly To Clean - MissPompadour Cleaner. Let everything dry well. Now it depends on the condition of the surface. Old varnish, if intact, can simply be painted over. If it is flaking, you have to remove it with sandpaper. We have compiled detailed instructions for you in our article on removing old paints and varnishes. If the colour of the surface varies as a result, this is not a problem, as the LittlePomp chalk varnishes provide fantastic coverage.
Step 2: Should you prime the cot before painting?
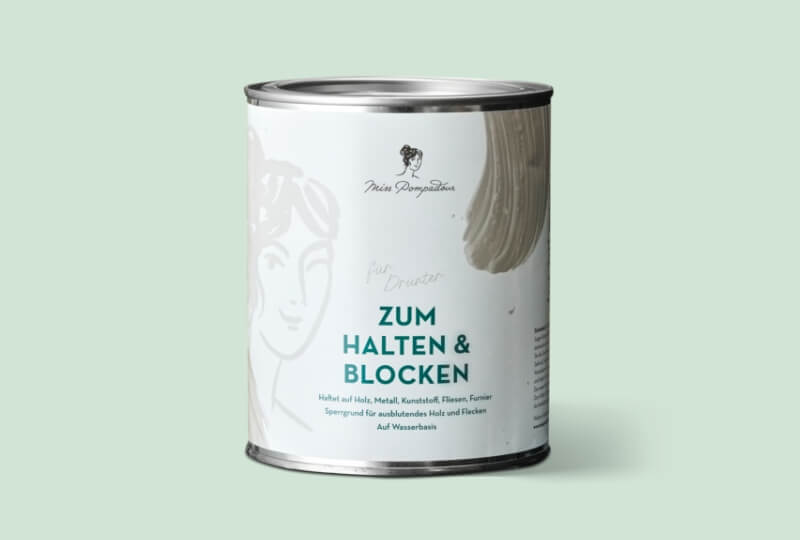
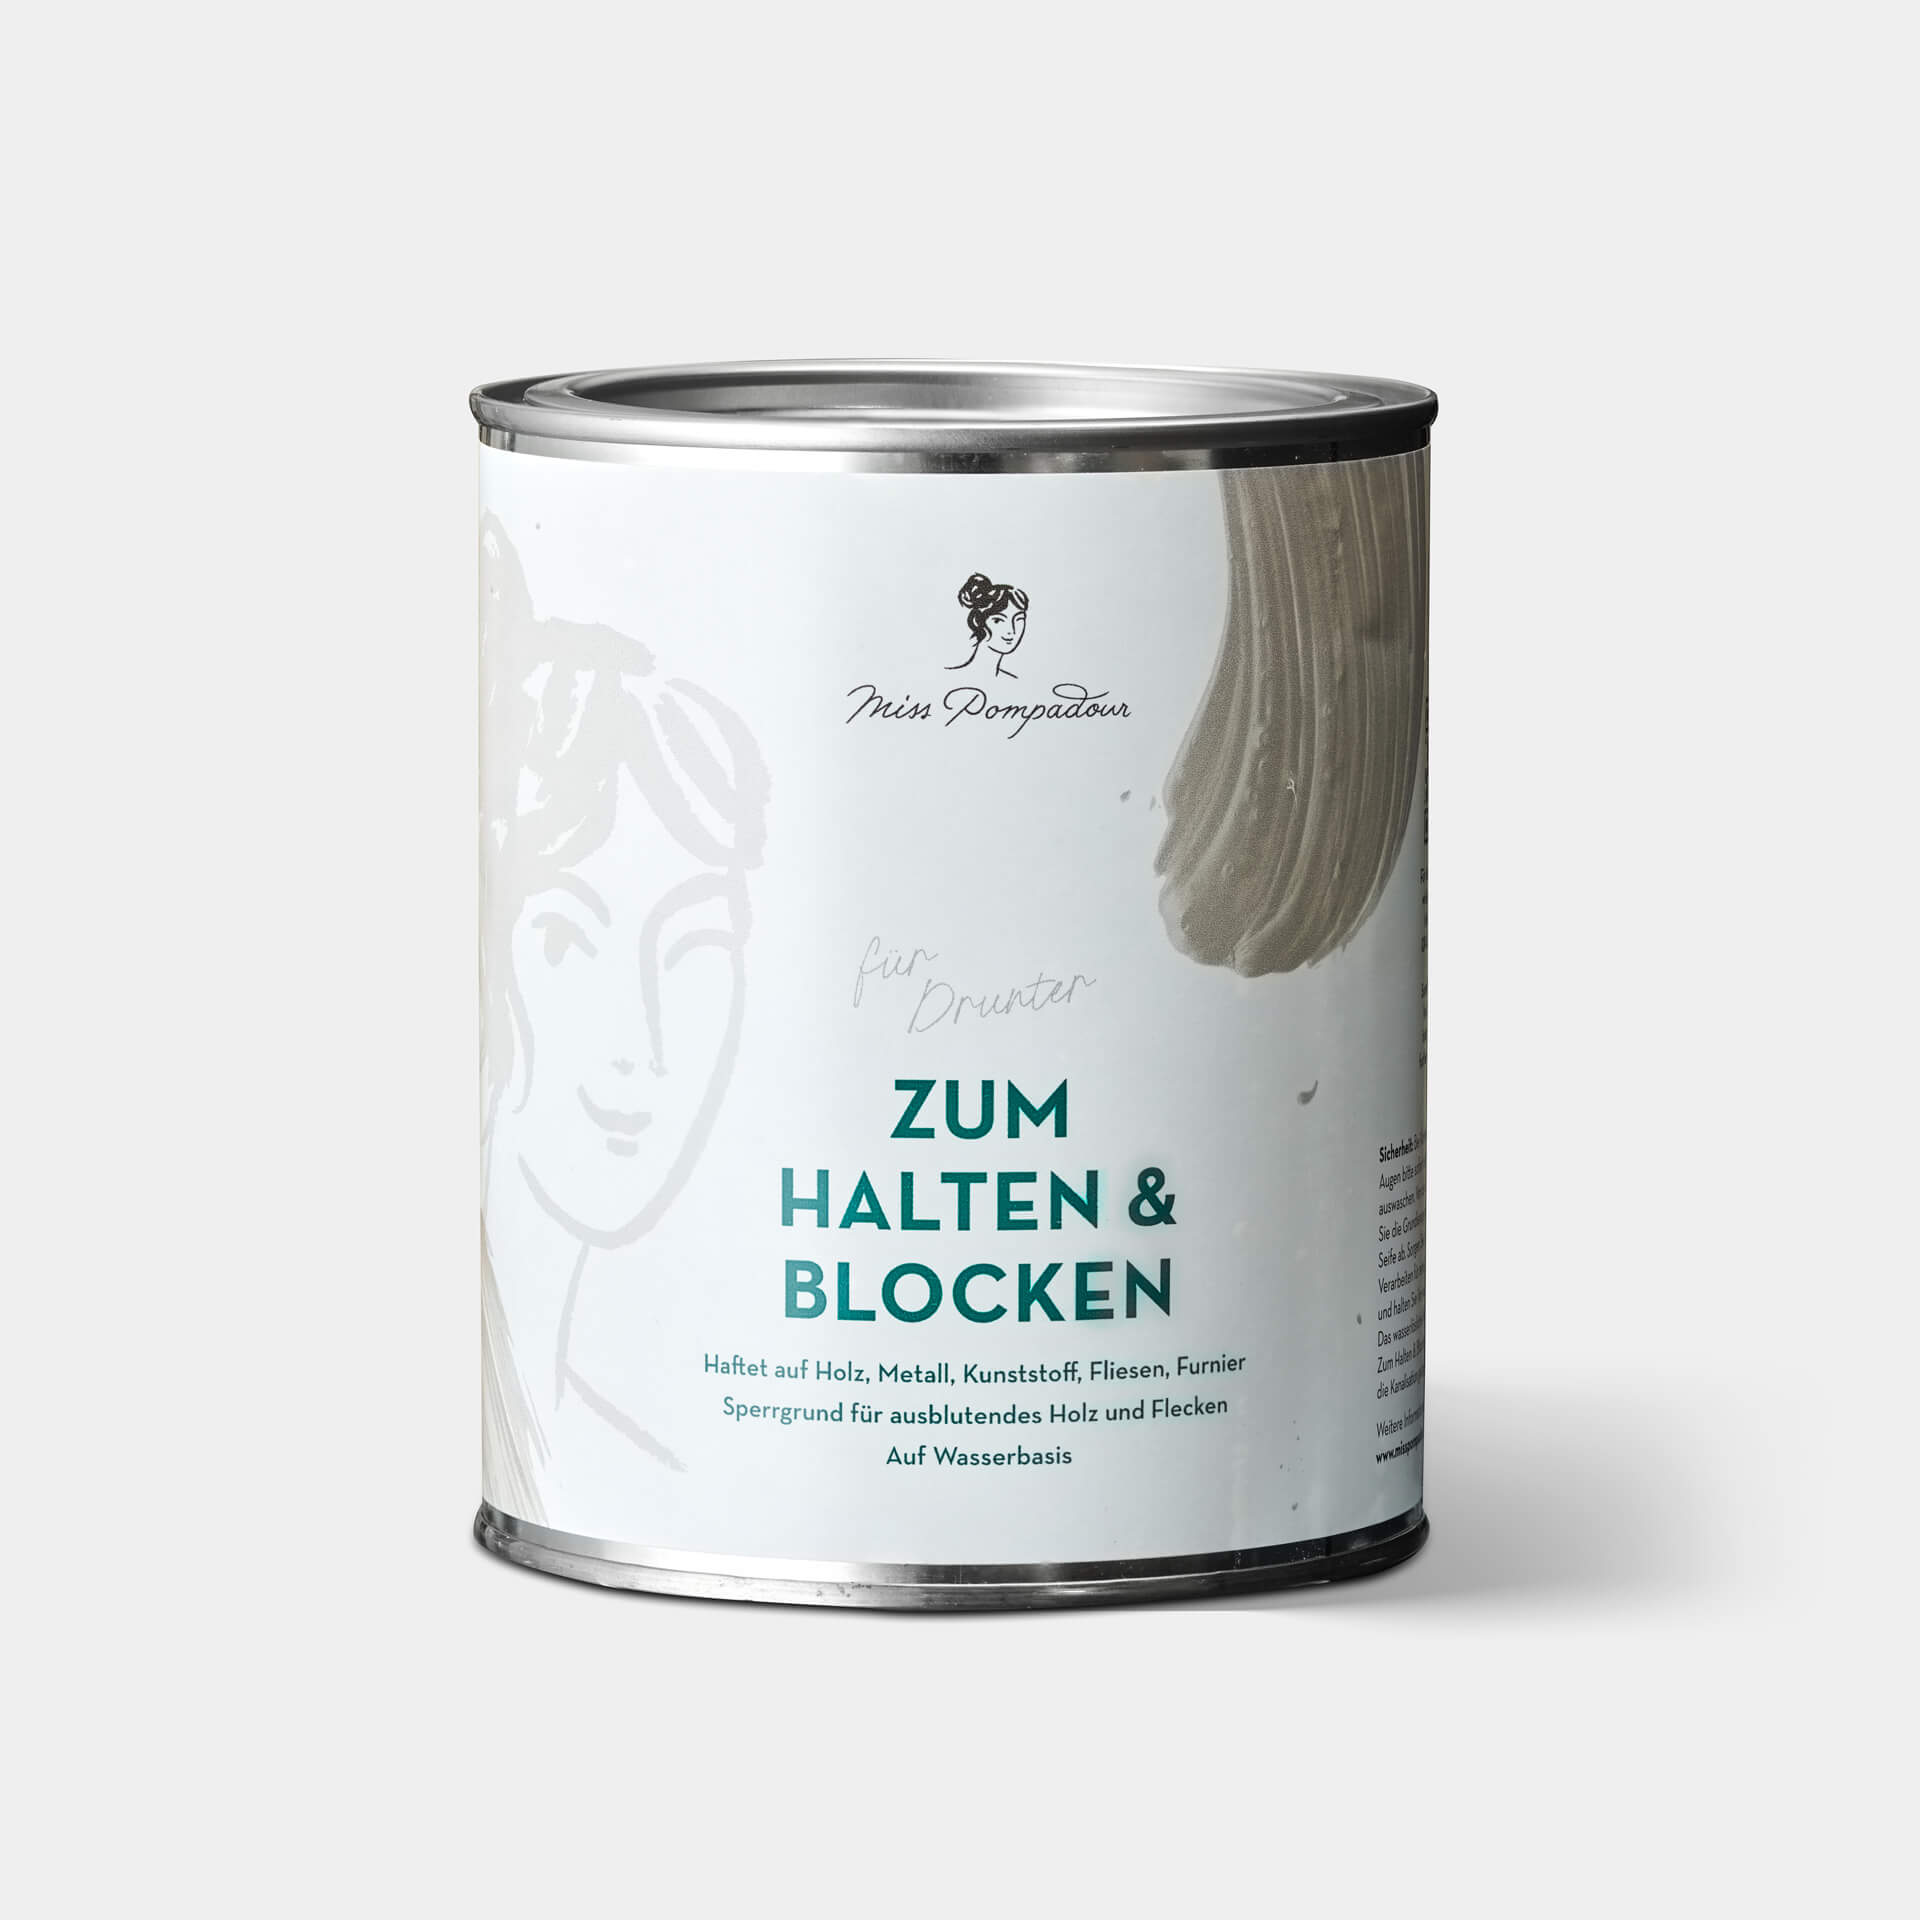
Are you worried about painting a dark surface with a light colour? We can reassure you - you don't need to prime. You can turn a dark wooden bed into a white cot without any problems, as LittlePomp's chalk varnish provides excellent coverage. However, if the wood is prone to bleeding, as is often the case with oak, then priming is particularly important. In this case, use our To Bond & Block - MissPompadour primer. This prevents substances from leaching out from the wood into the paint coat. For smooth surfaces such as plastic, To Bond & Block can also be used to create an ideal bond between the surface and the paint. Any rust spots should be sanded and cleaned away, then treated with a special rust-inhibiting primer before priming.
Step 3: Choose the right colour for the baby bed and apply it correctly.
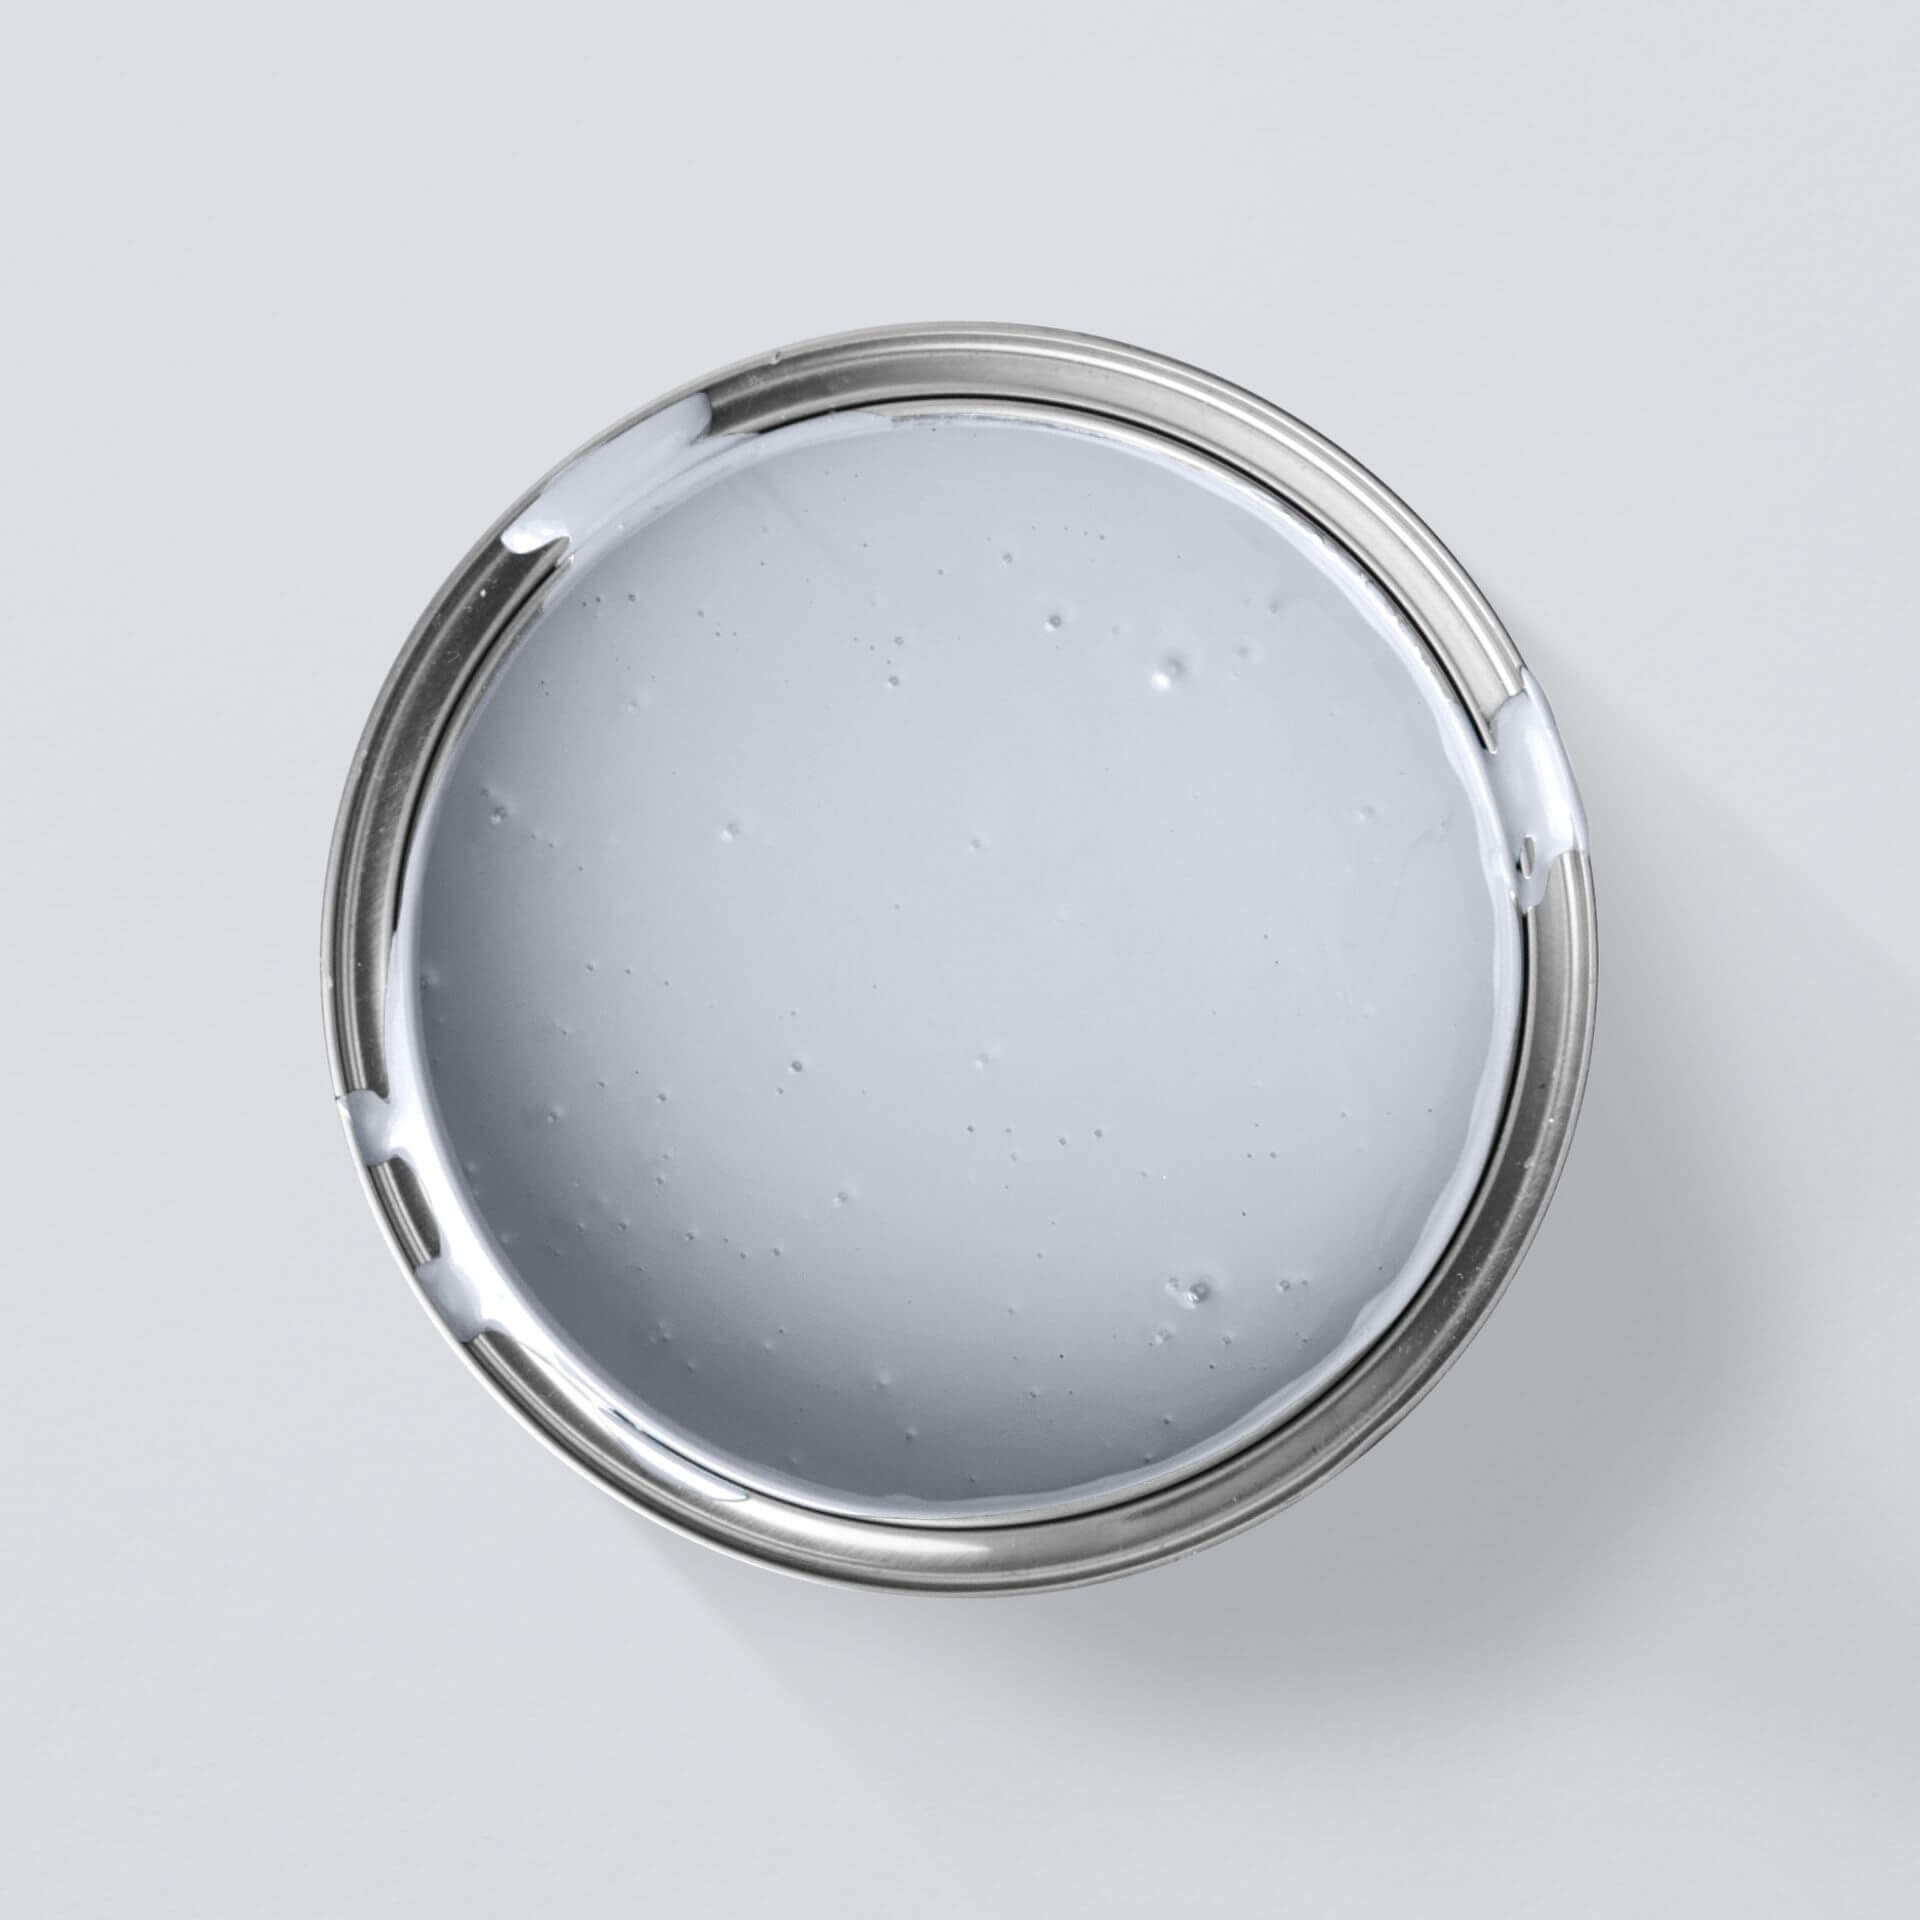
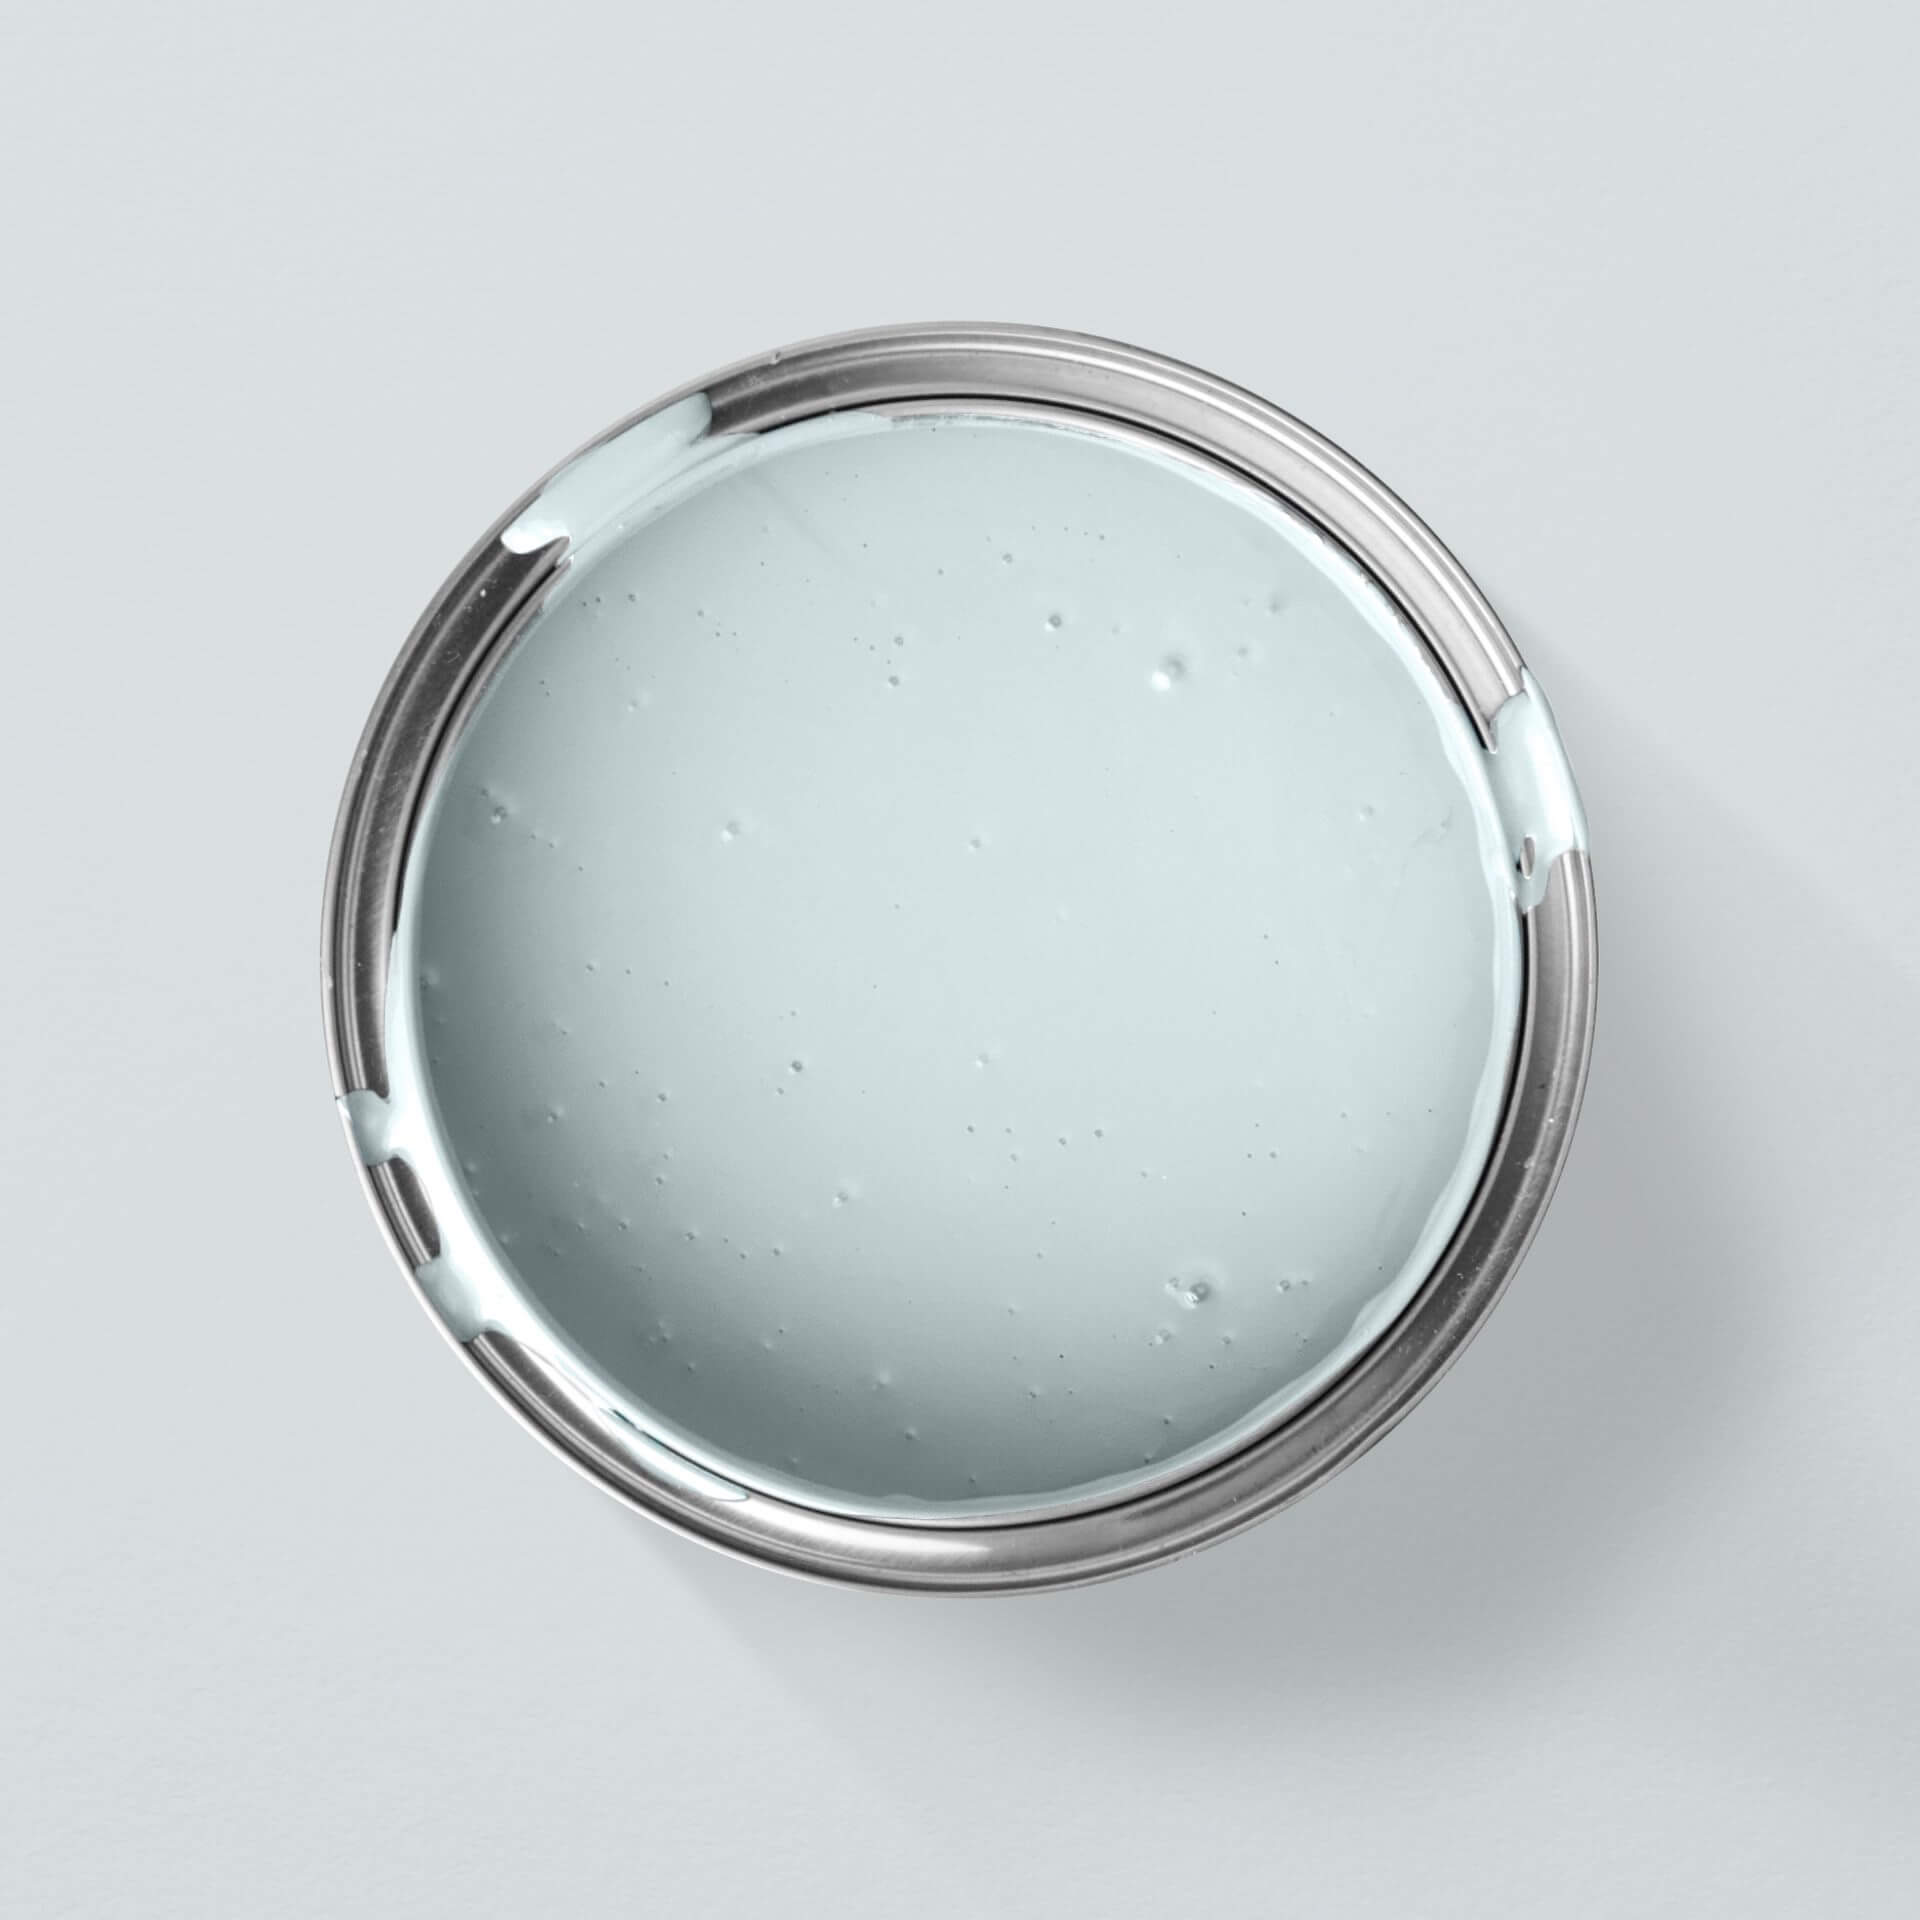
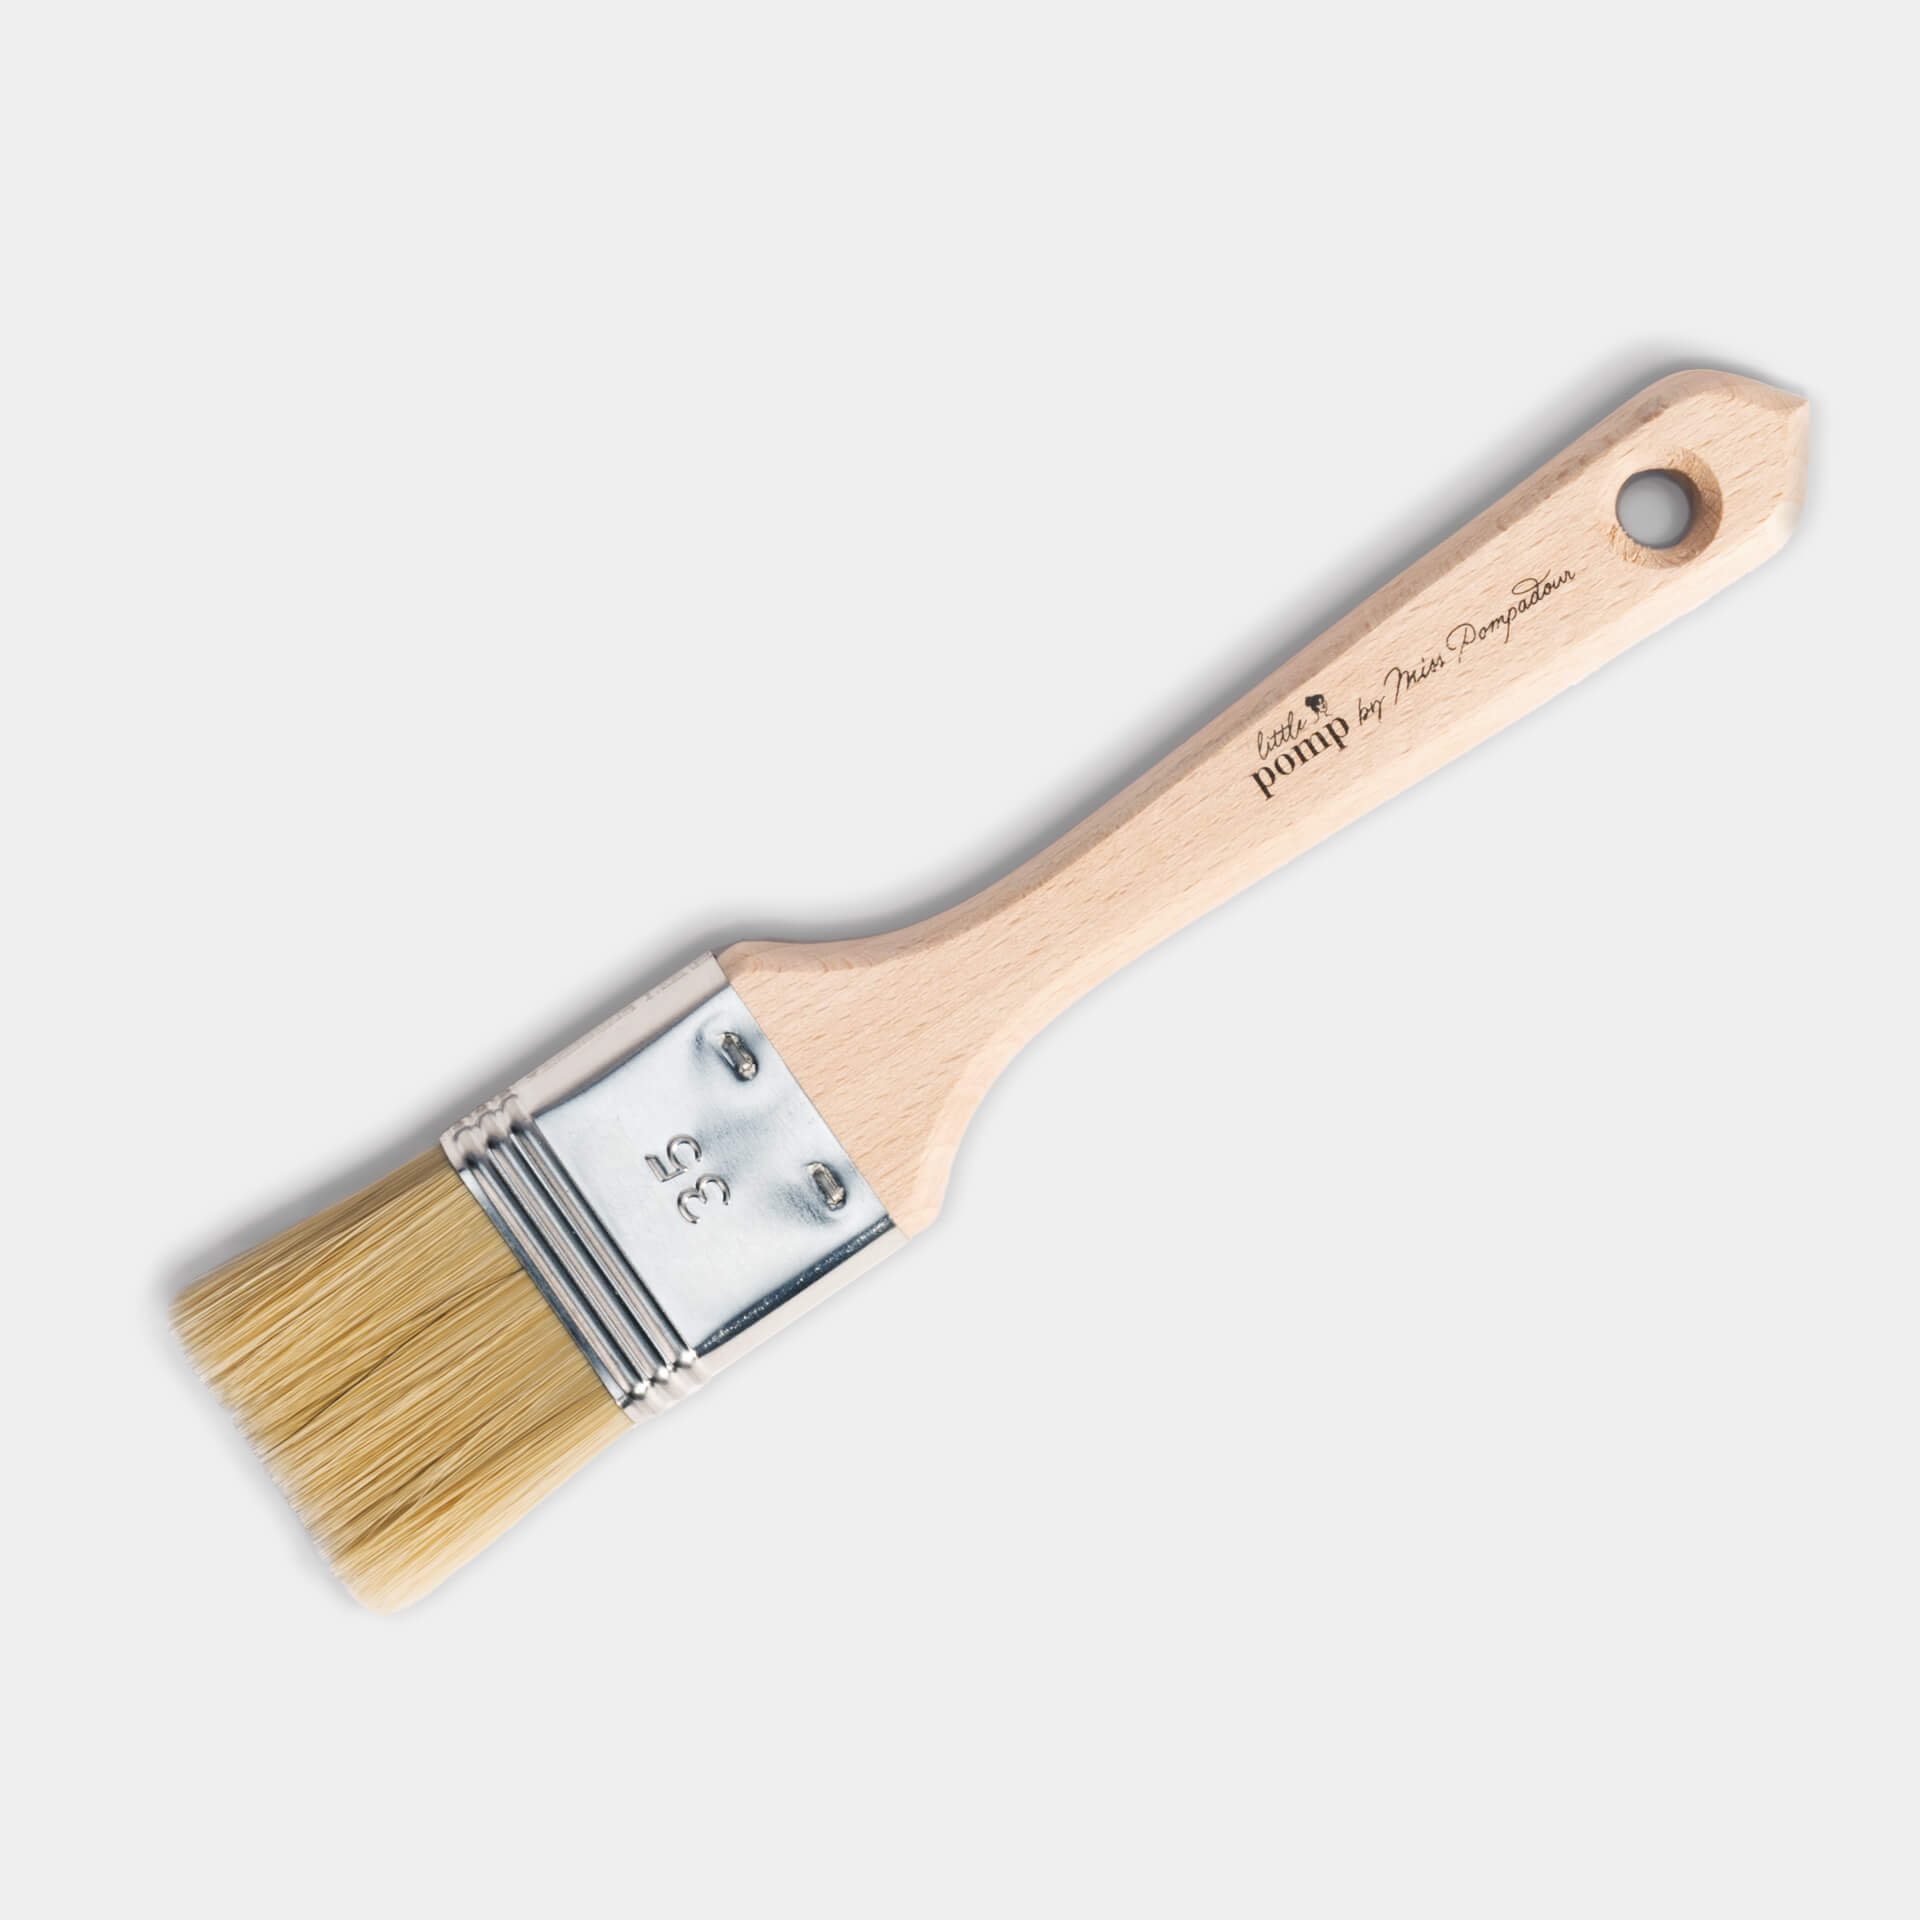
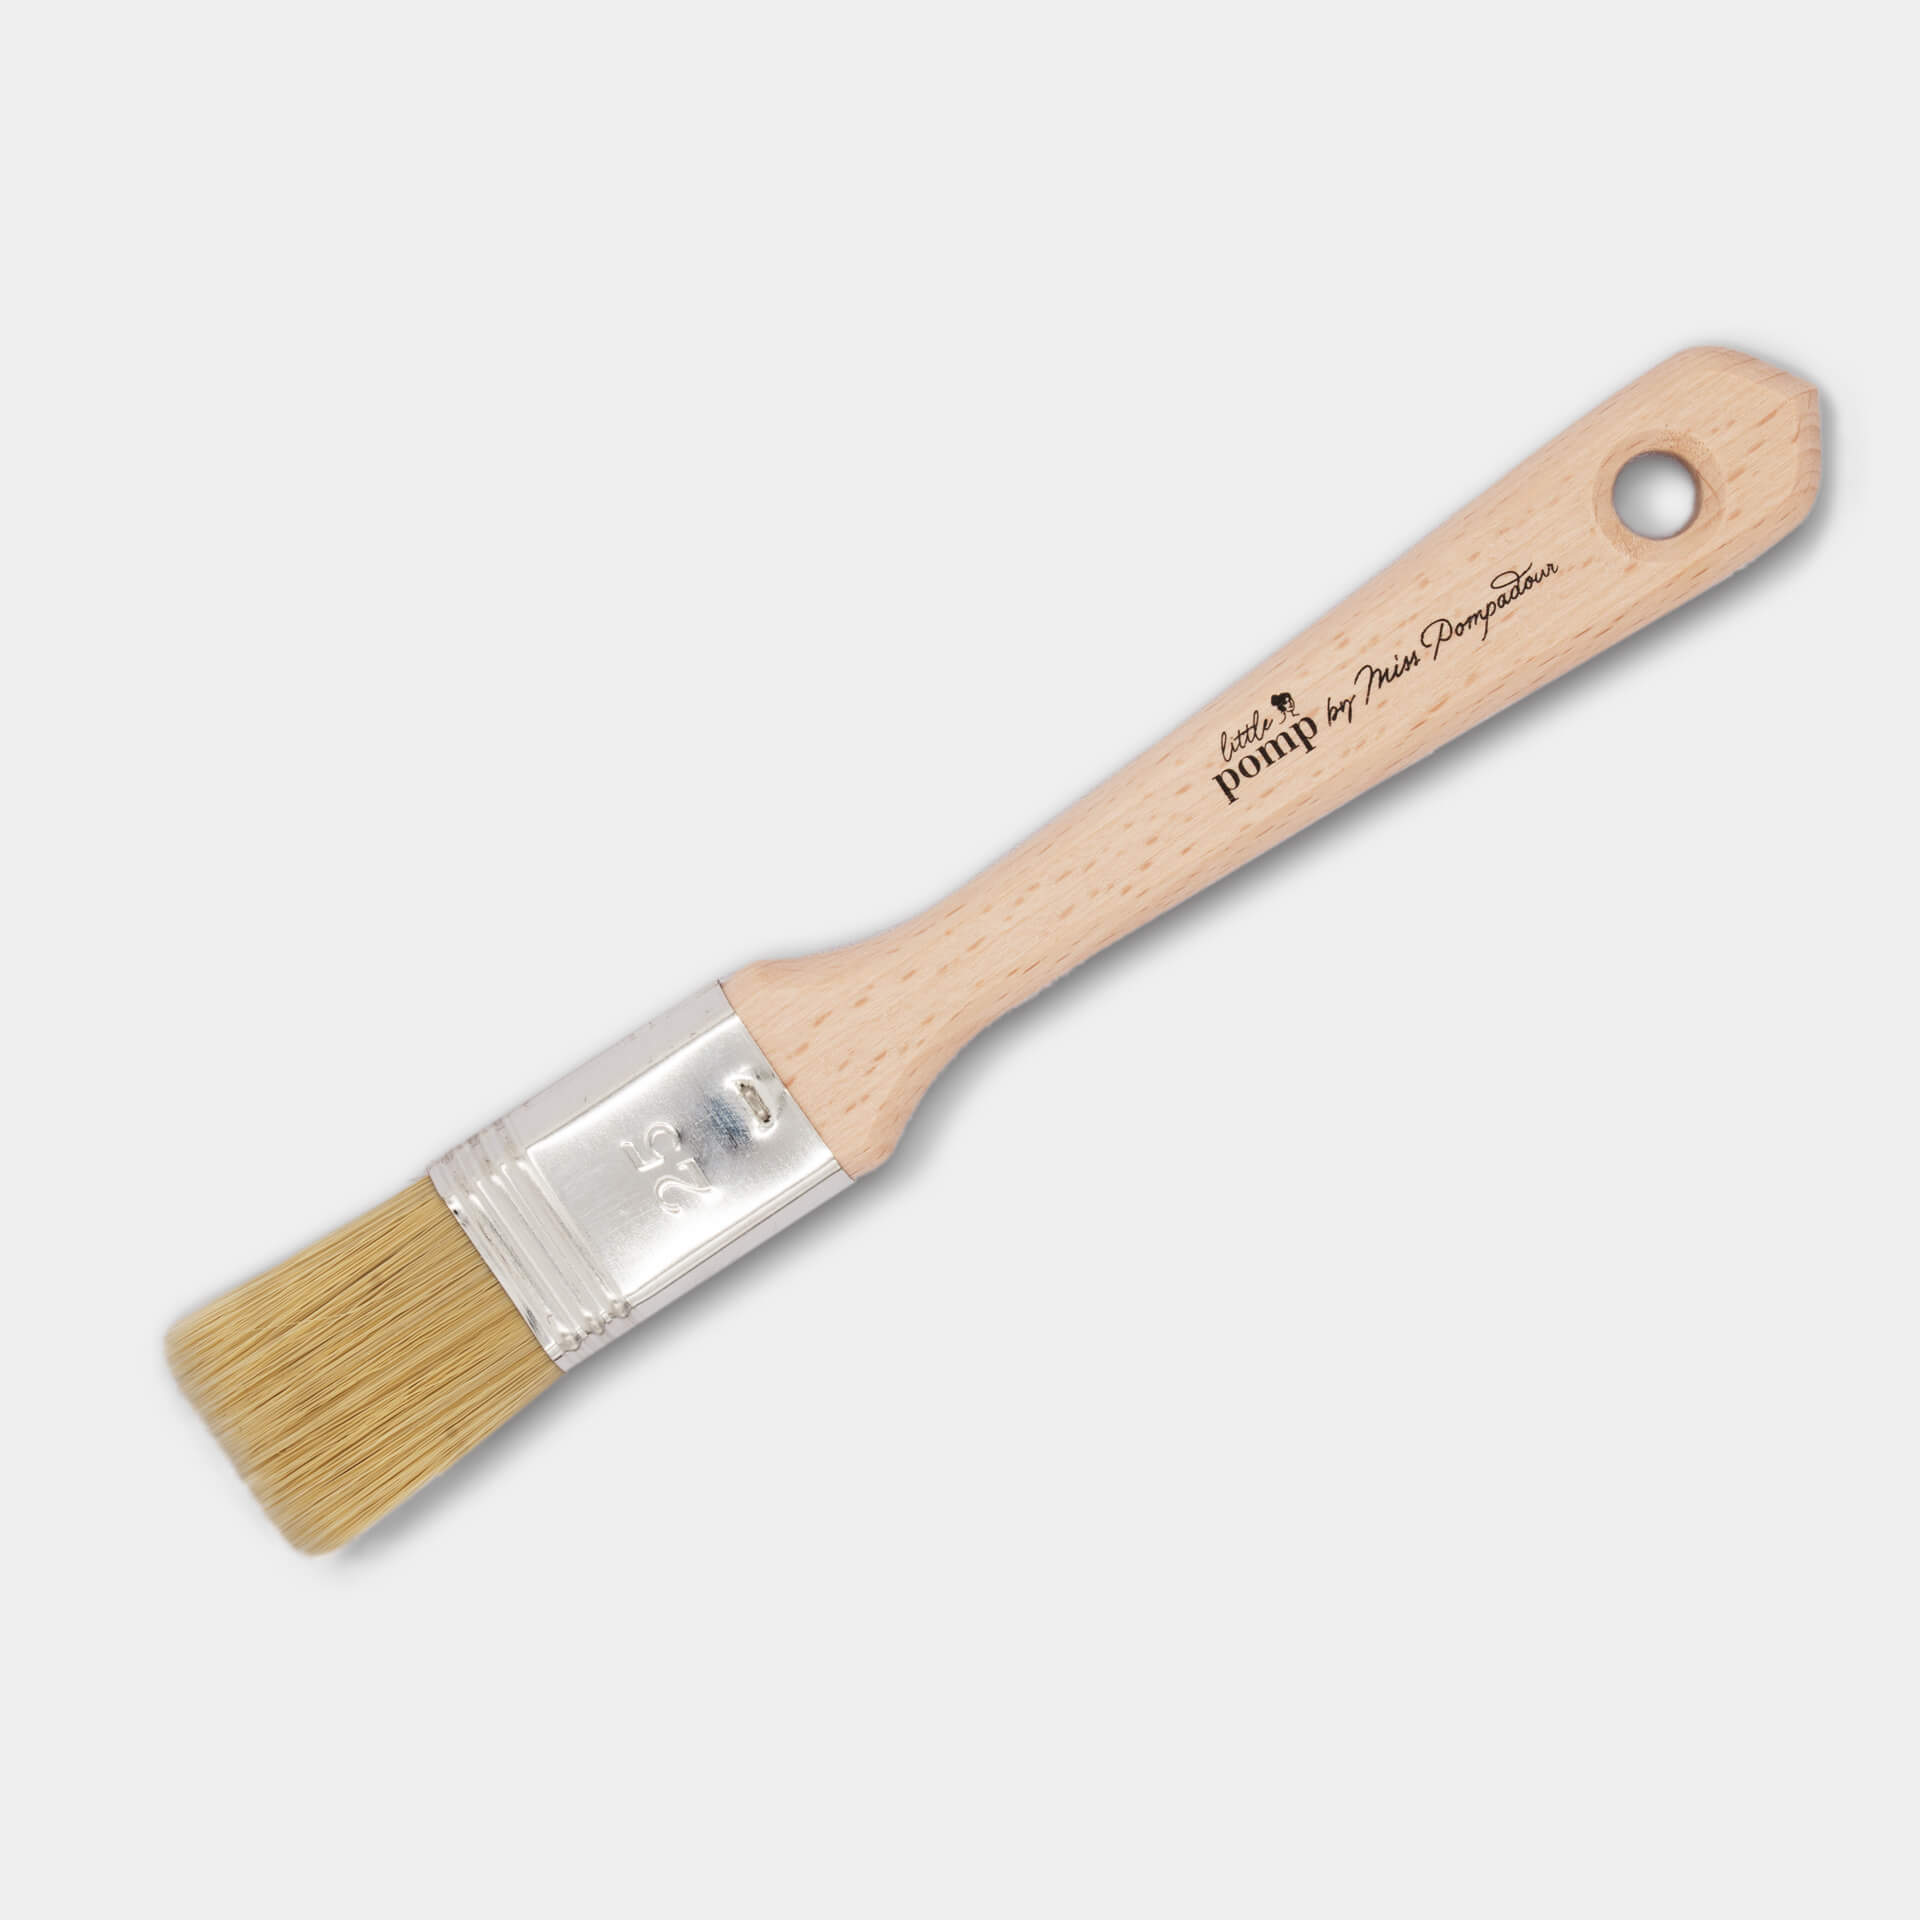
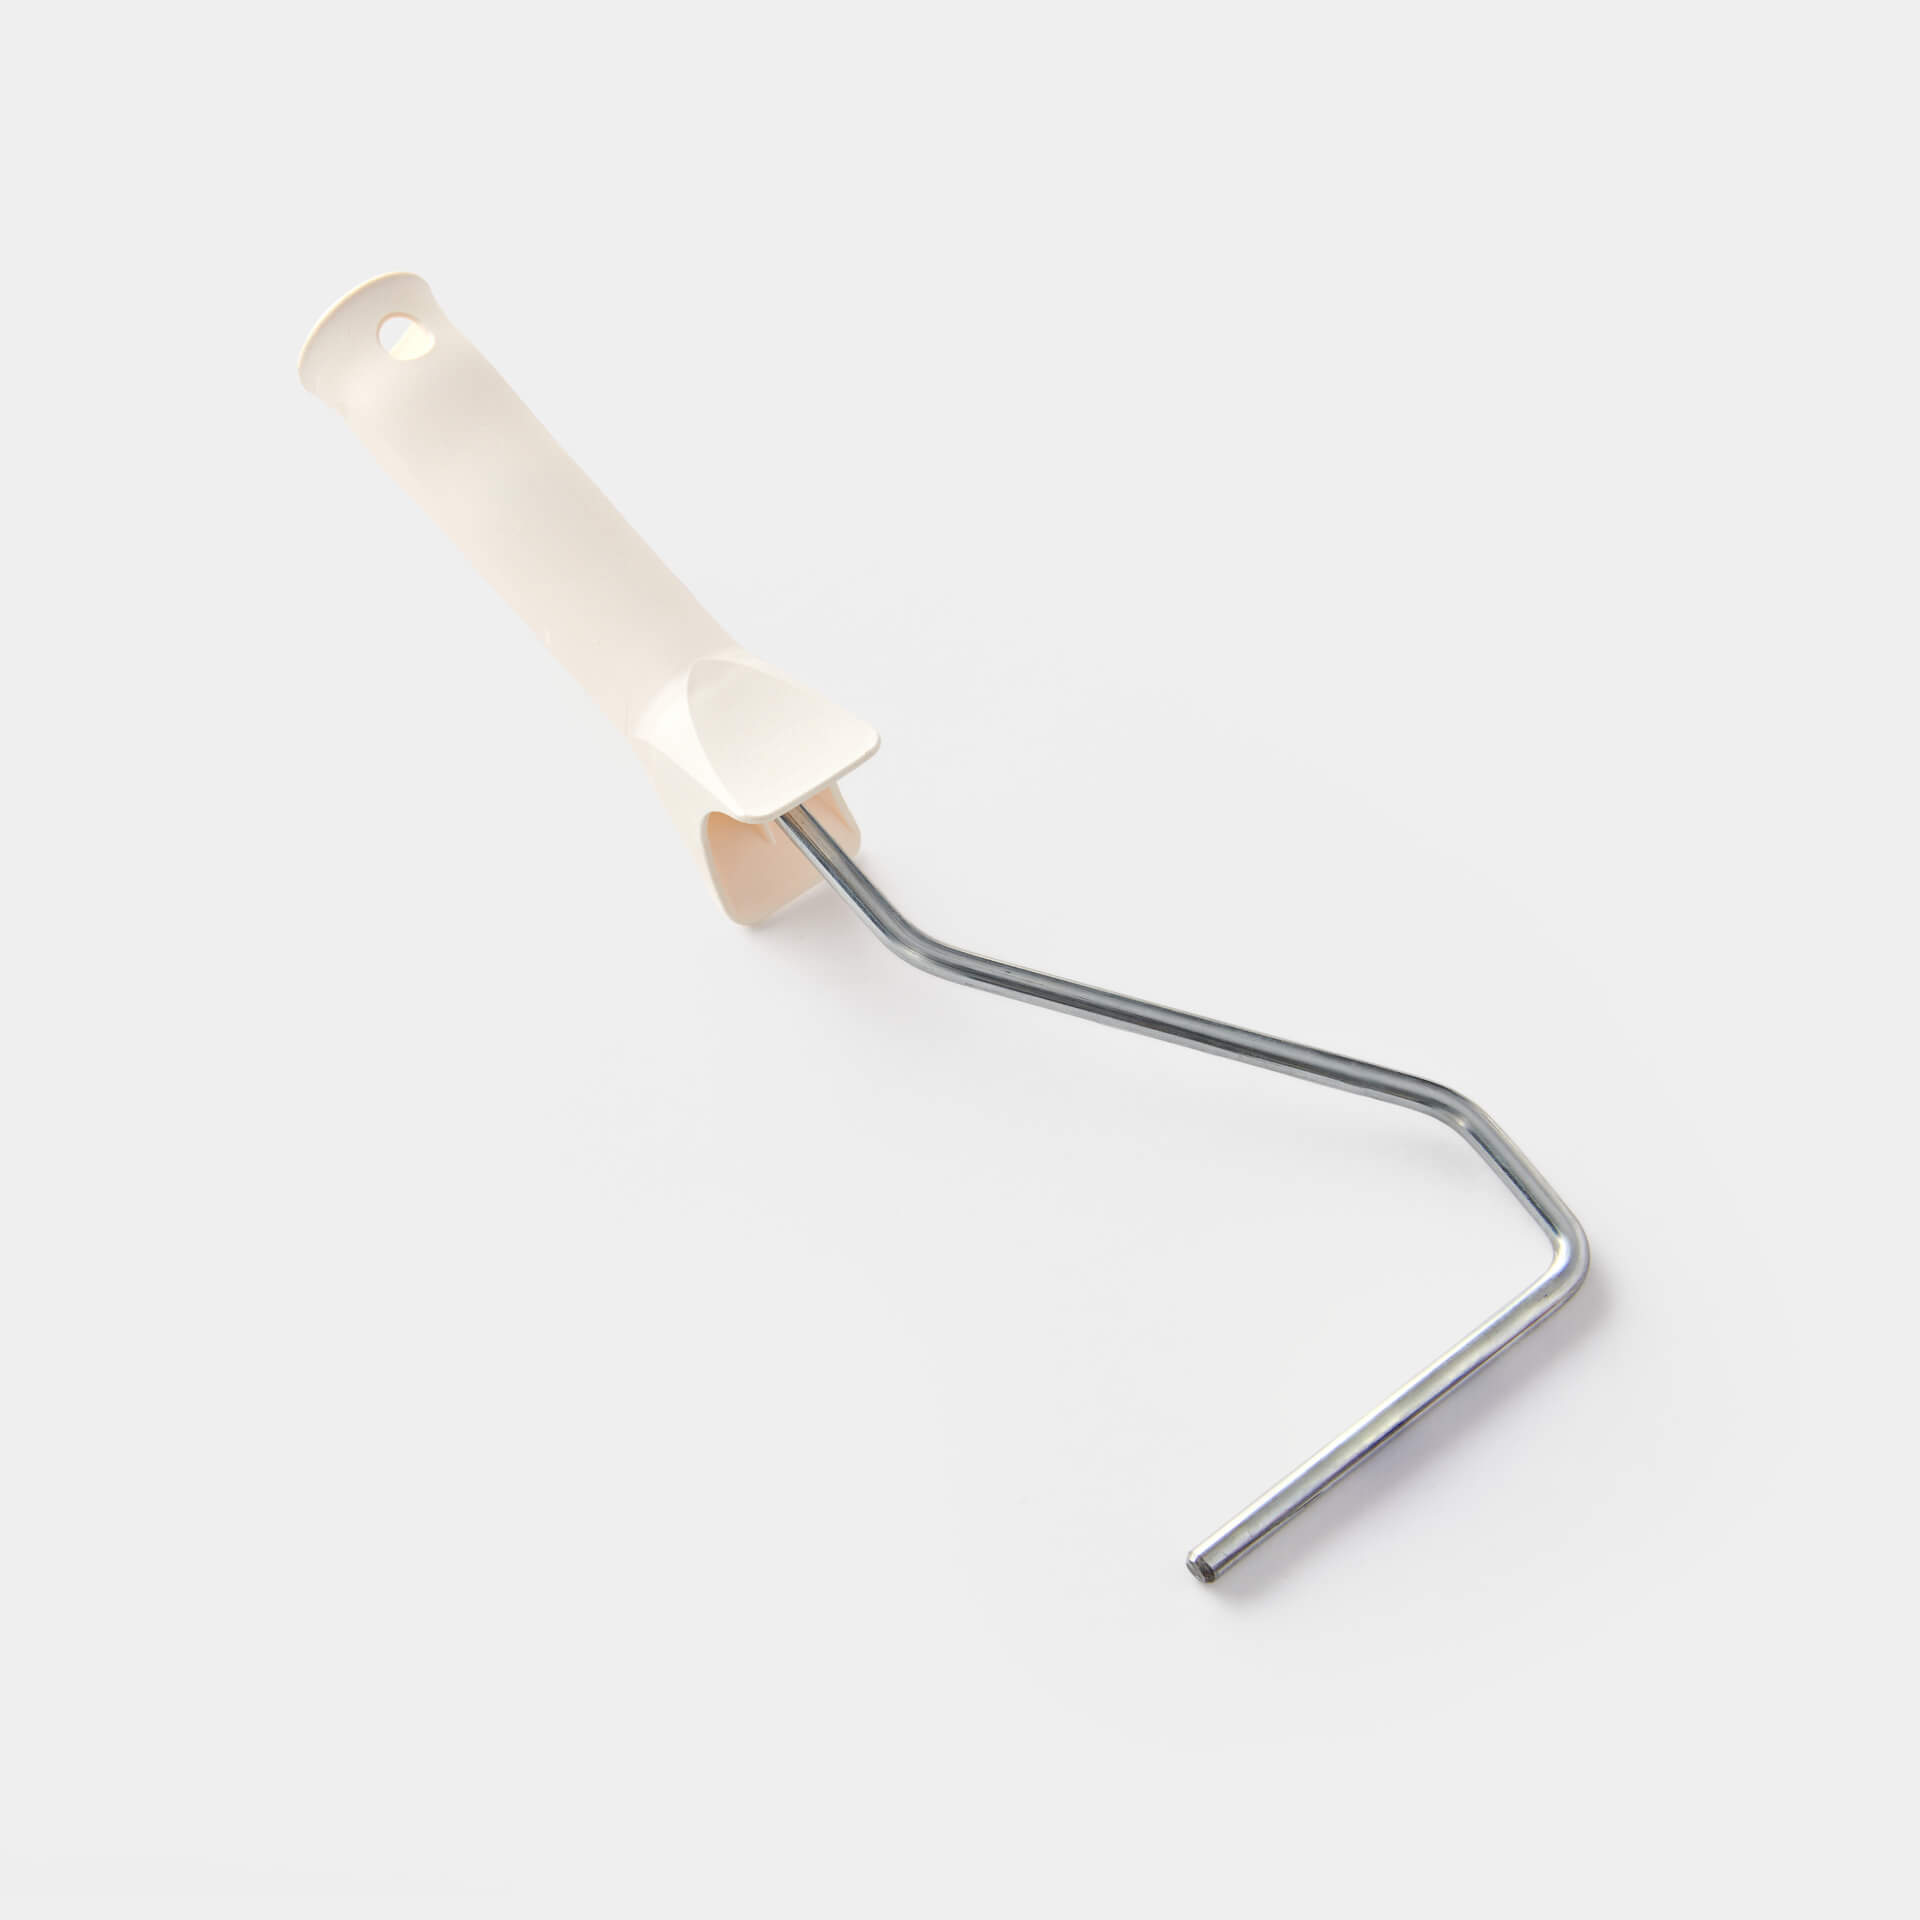
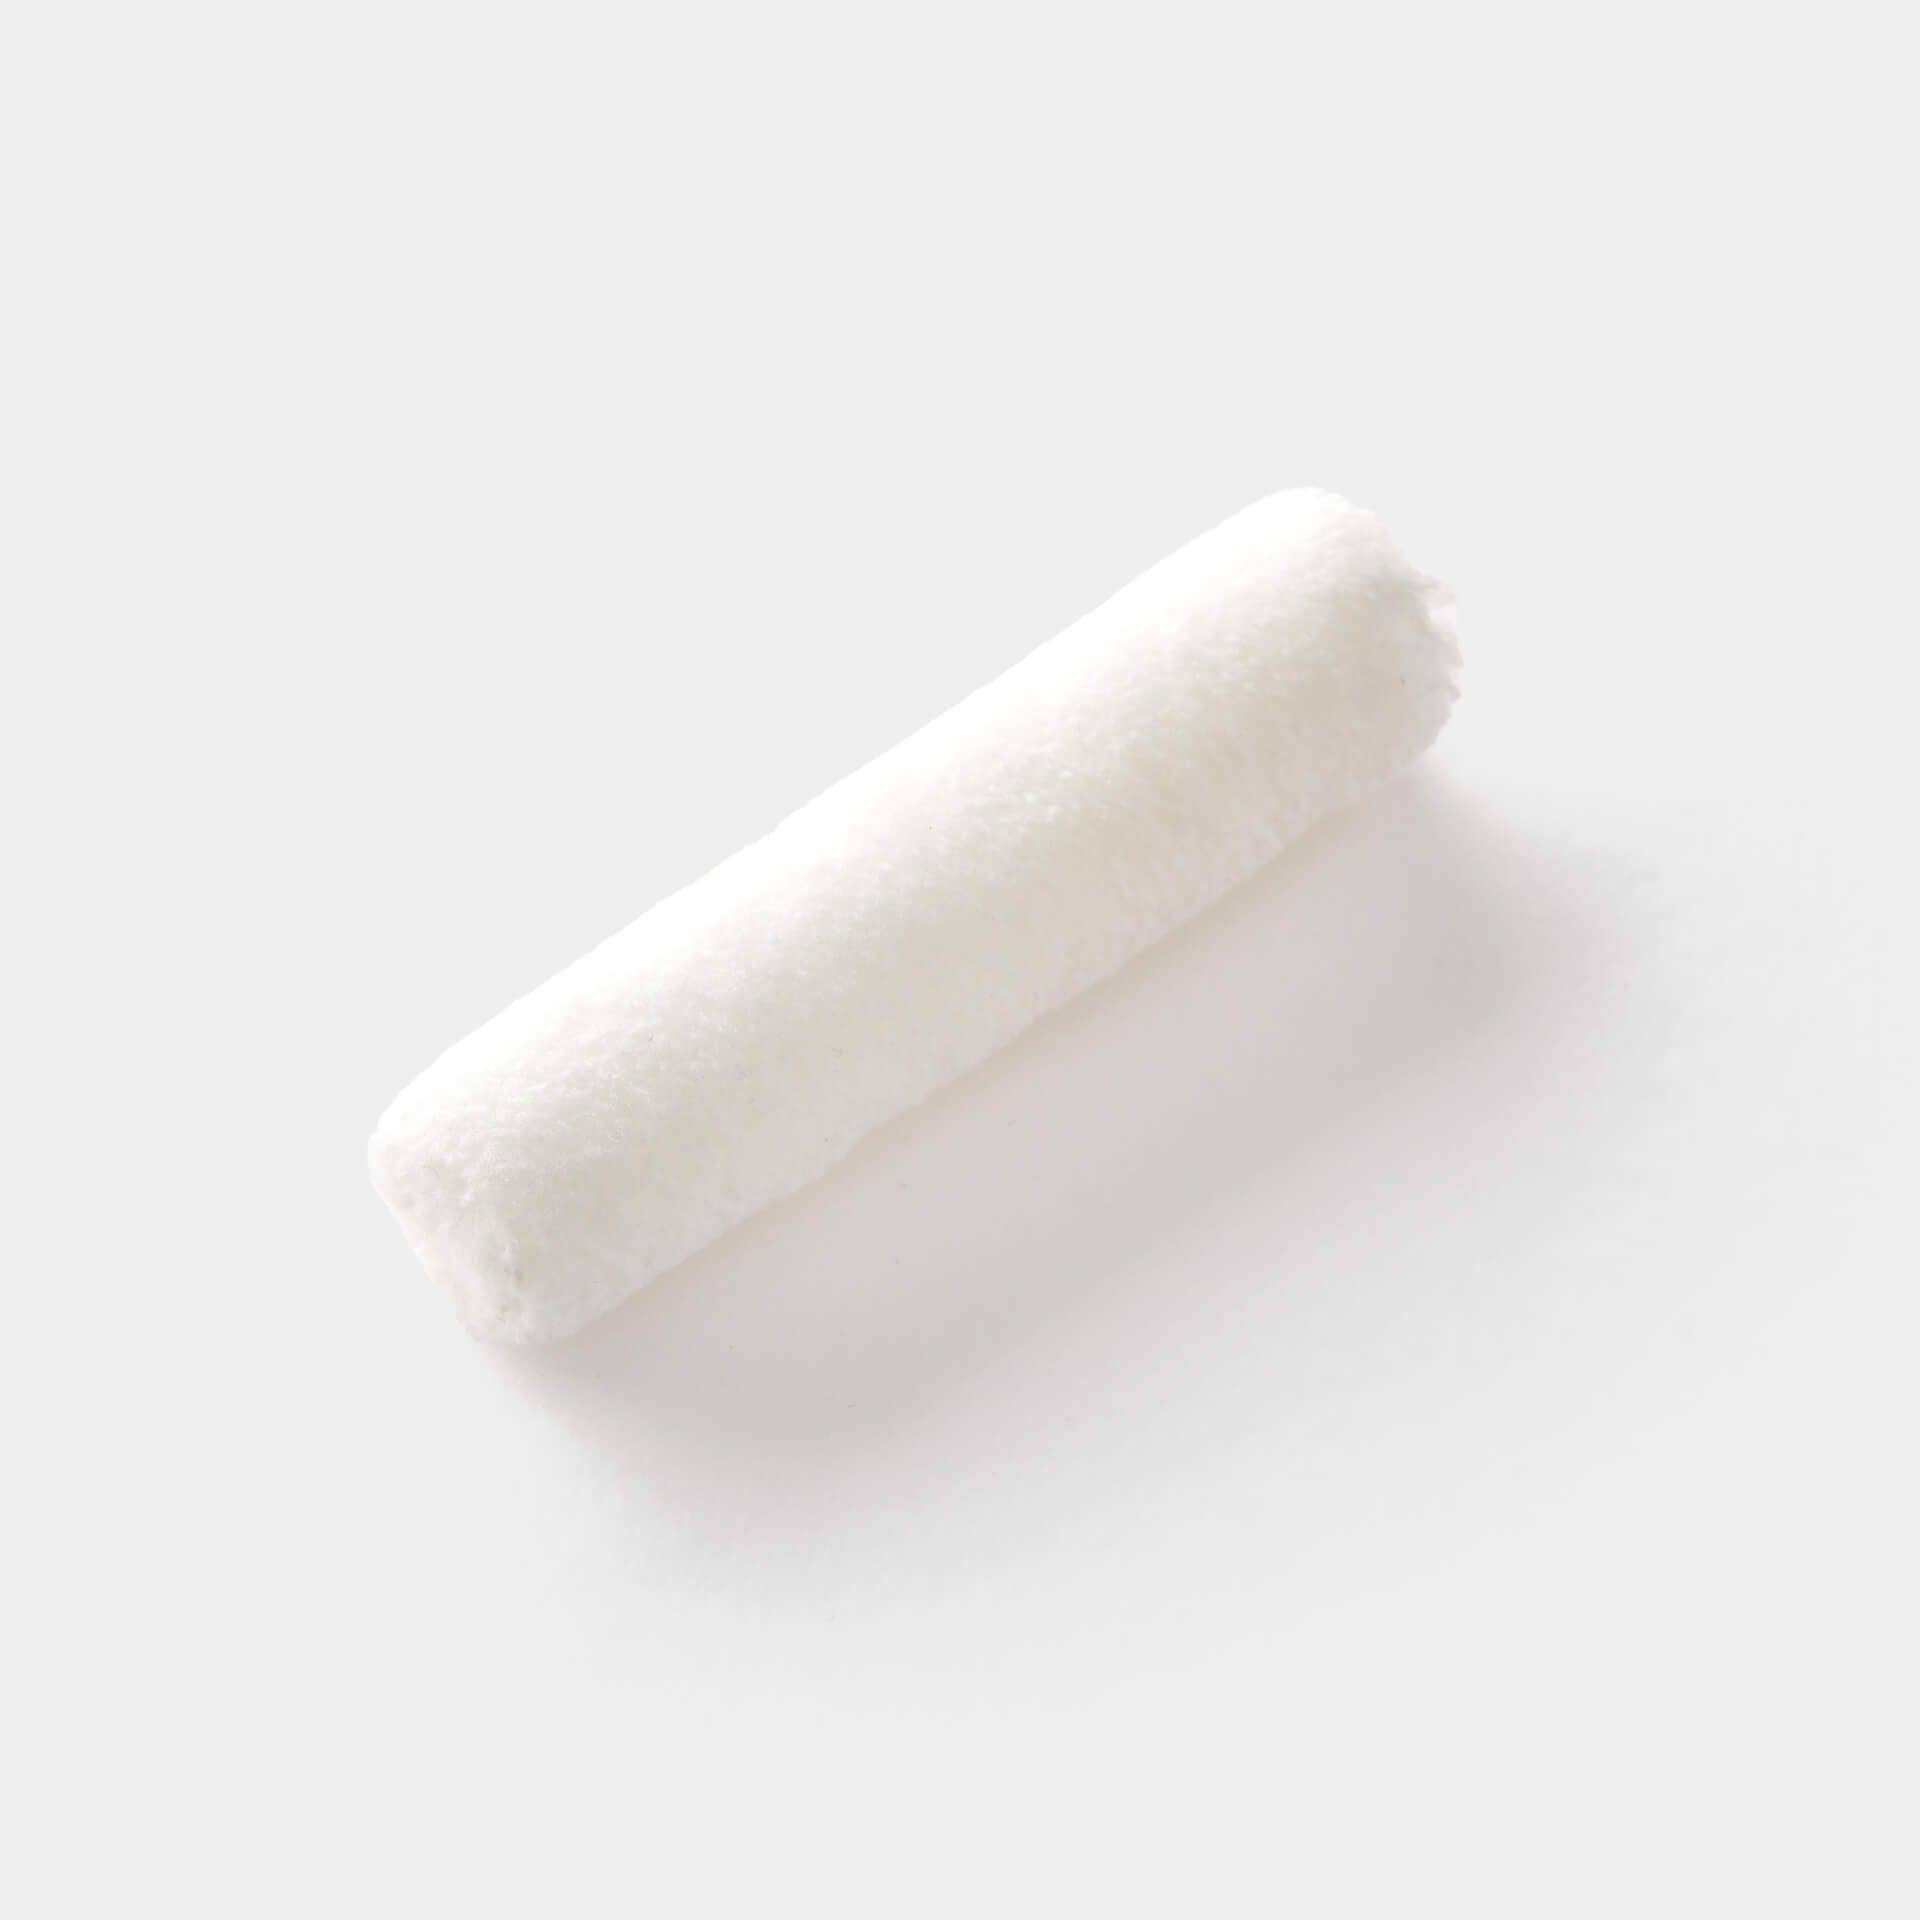
Now it's time to choose the right colour shades. LittlePomp offers 15 enchanting colour shades to choose from. It doesn't always have to be sky blue or pink in the nursery. How about a soft, light shade of grey? Or paint the children's bed in a subtle shade of white? It is important that the paint is applied correctly. If you have sanded the surface, make sure that any sanding dust is completely removed before you start painting. It is best to work with the fine LittlePomp brush. This allows you to apply the paint evenly, without leaving any marks. A Roller can be used for larger surface areas. After about 2 to 4 hours of drying time, you can apply a second coat. After 2 weeks, the varnish coat should be fully cured.
Step 4: Do you want to seal the new colour?
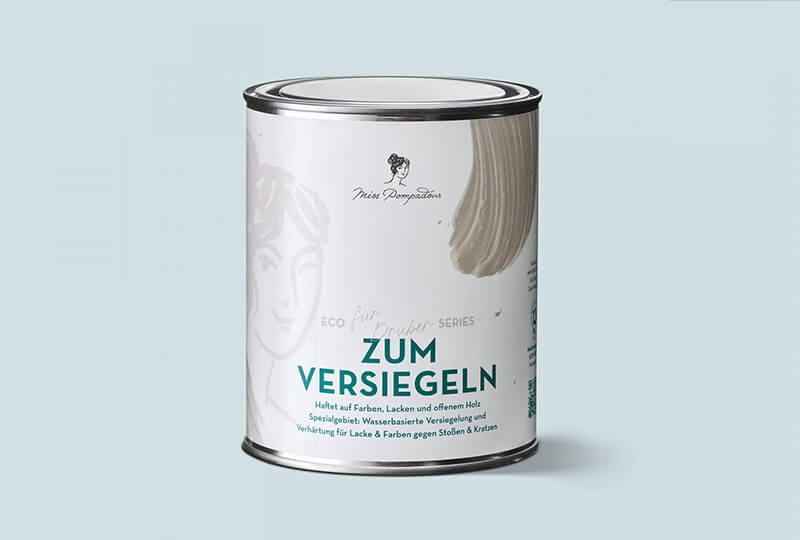
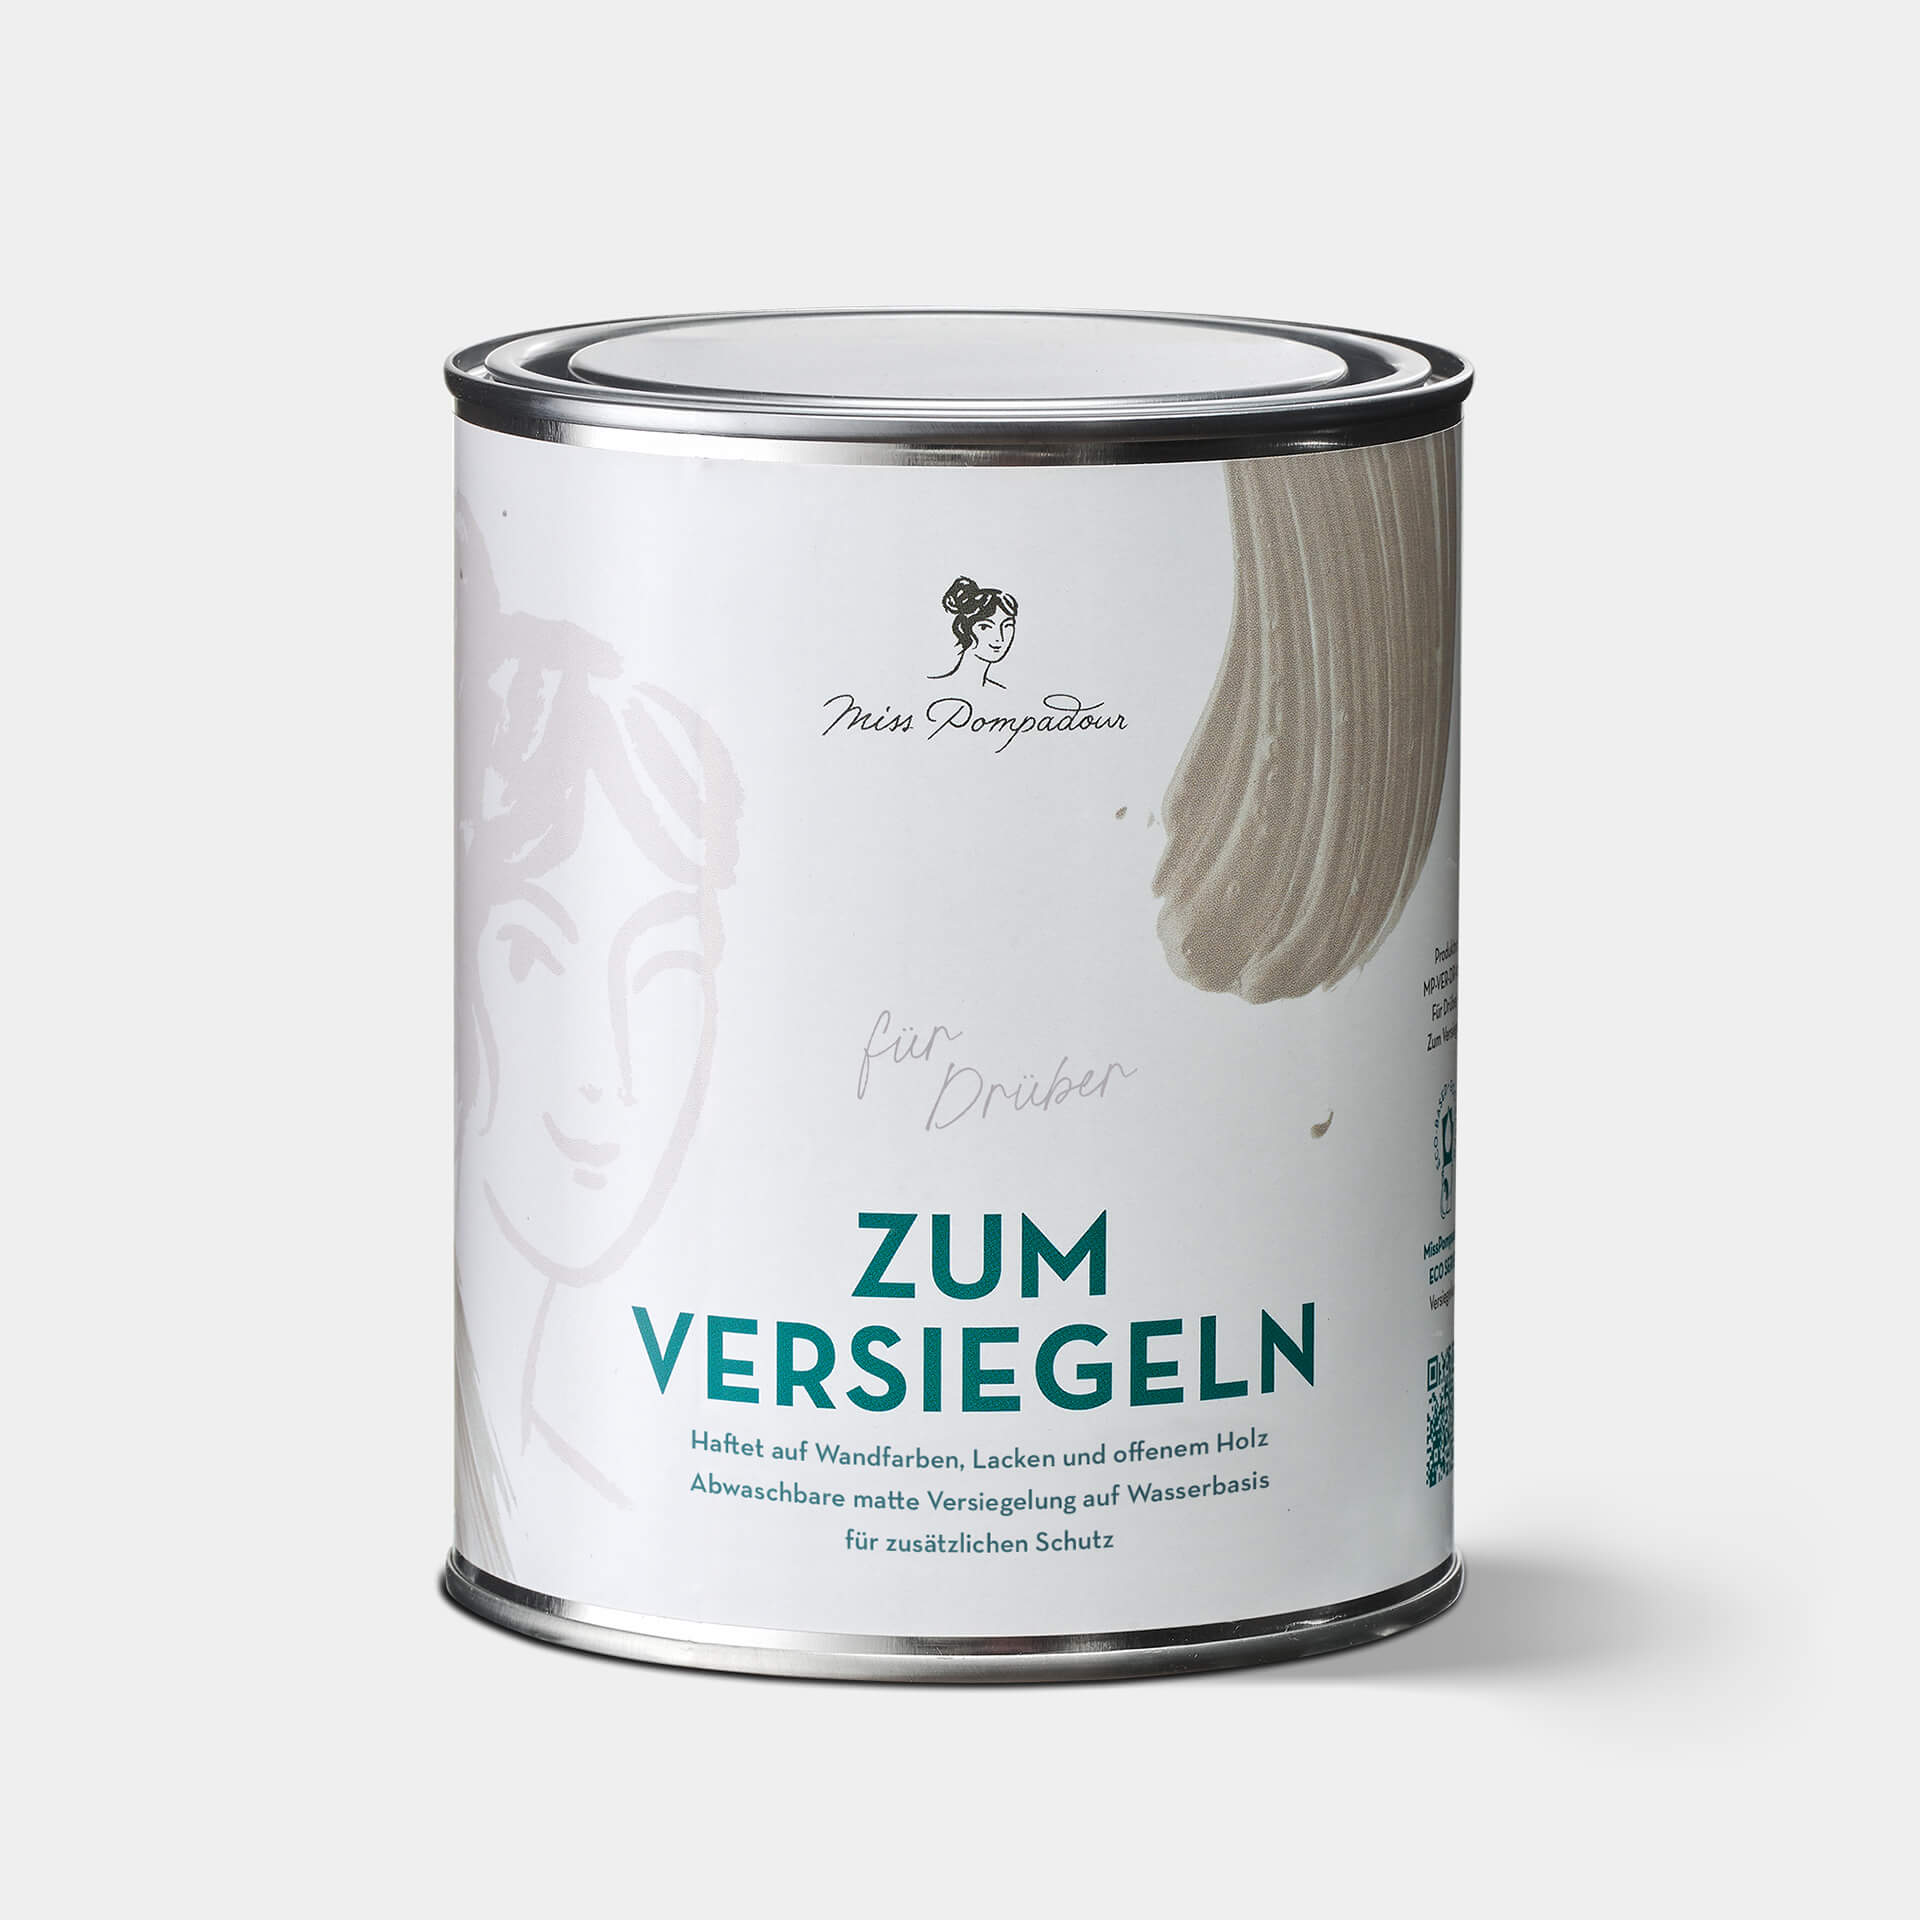
You'll want the paint on your baby's cot to be as stable, robust and easy to clean as possible. We have good news for you: LittlePomp chalk varnishes are truly saliva-proof and incredibly durable. If you still want to be on the safe side, we have a selection of topcoats for you in our shop.
More tips and useful tools for painting a cot.
- Smaller rooms instantly look more spacious if you paint the walls, cot and perhaps other furniture in the same colour
- If you find painting rather tedious, find an empty room or a spot outdoors and spray the paint on with a sprayer. Be aware of the wind direction and use a mouth guard!
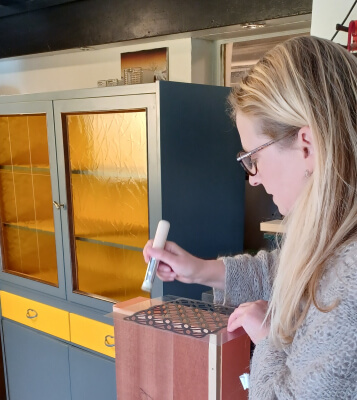
- With our lovely patternedstencils by MissPompadour you can decorate the baby's bed with love. You can also use the stencils to create something very personal for your little sweetheart by painting their name or a sweet saying on the cot.
Colour selection
Content: 0.75 Litre (€52.00* / 1 Litre)
Content: 0.75 Litre (€52.00* / 1 Litre)
Content: 0.75 Litre (€52.00* / 1 Litre)
Content: 0.75 Litre (€52.00* / 1 Litre)
Content: 0.75 Litre (€52.00* / 1 Litre)
Content: 0.75 Litre (€52.00* / 1 Litre)
Content: 0.75 Litre (€52.00* / 1 Litre)
Content: 0.75 Litre (€52.00* / 1 Litre)
Content: 0.75 Litre (€52.00* / 1 Litre)
Content: 0.75 Litre (€52.00* / 1 Litre)
Your tools and accessories
Your project will be child's play!

